The Display Carousel project
After being asked if I could build a motorized turntable to display some carousel horse cookies for Cookie Bouquet / Cookies by Design in Plano, TX, I promptly blew the project out of proportion as is my normal procedure J
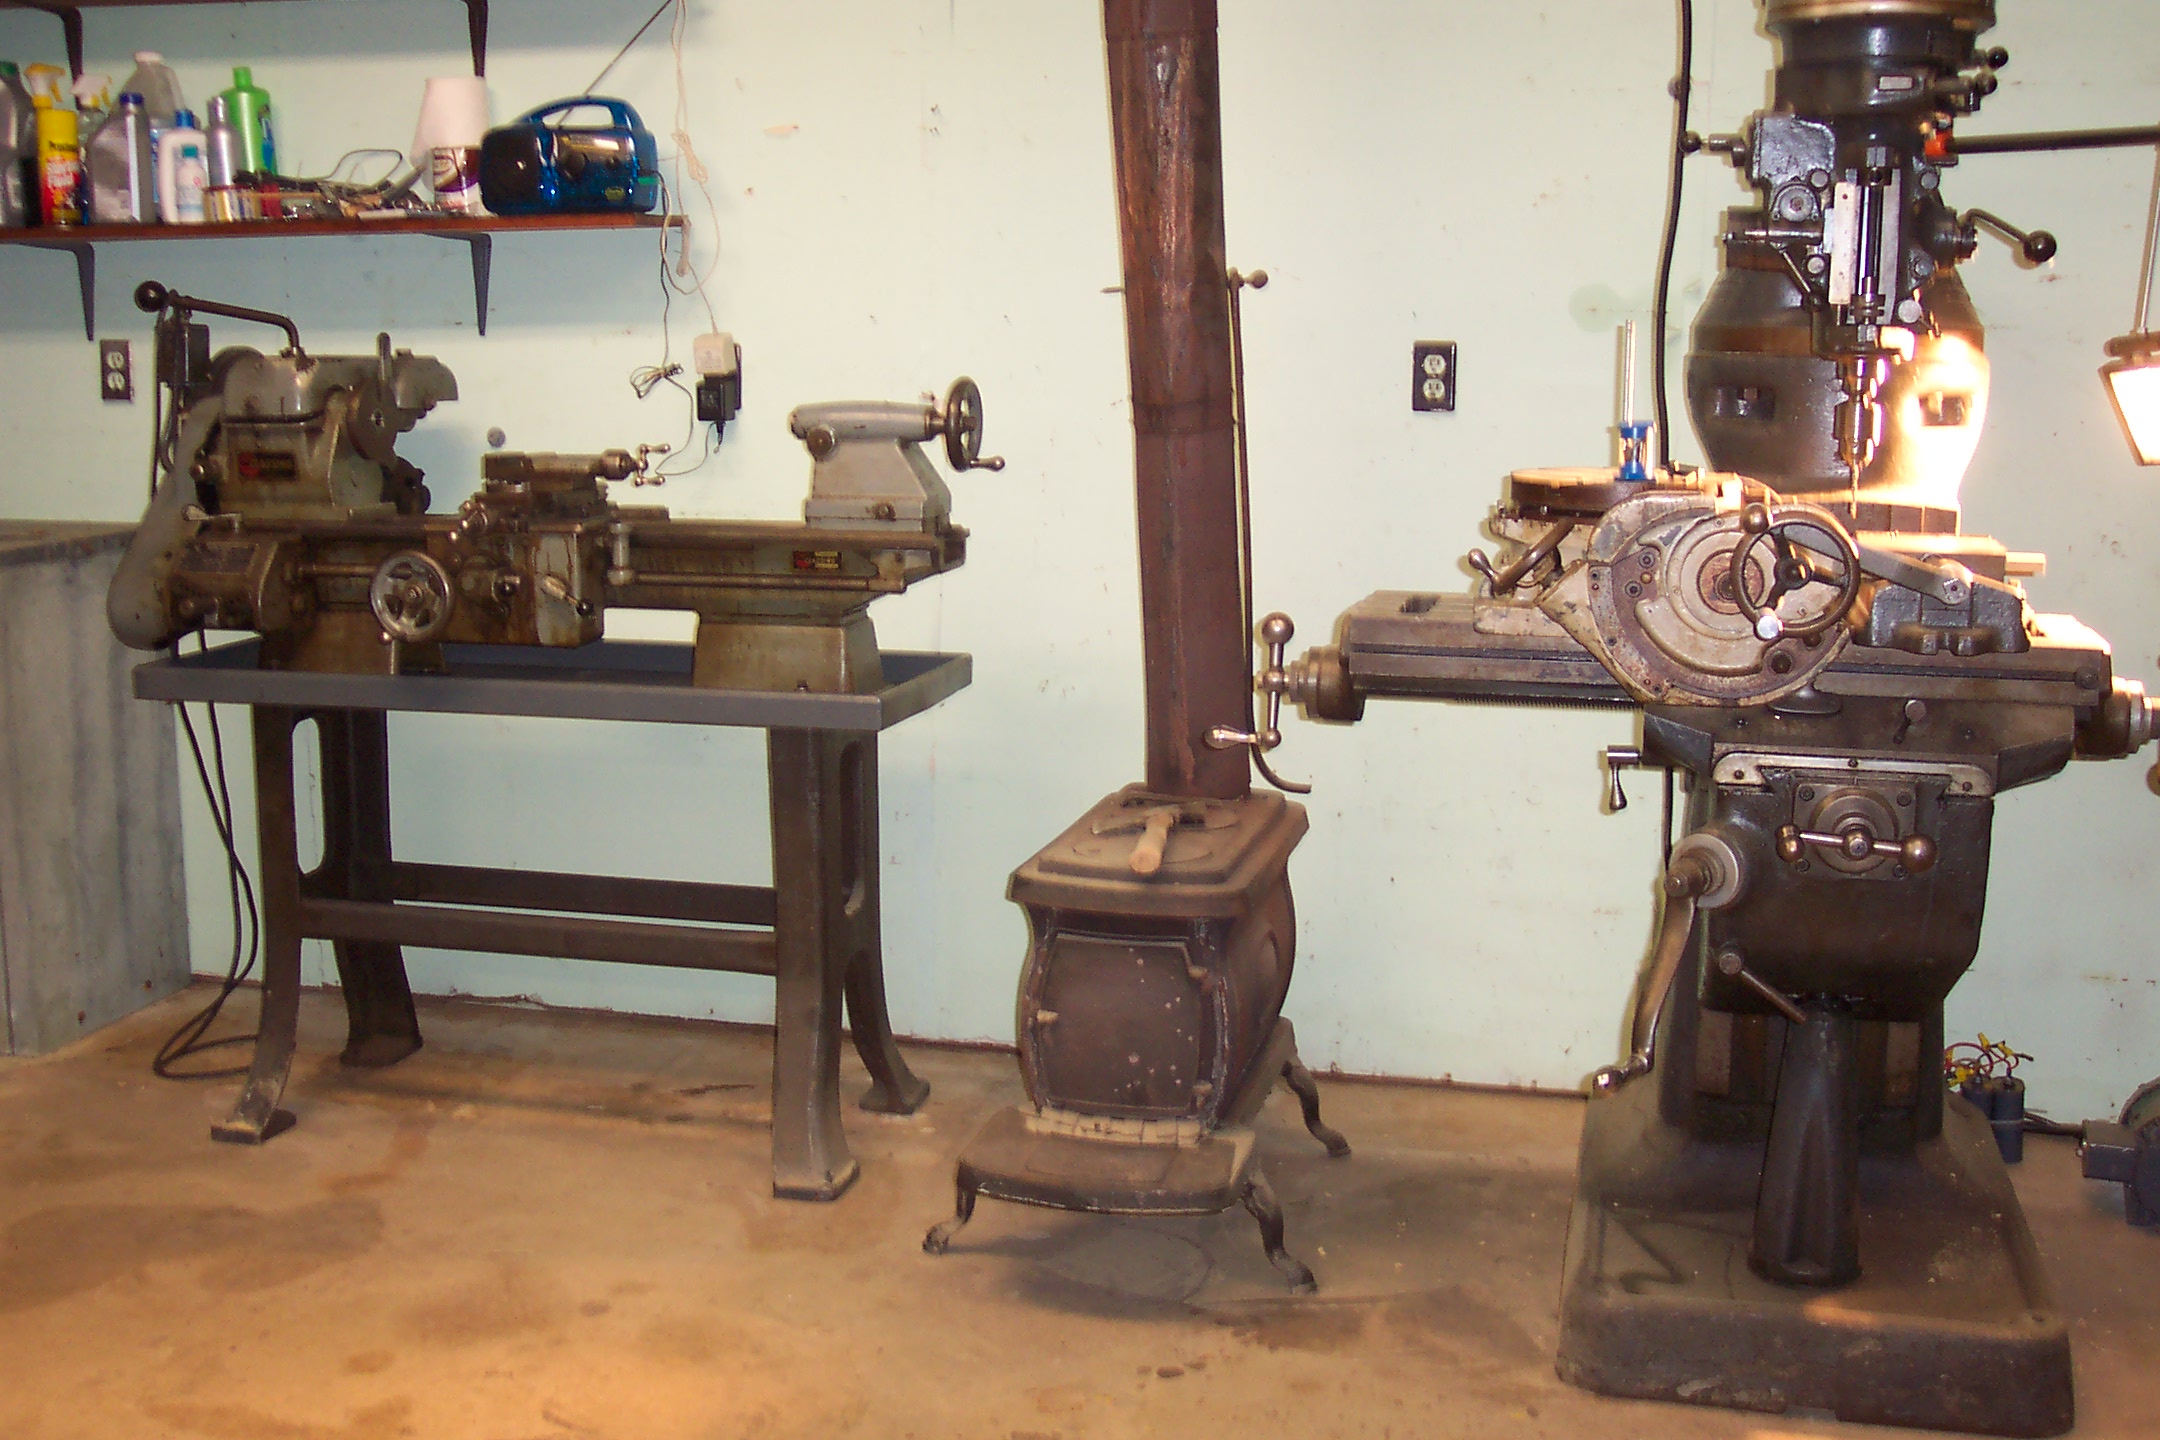
What resulted is chronicled below. Since I had just moved to Texas a couple months earlier the first task was getting my shop at least partially assembled. Nothing like taking on a big project when your shop is mostly still on pallets.
After getting the brilliant idea to build a full carousel I had a couple weeks to mull over the design while waiting for dimensions of the horse cookies so I could set the scale. About 99% of the construction took place over a two-week period with the final decoration decisions taking a little longer.
Click on the pictures for high res versions. Follow the project from tools on pallets to display in store window
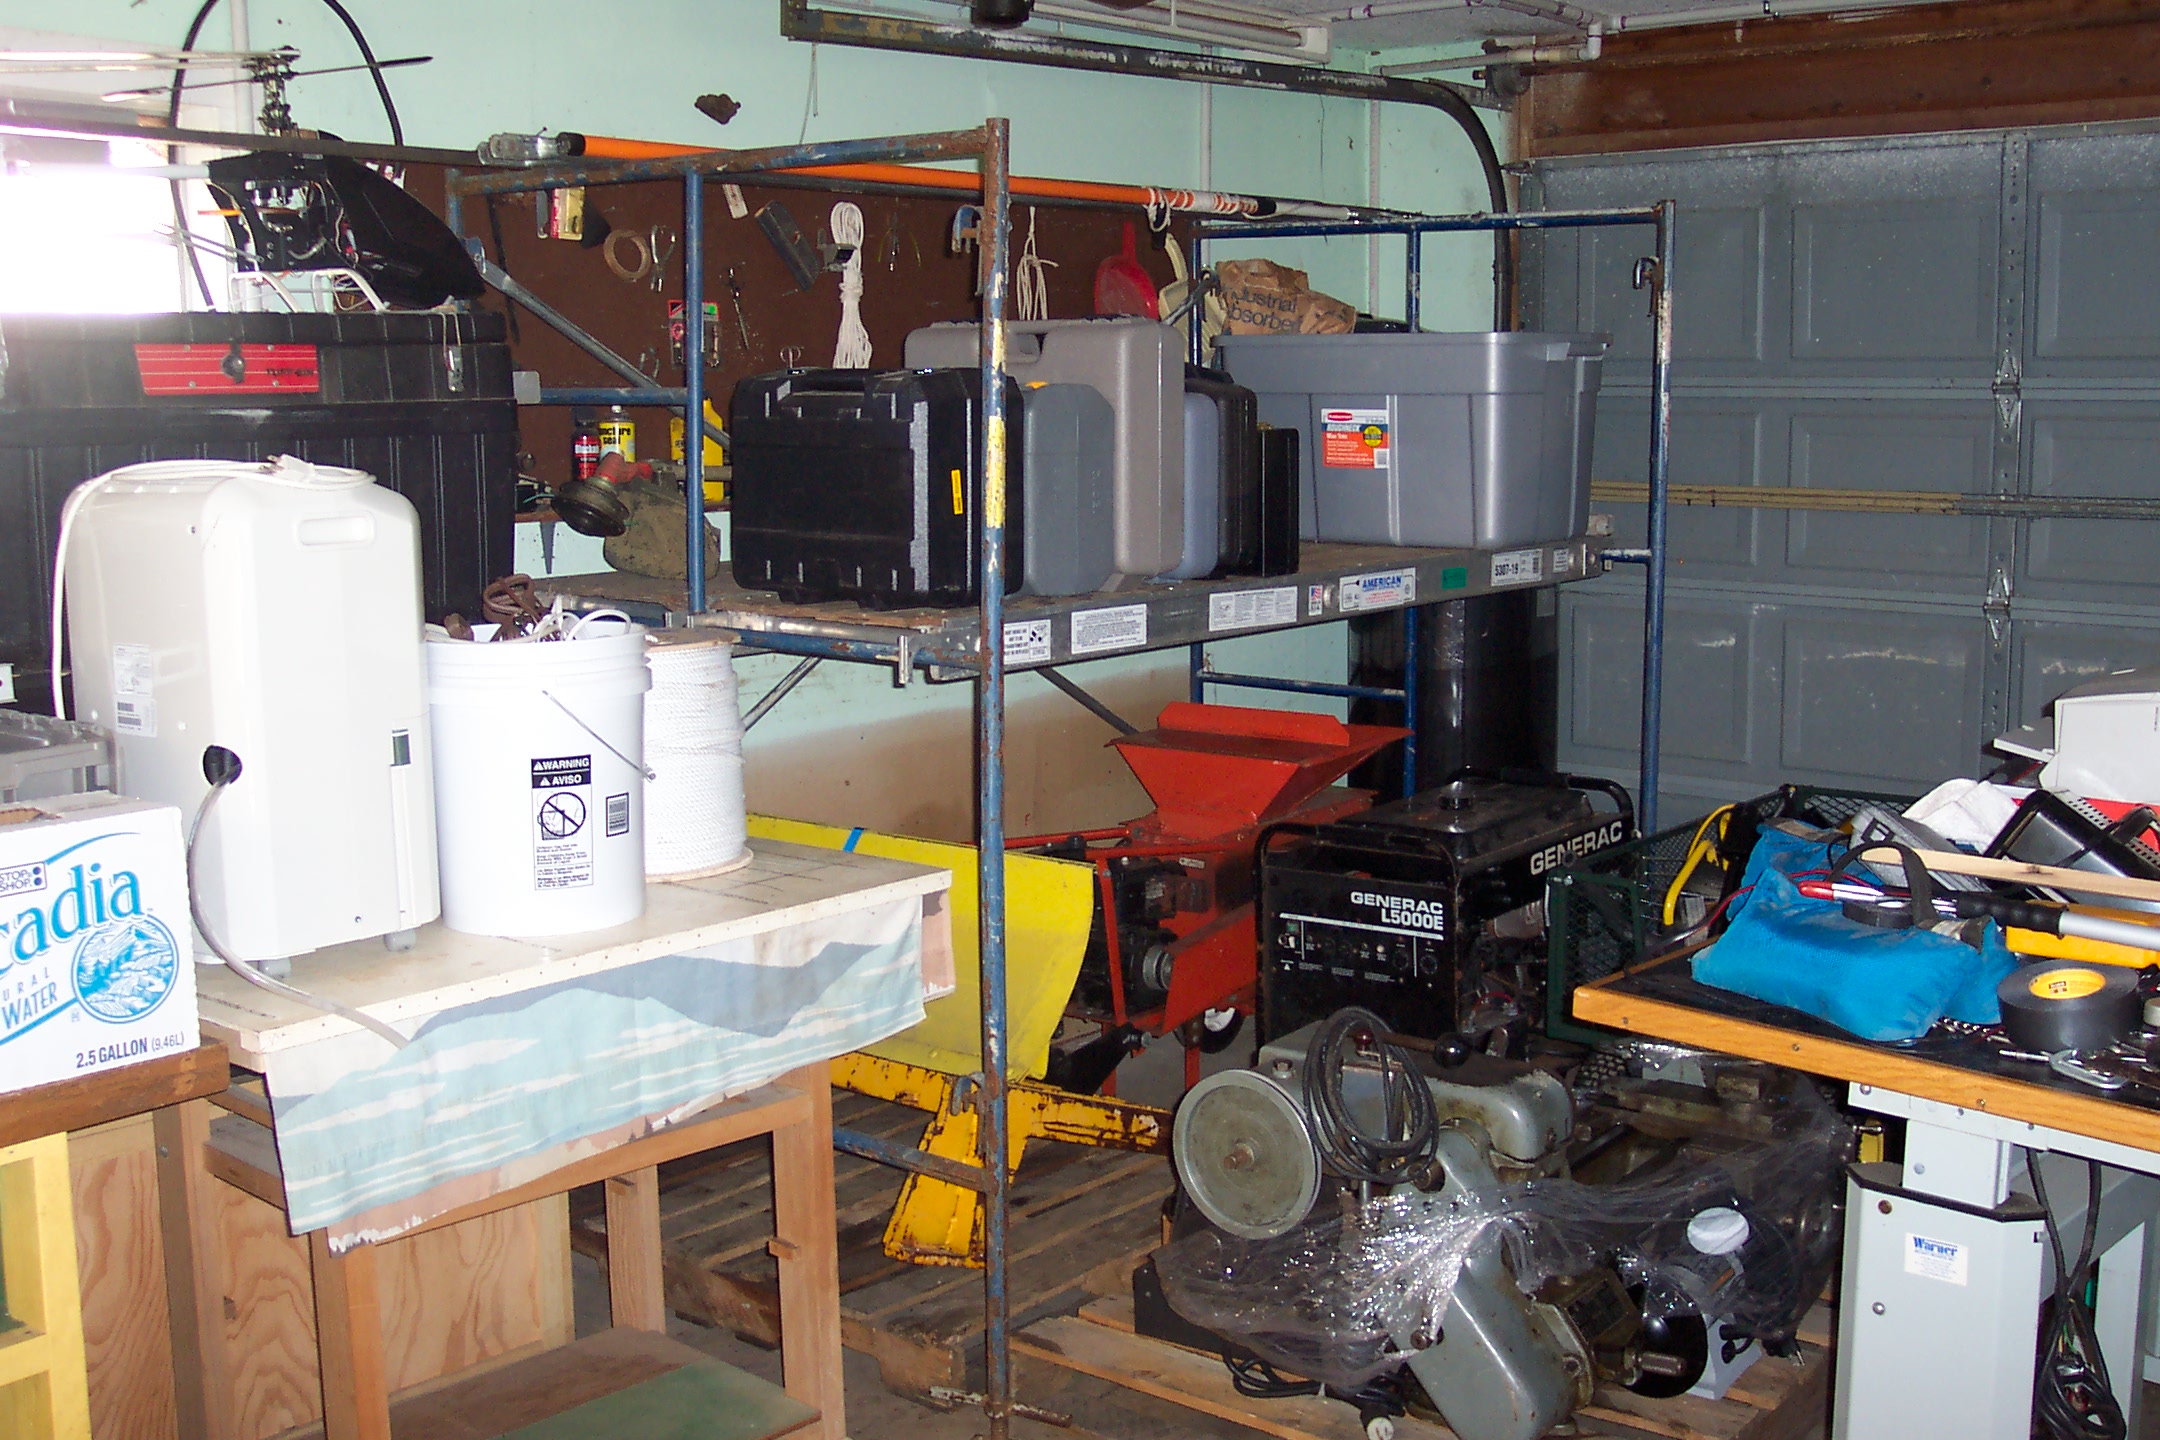
Trying to clear some space in the shop. This is where most of my stuff was unloaded from the moving truck so it got a big cluttered.
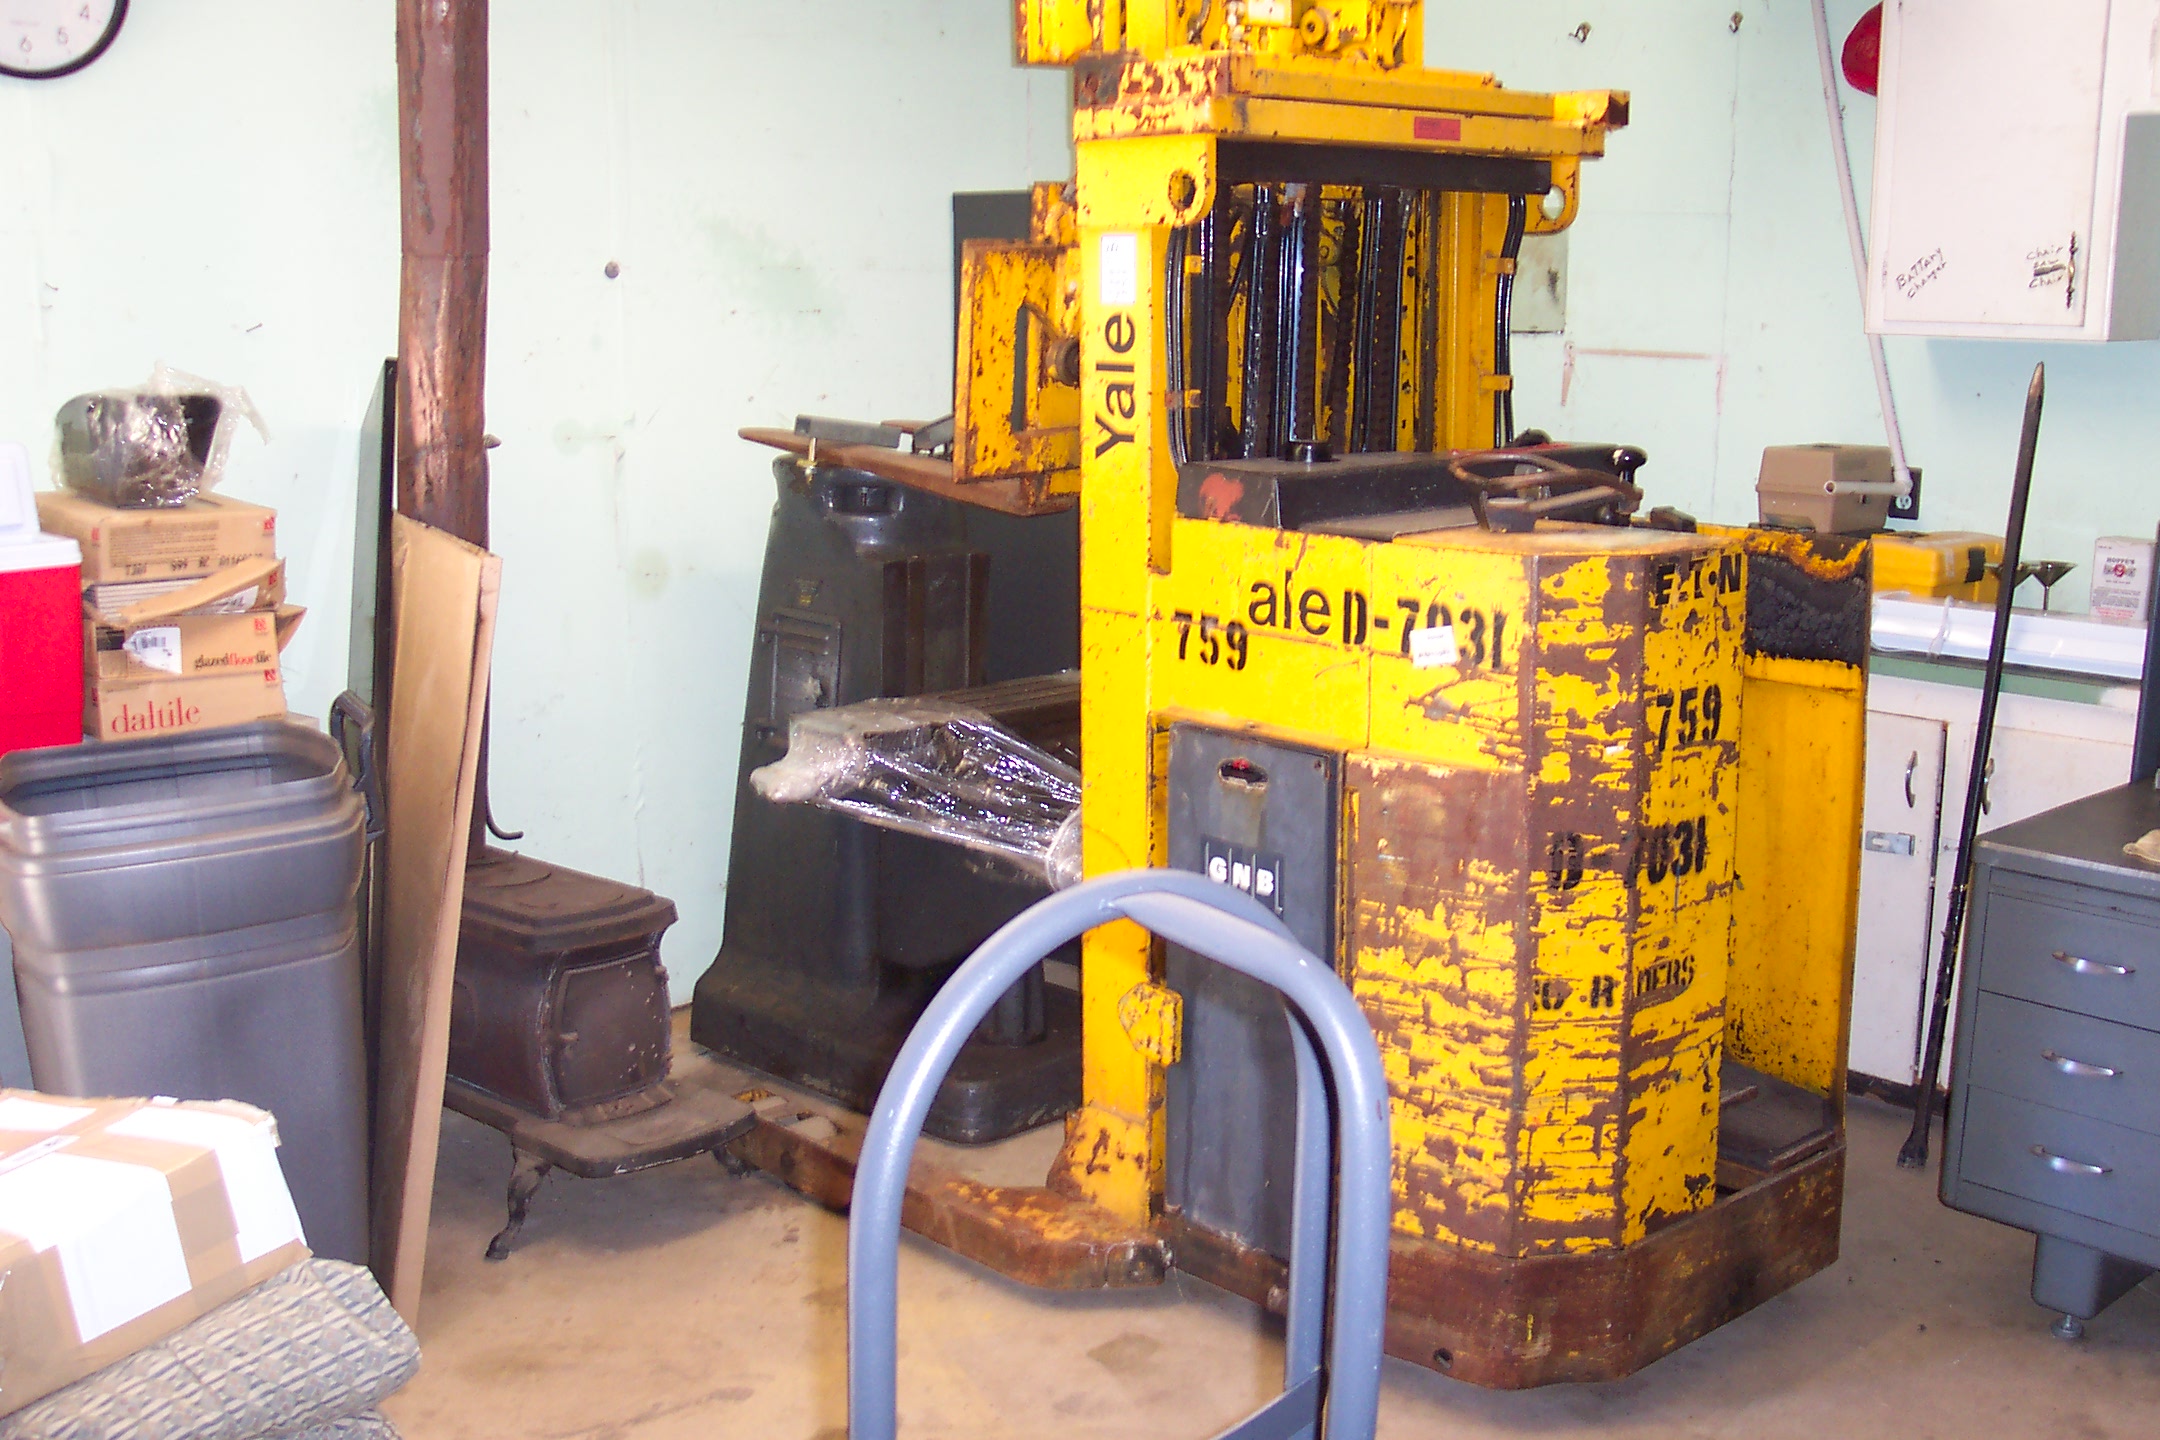
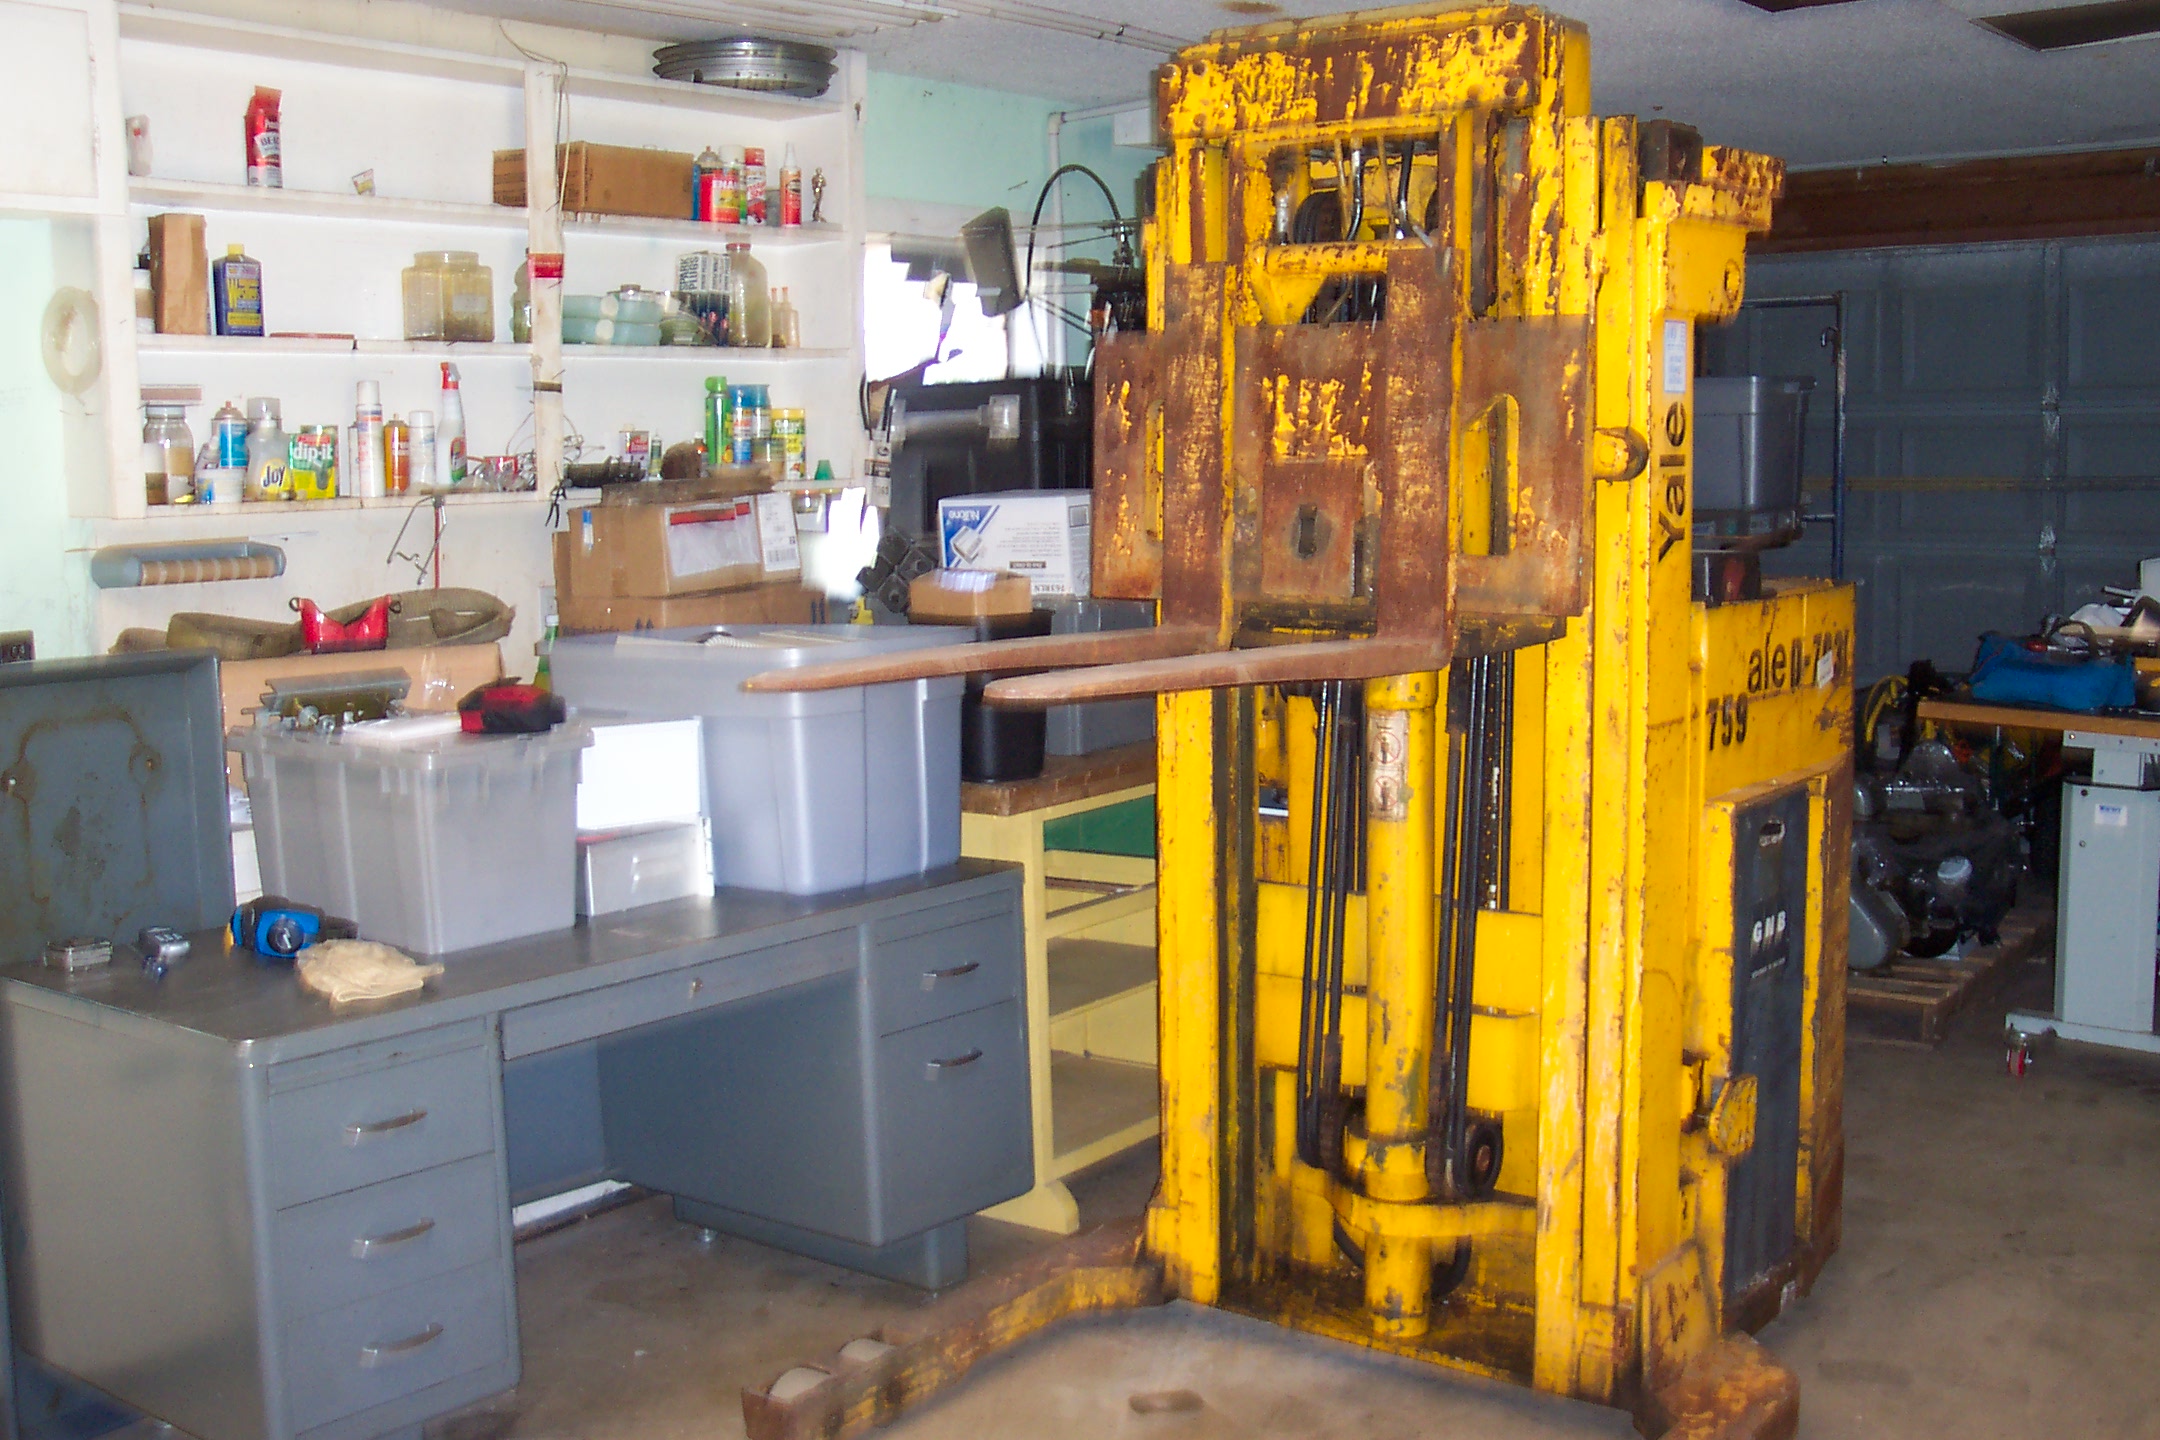
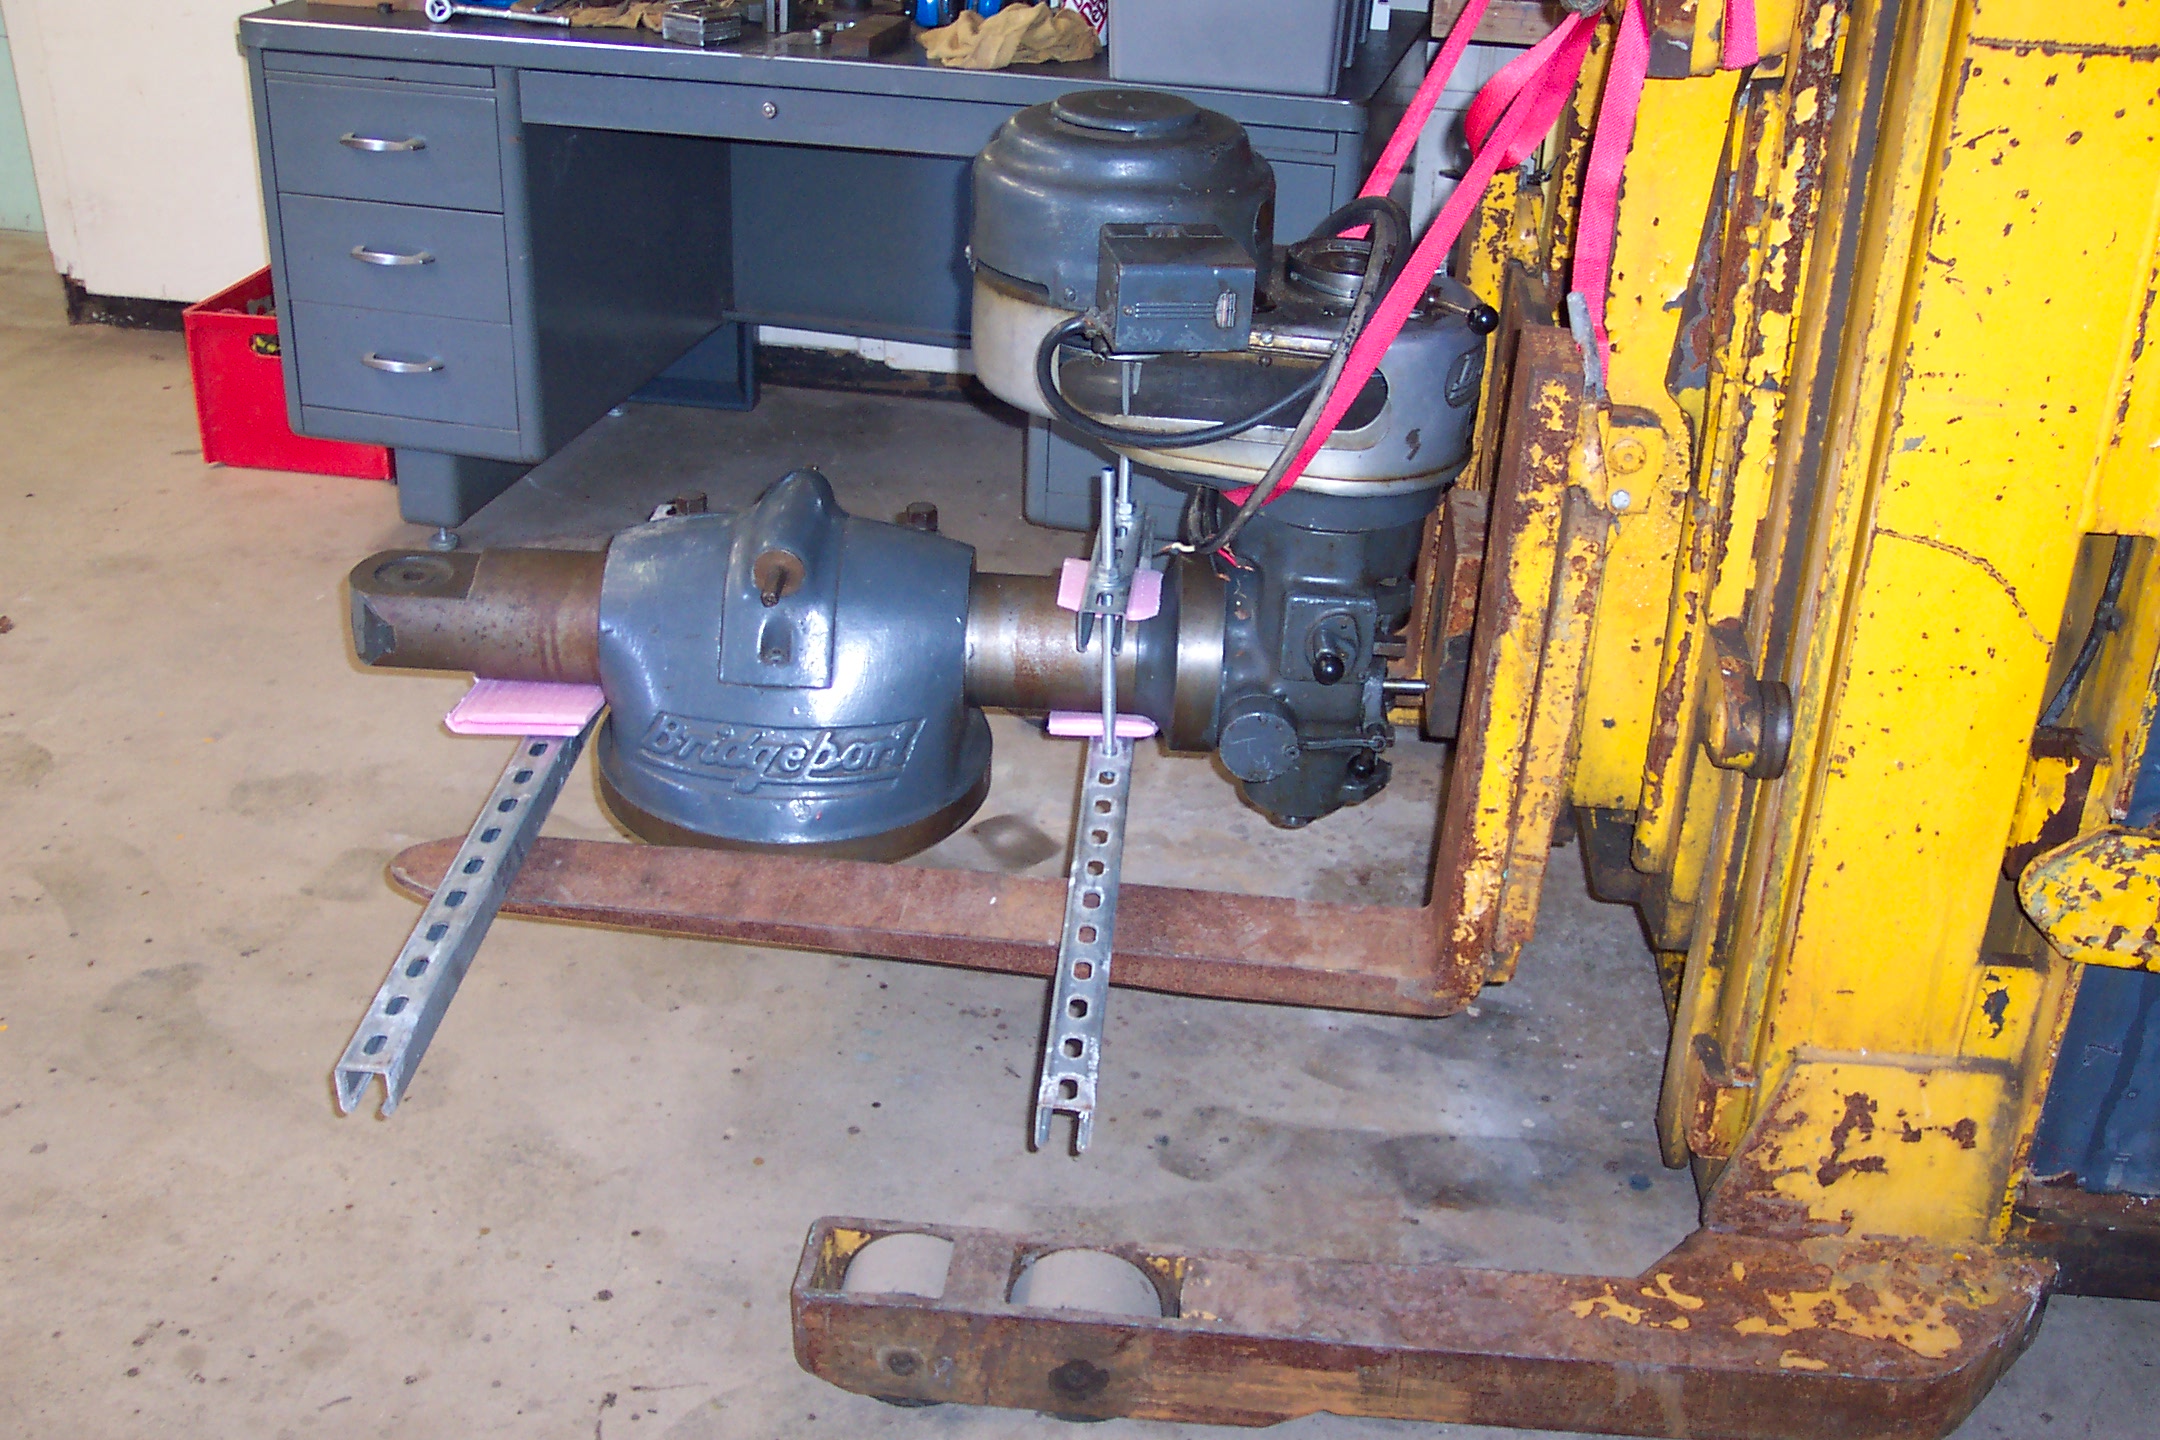
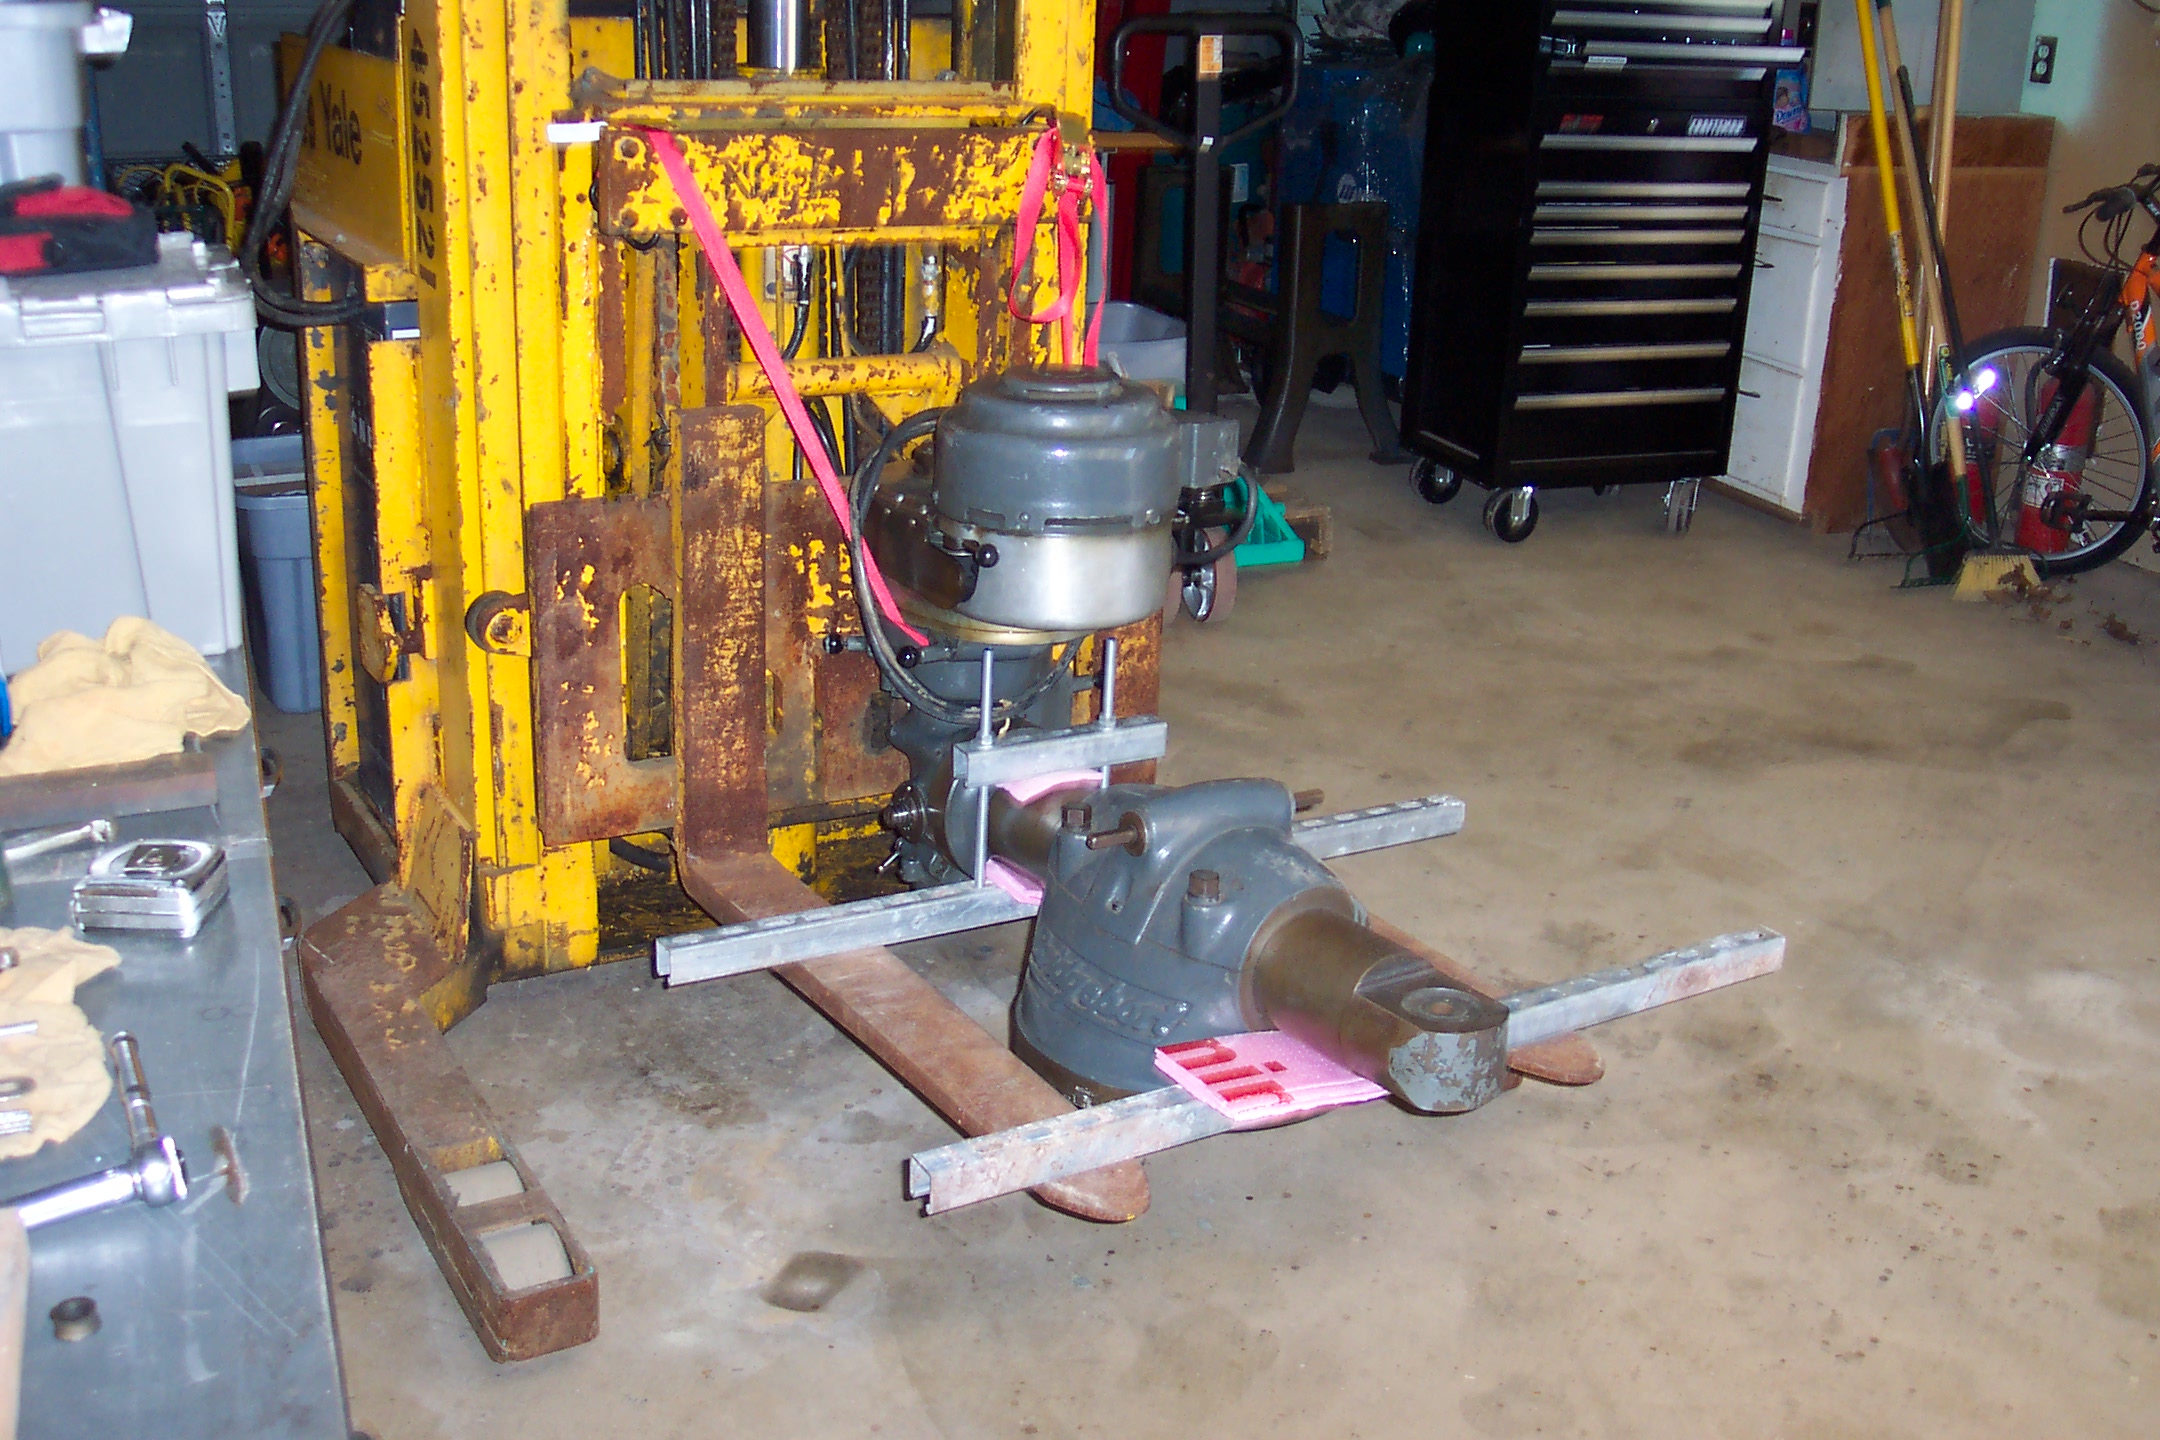
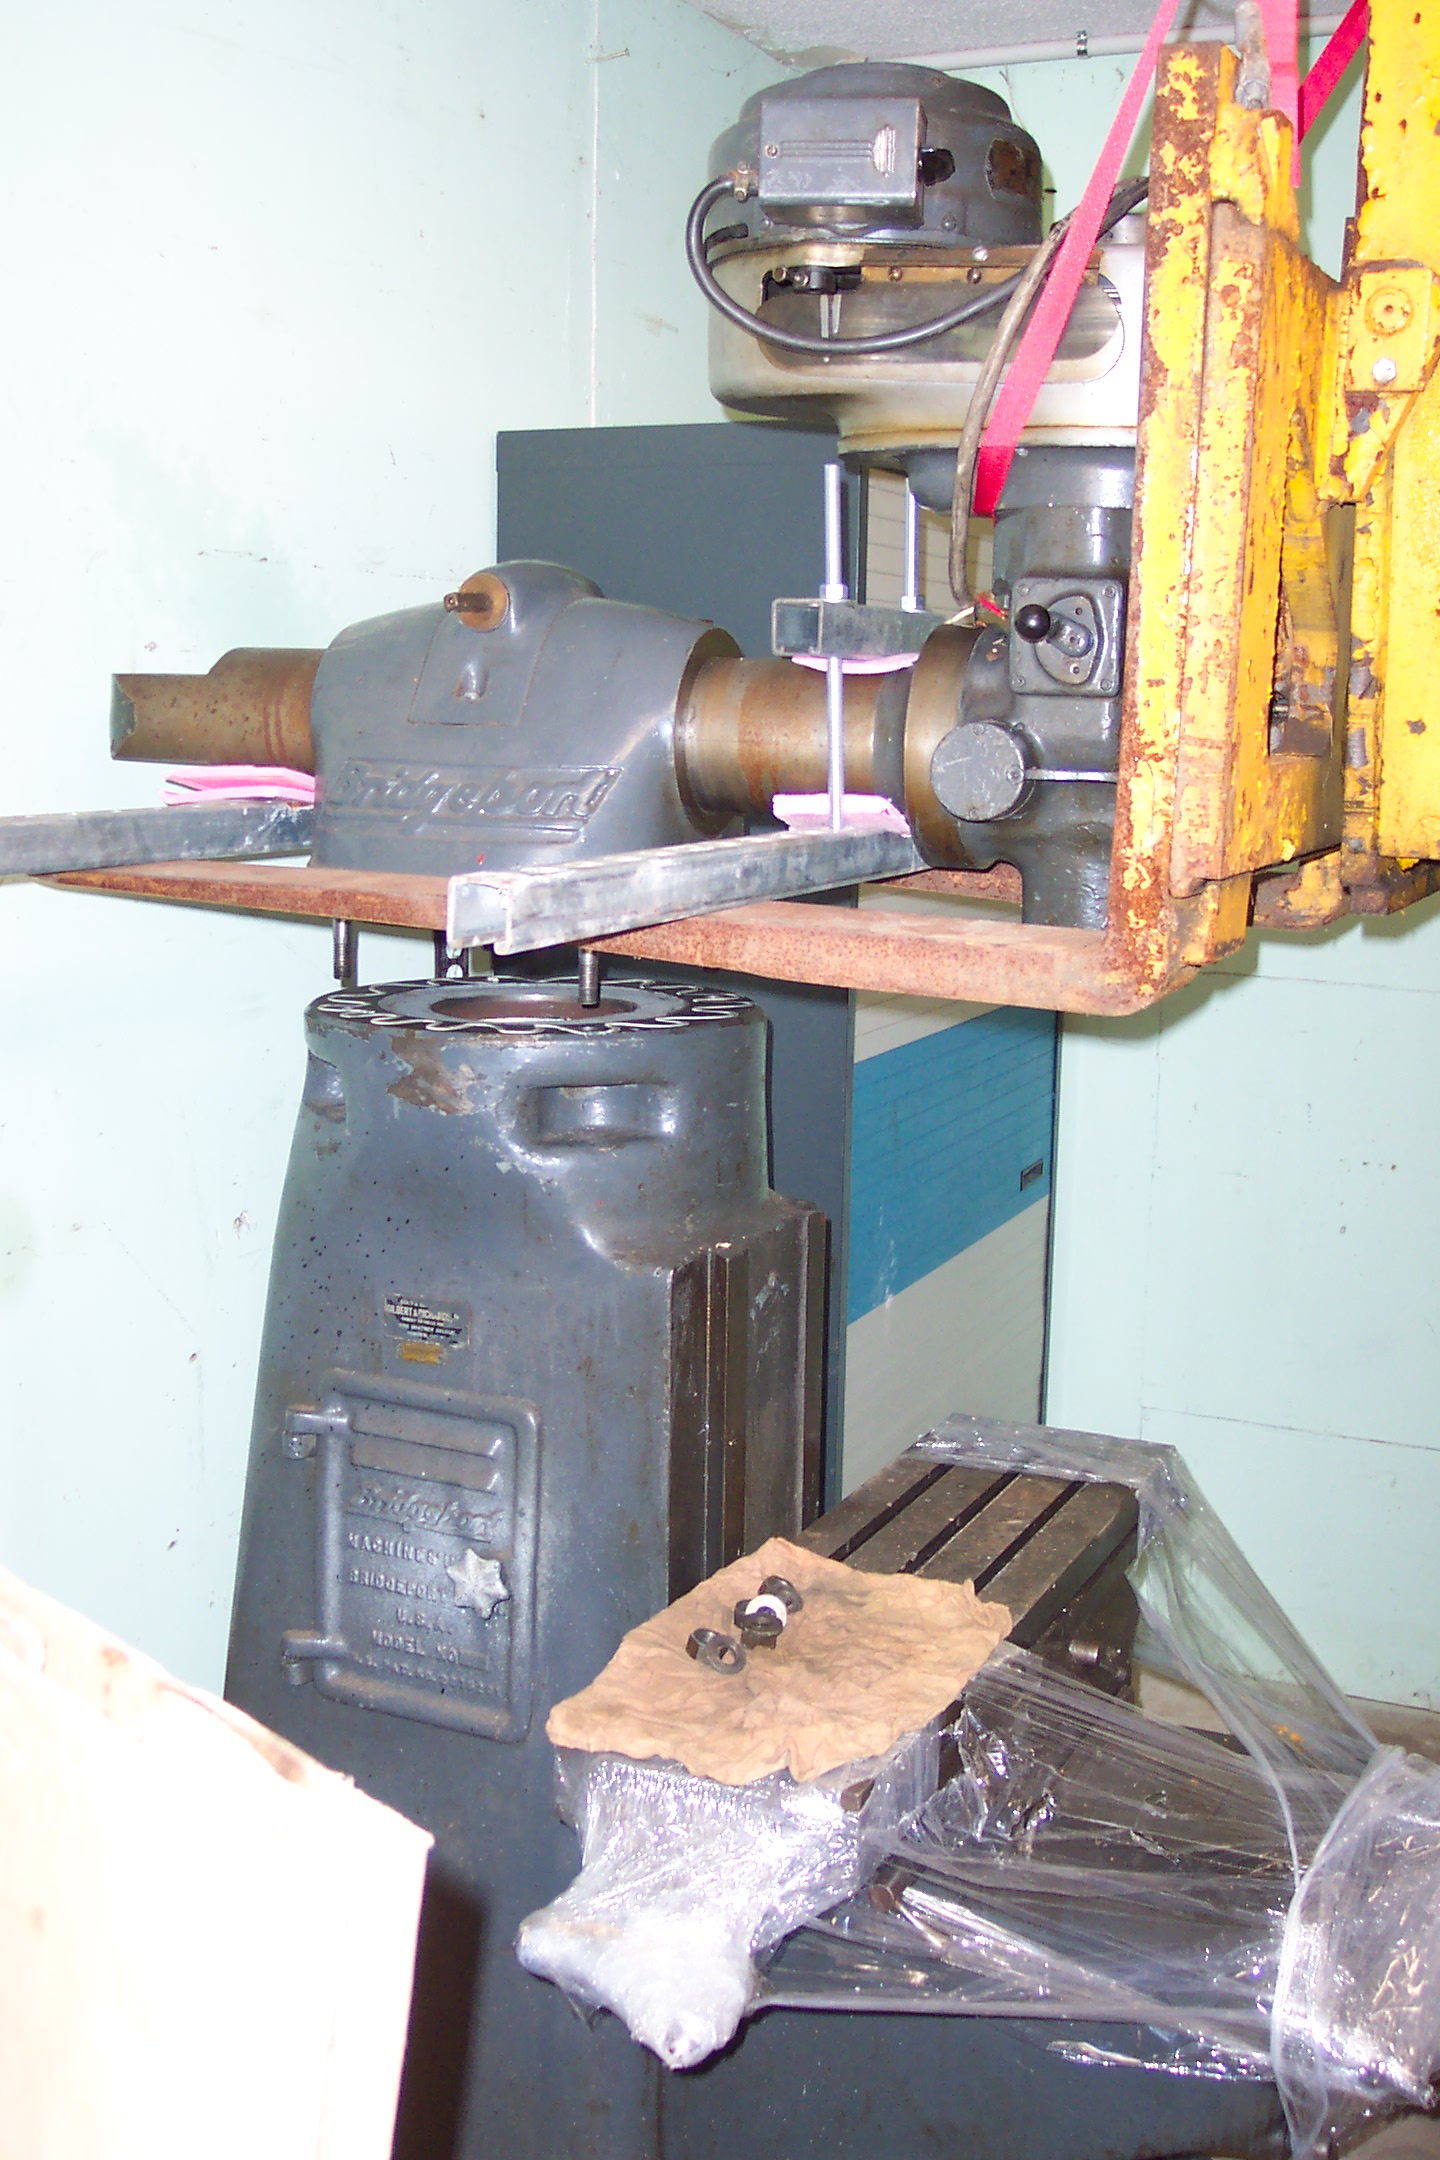
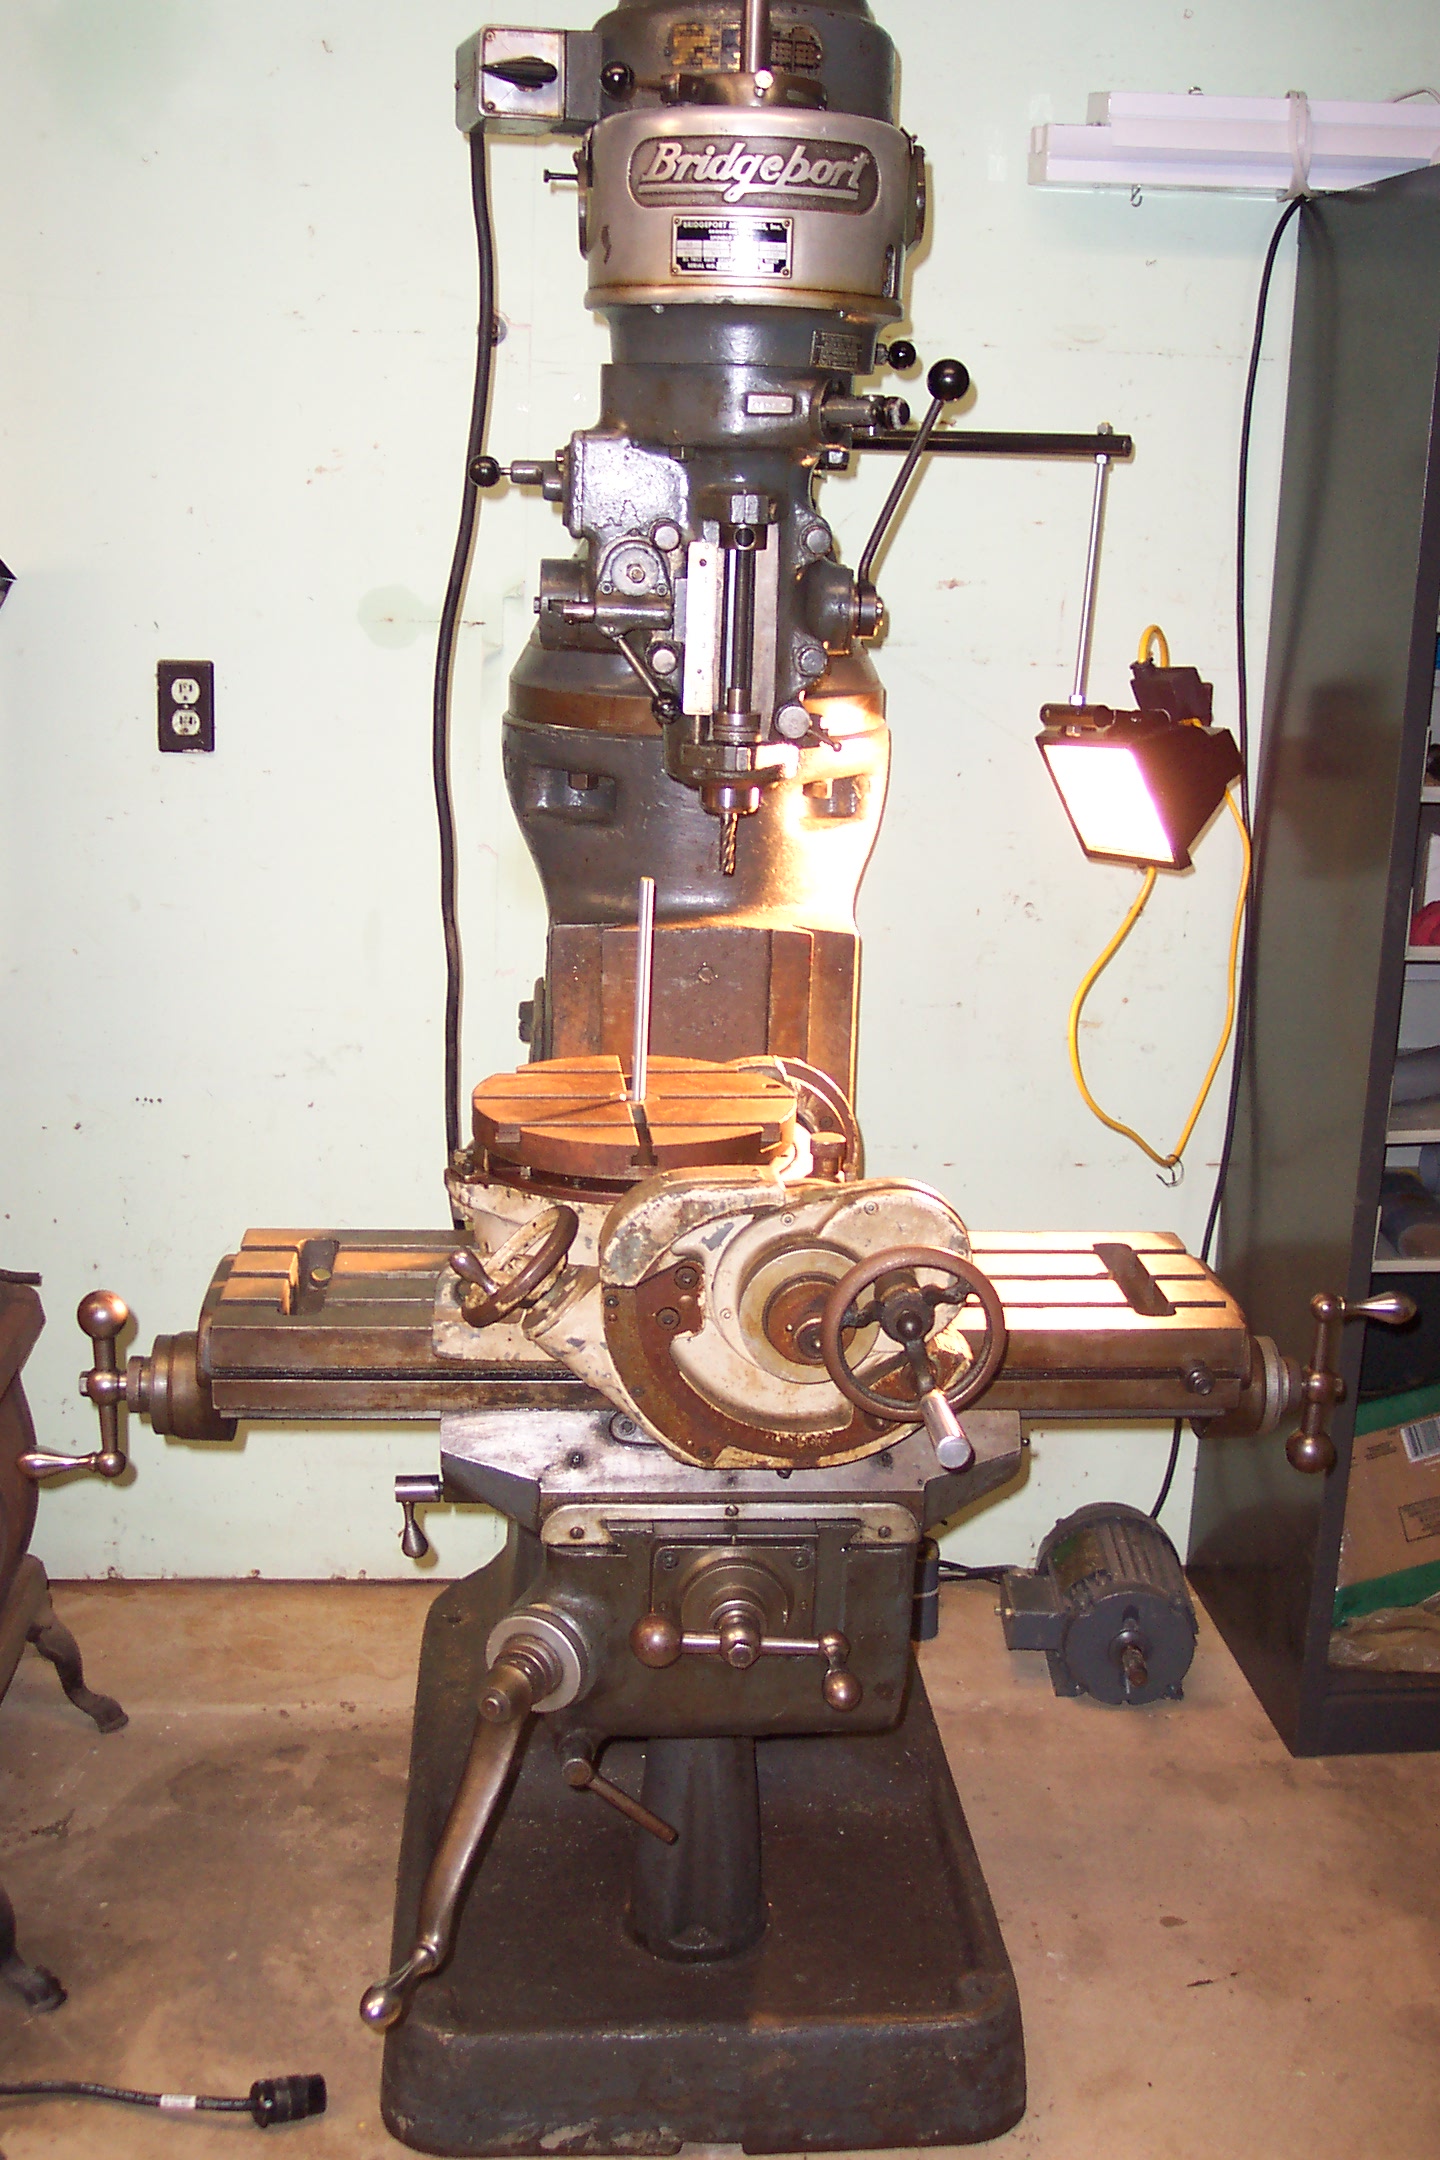
Assembling the Bridgeport mill with the forklift. Previously I've had to use an engine hoist to assemble / move this mill and the forklift is about 1,000 times faster and easier.
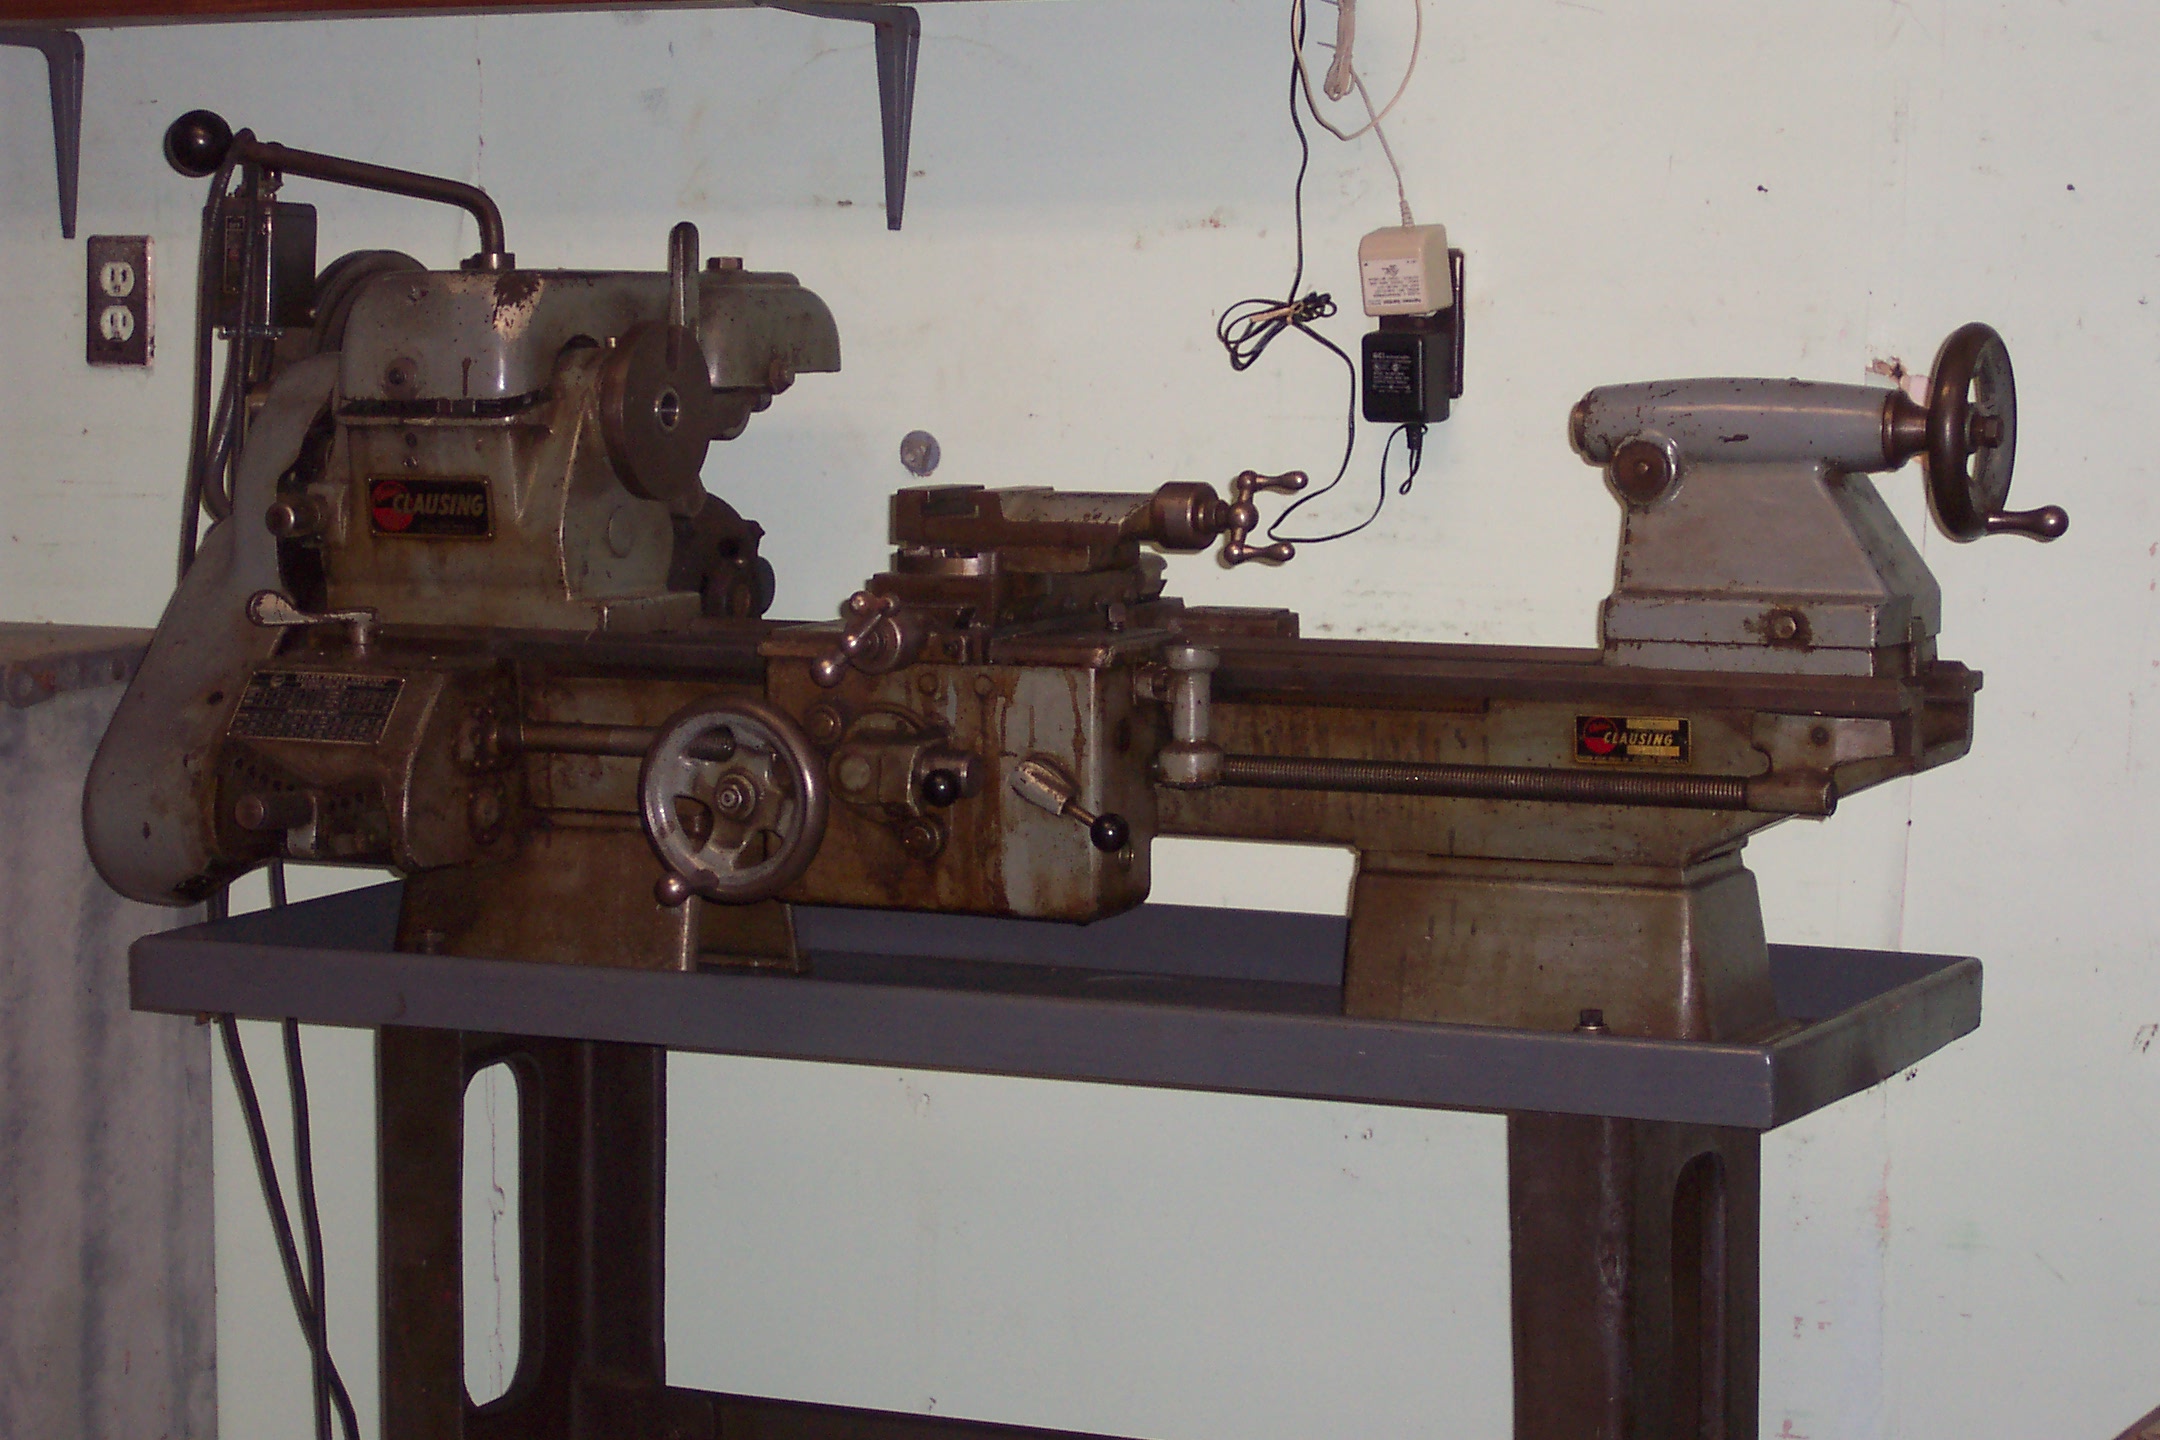
Assembling the lathe. More forklift help here, just no pictures of it.
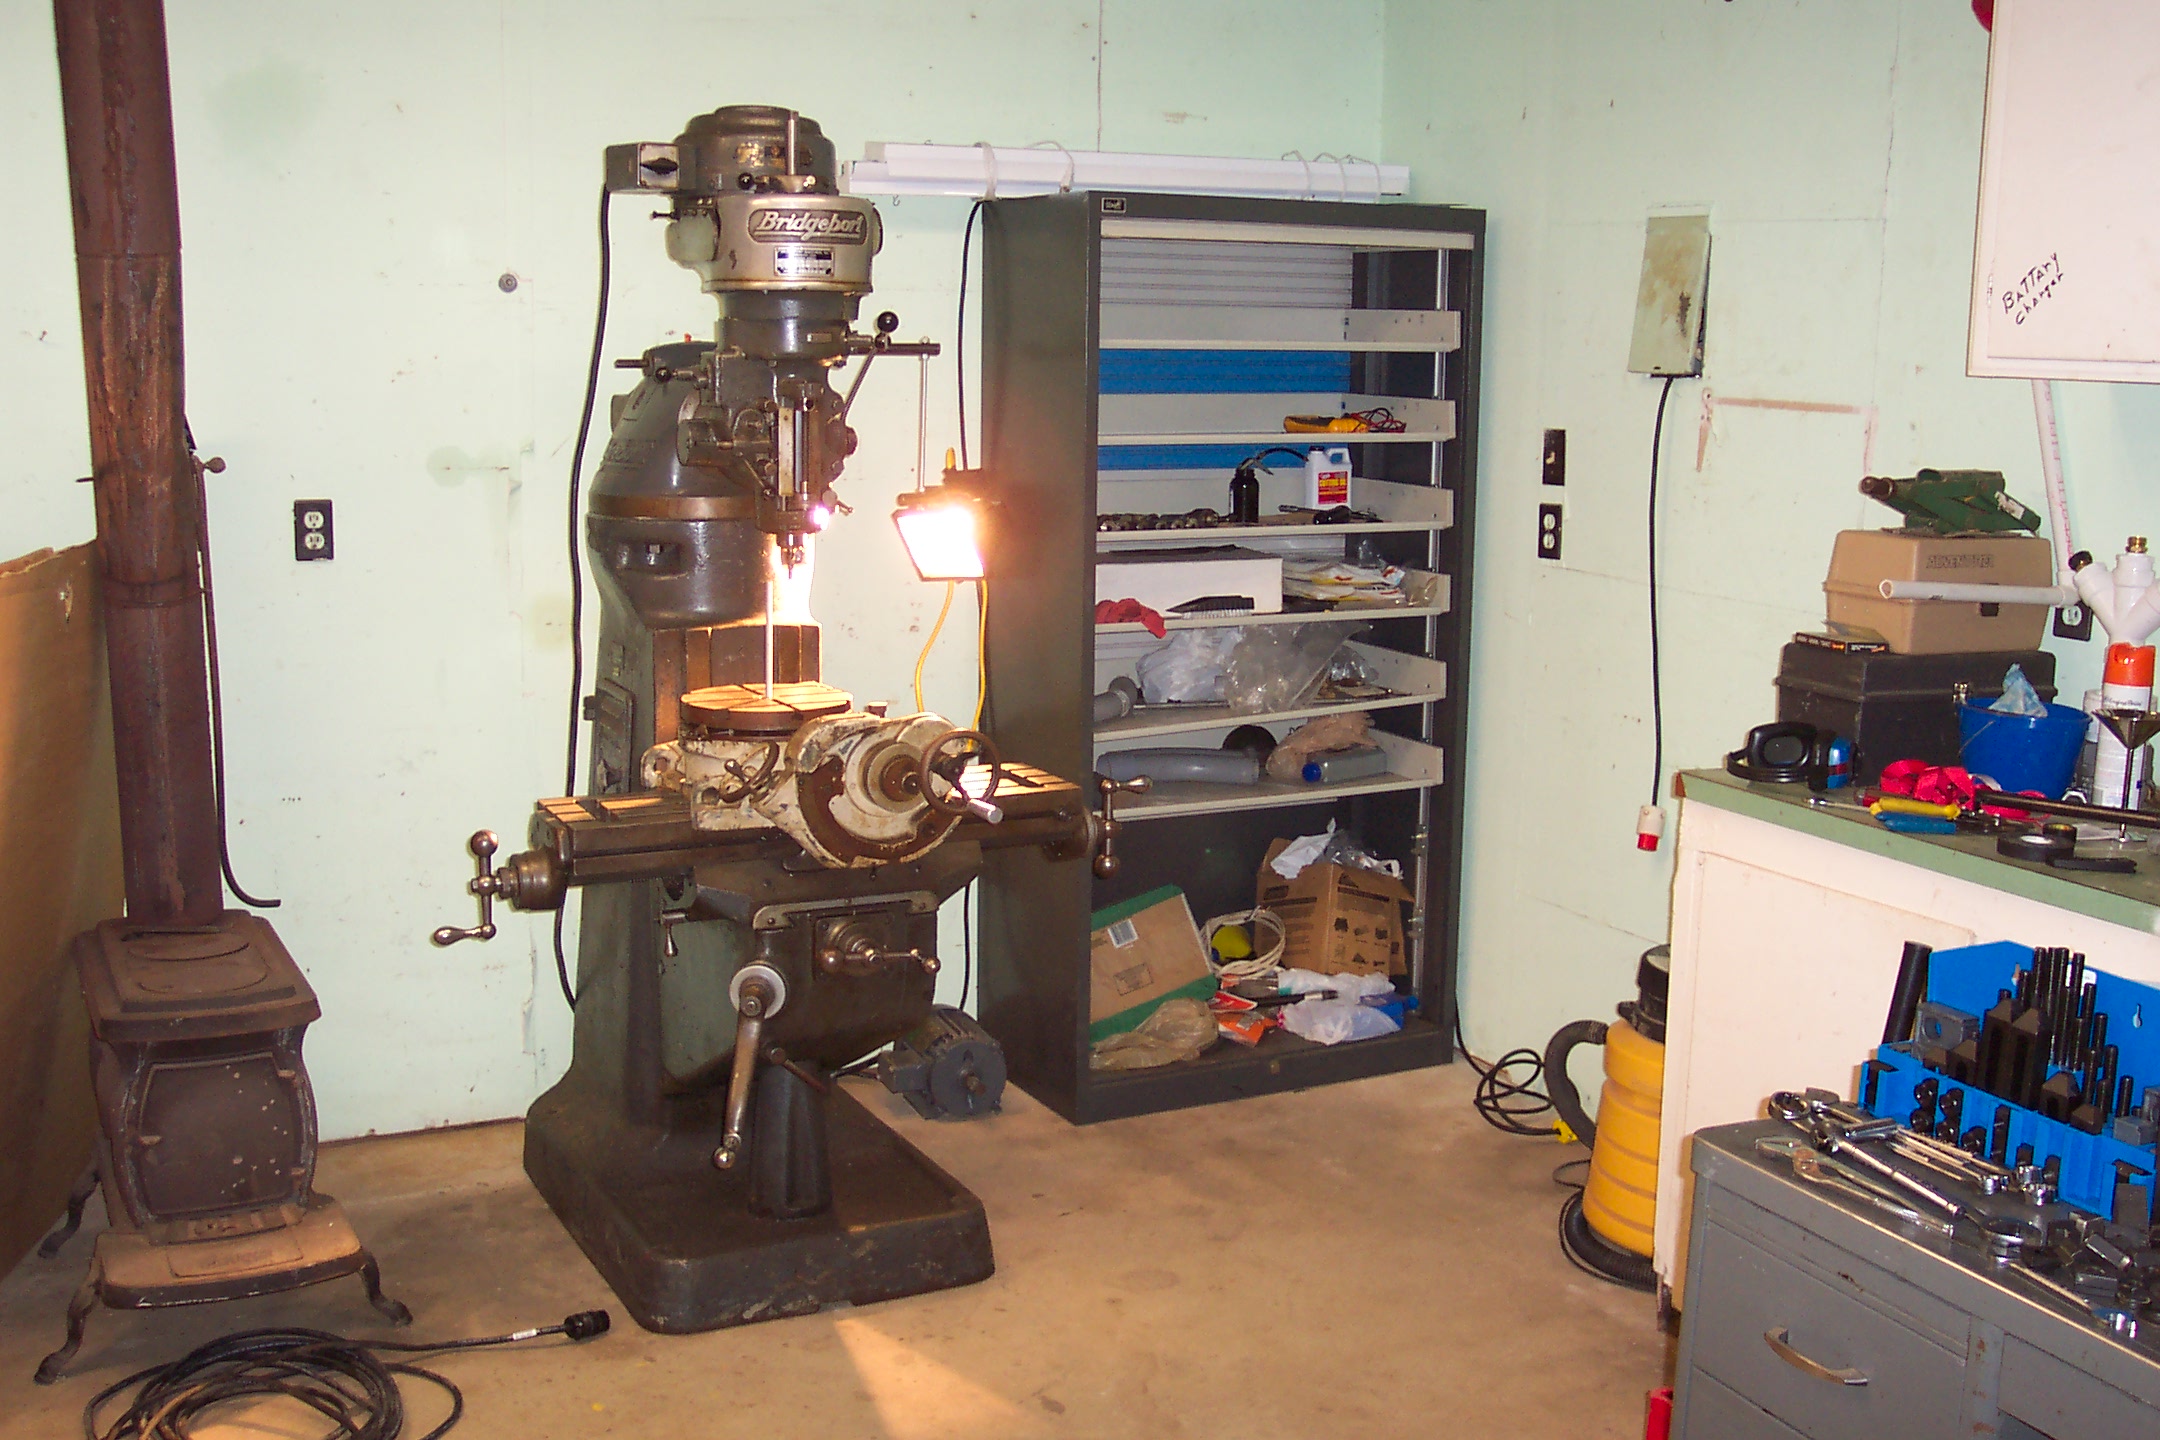
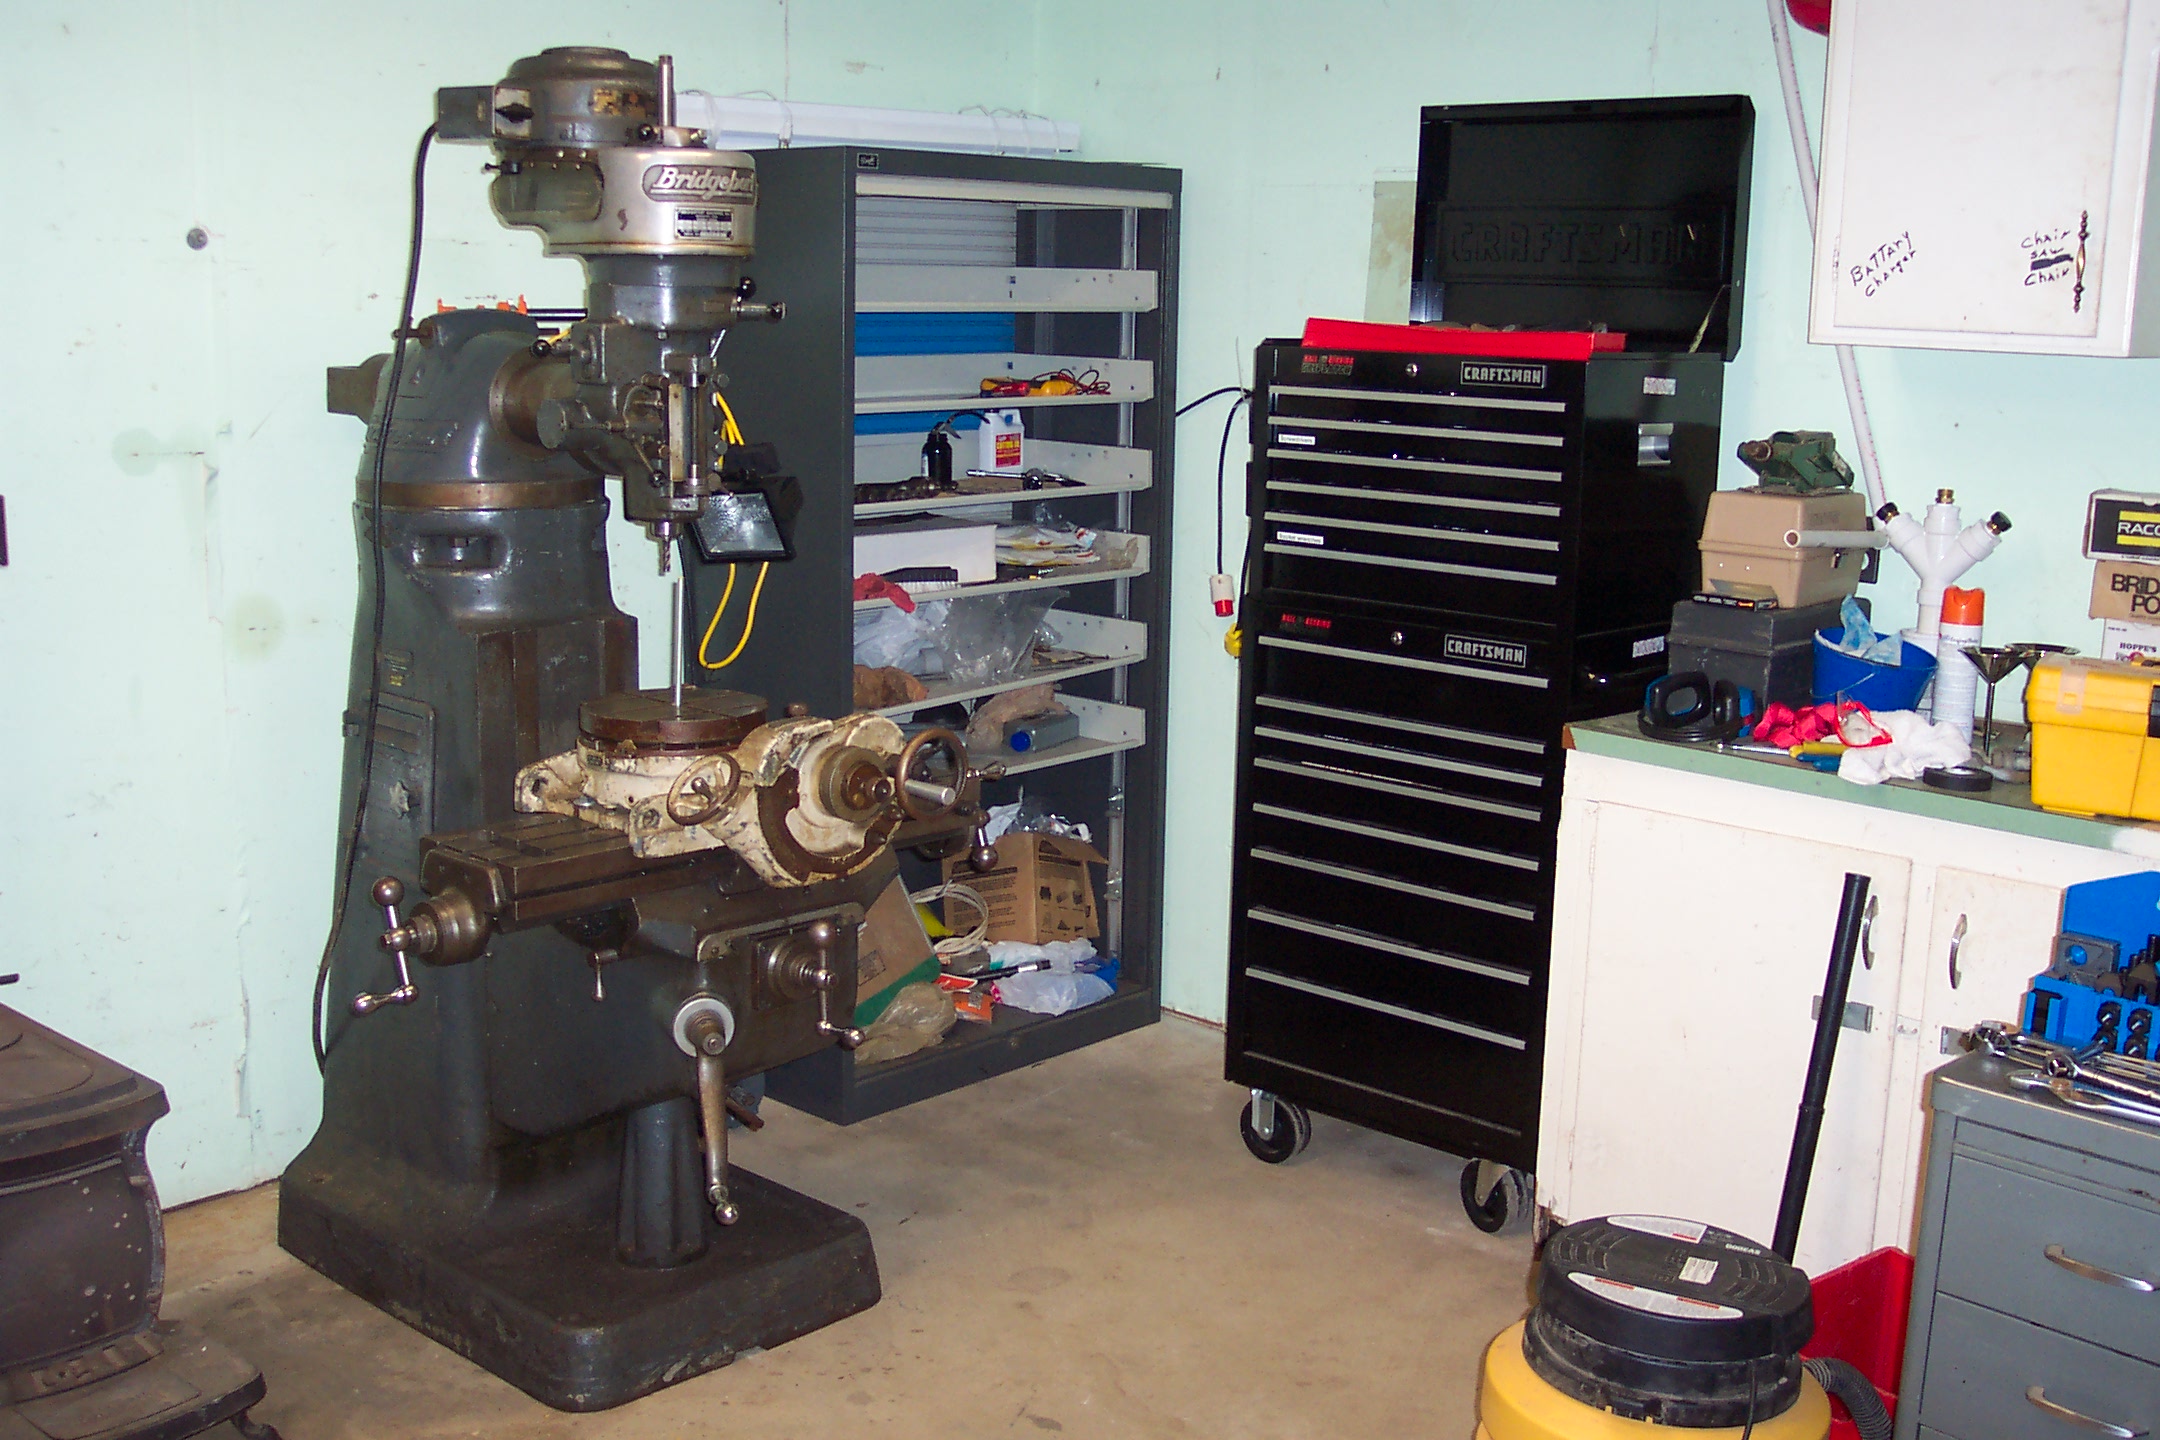
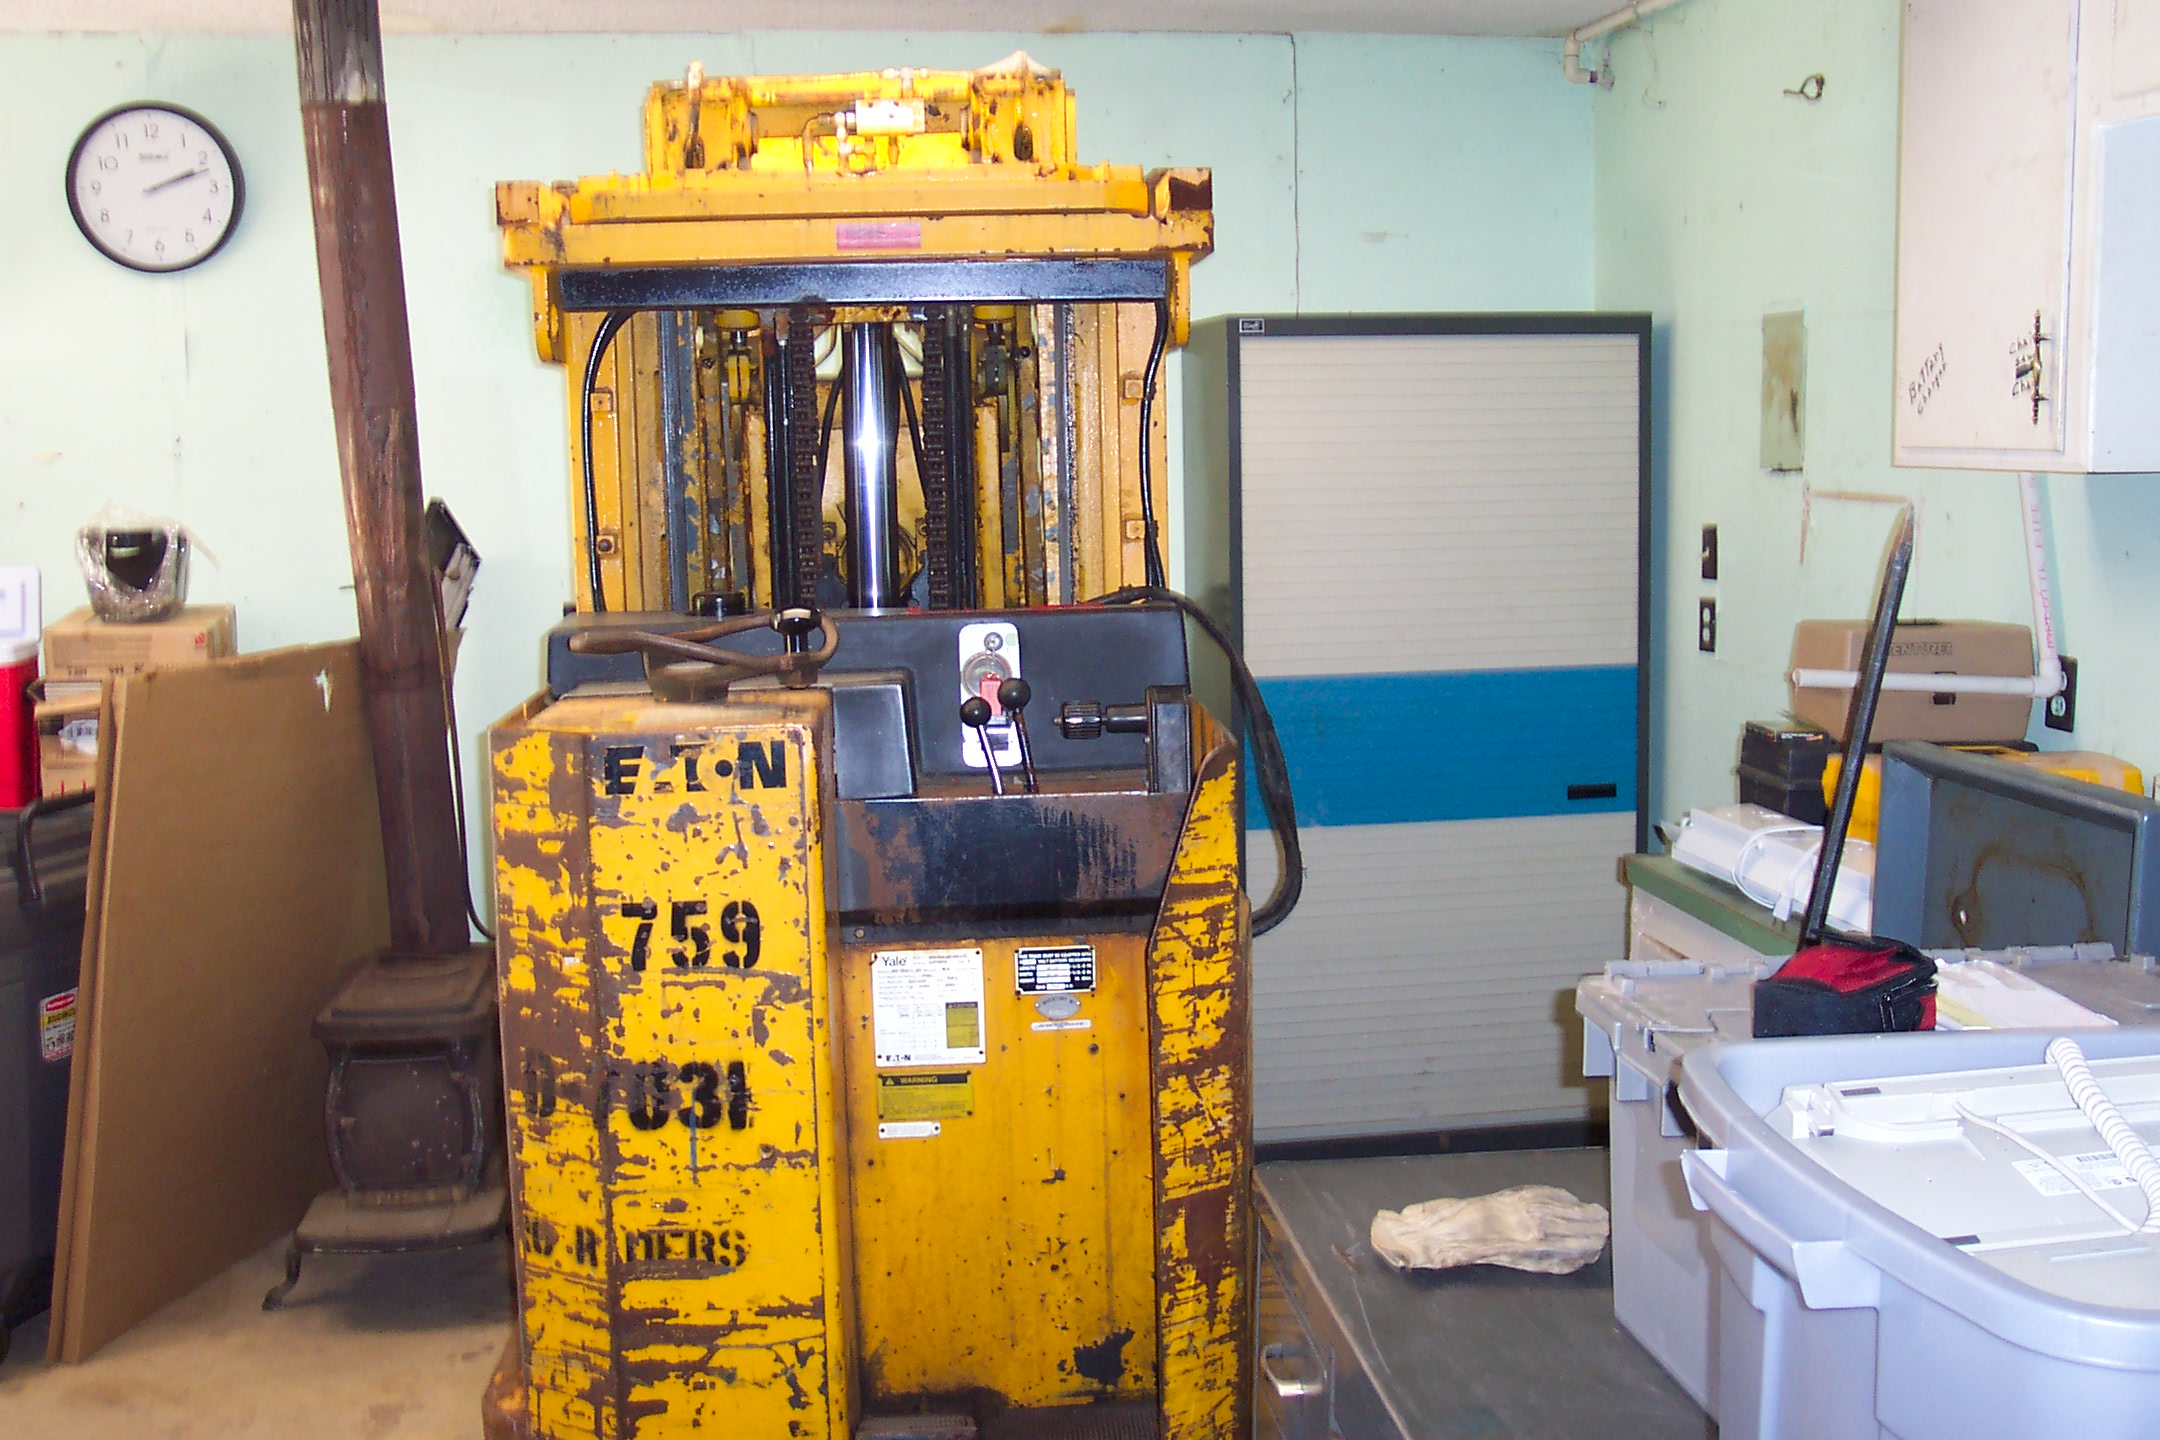
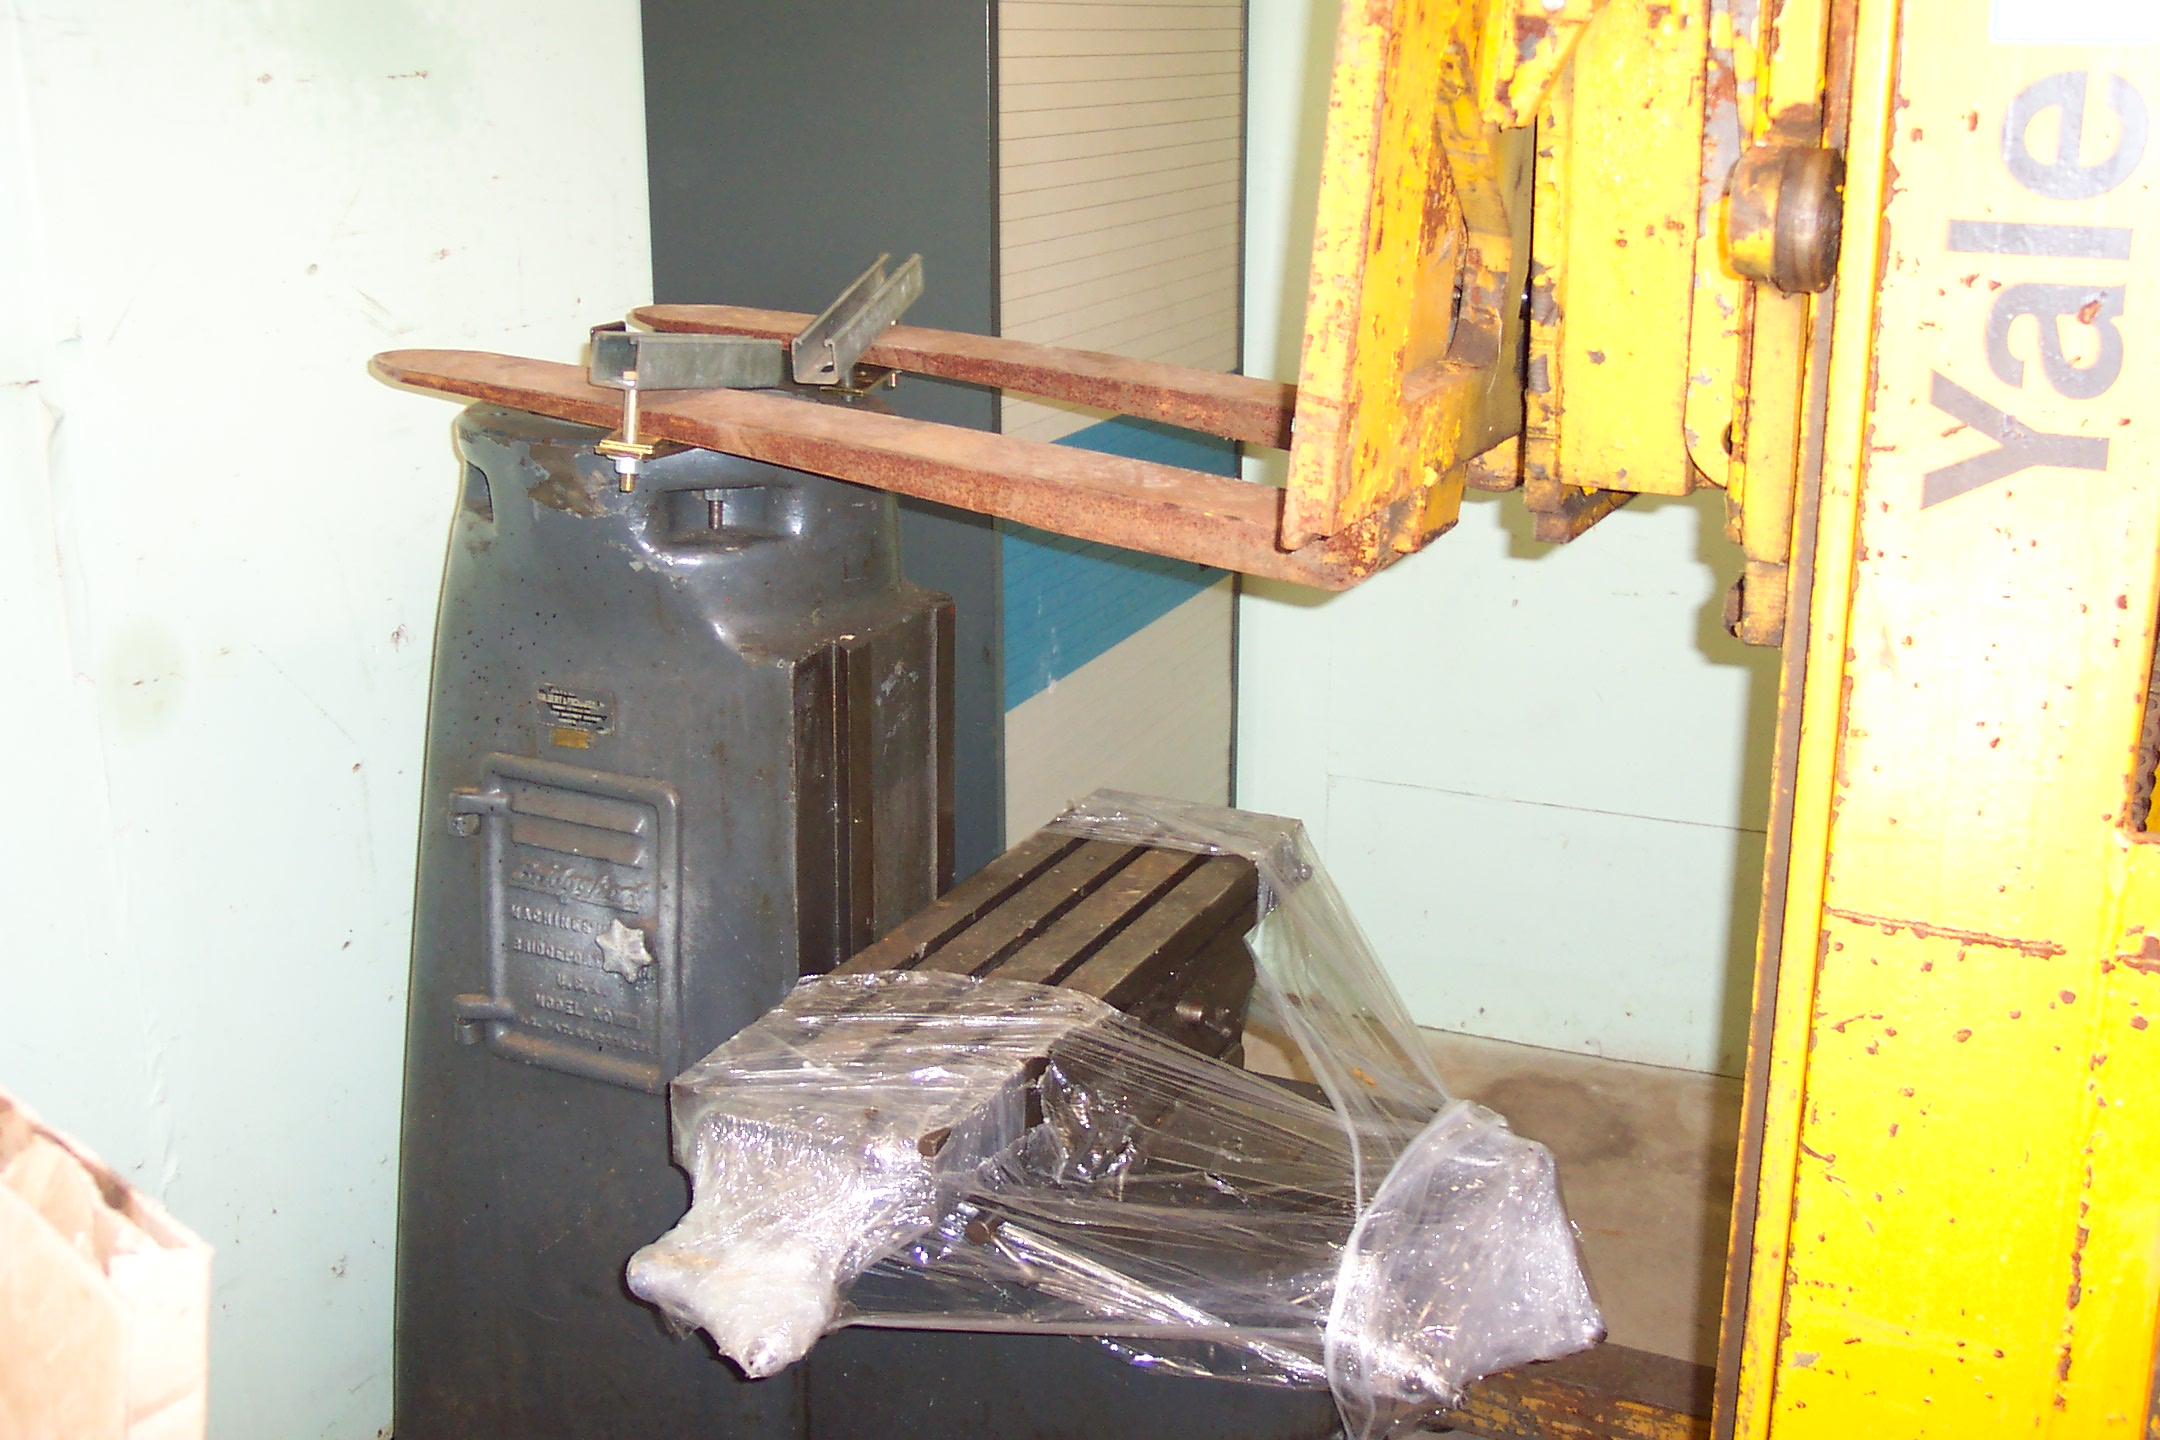
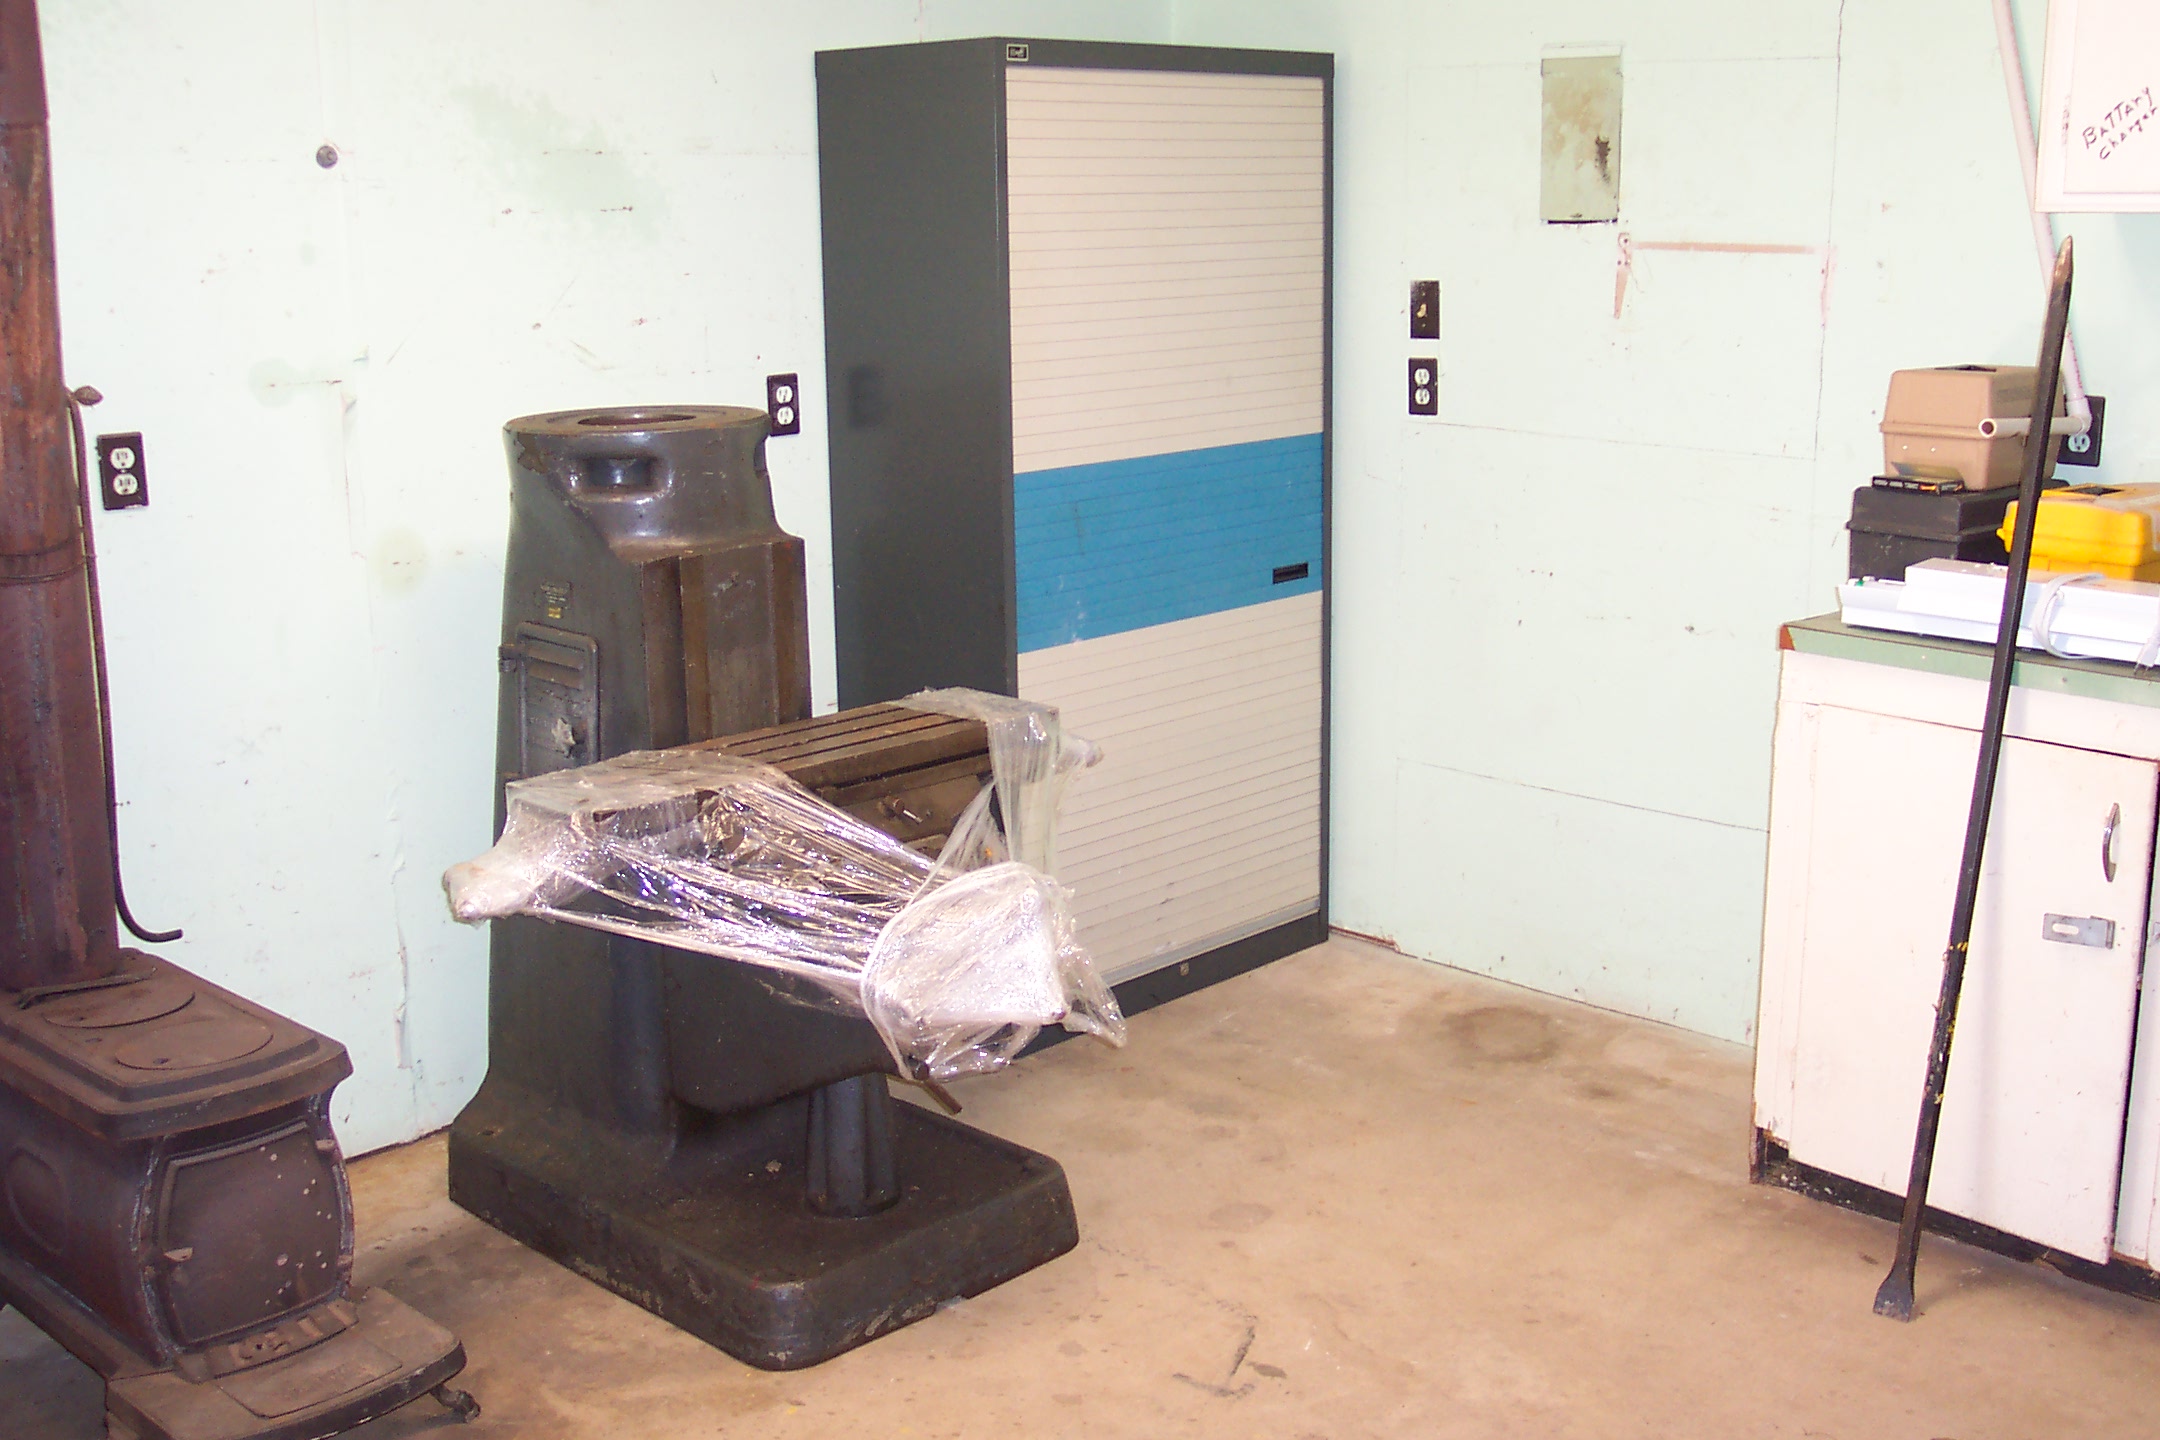
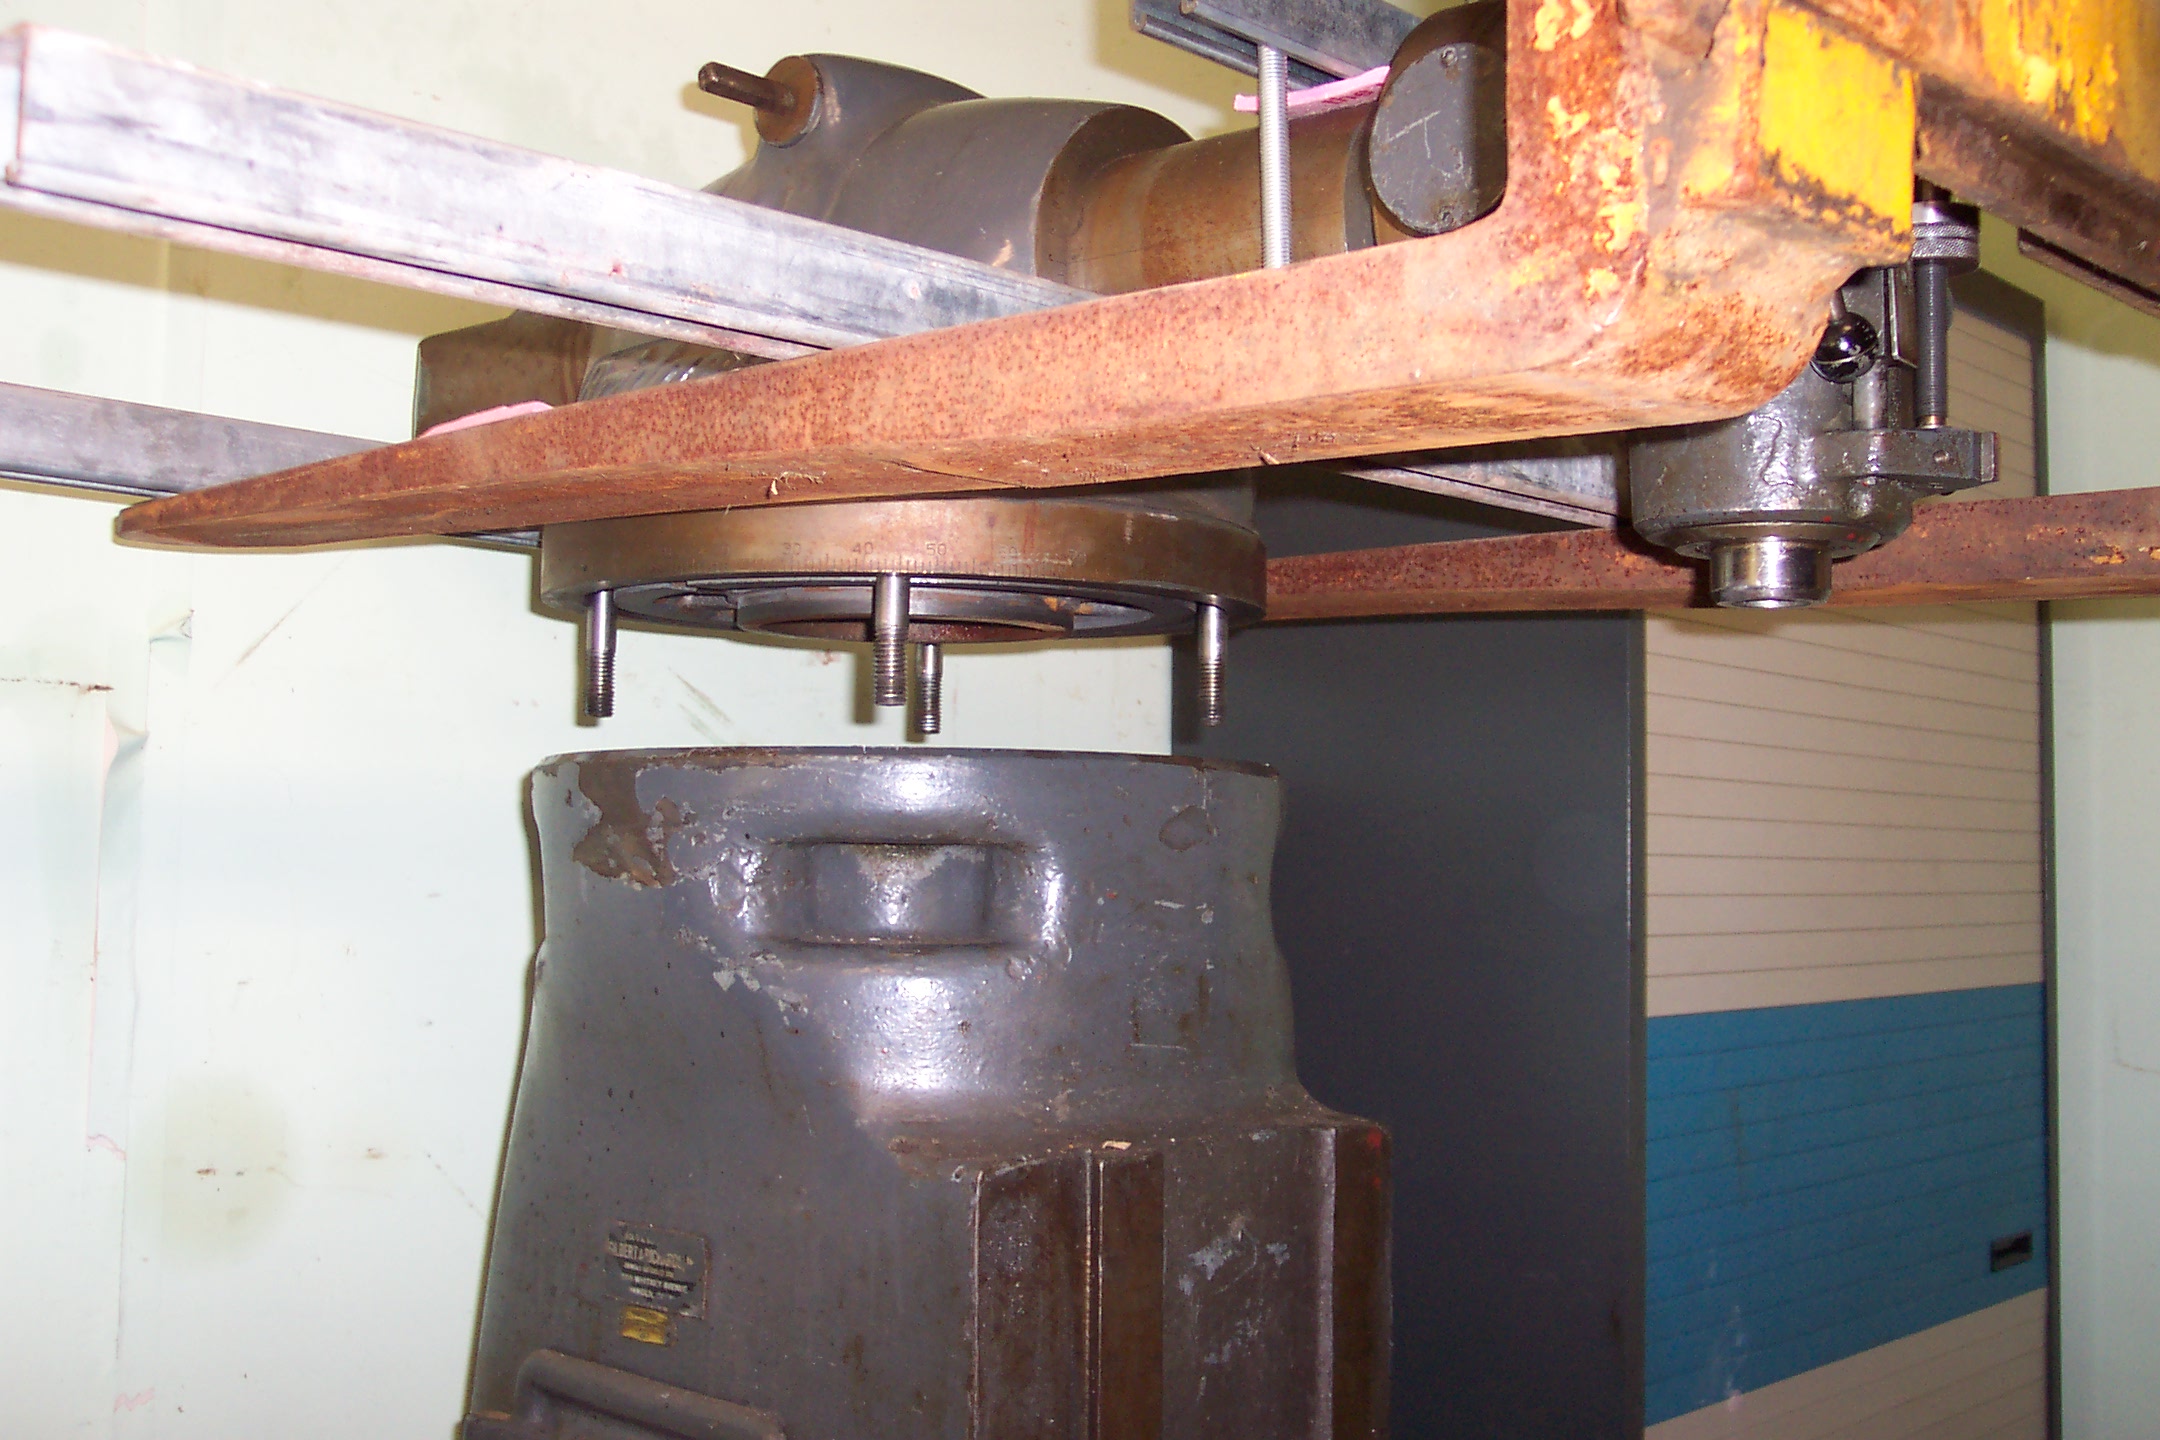
Getting the Bridgeport setup for the carousel project. Work light hung, rotary table mounted, tooling cabinet in corner, tool chest nearby.
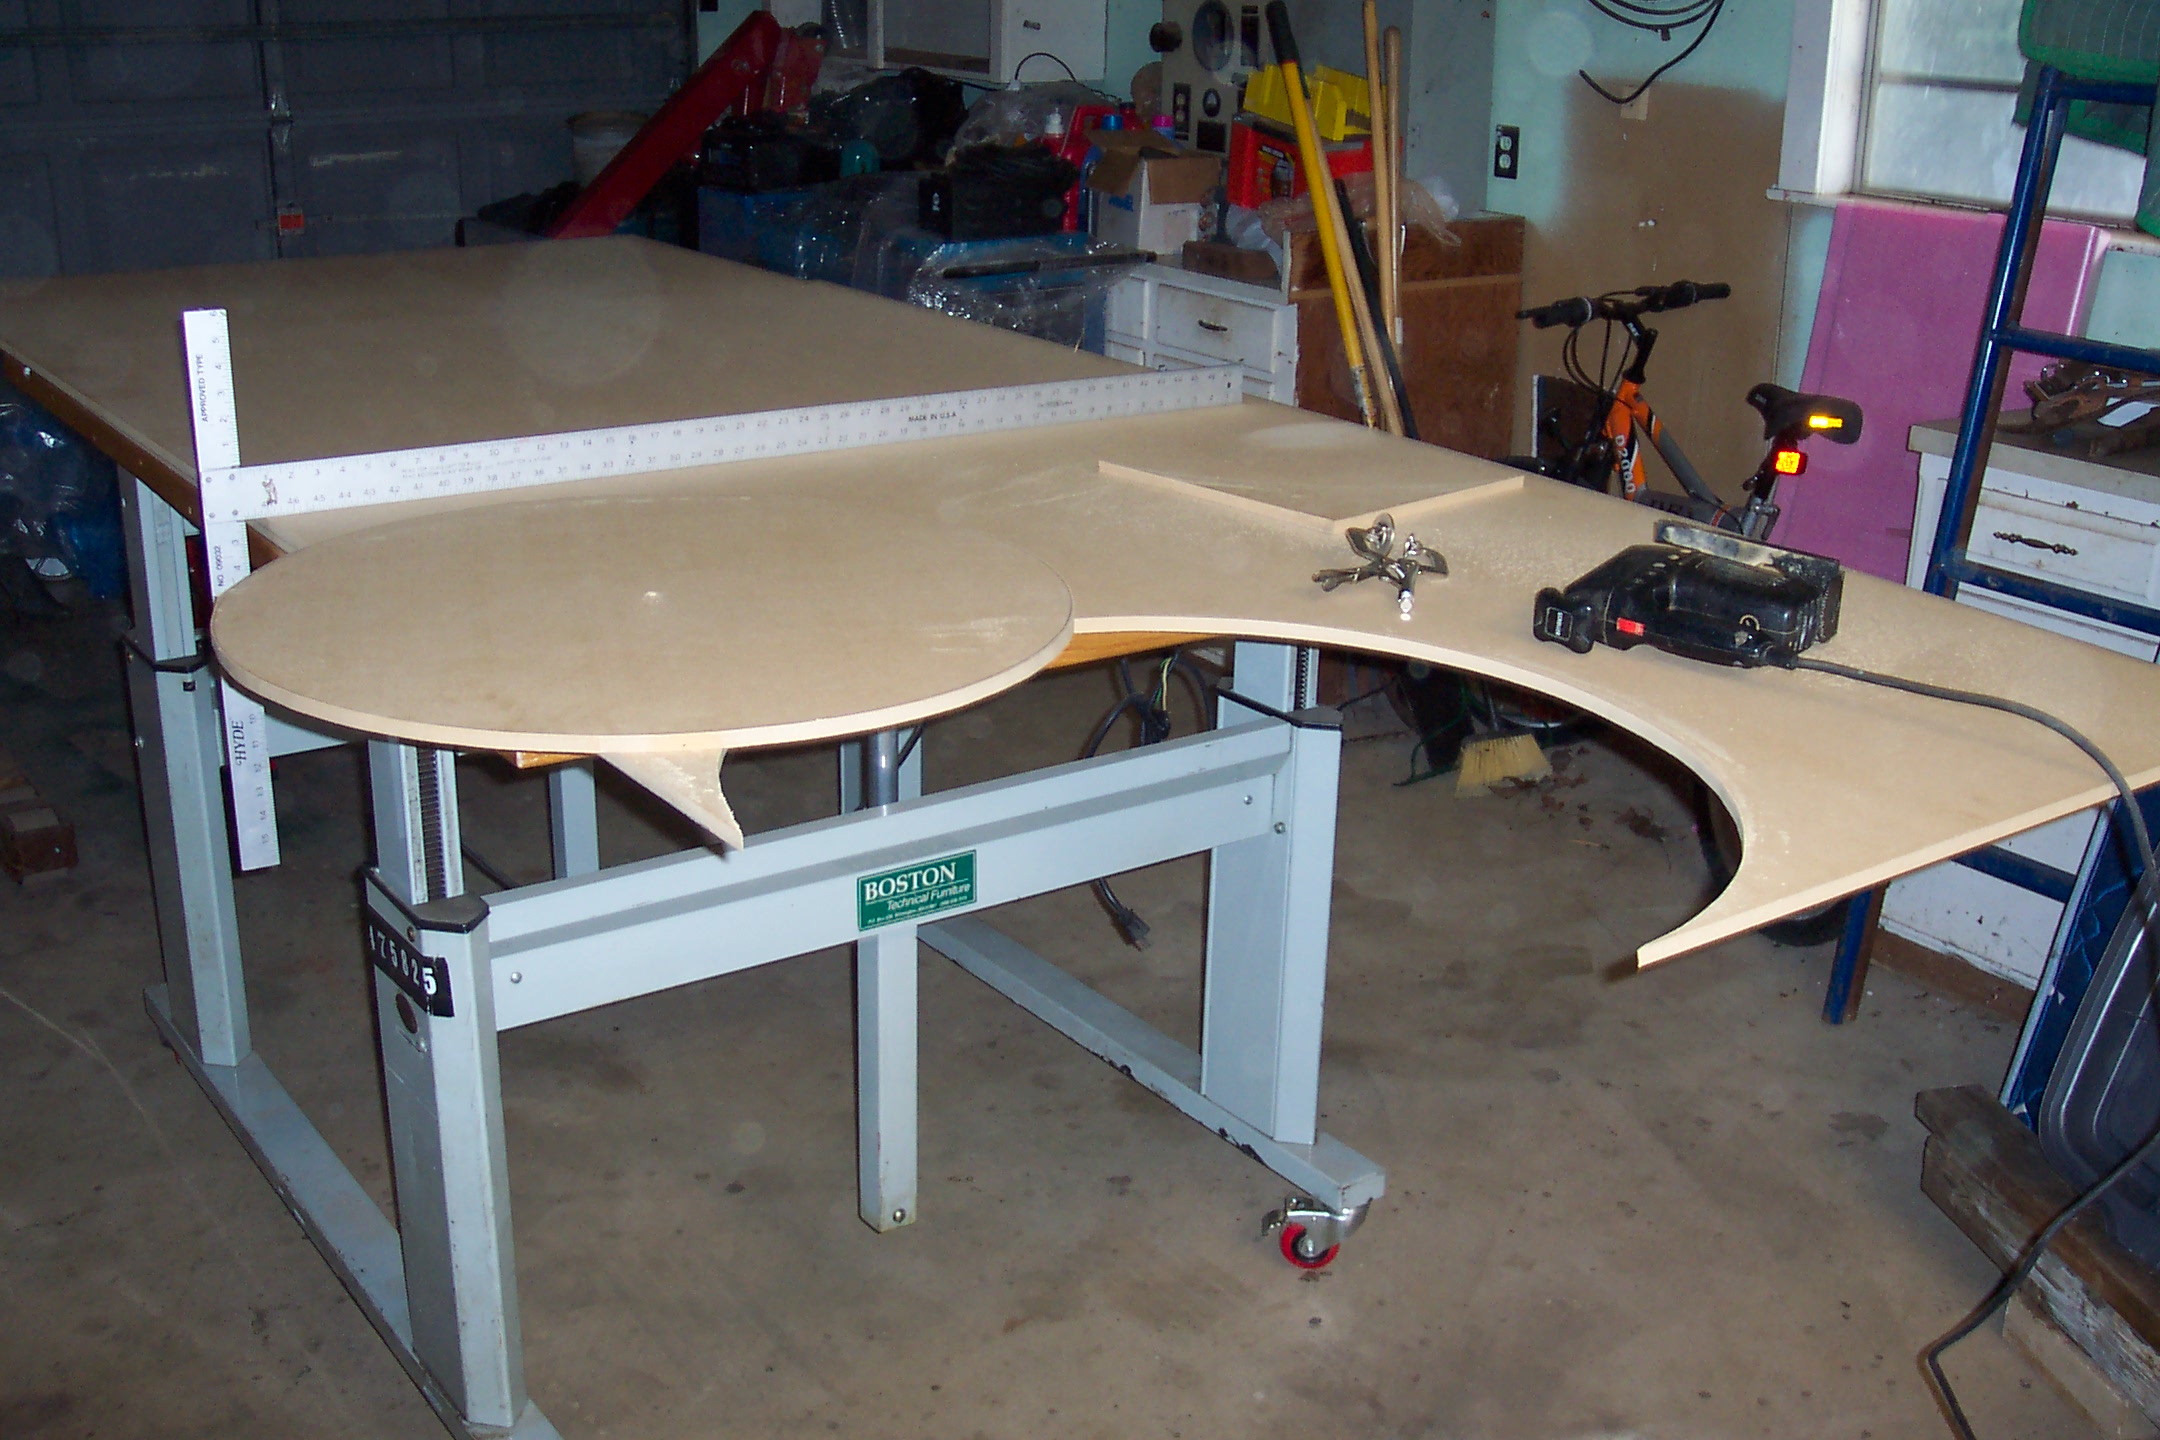
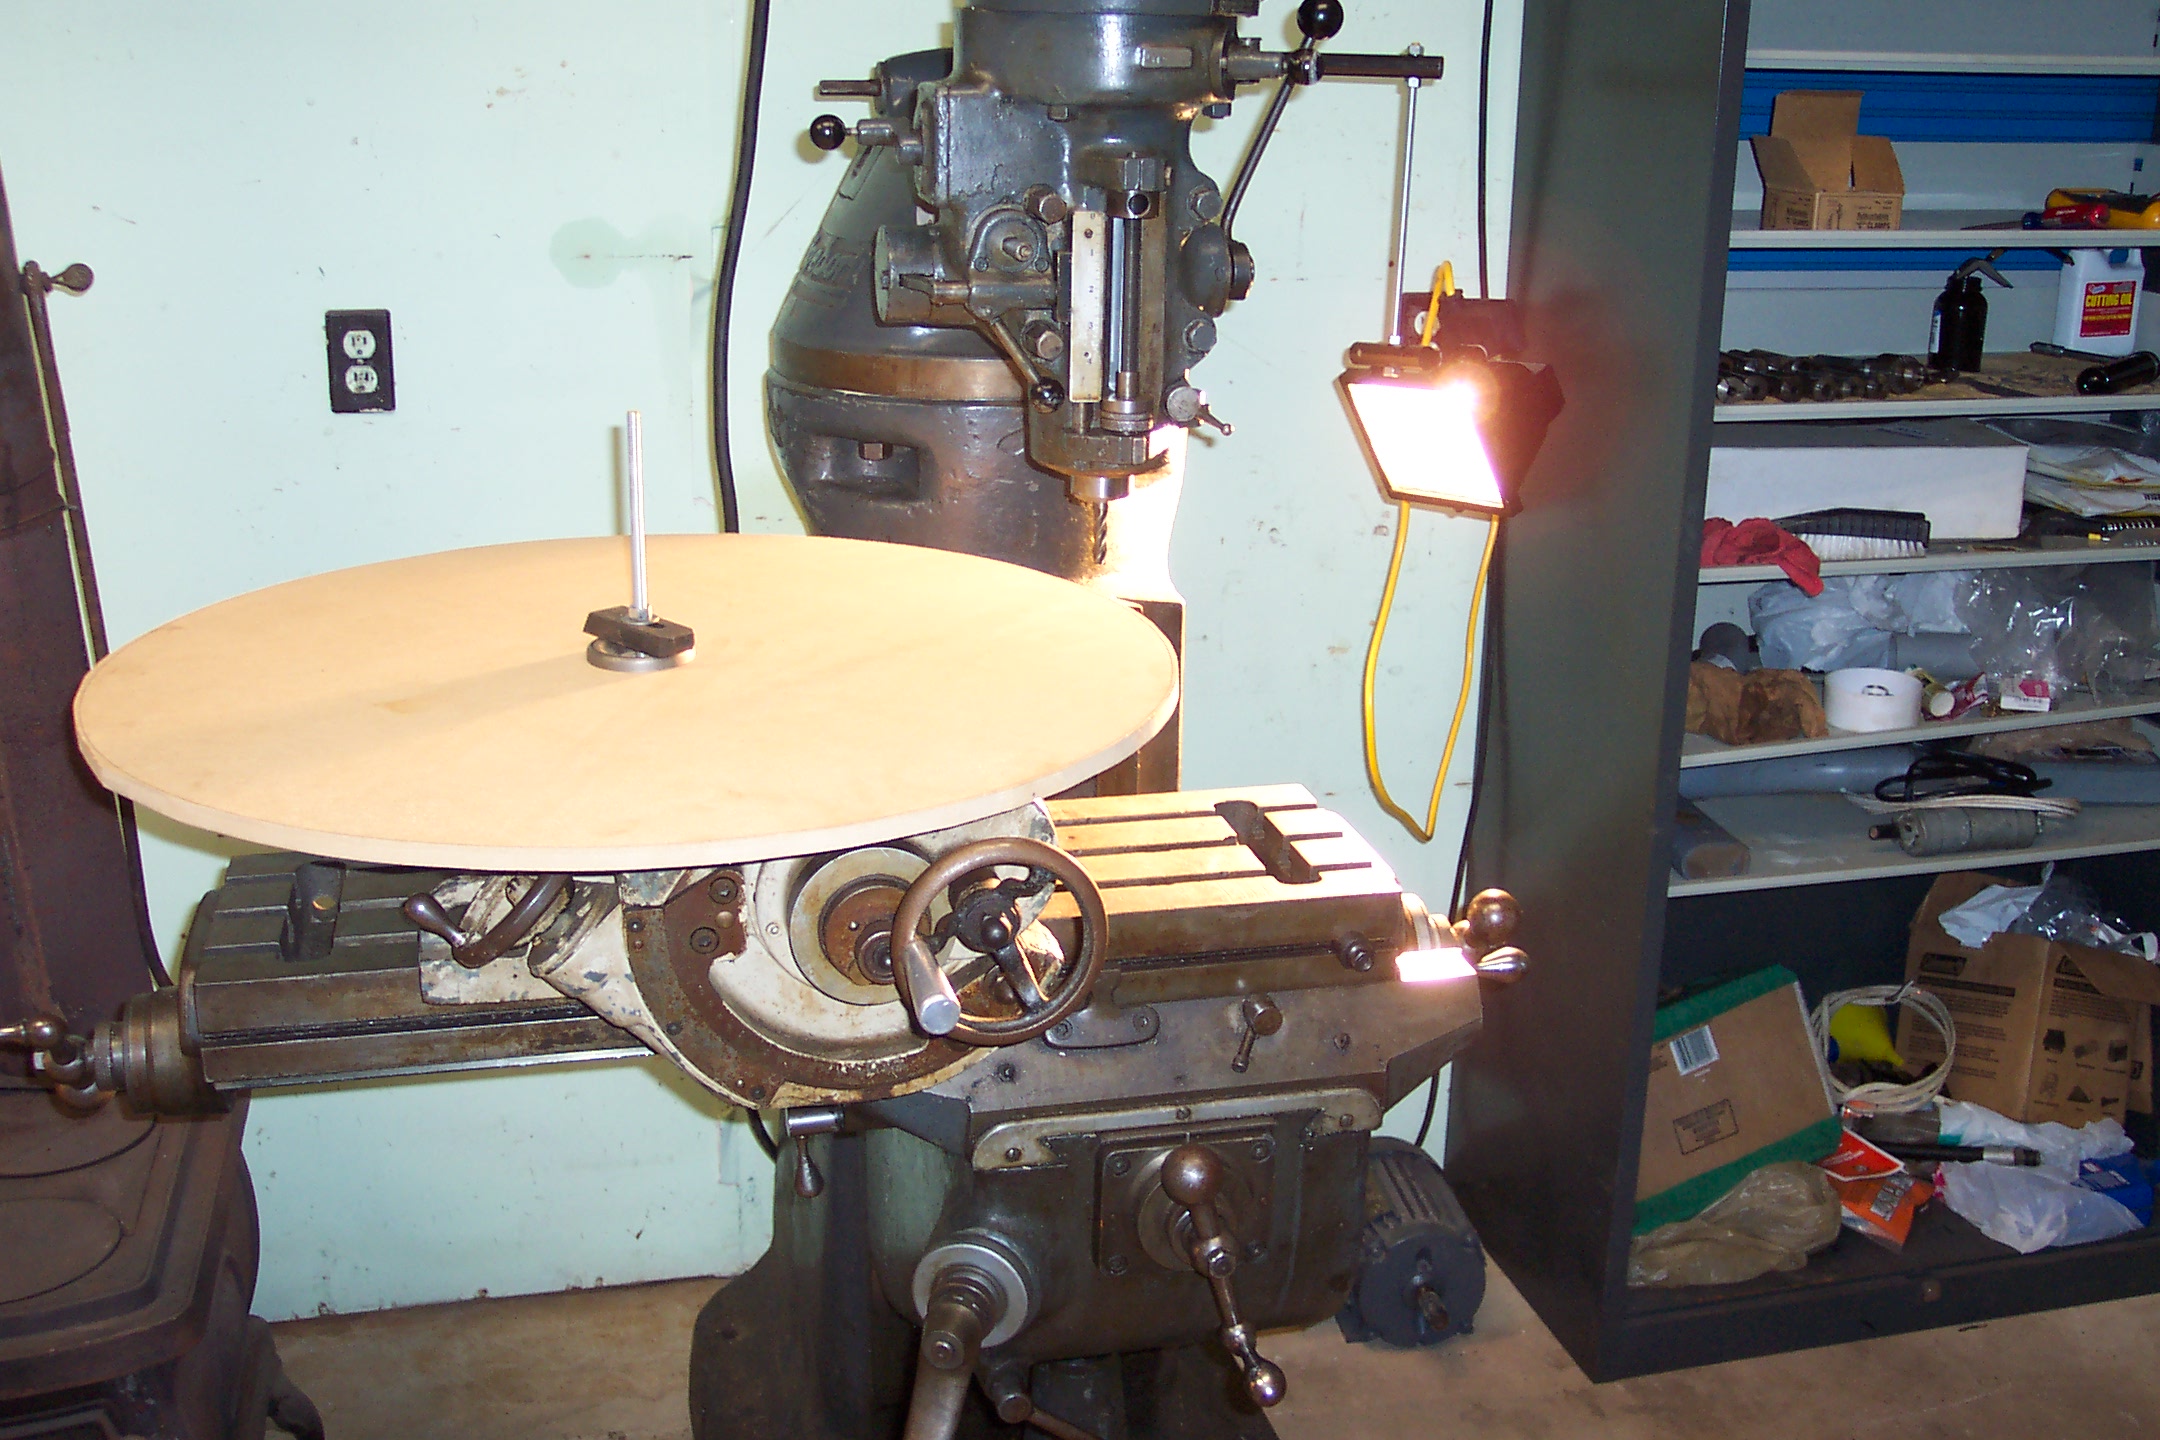
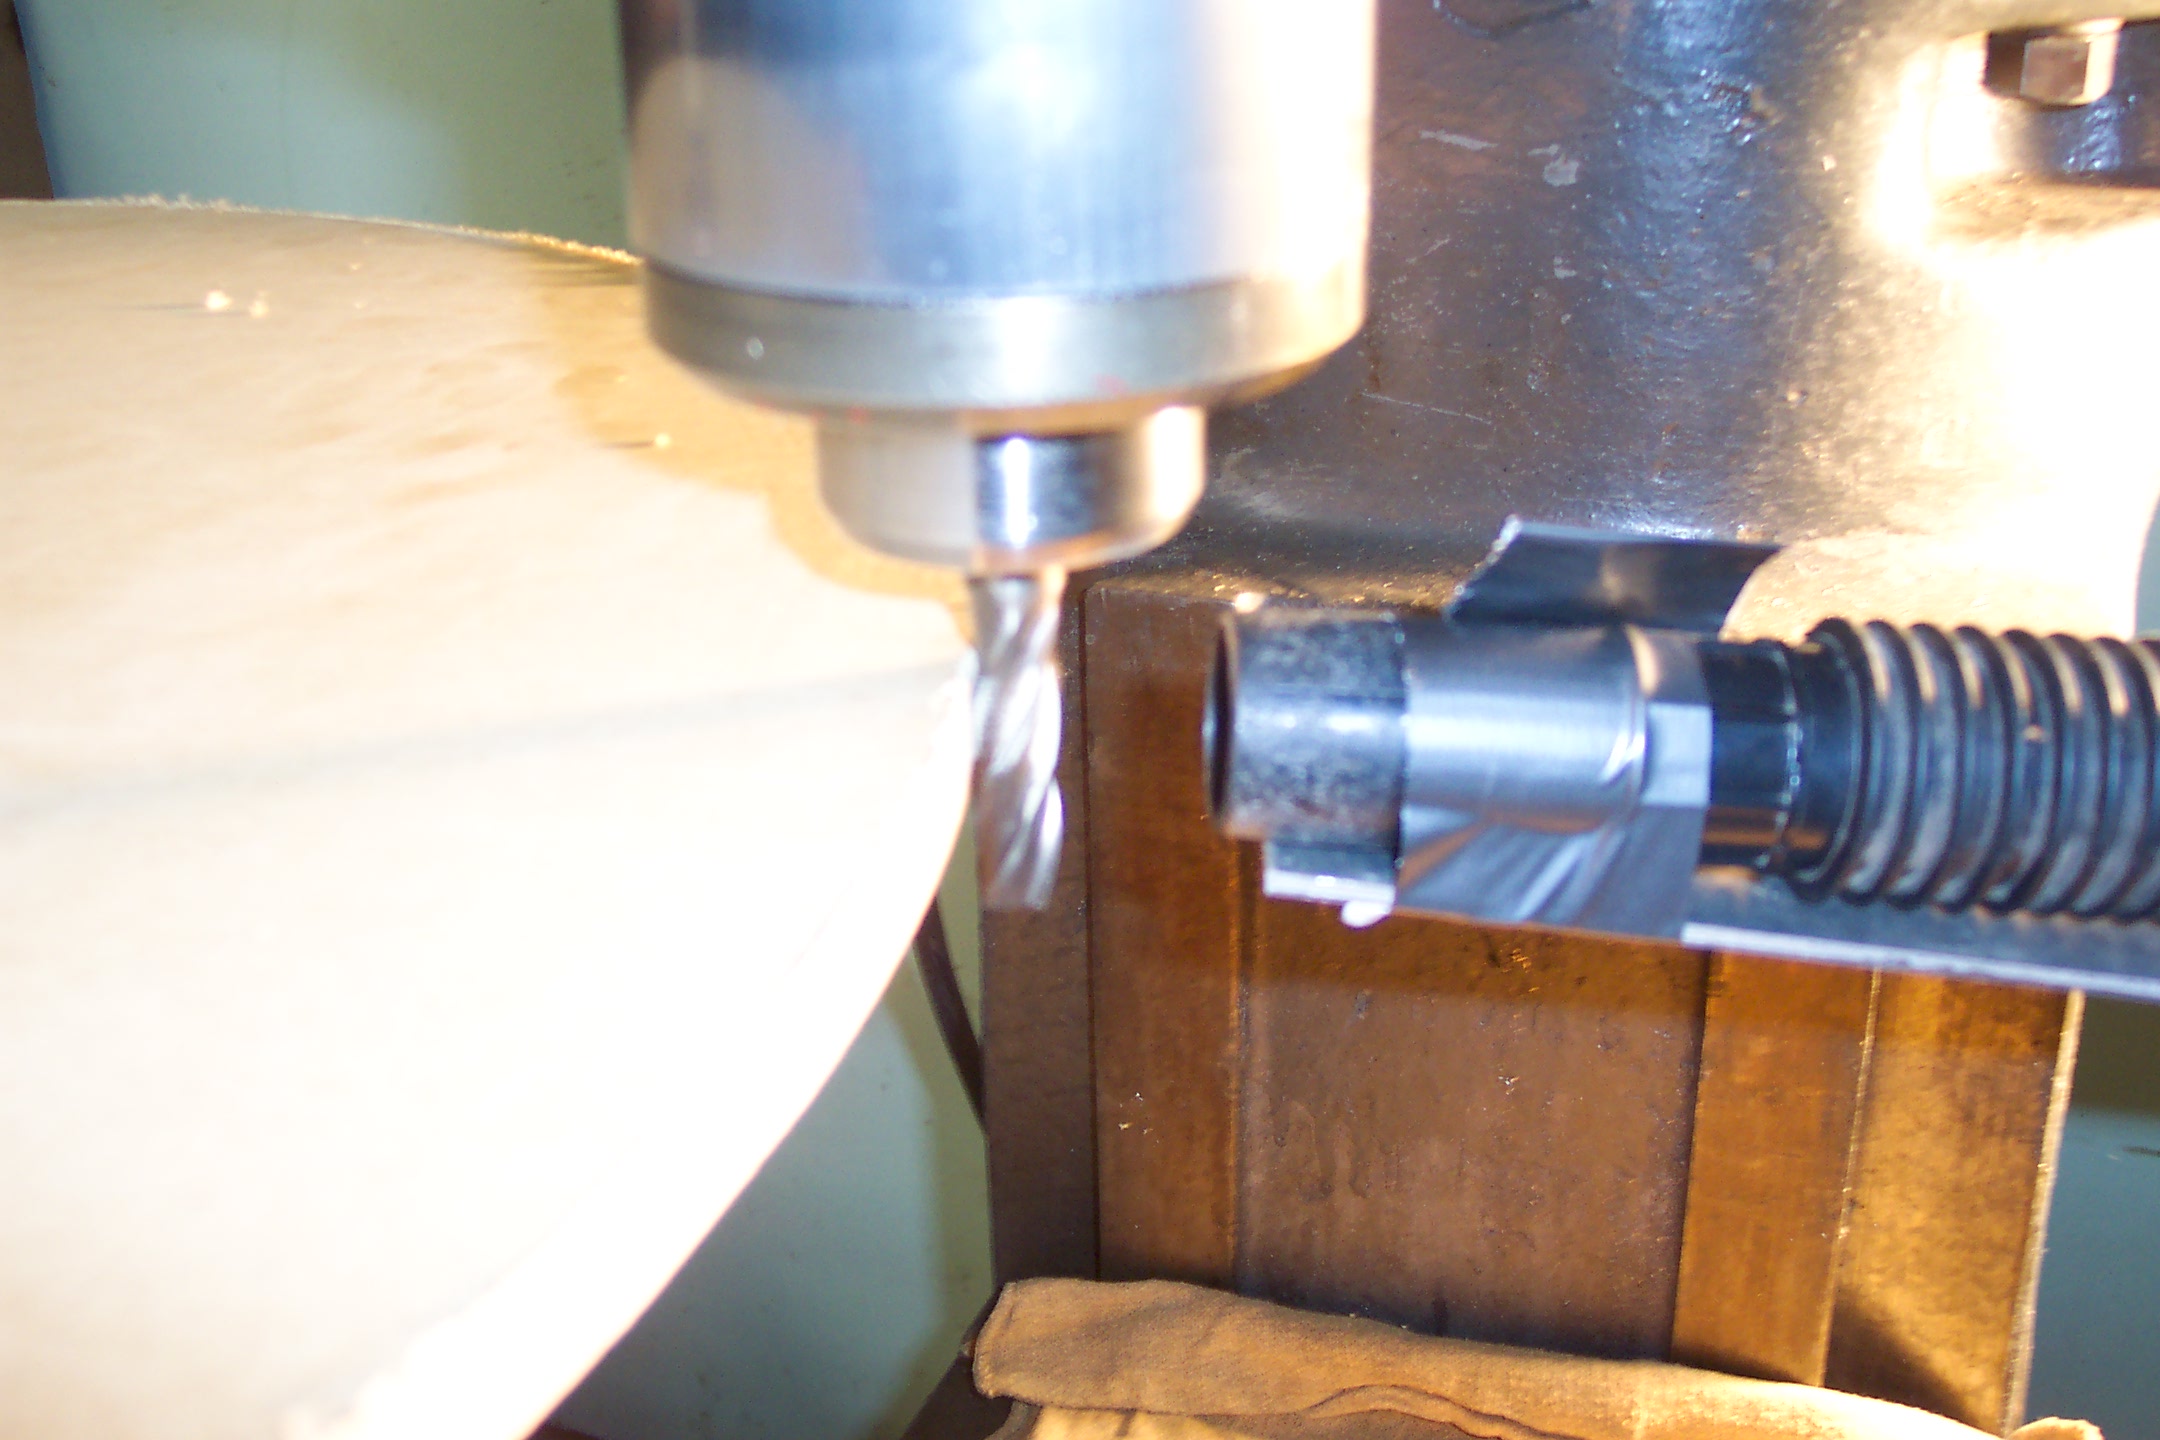
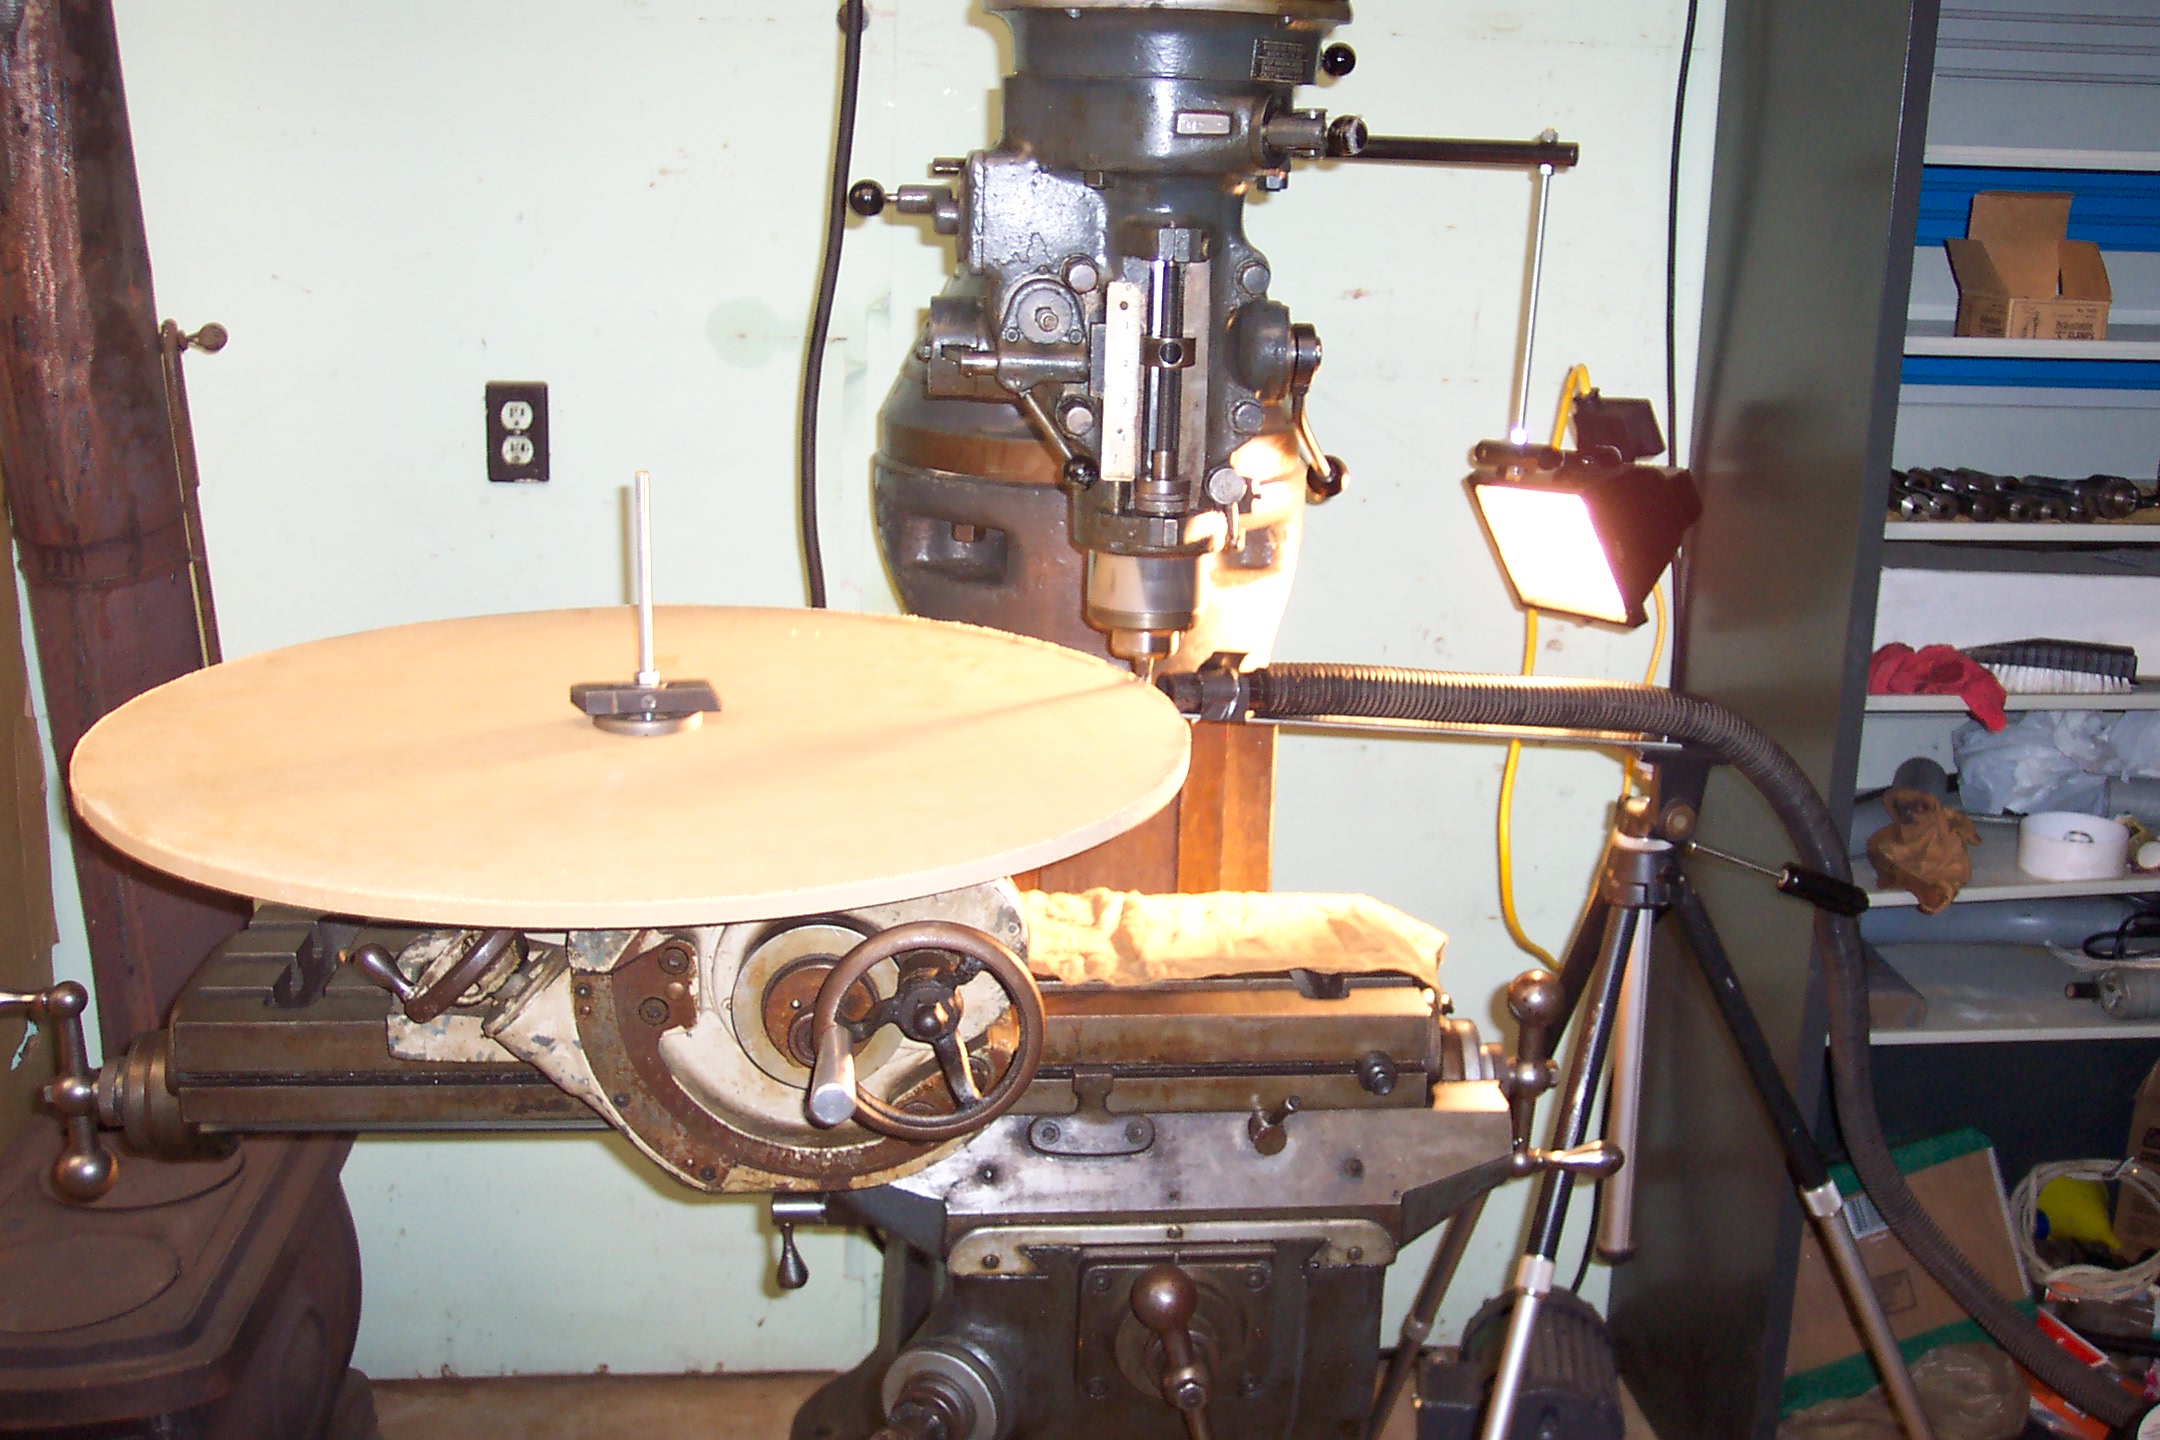
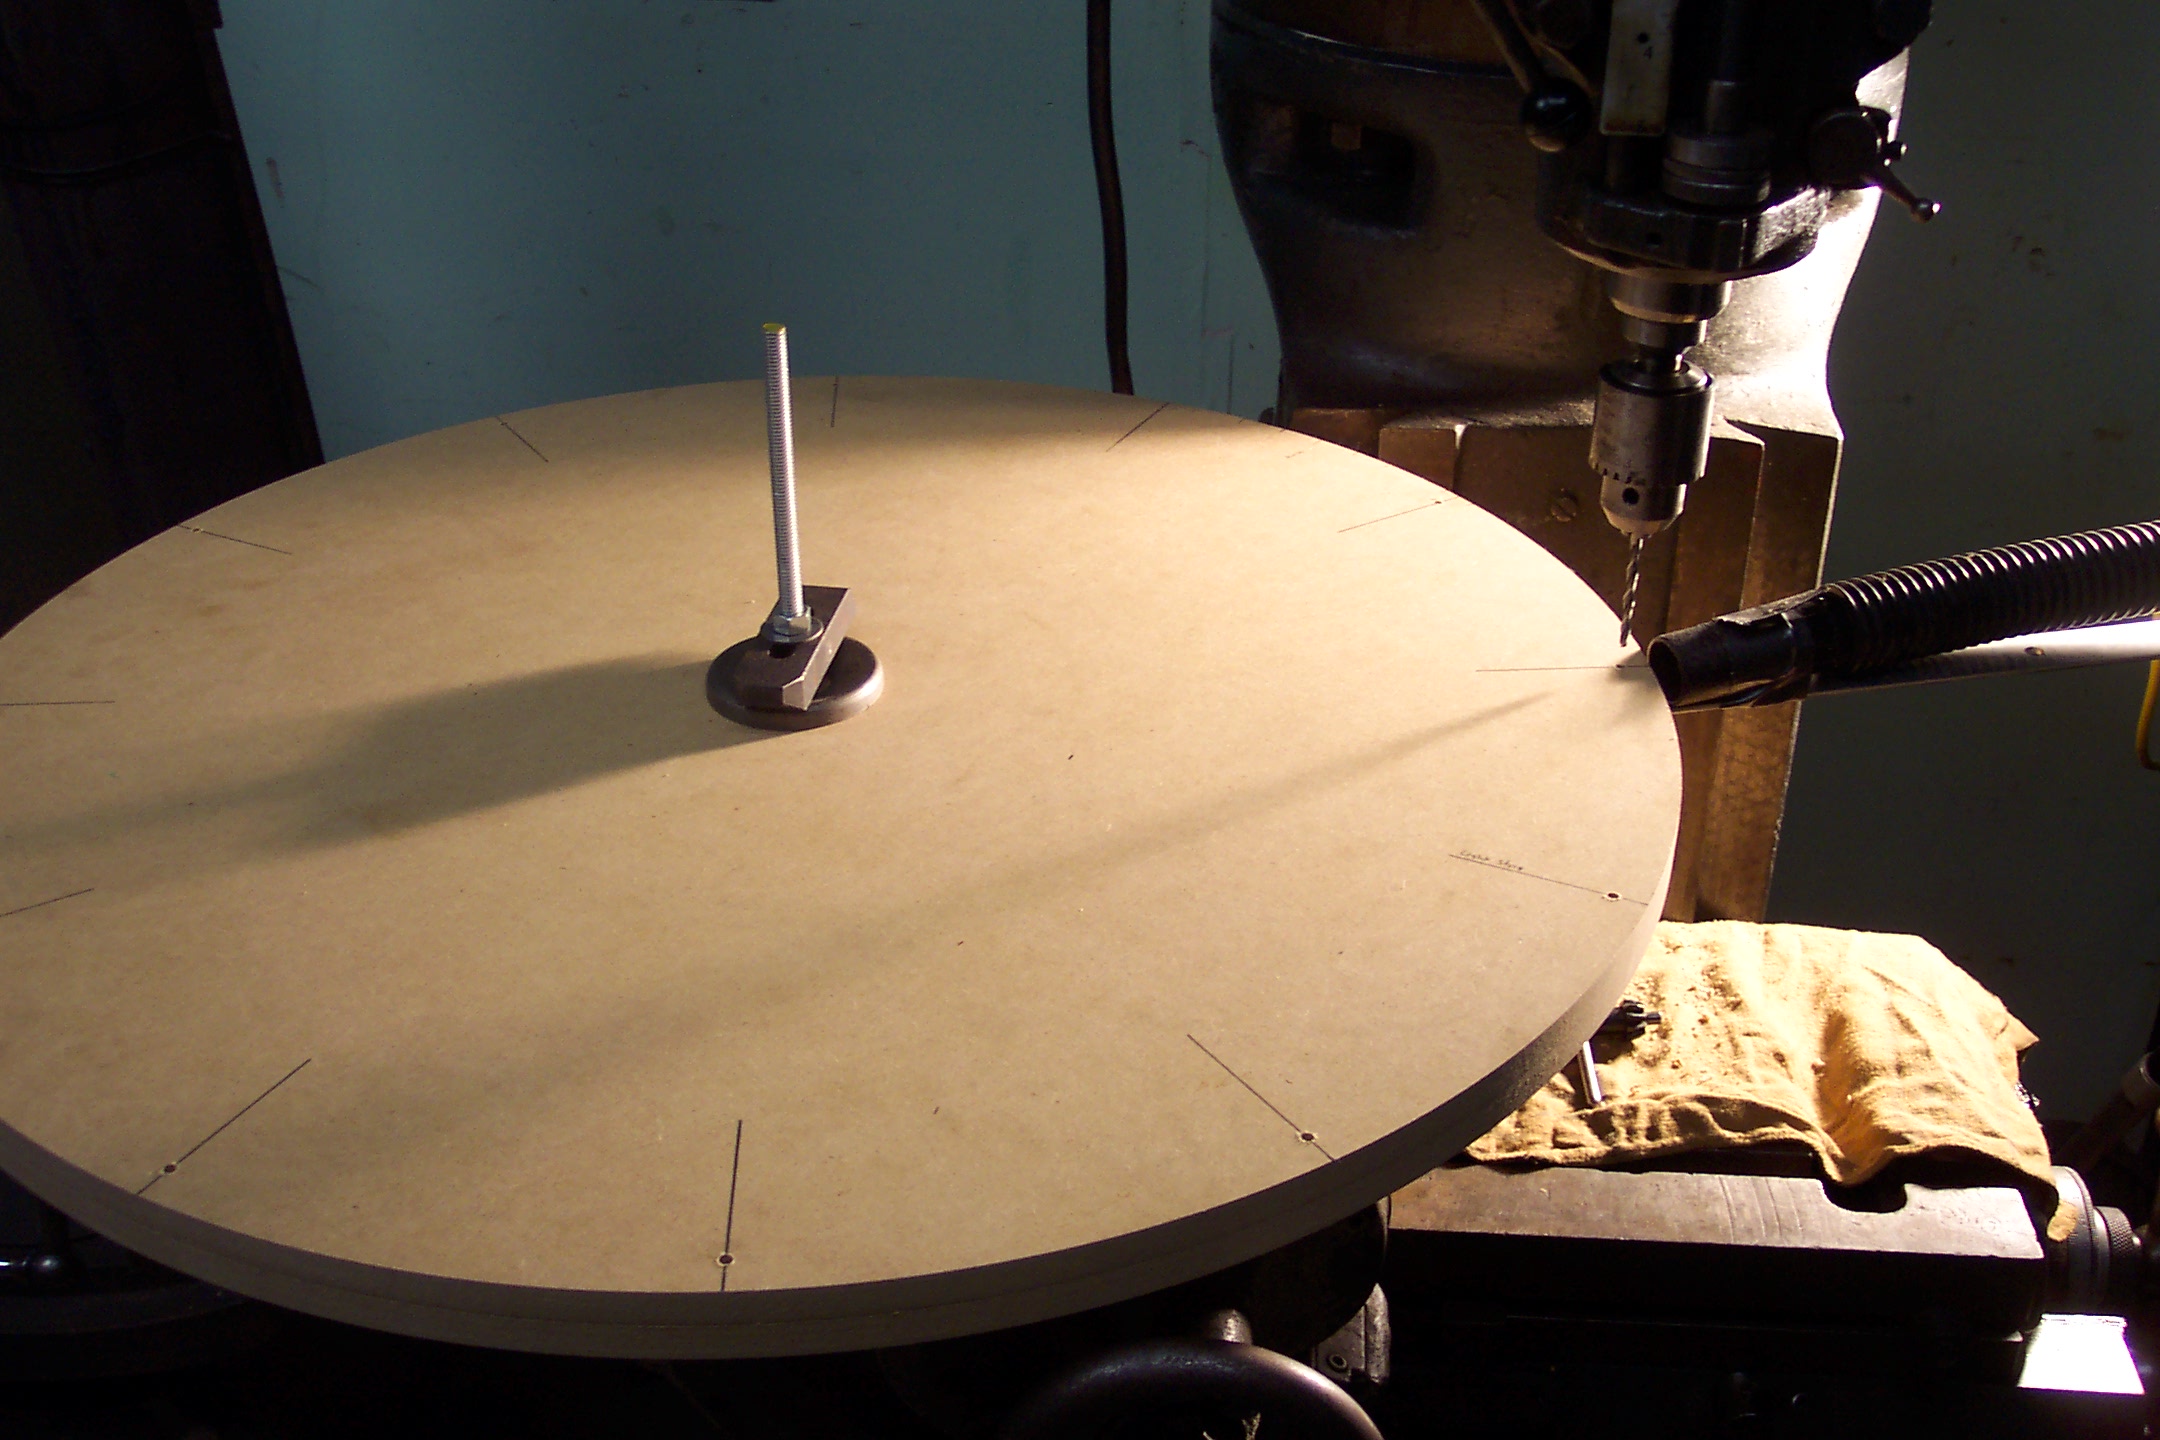
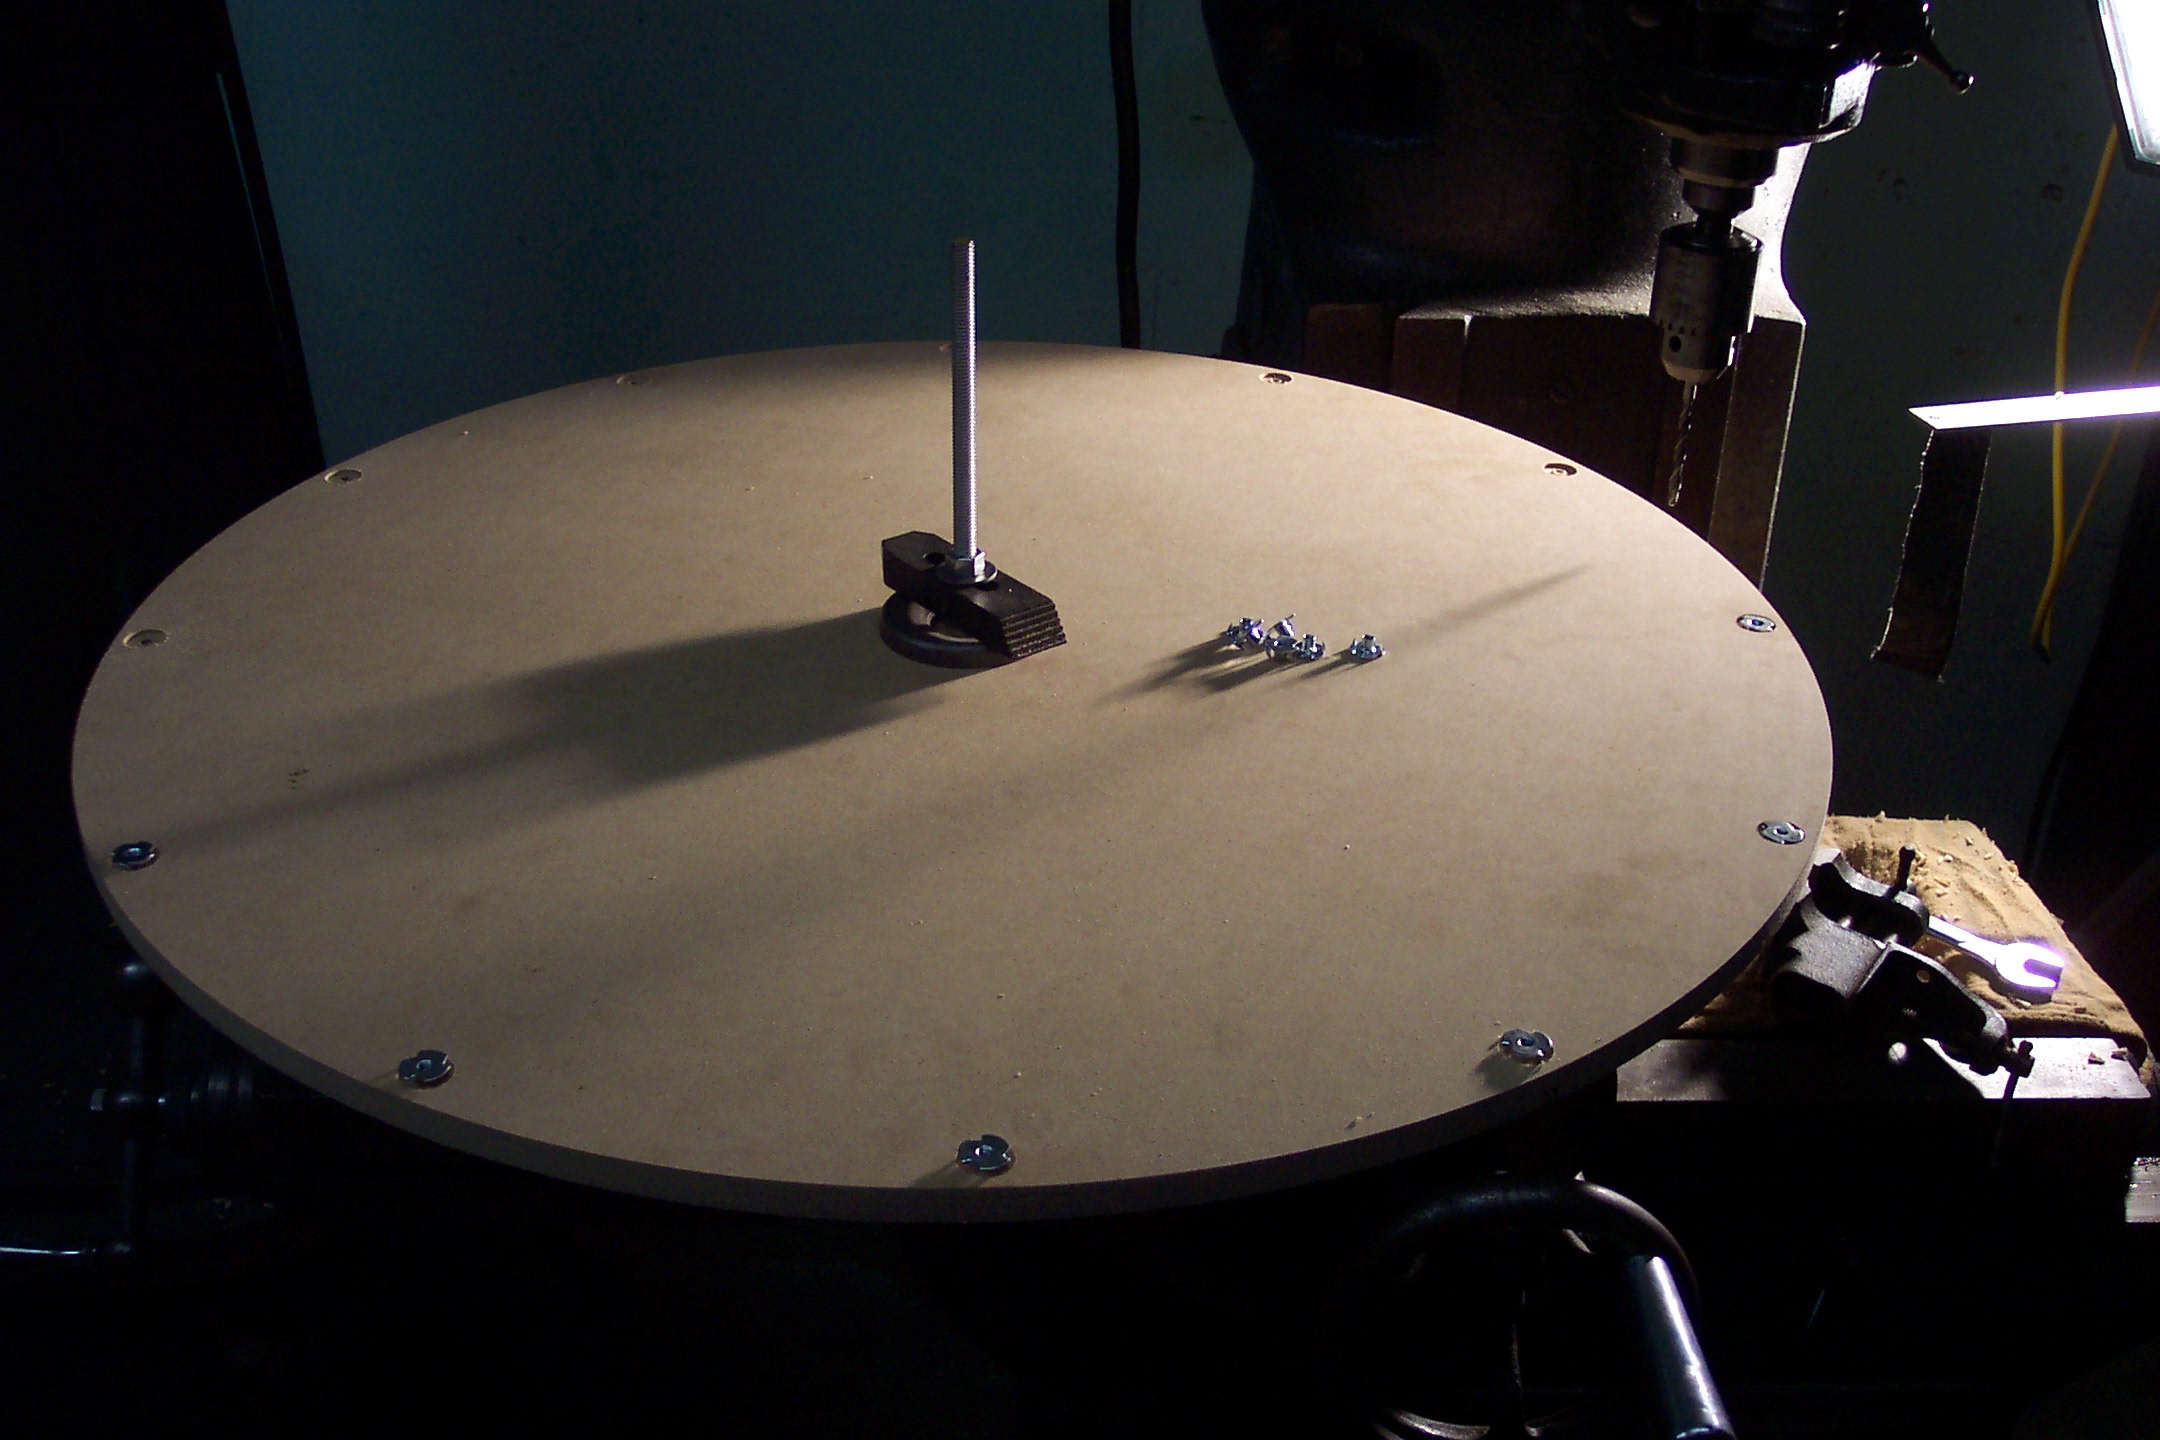
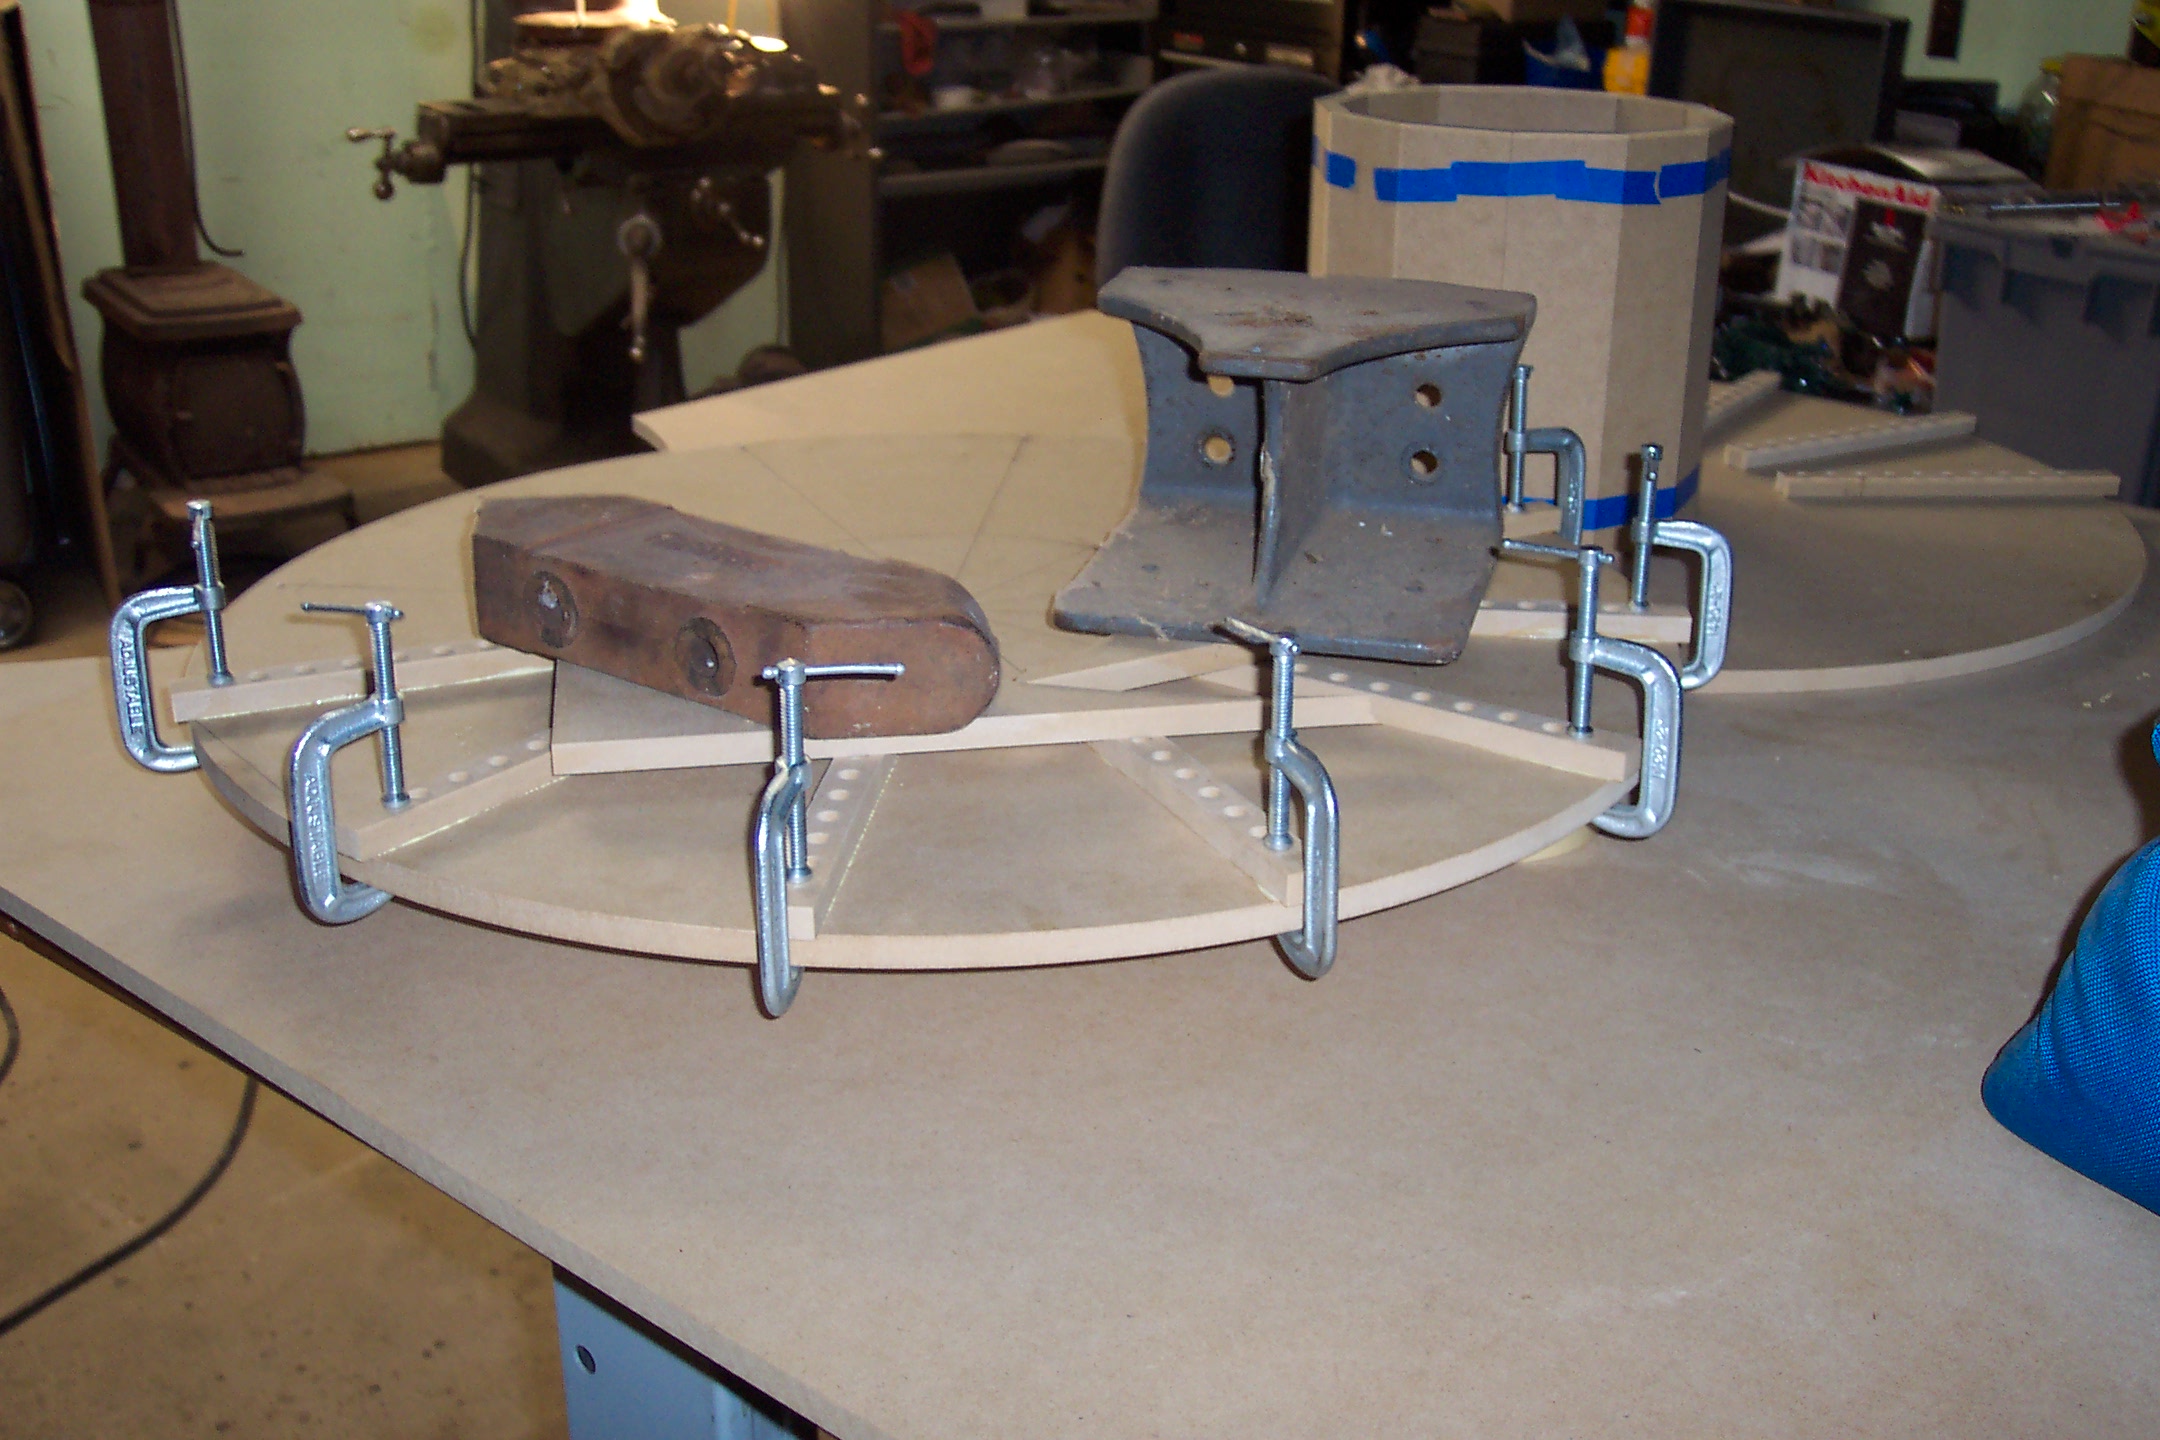
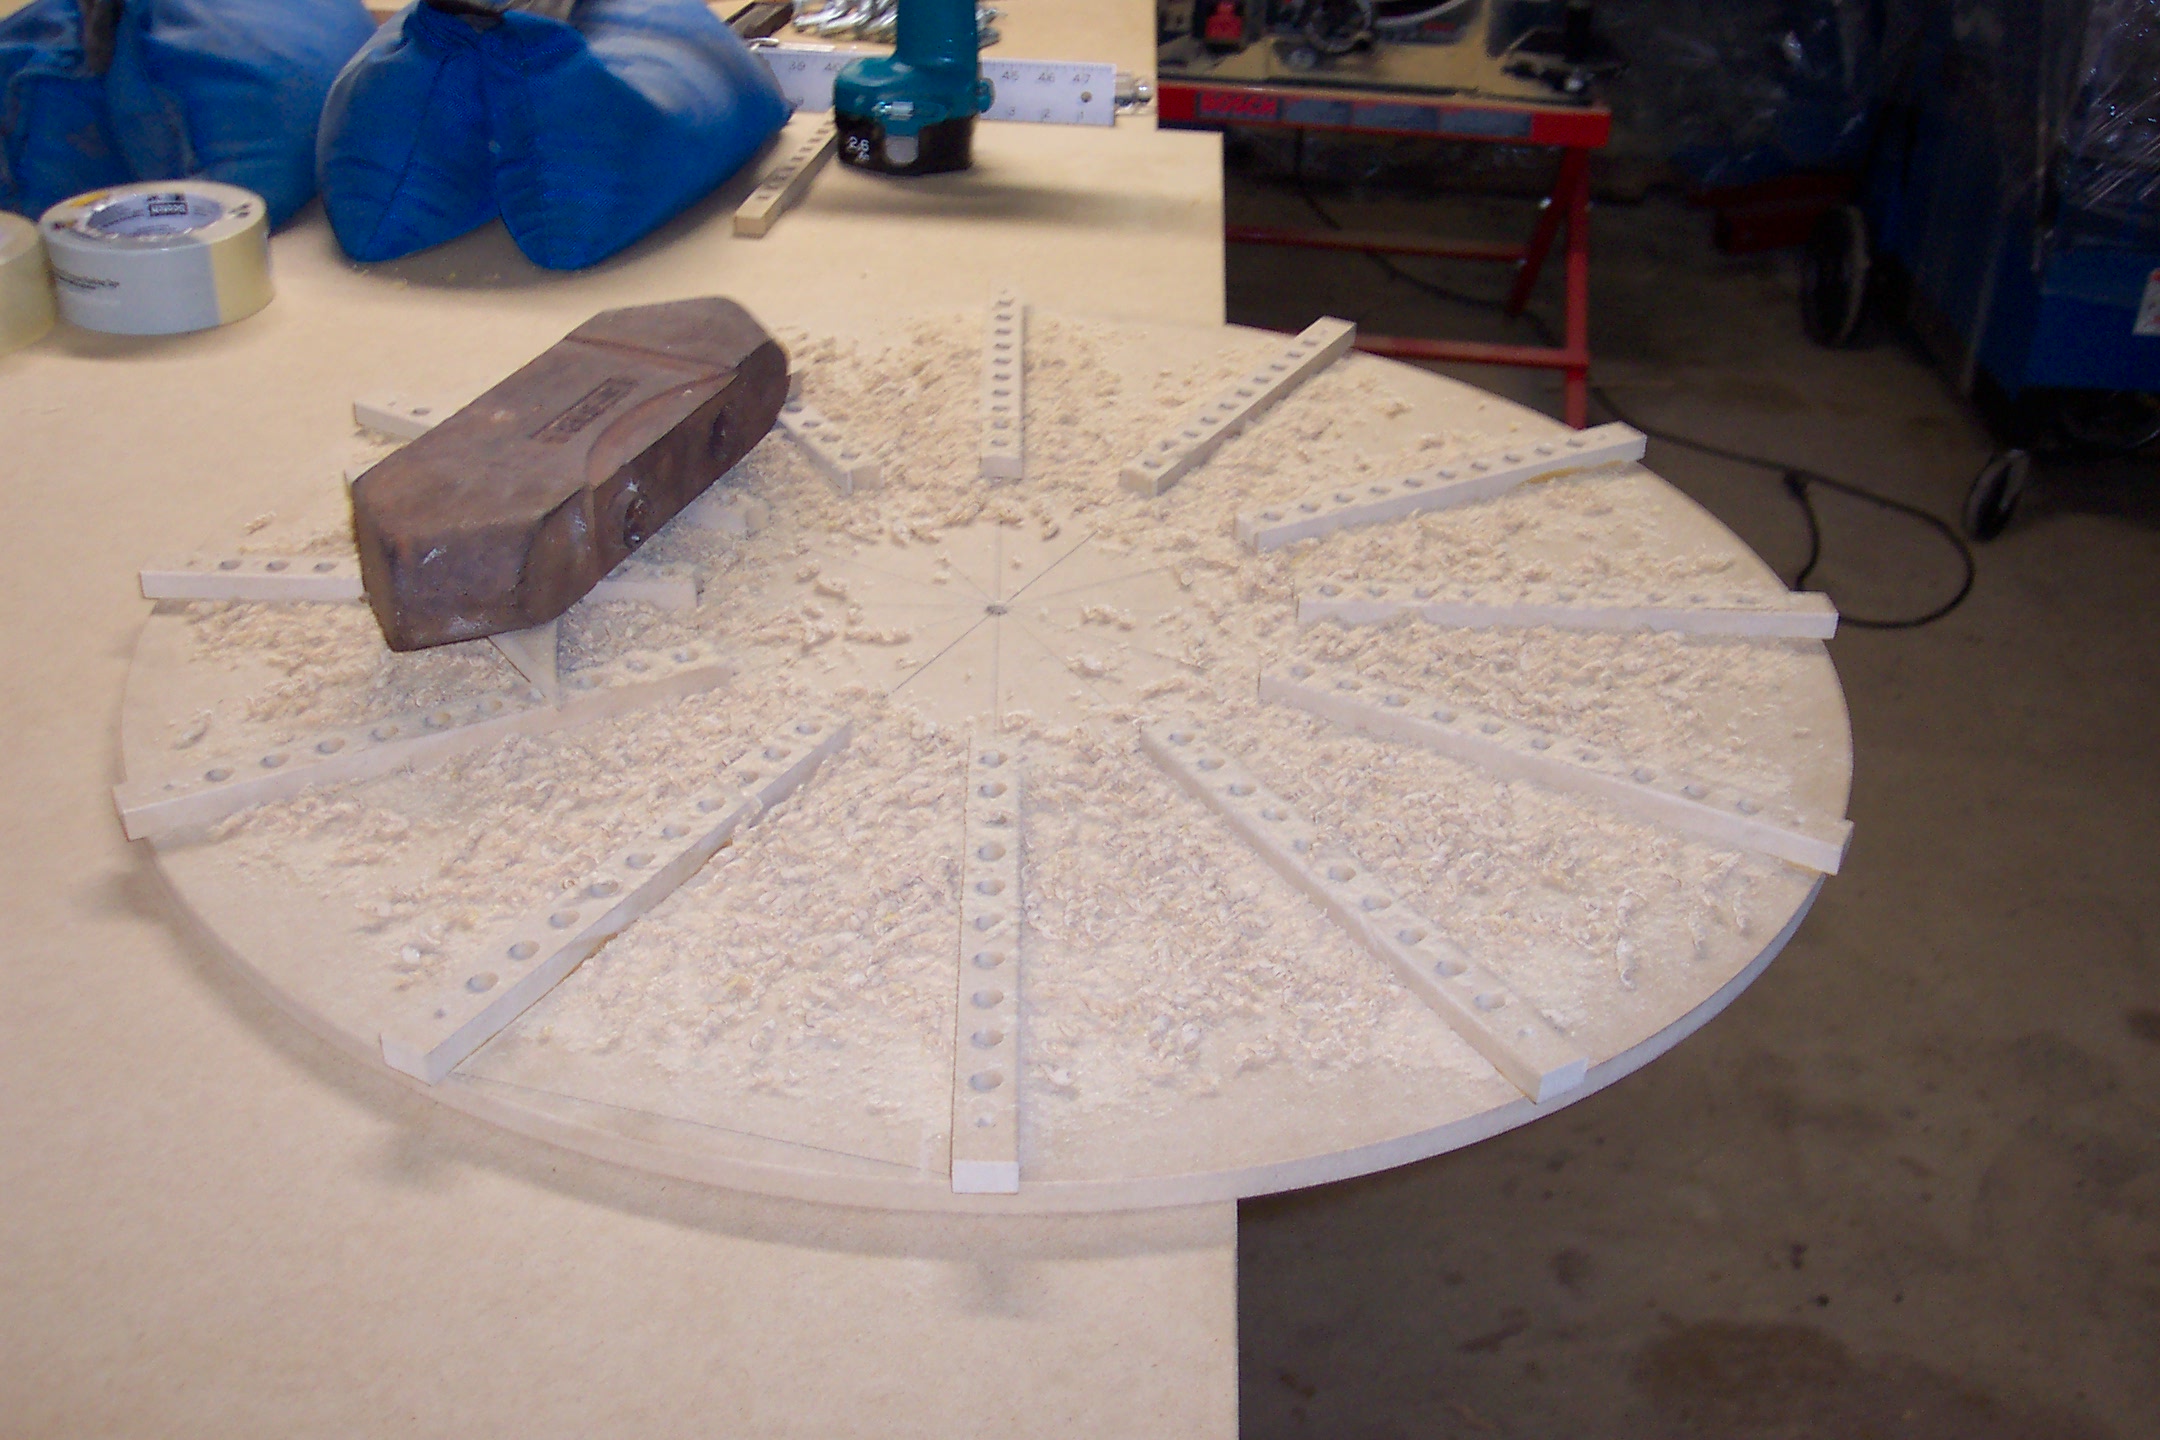
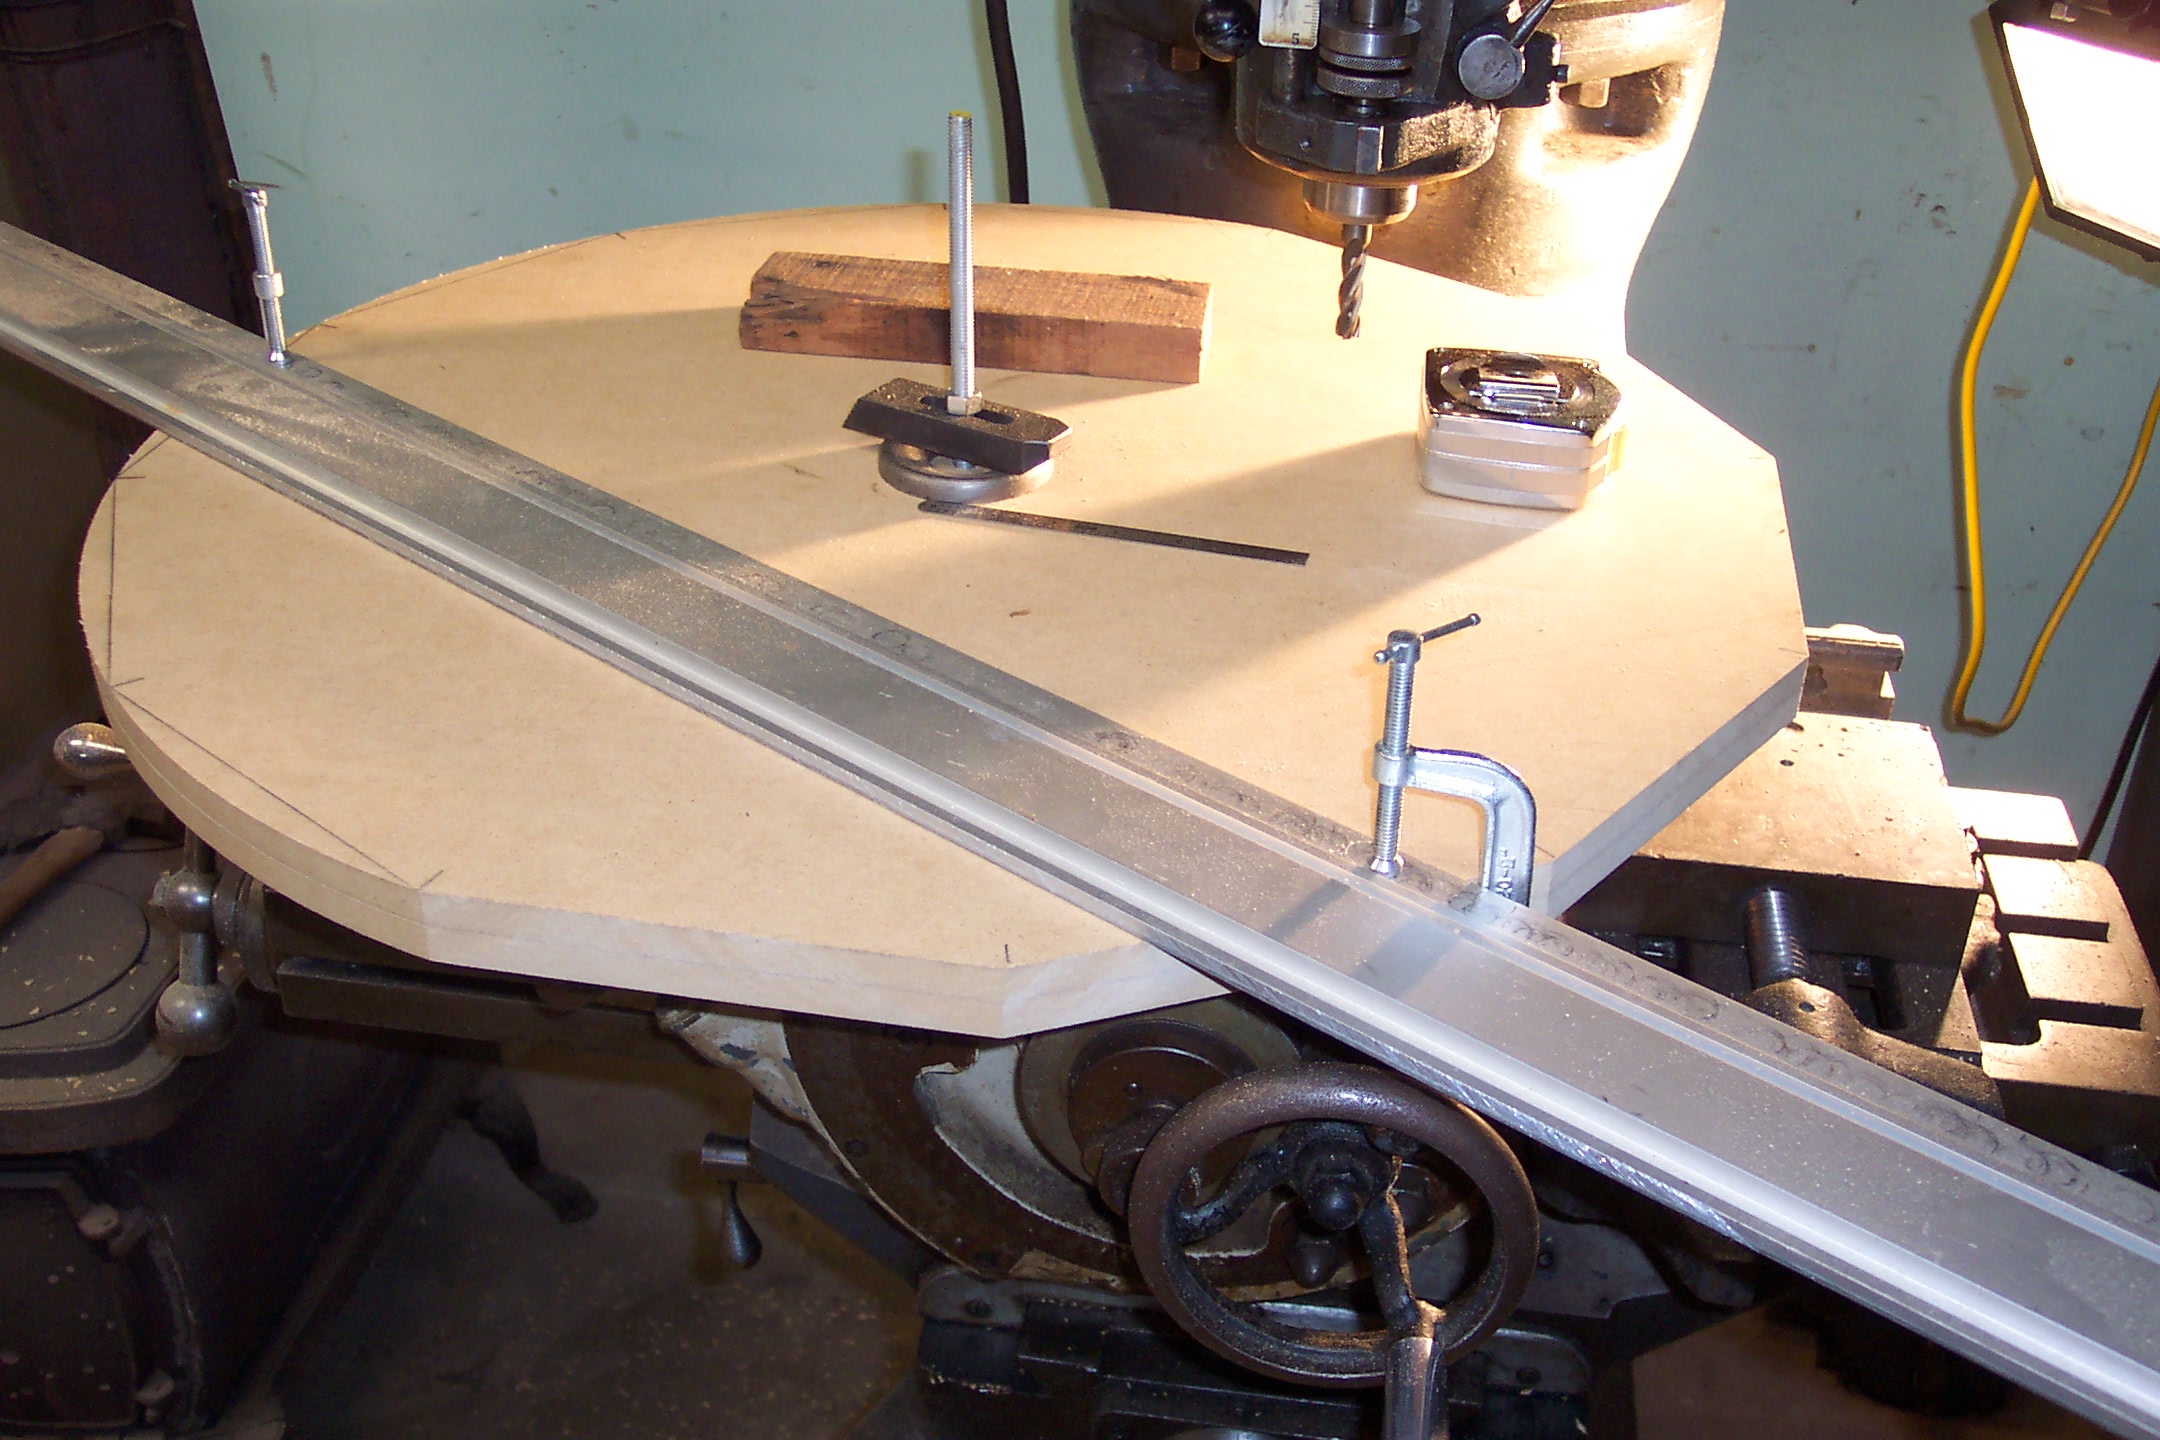
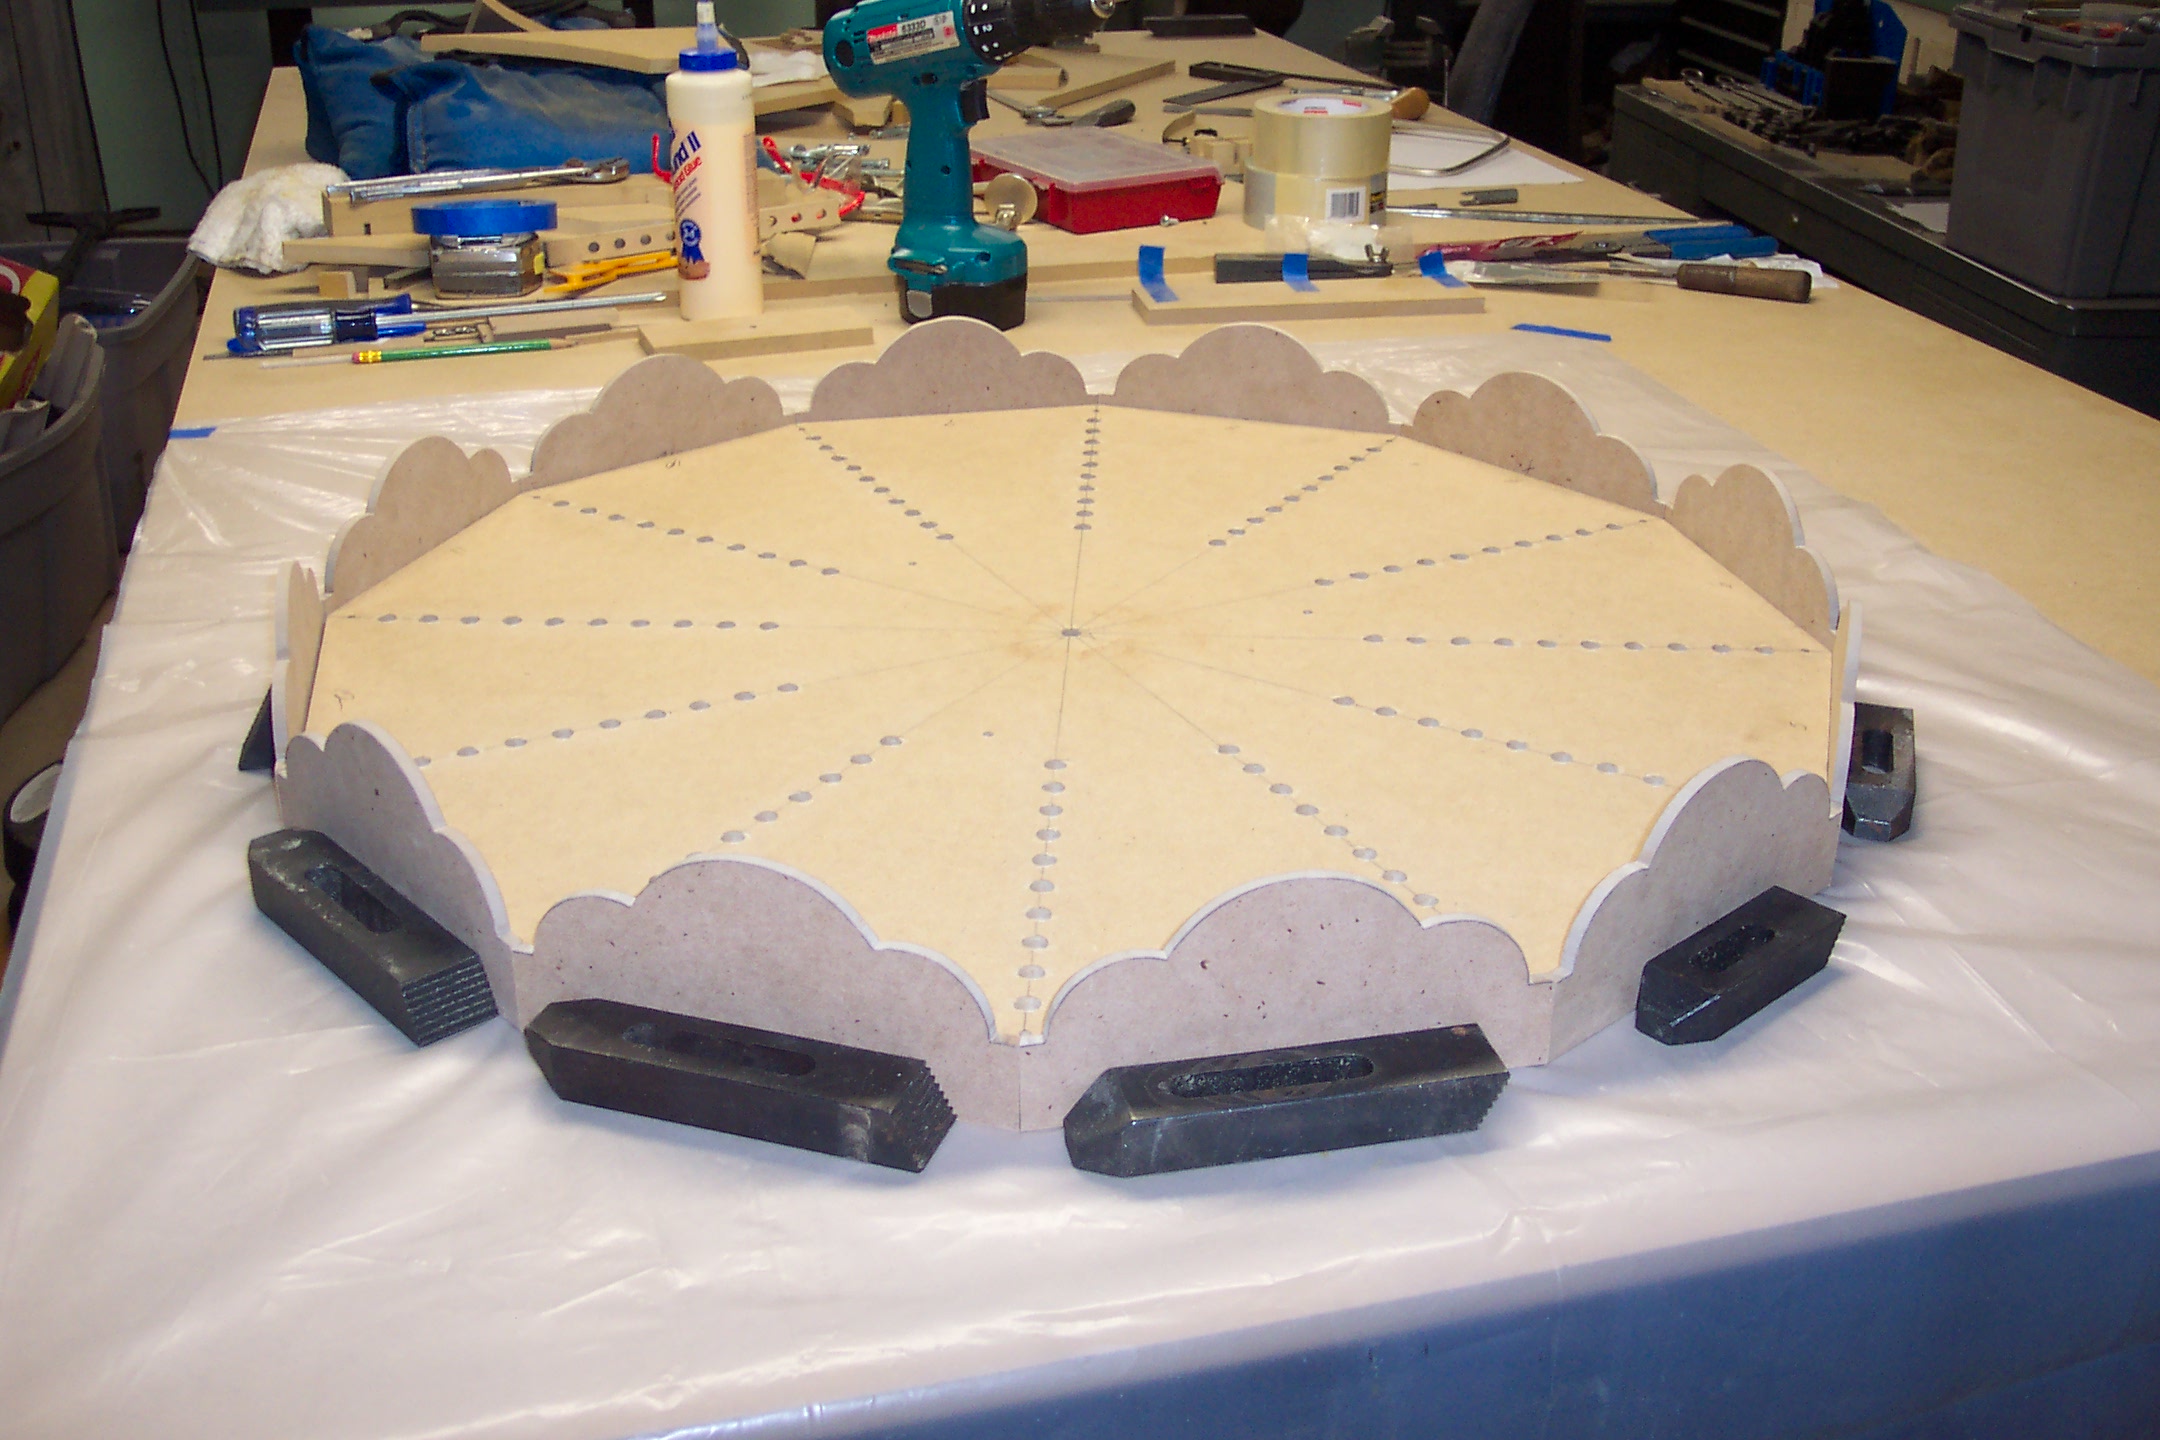
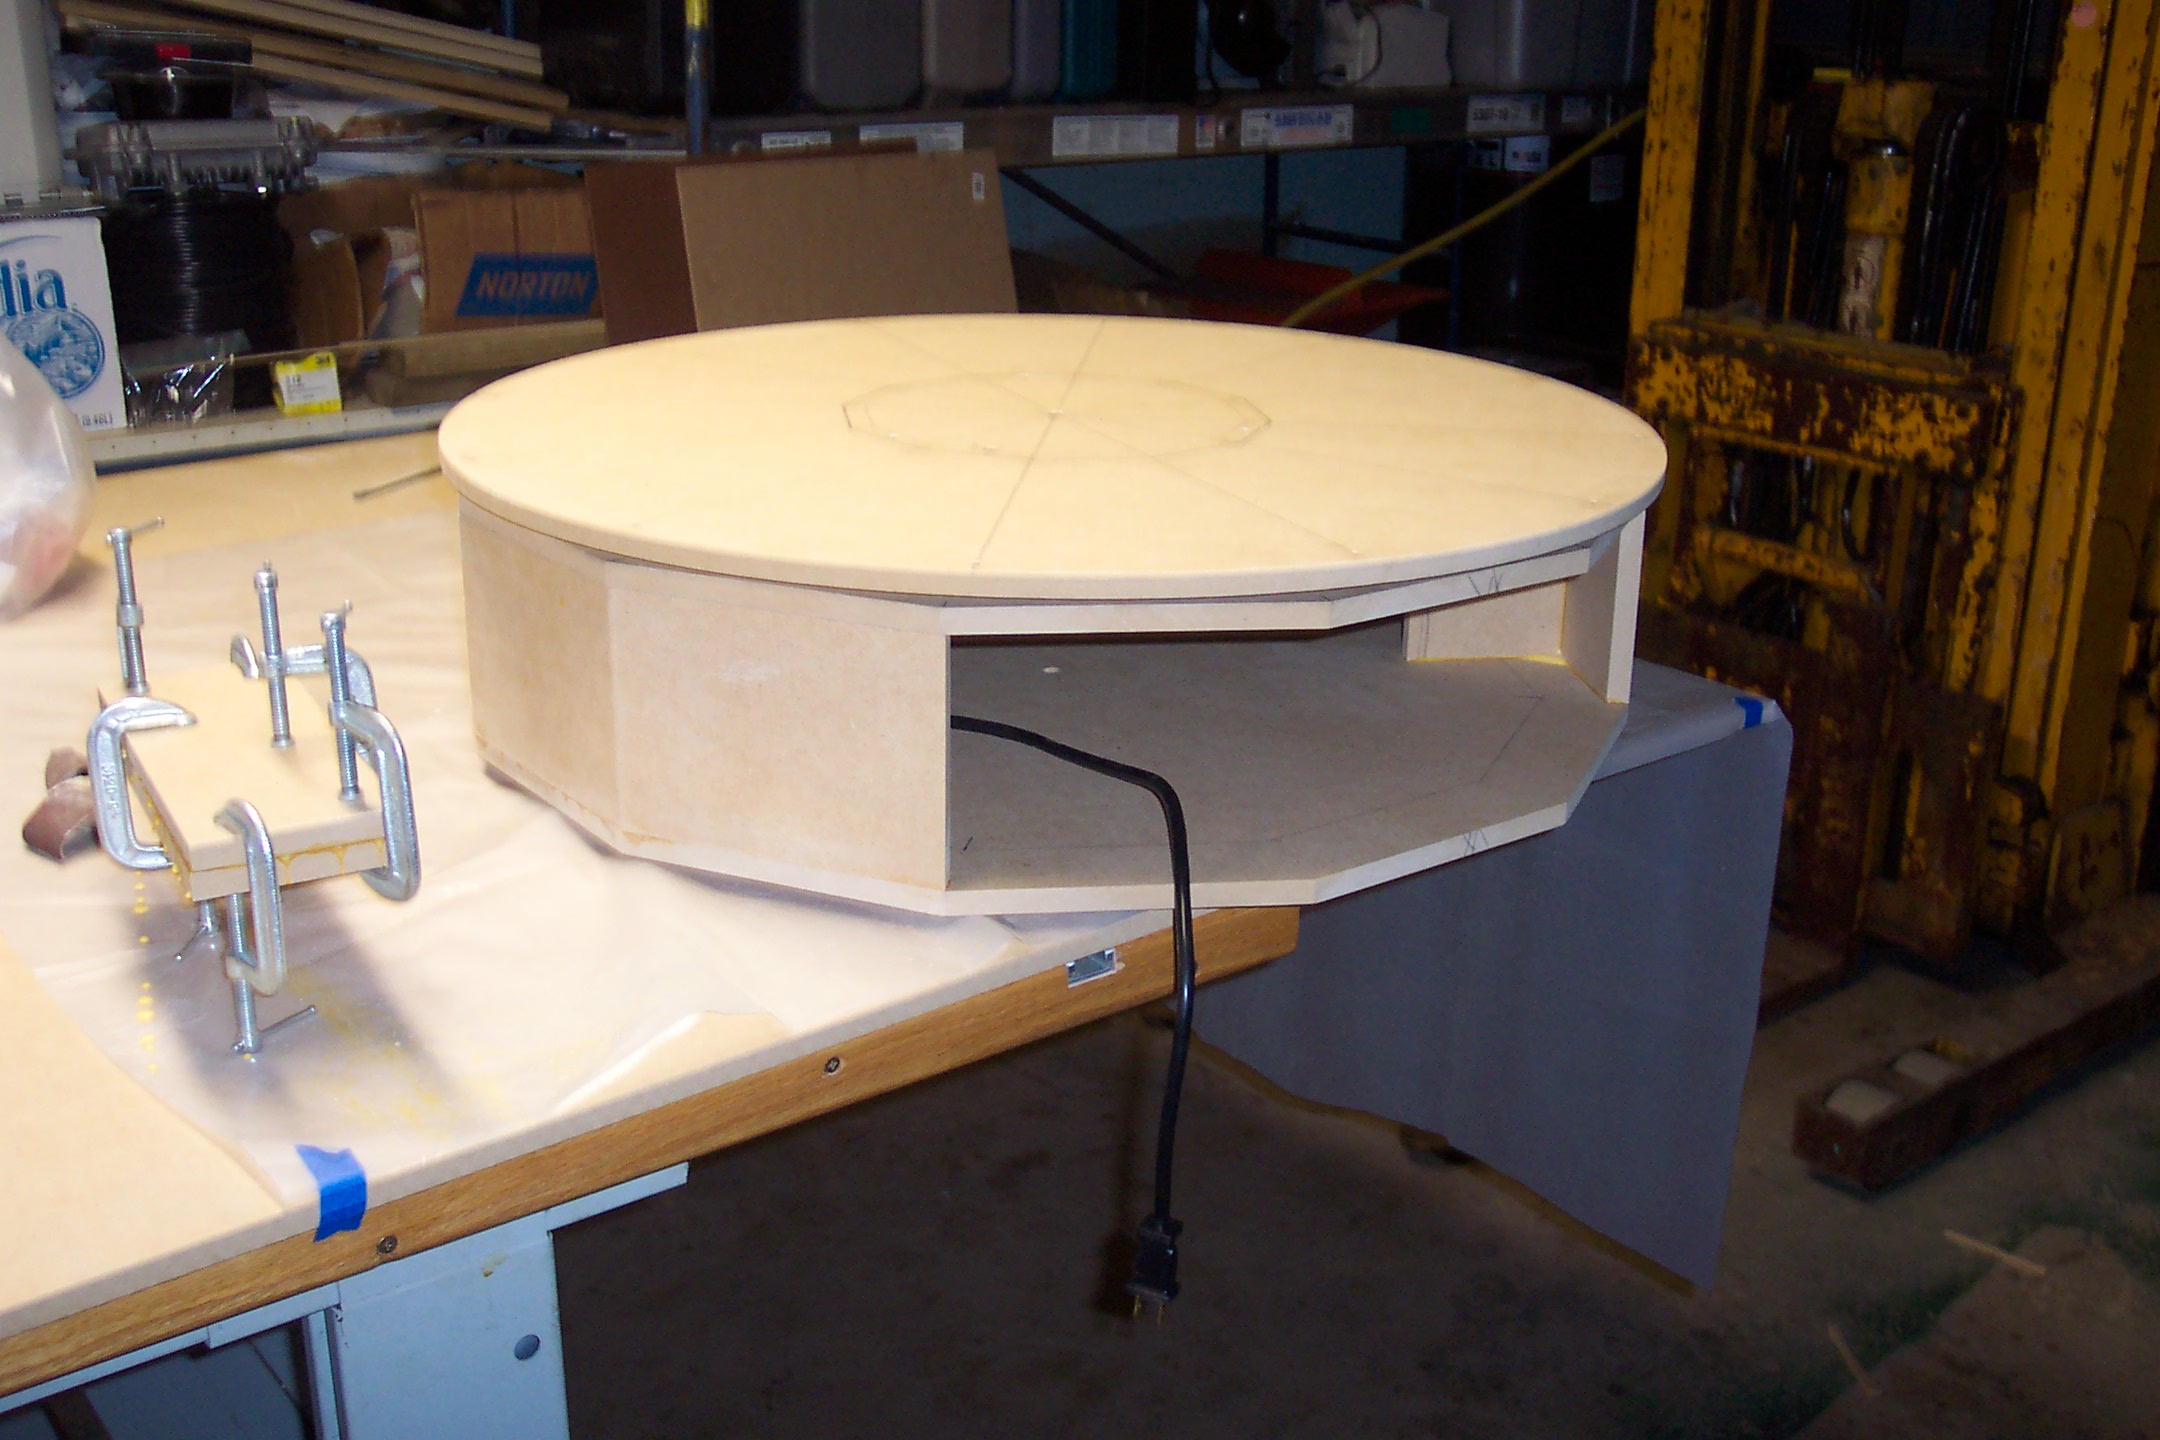
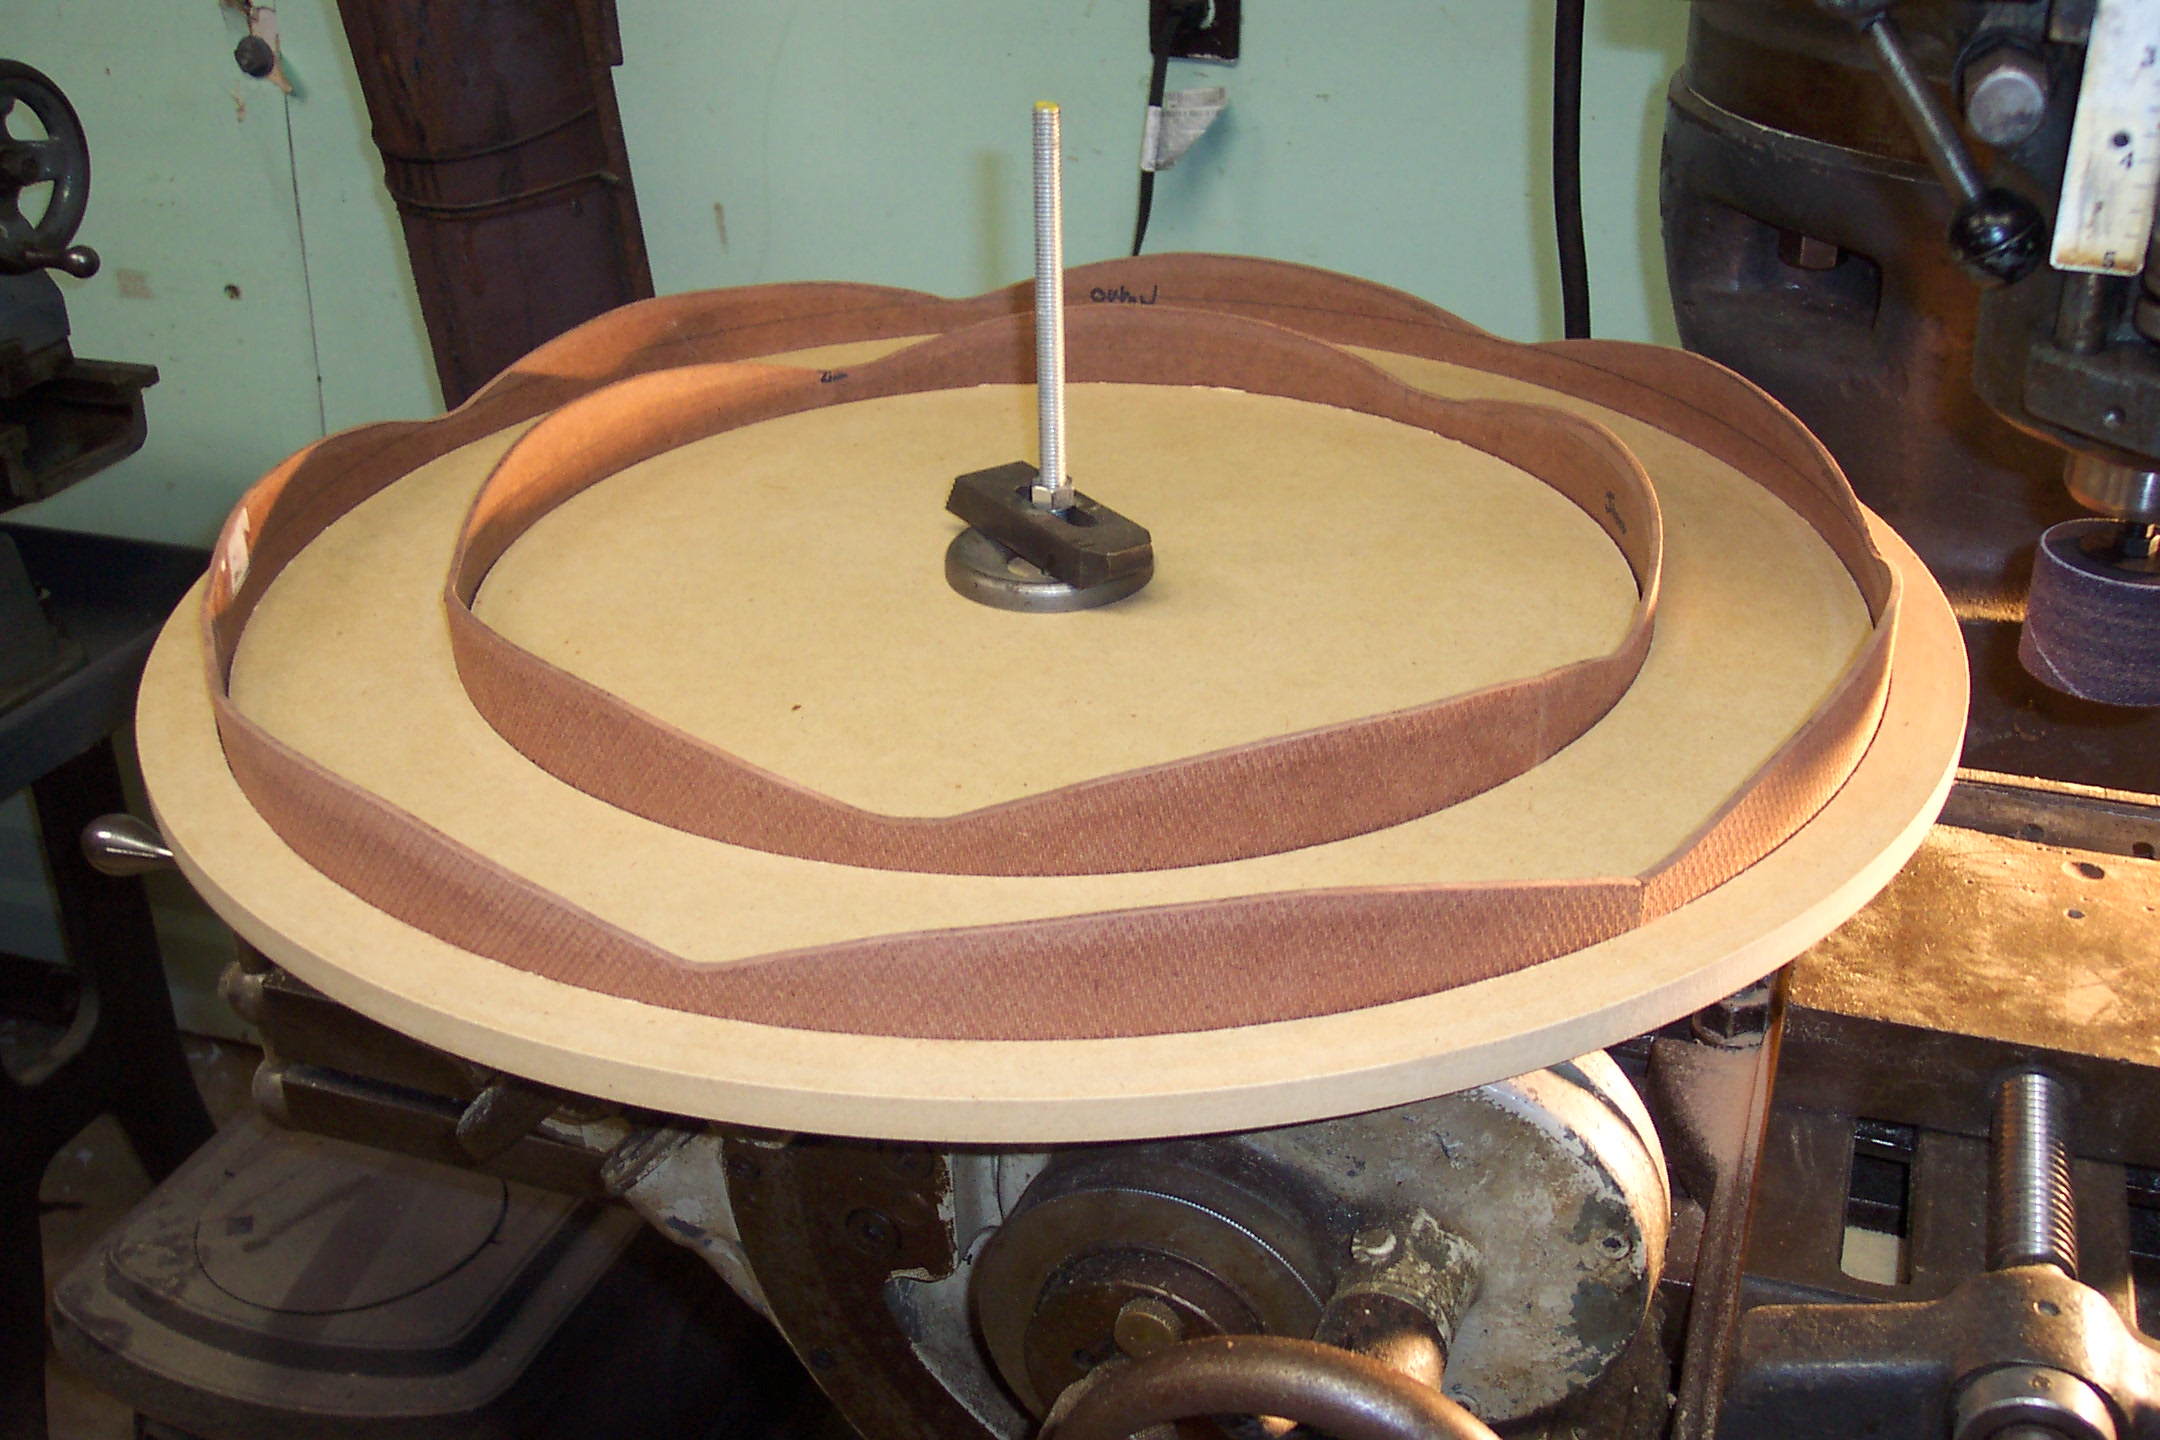
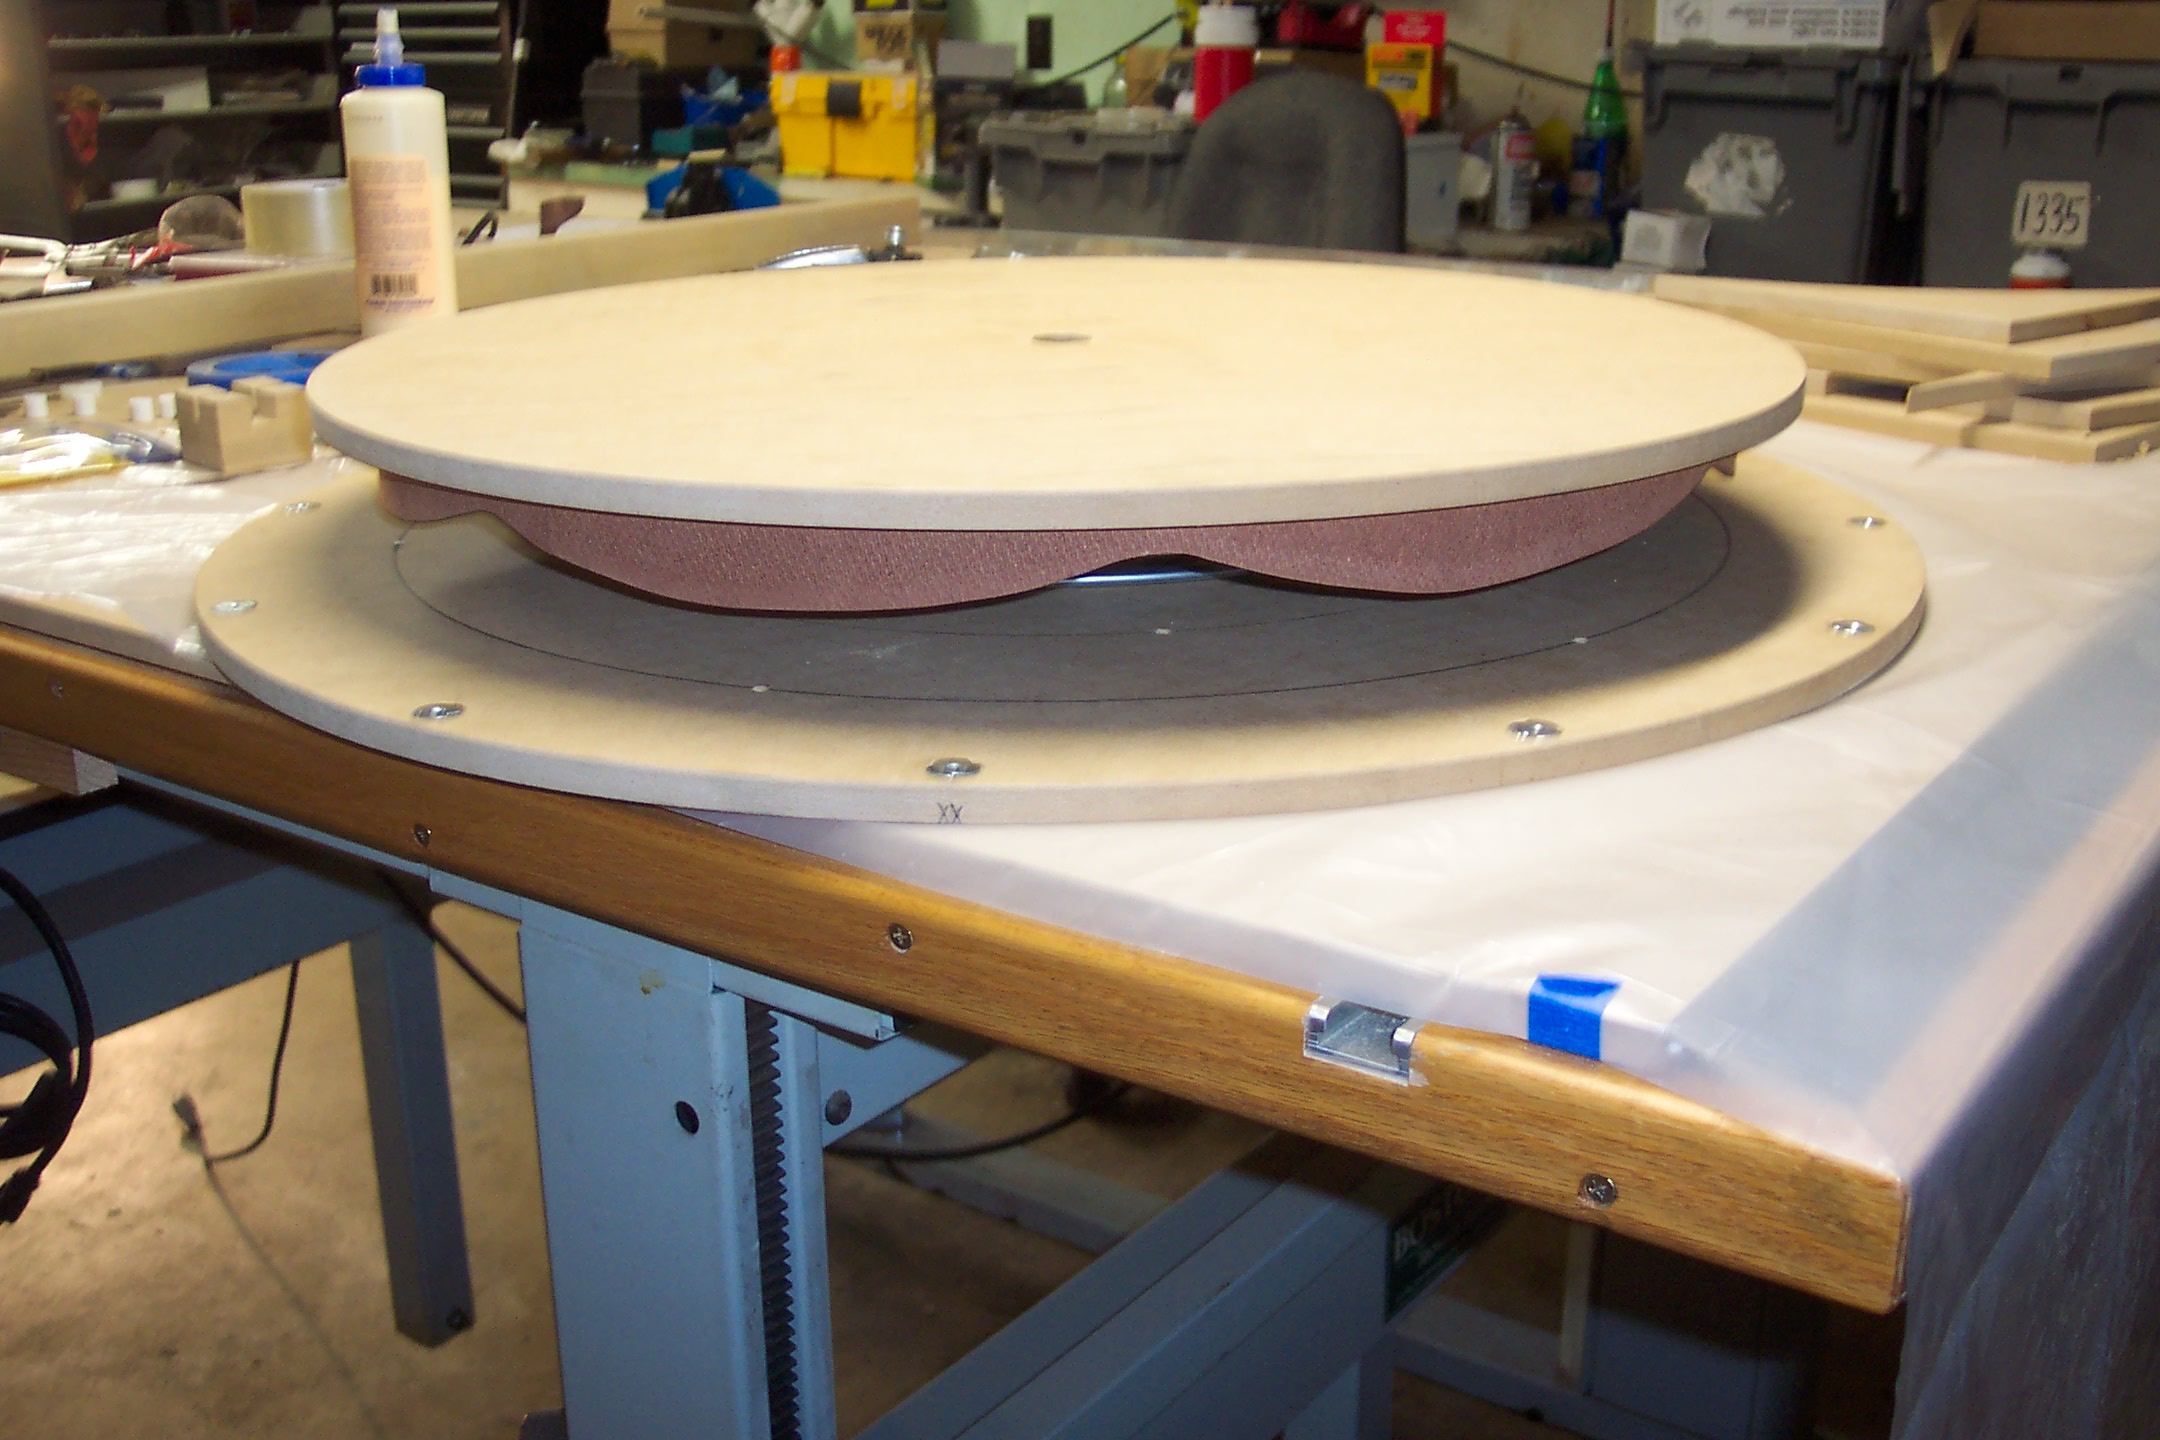
Cutting out base and top blanks from ½" MDF. Milling the blanks round and to the correct size. Locating and drilling the holes for the perimeter poles.
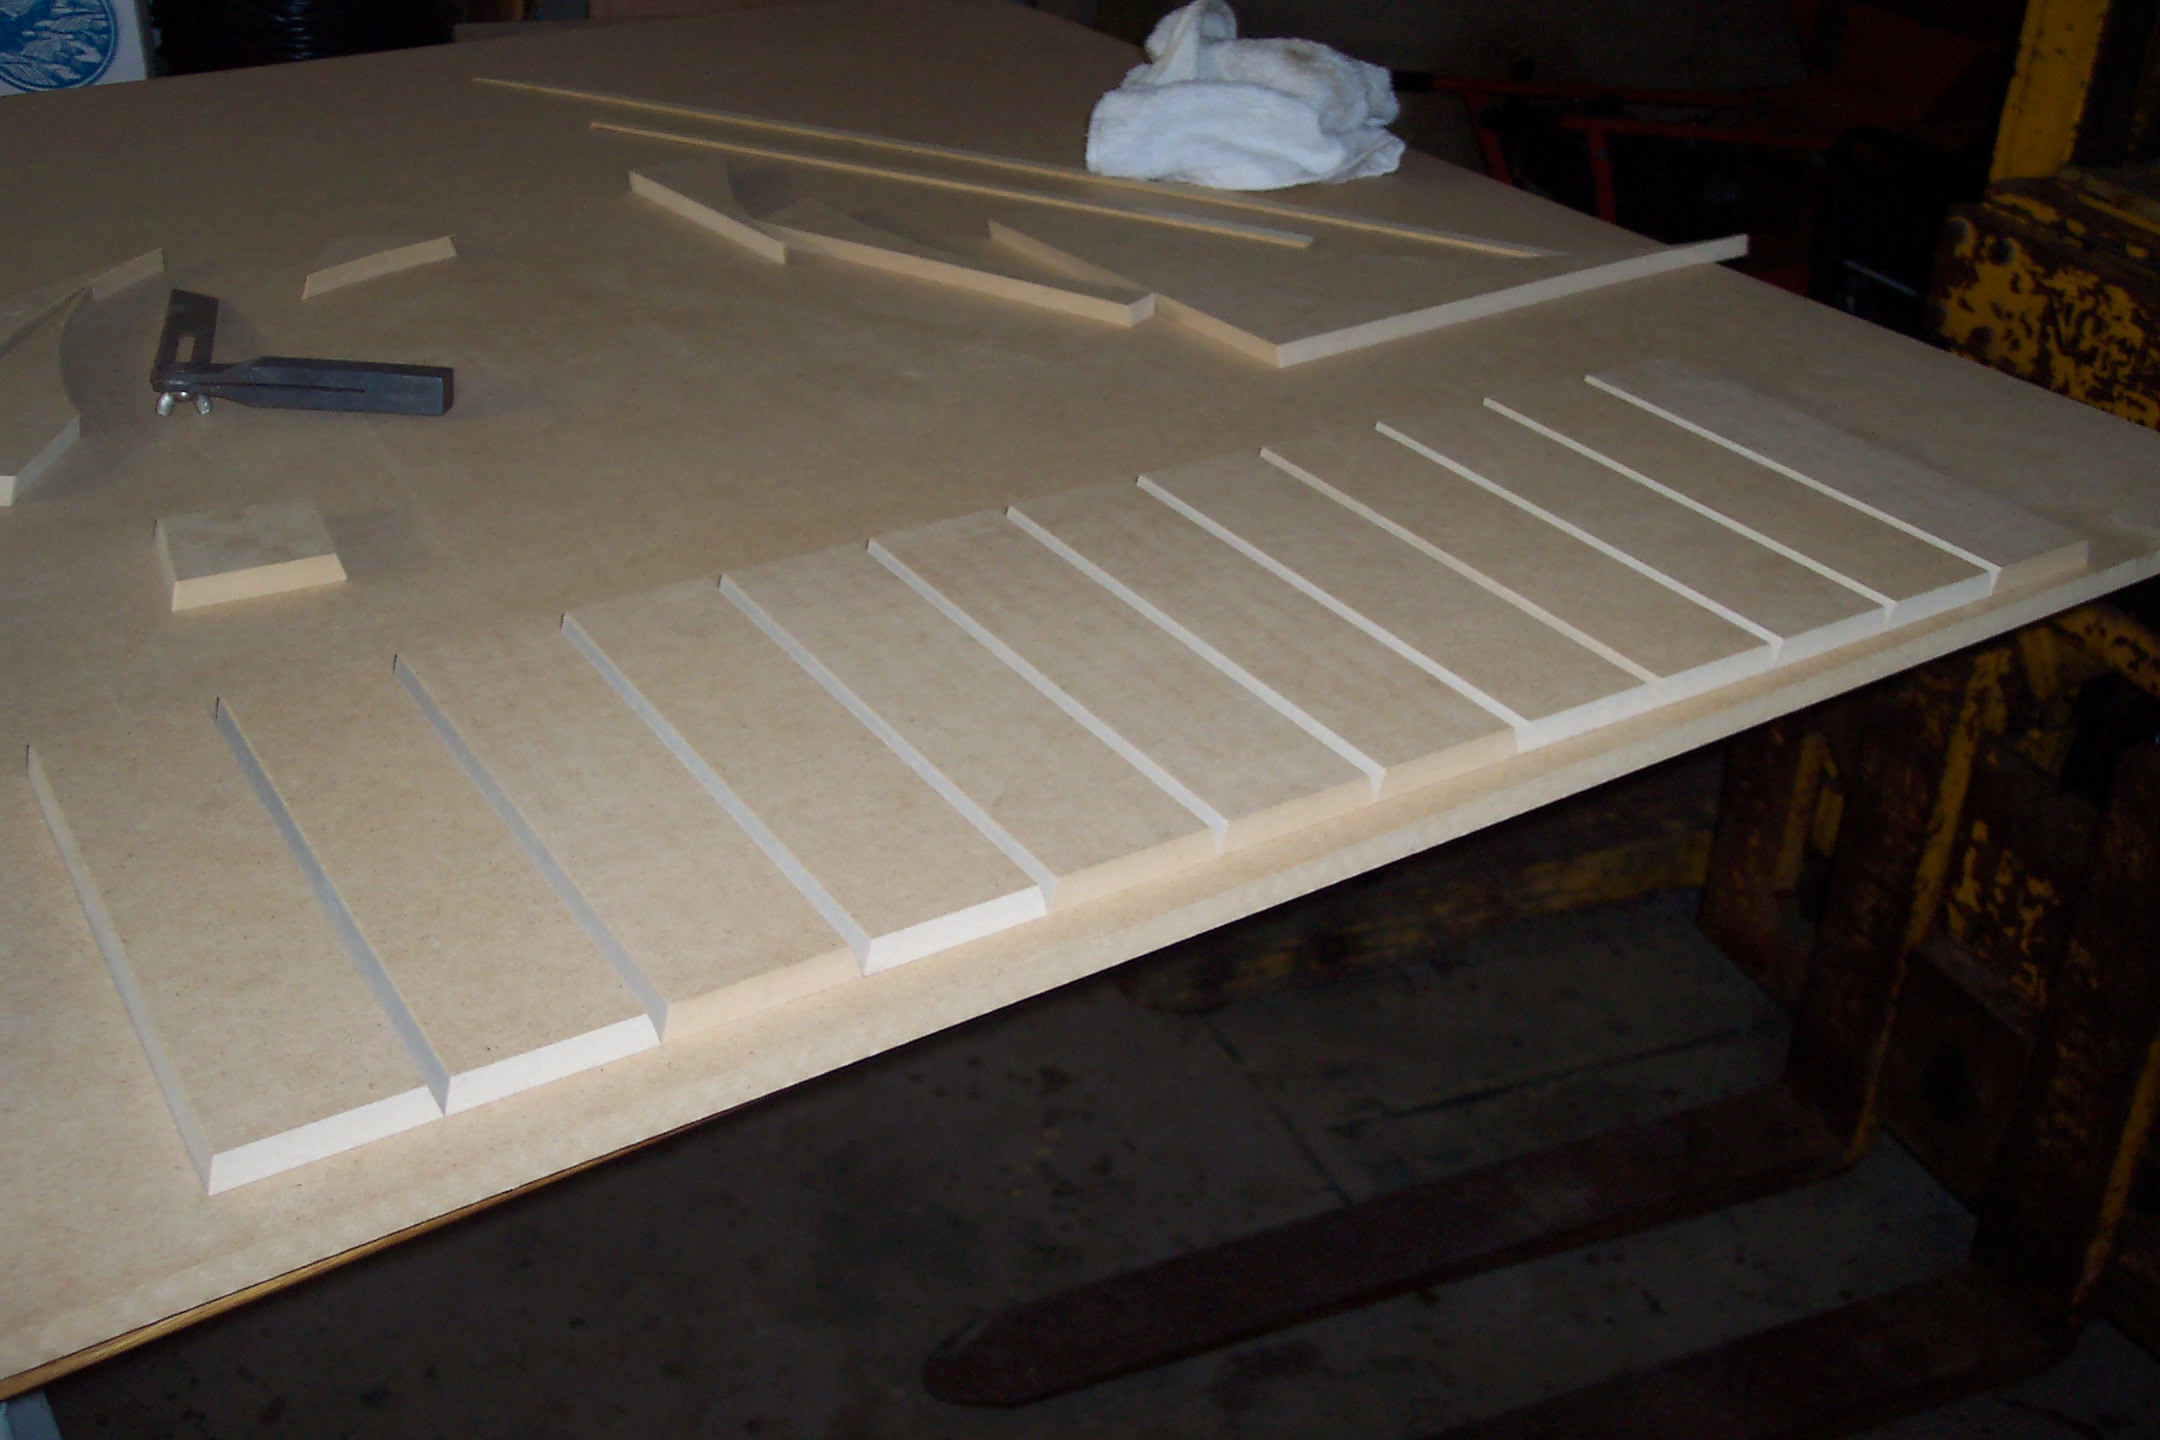
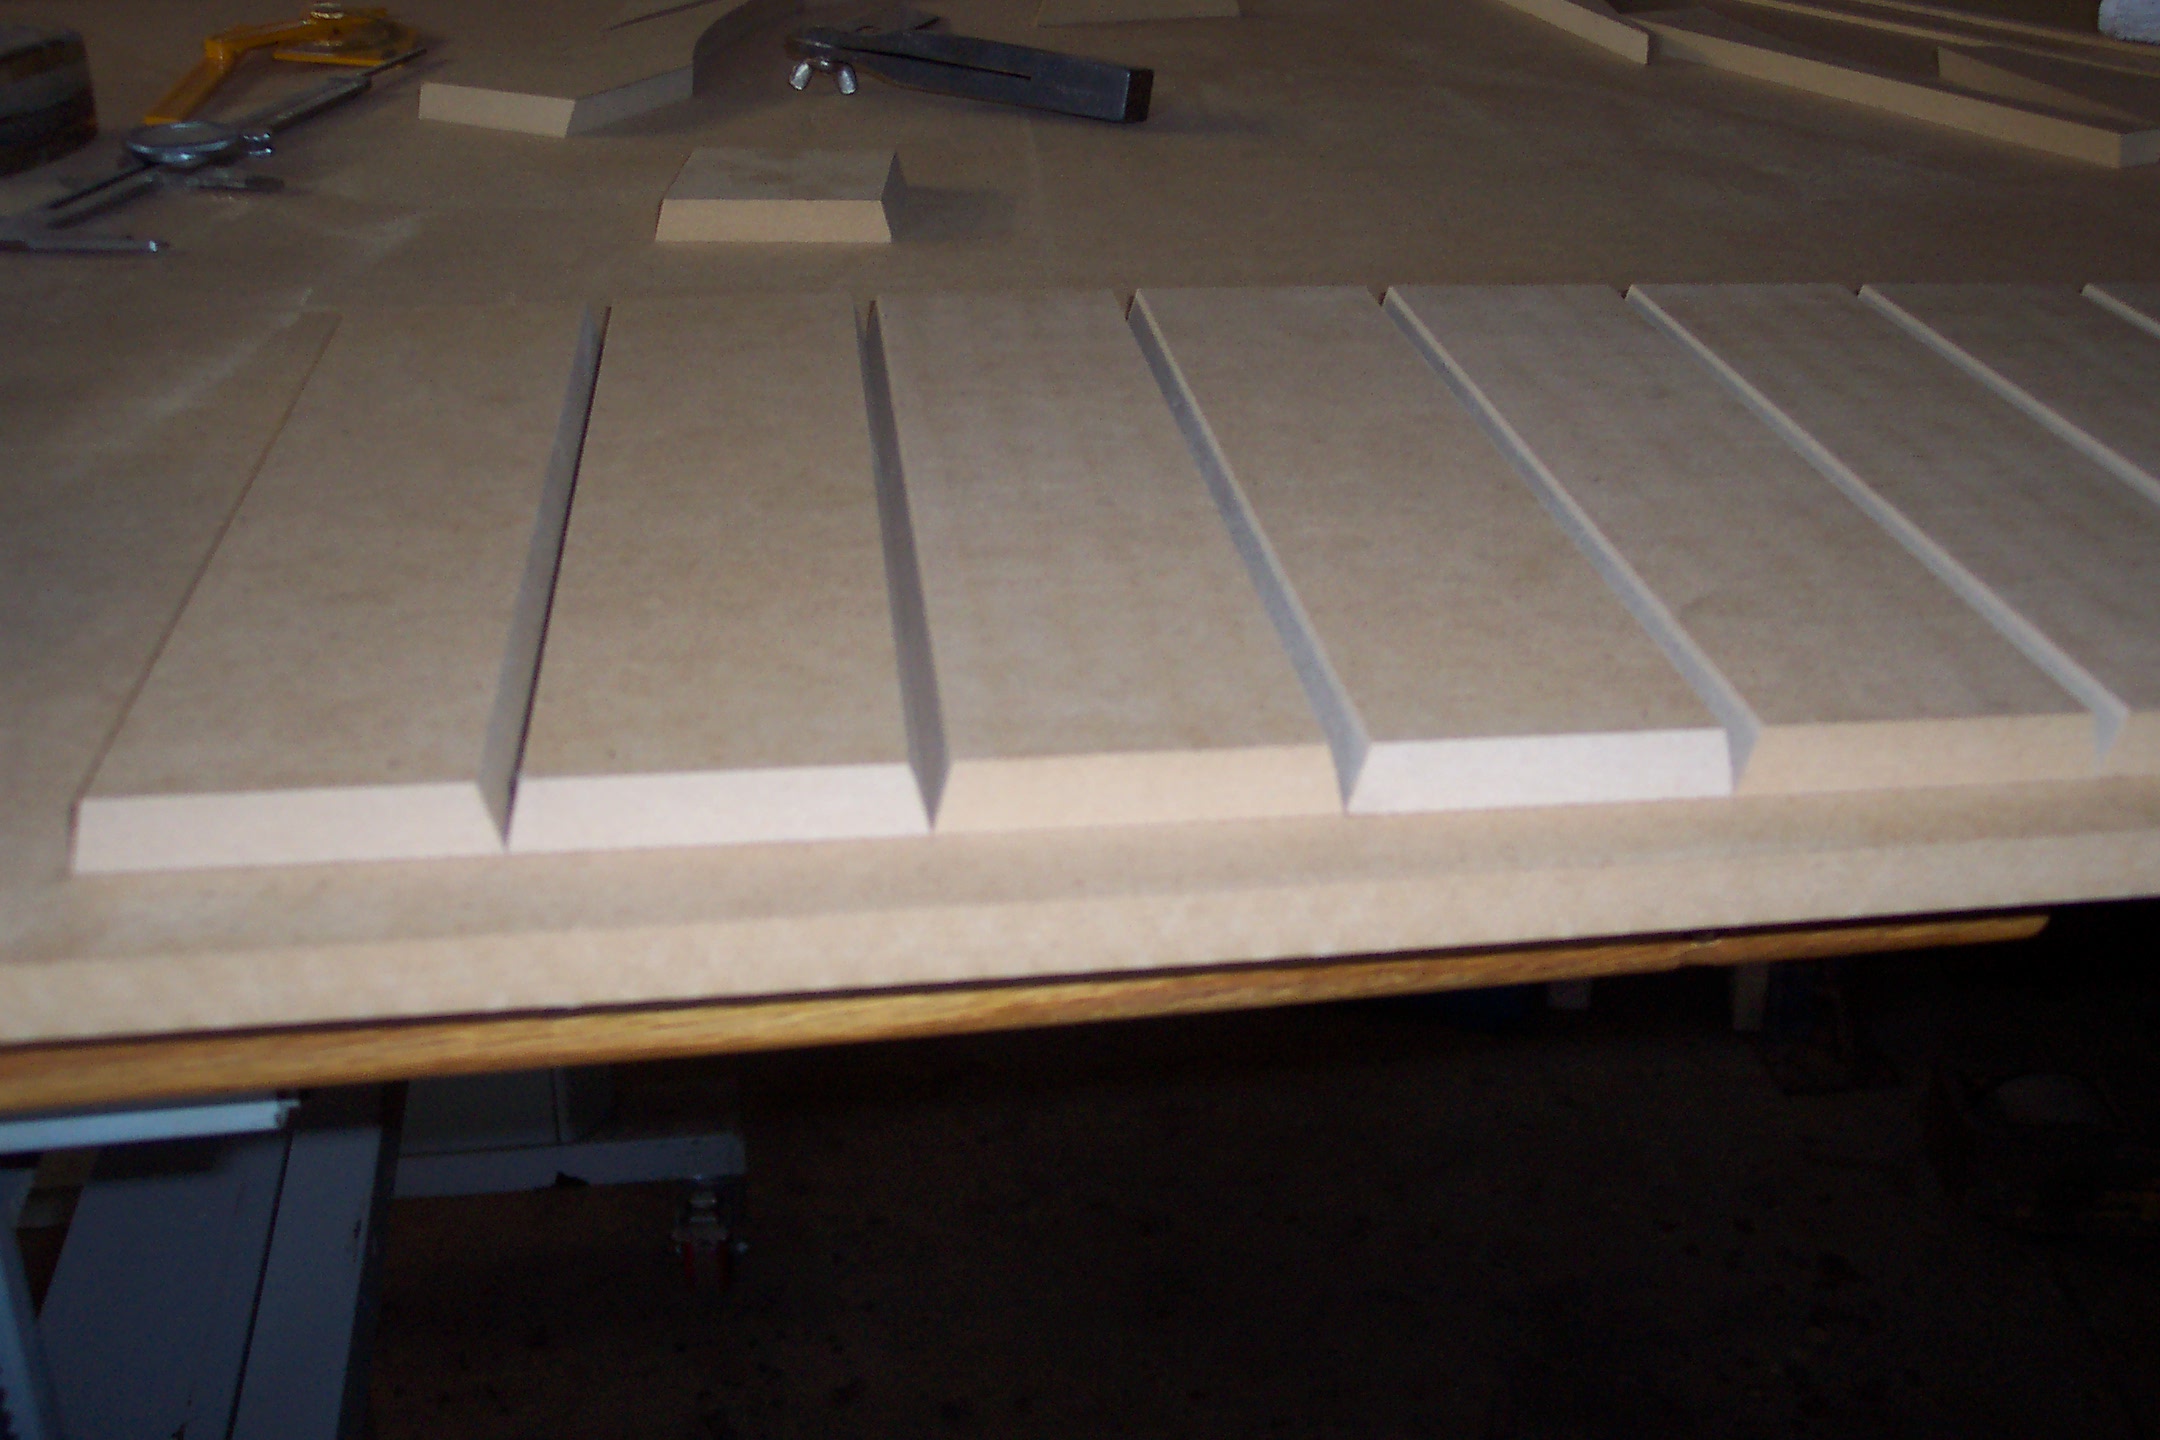
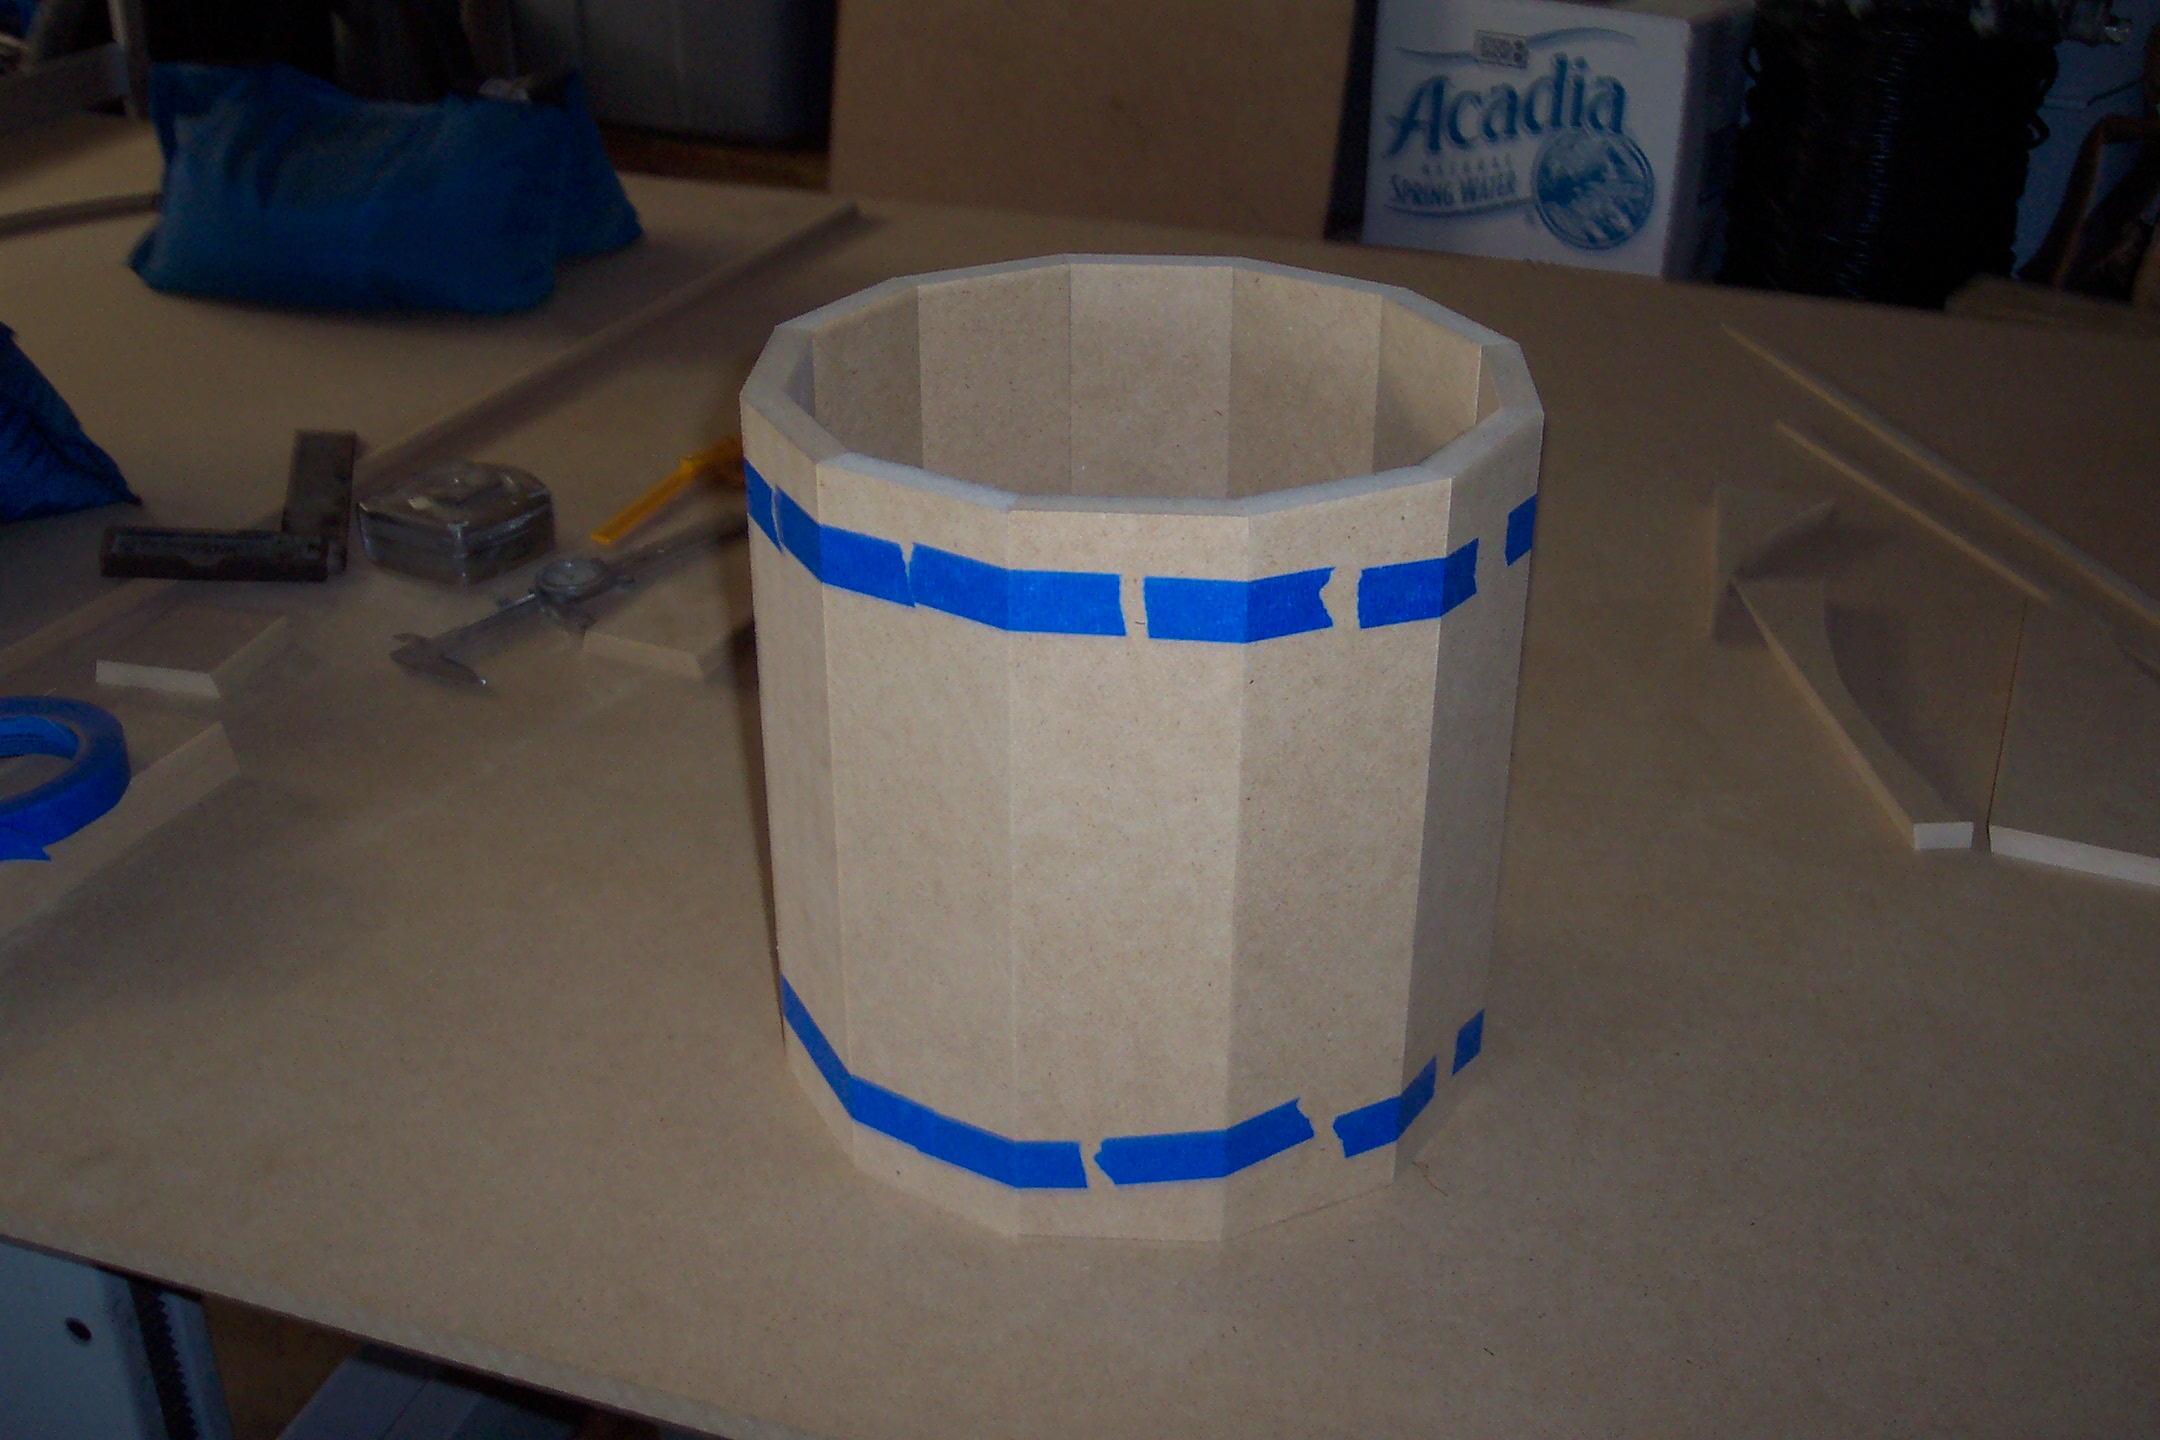
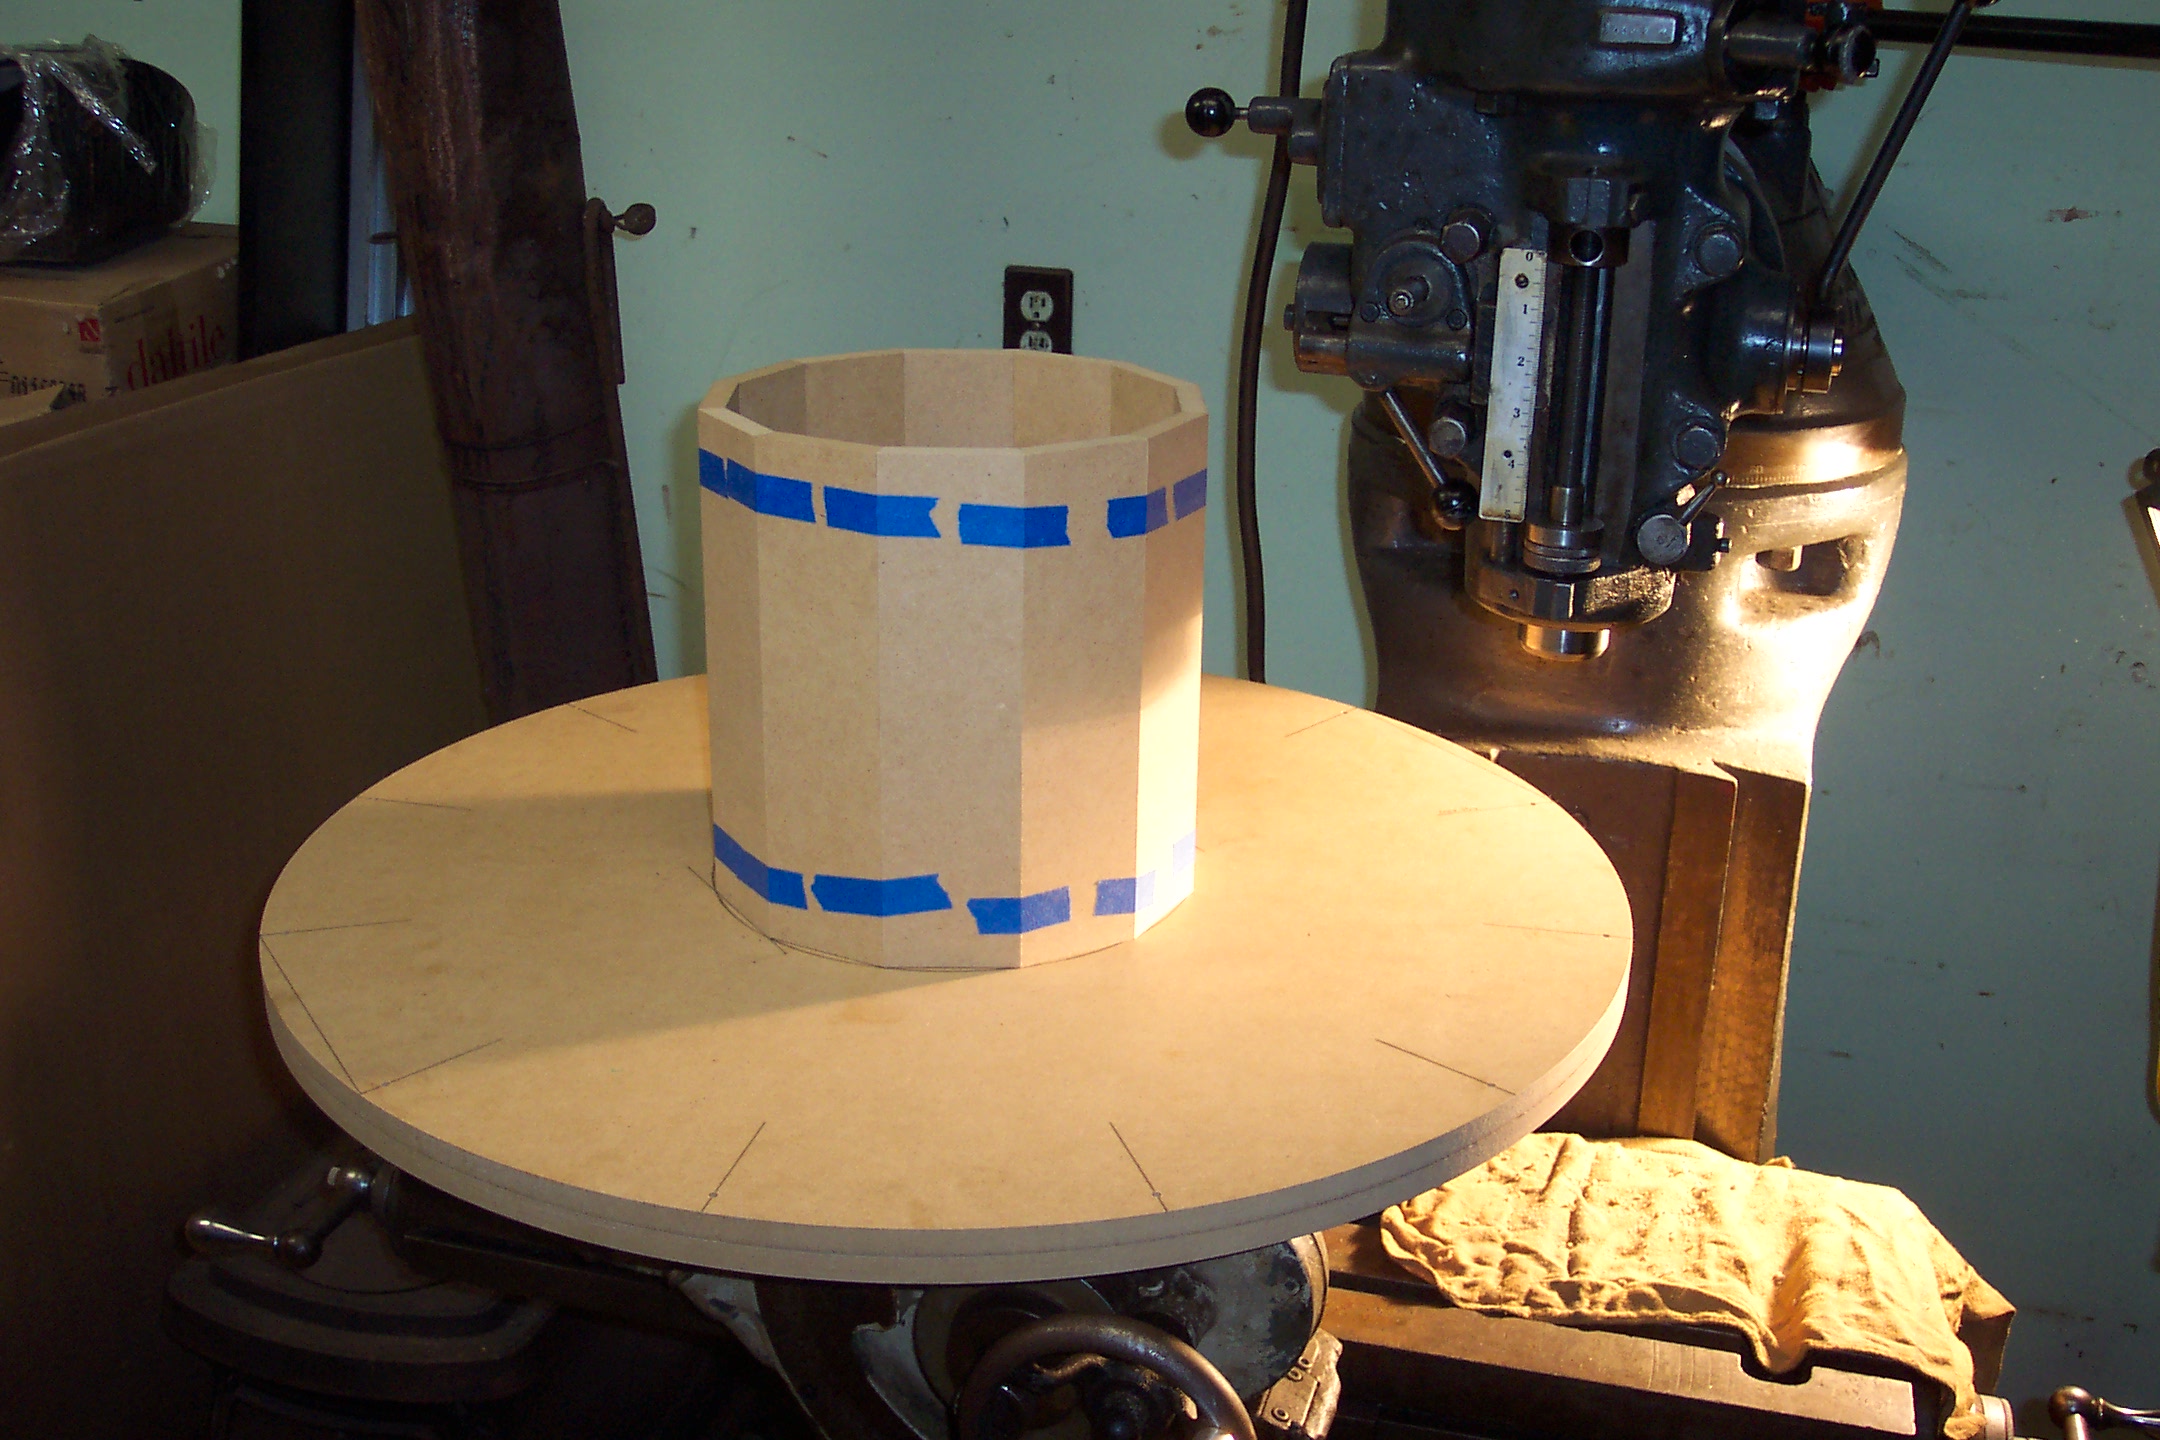
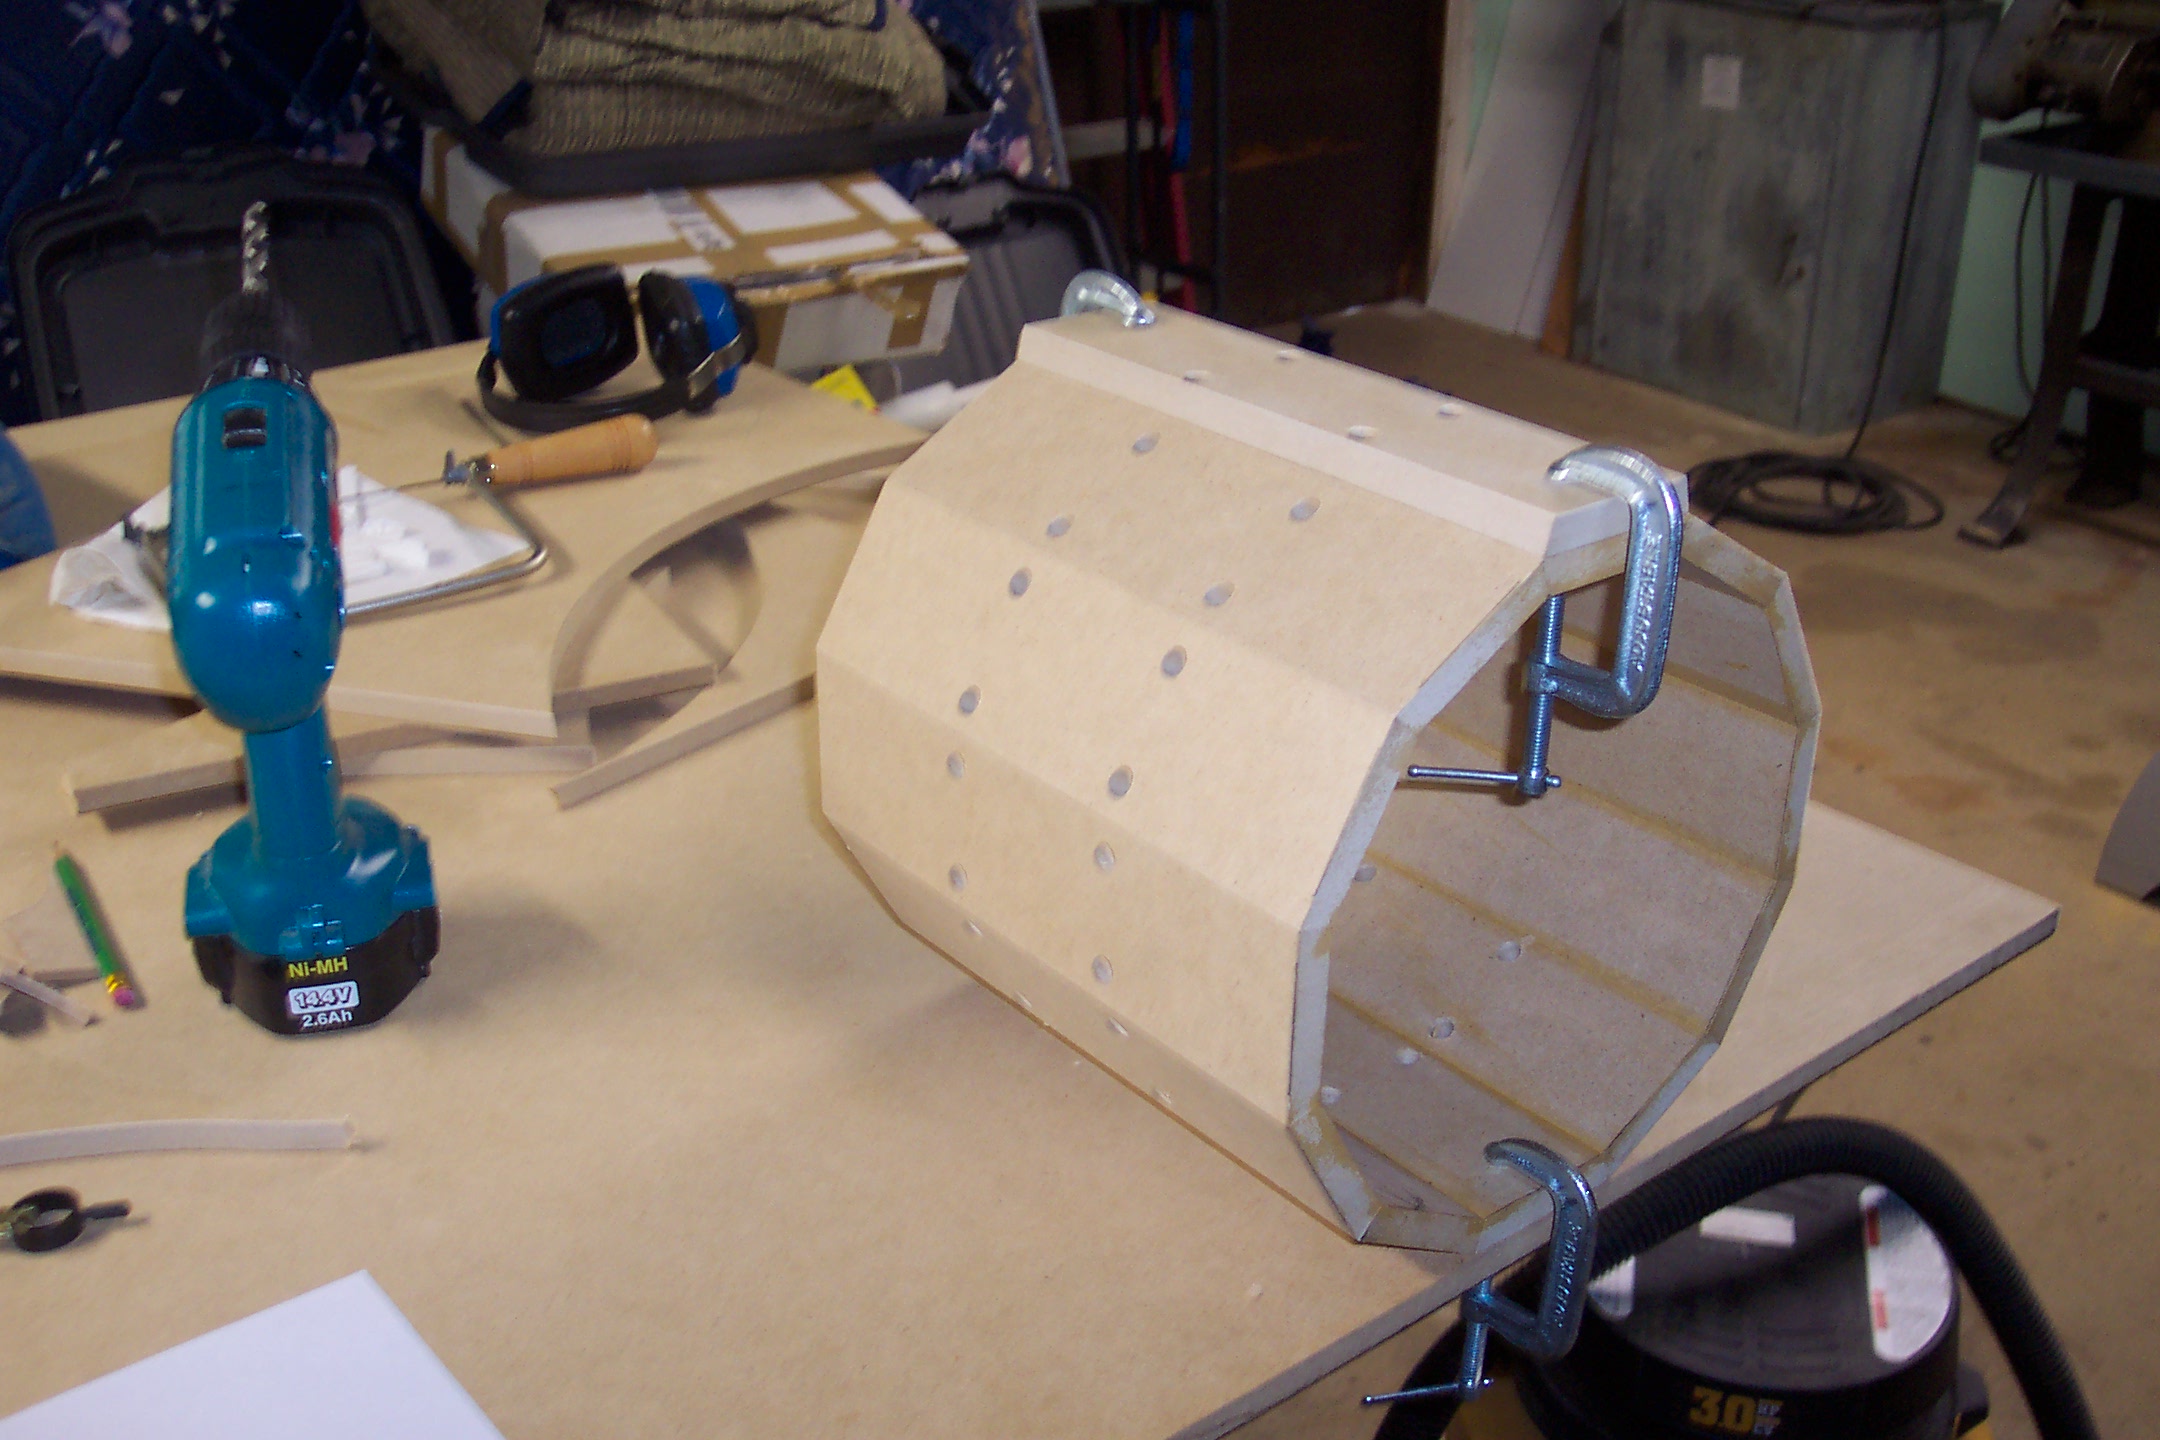
Twelve segments for the central column cut and test assembled with masking tape.
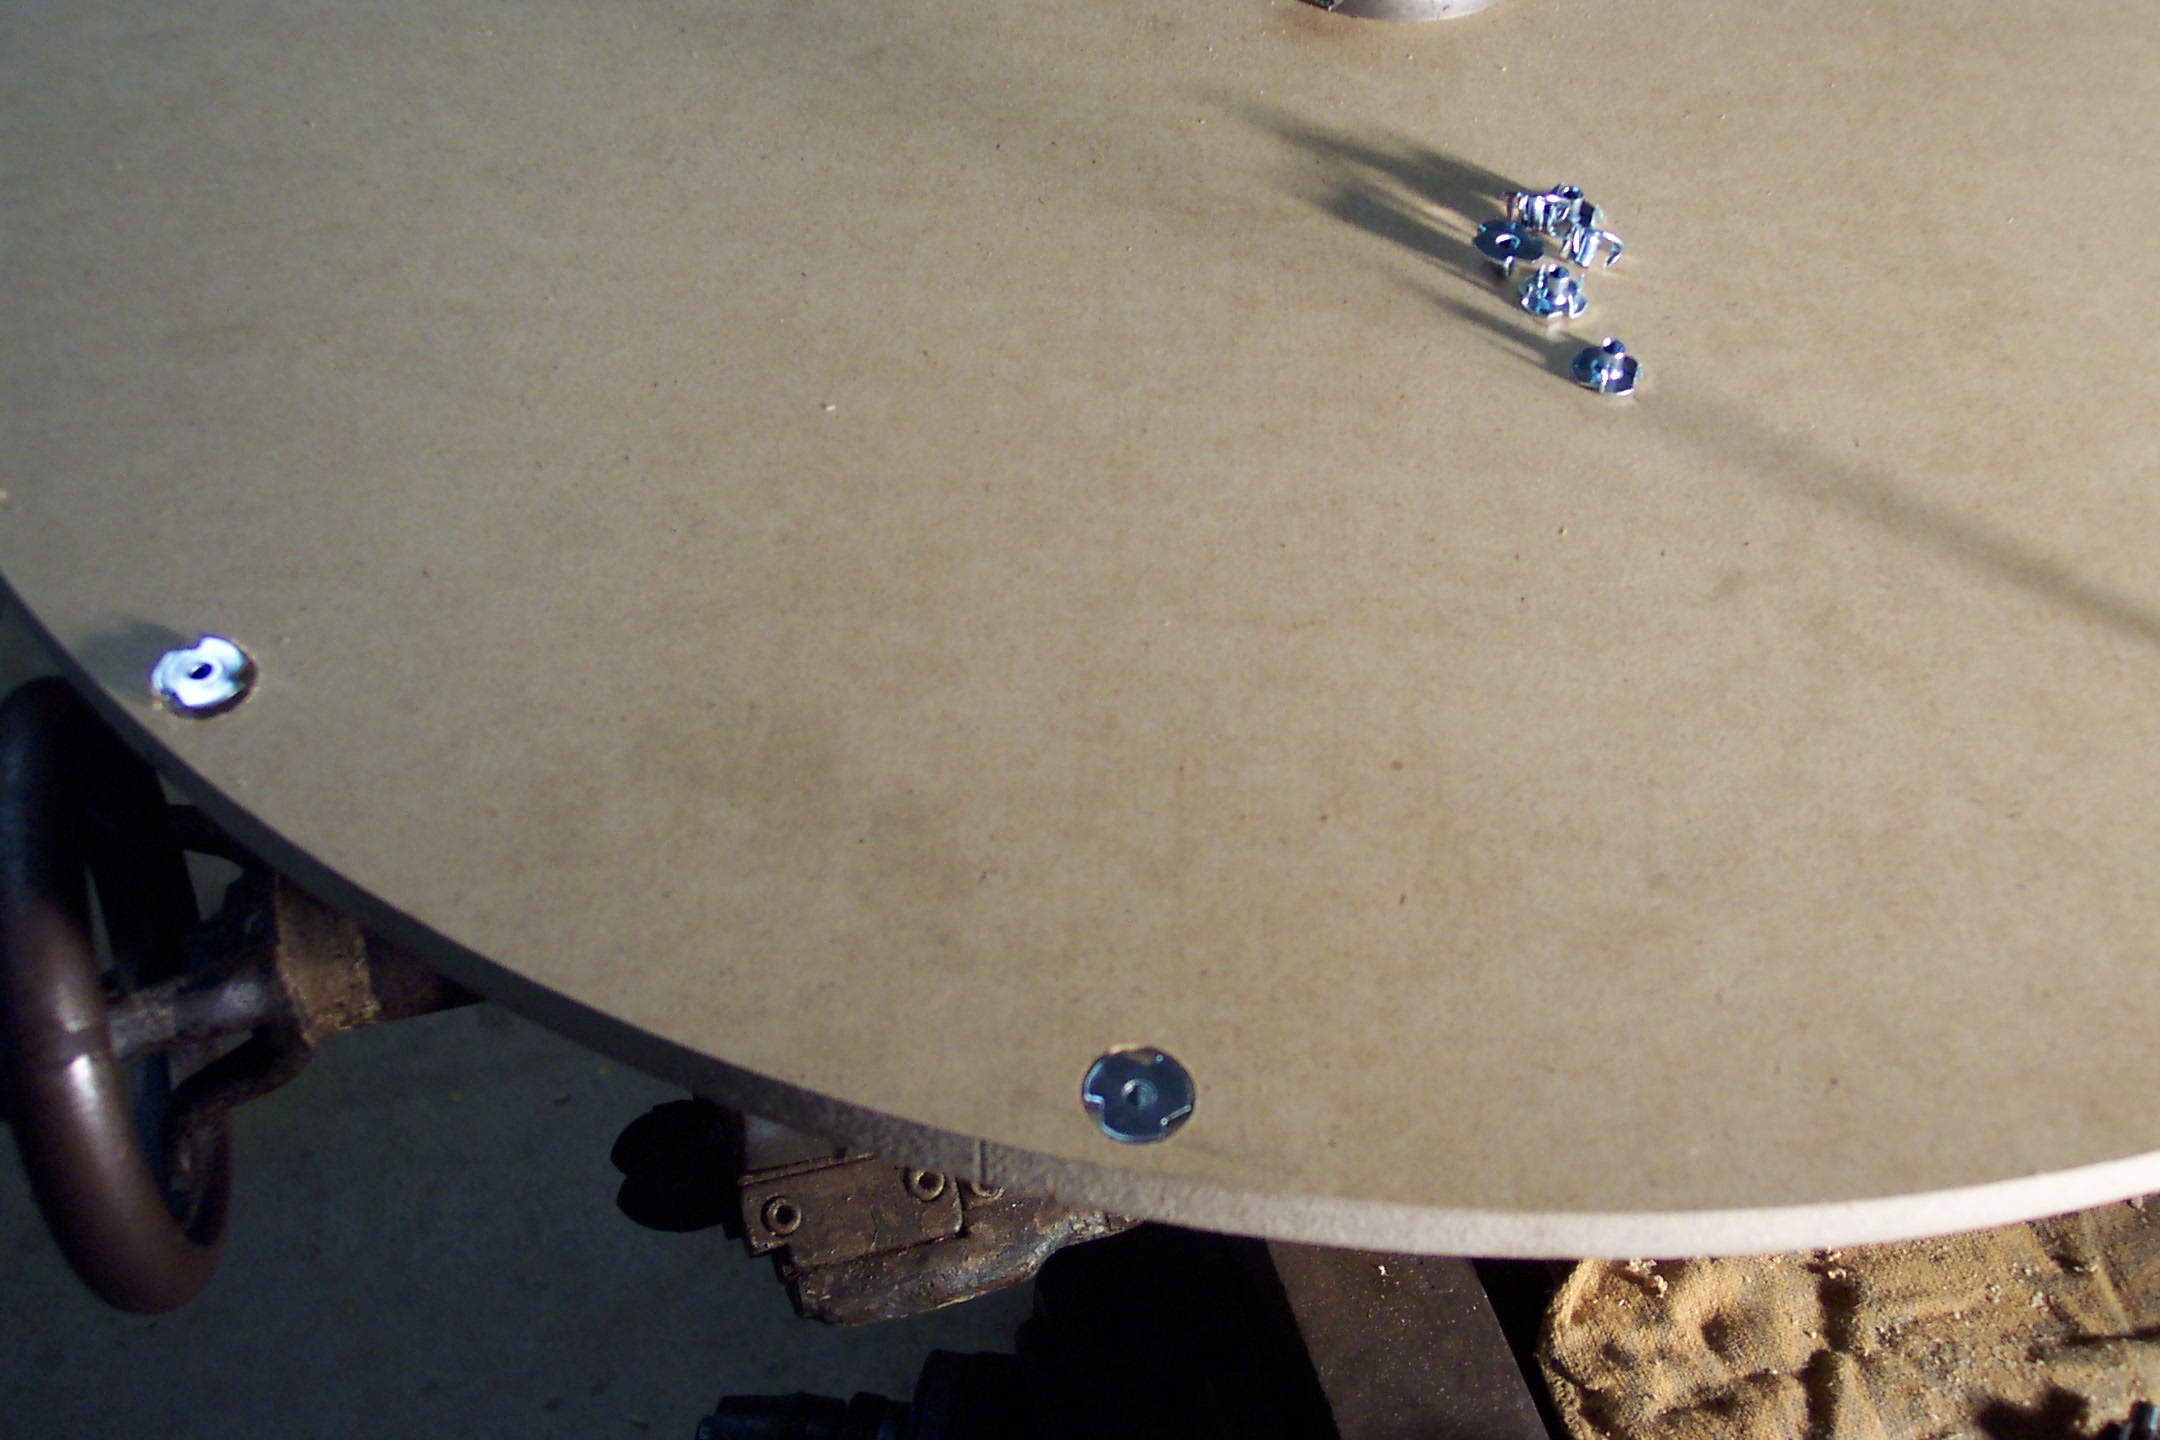
Setting Tee nuts in the base for the perimeter poles.
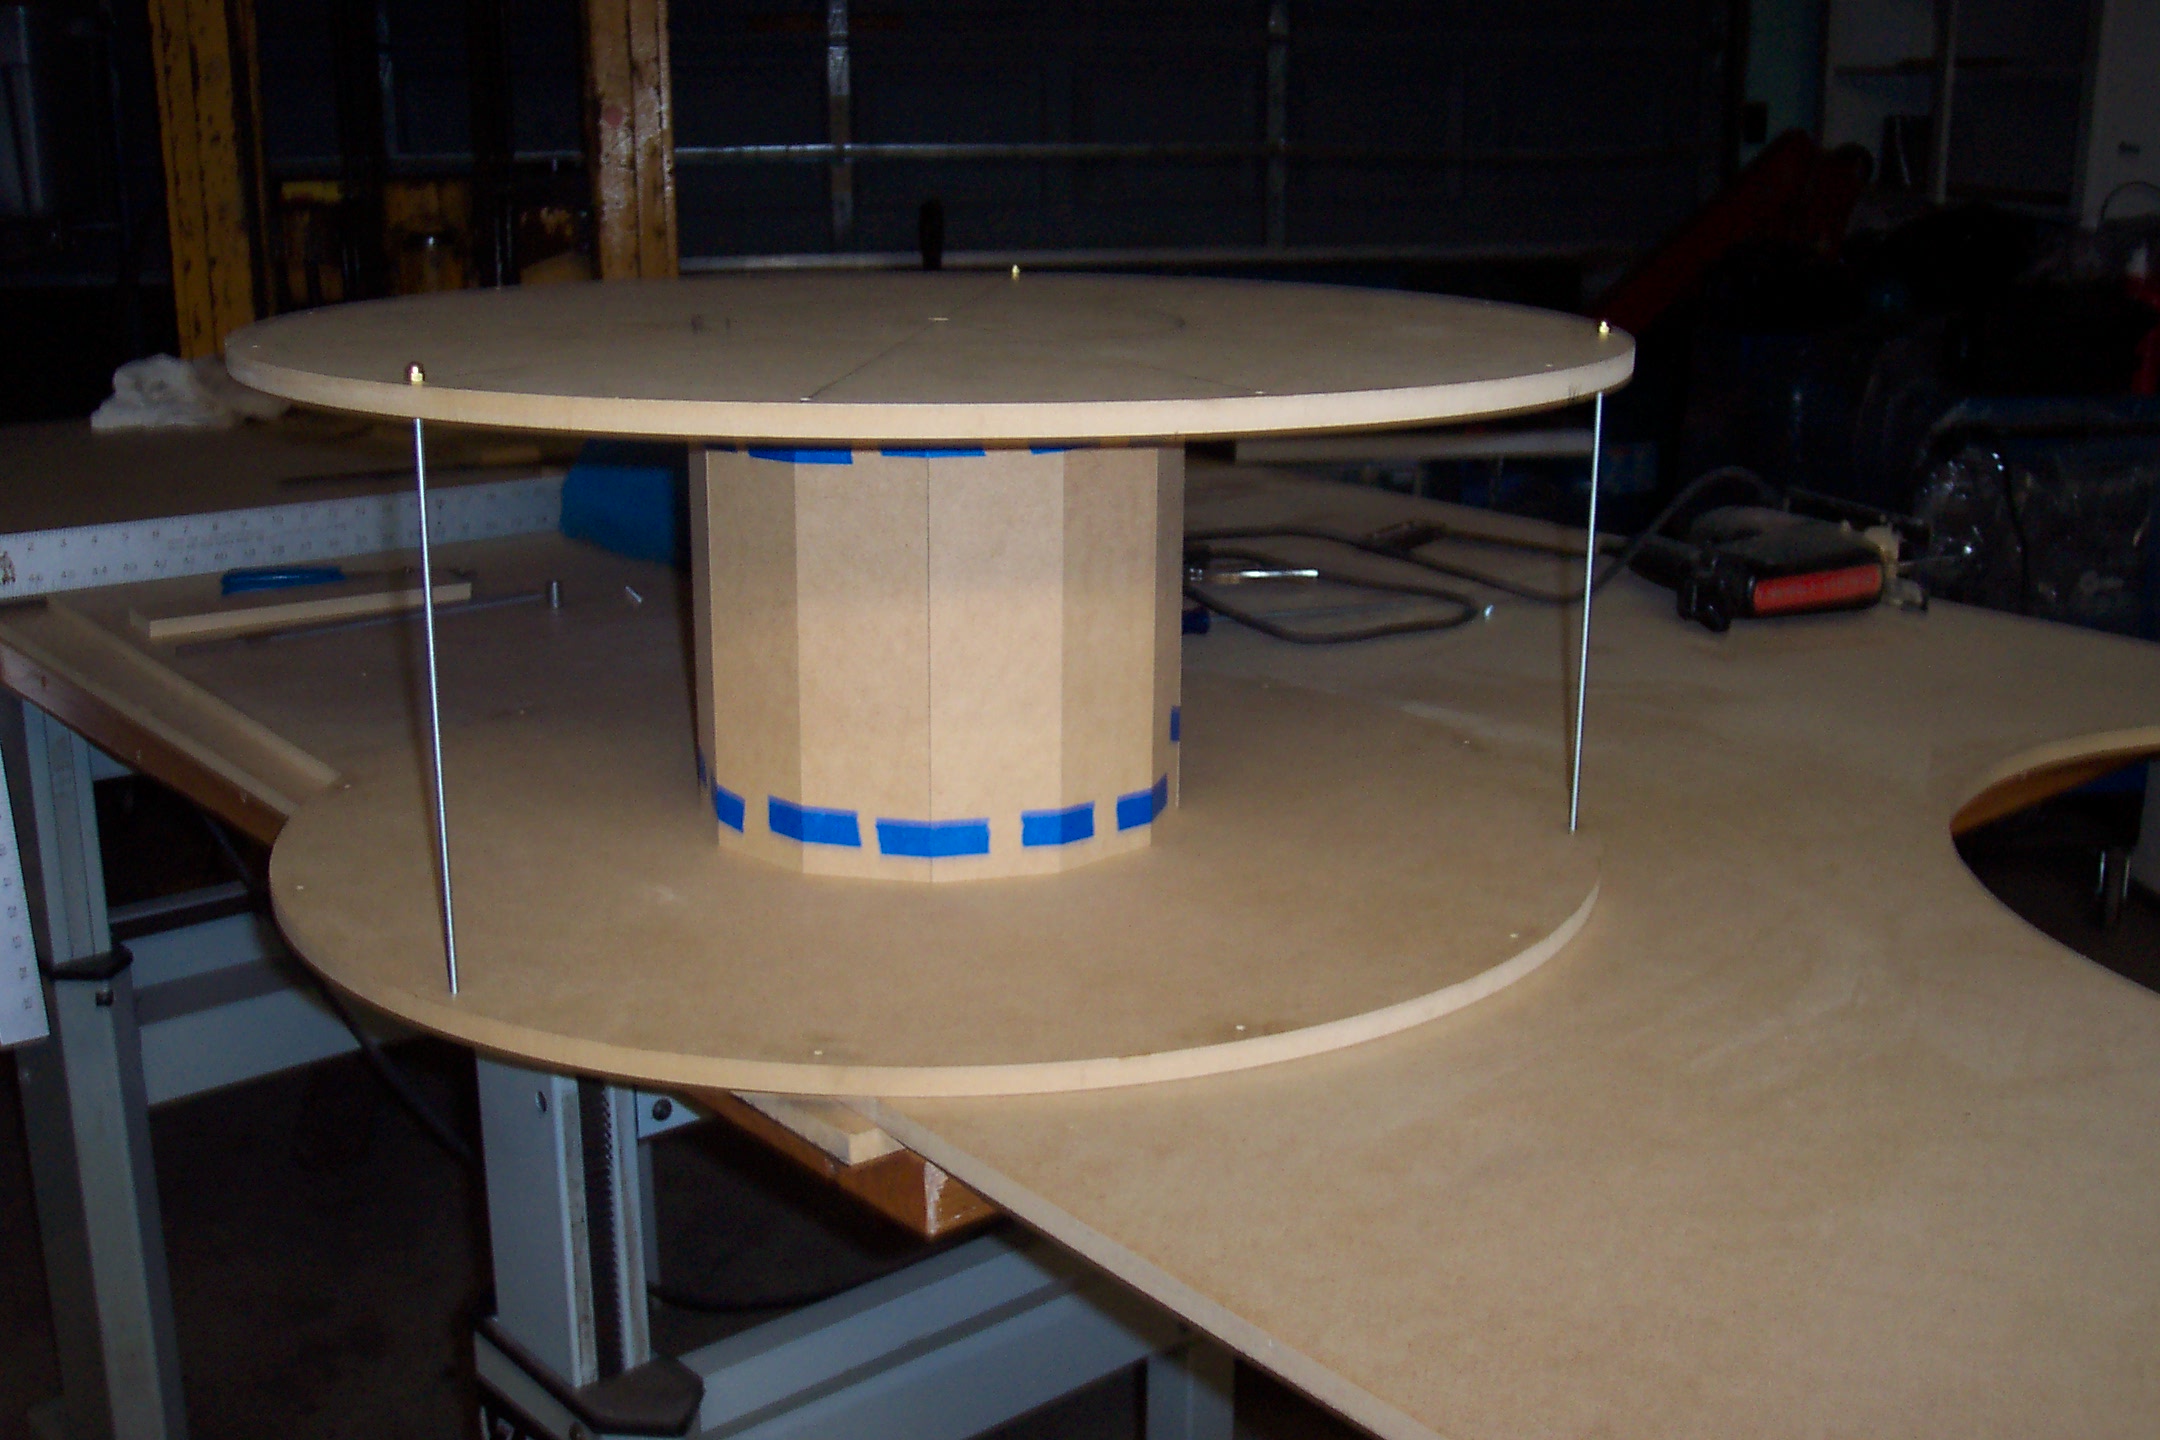
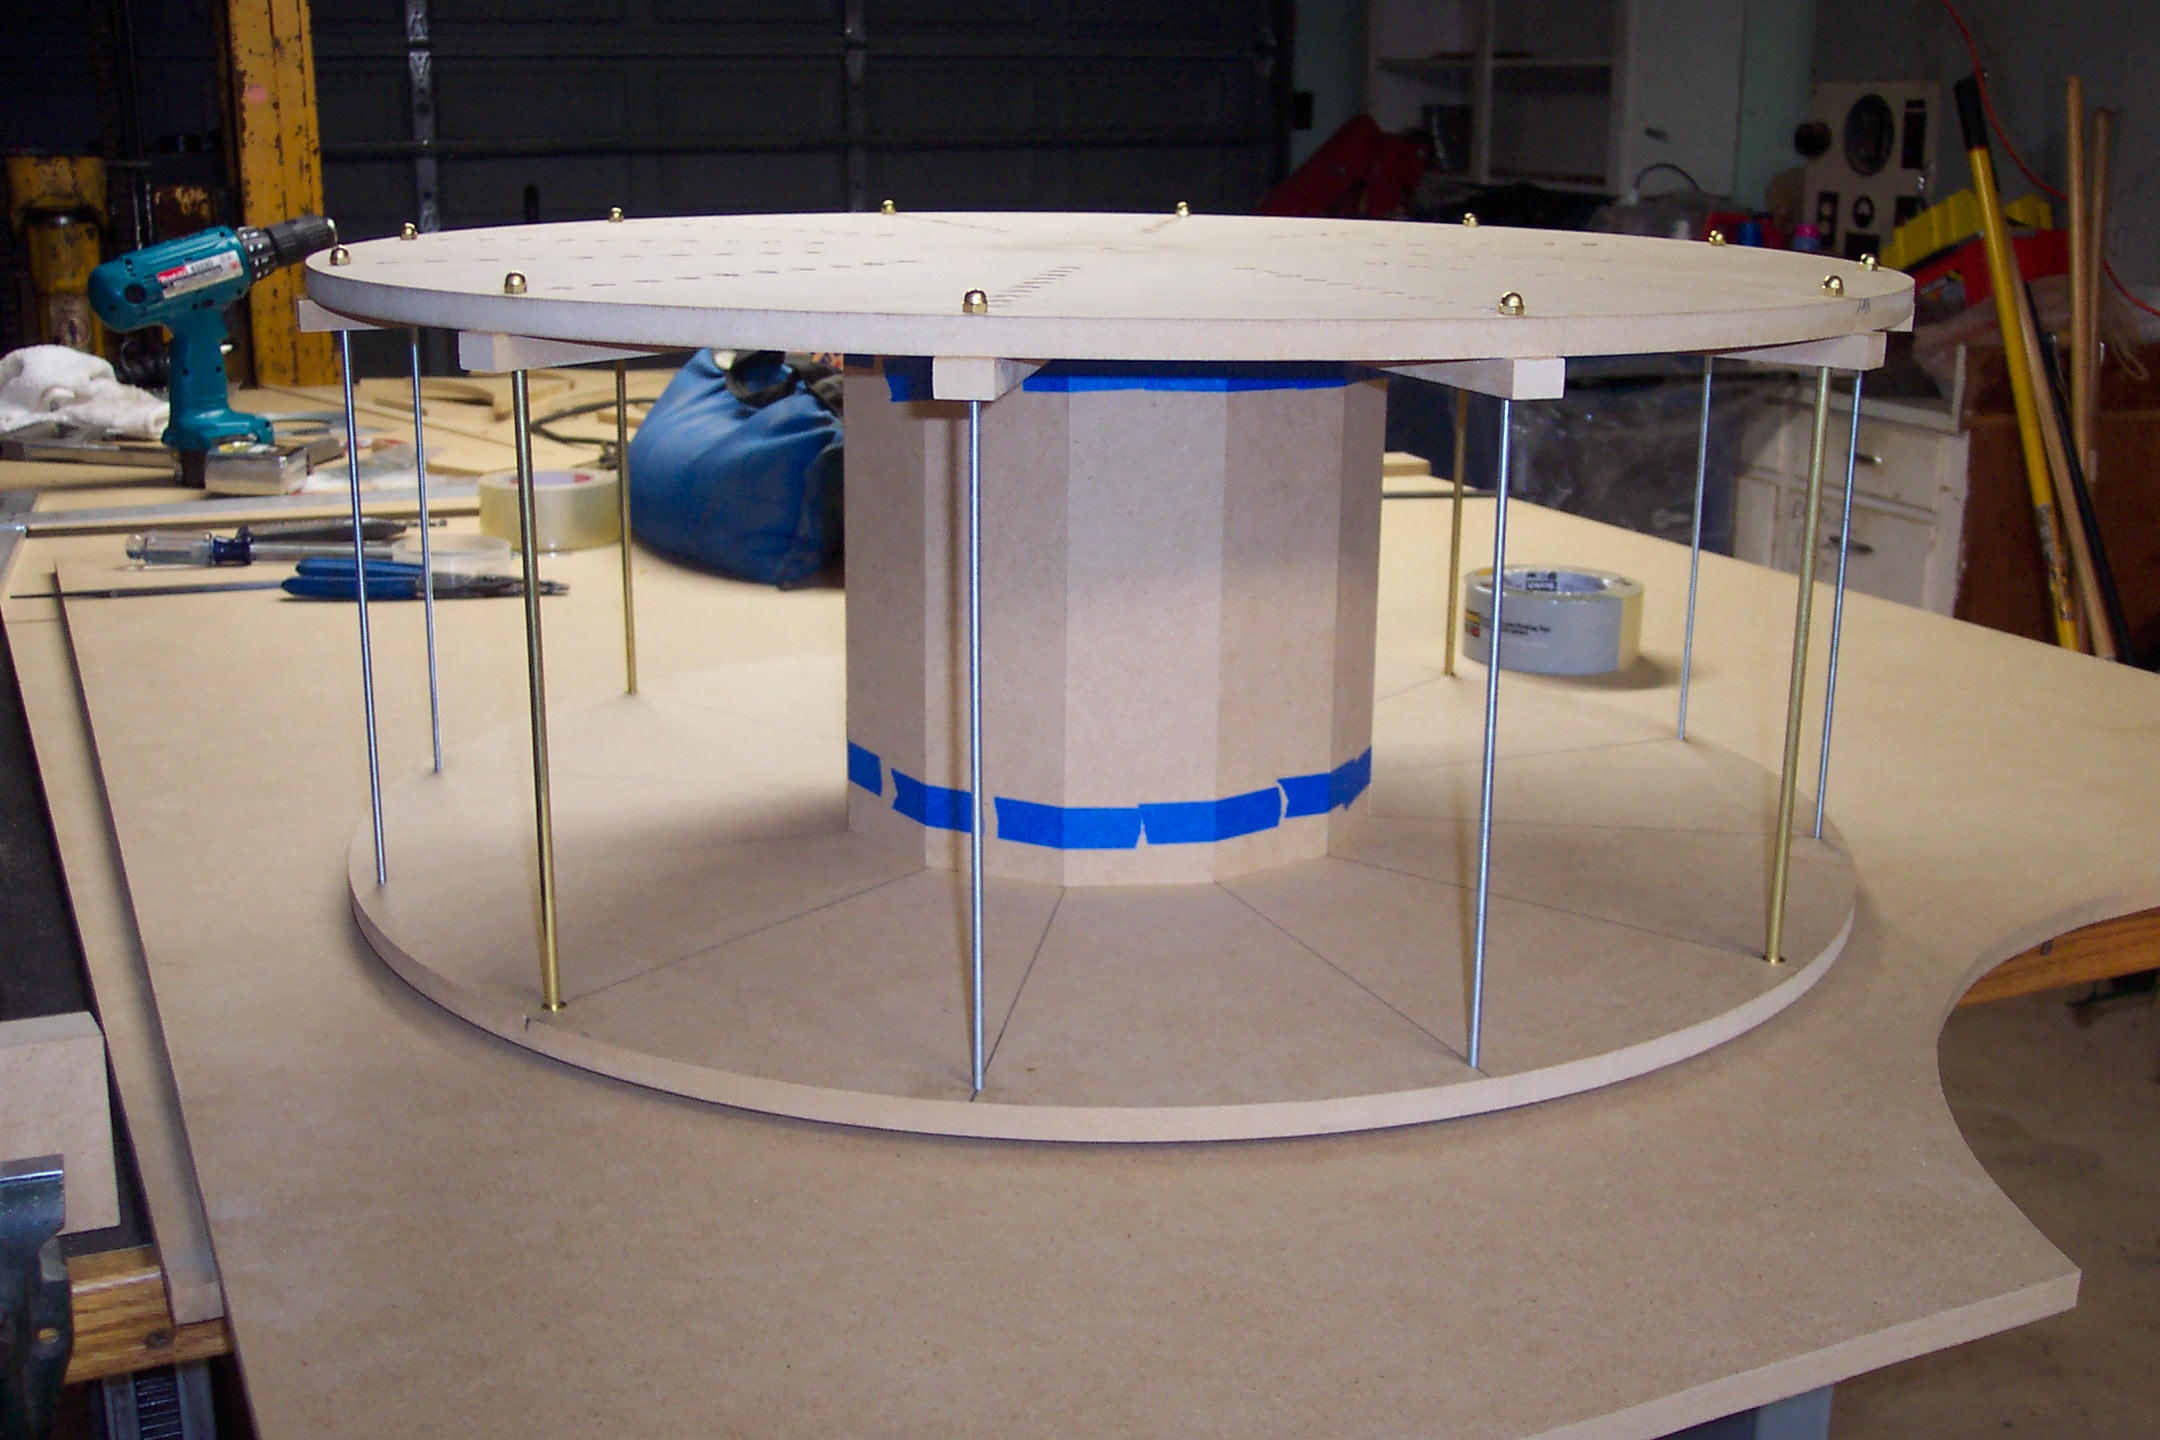
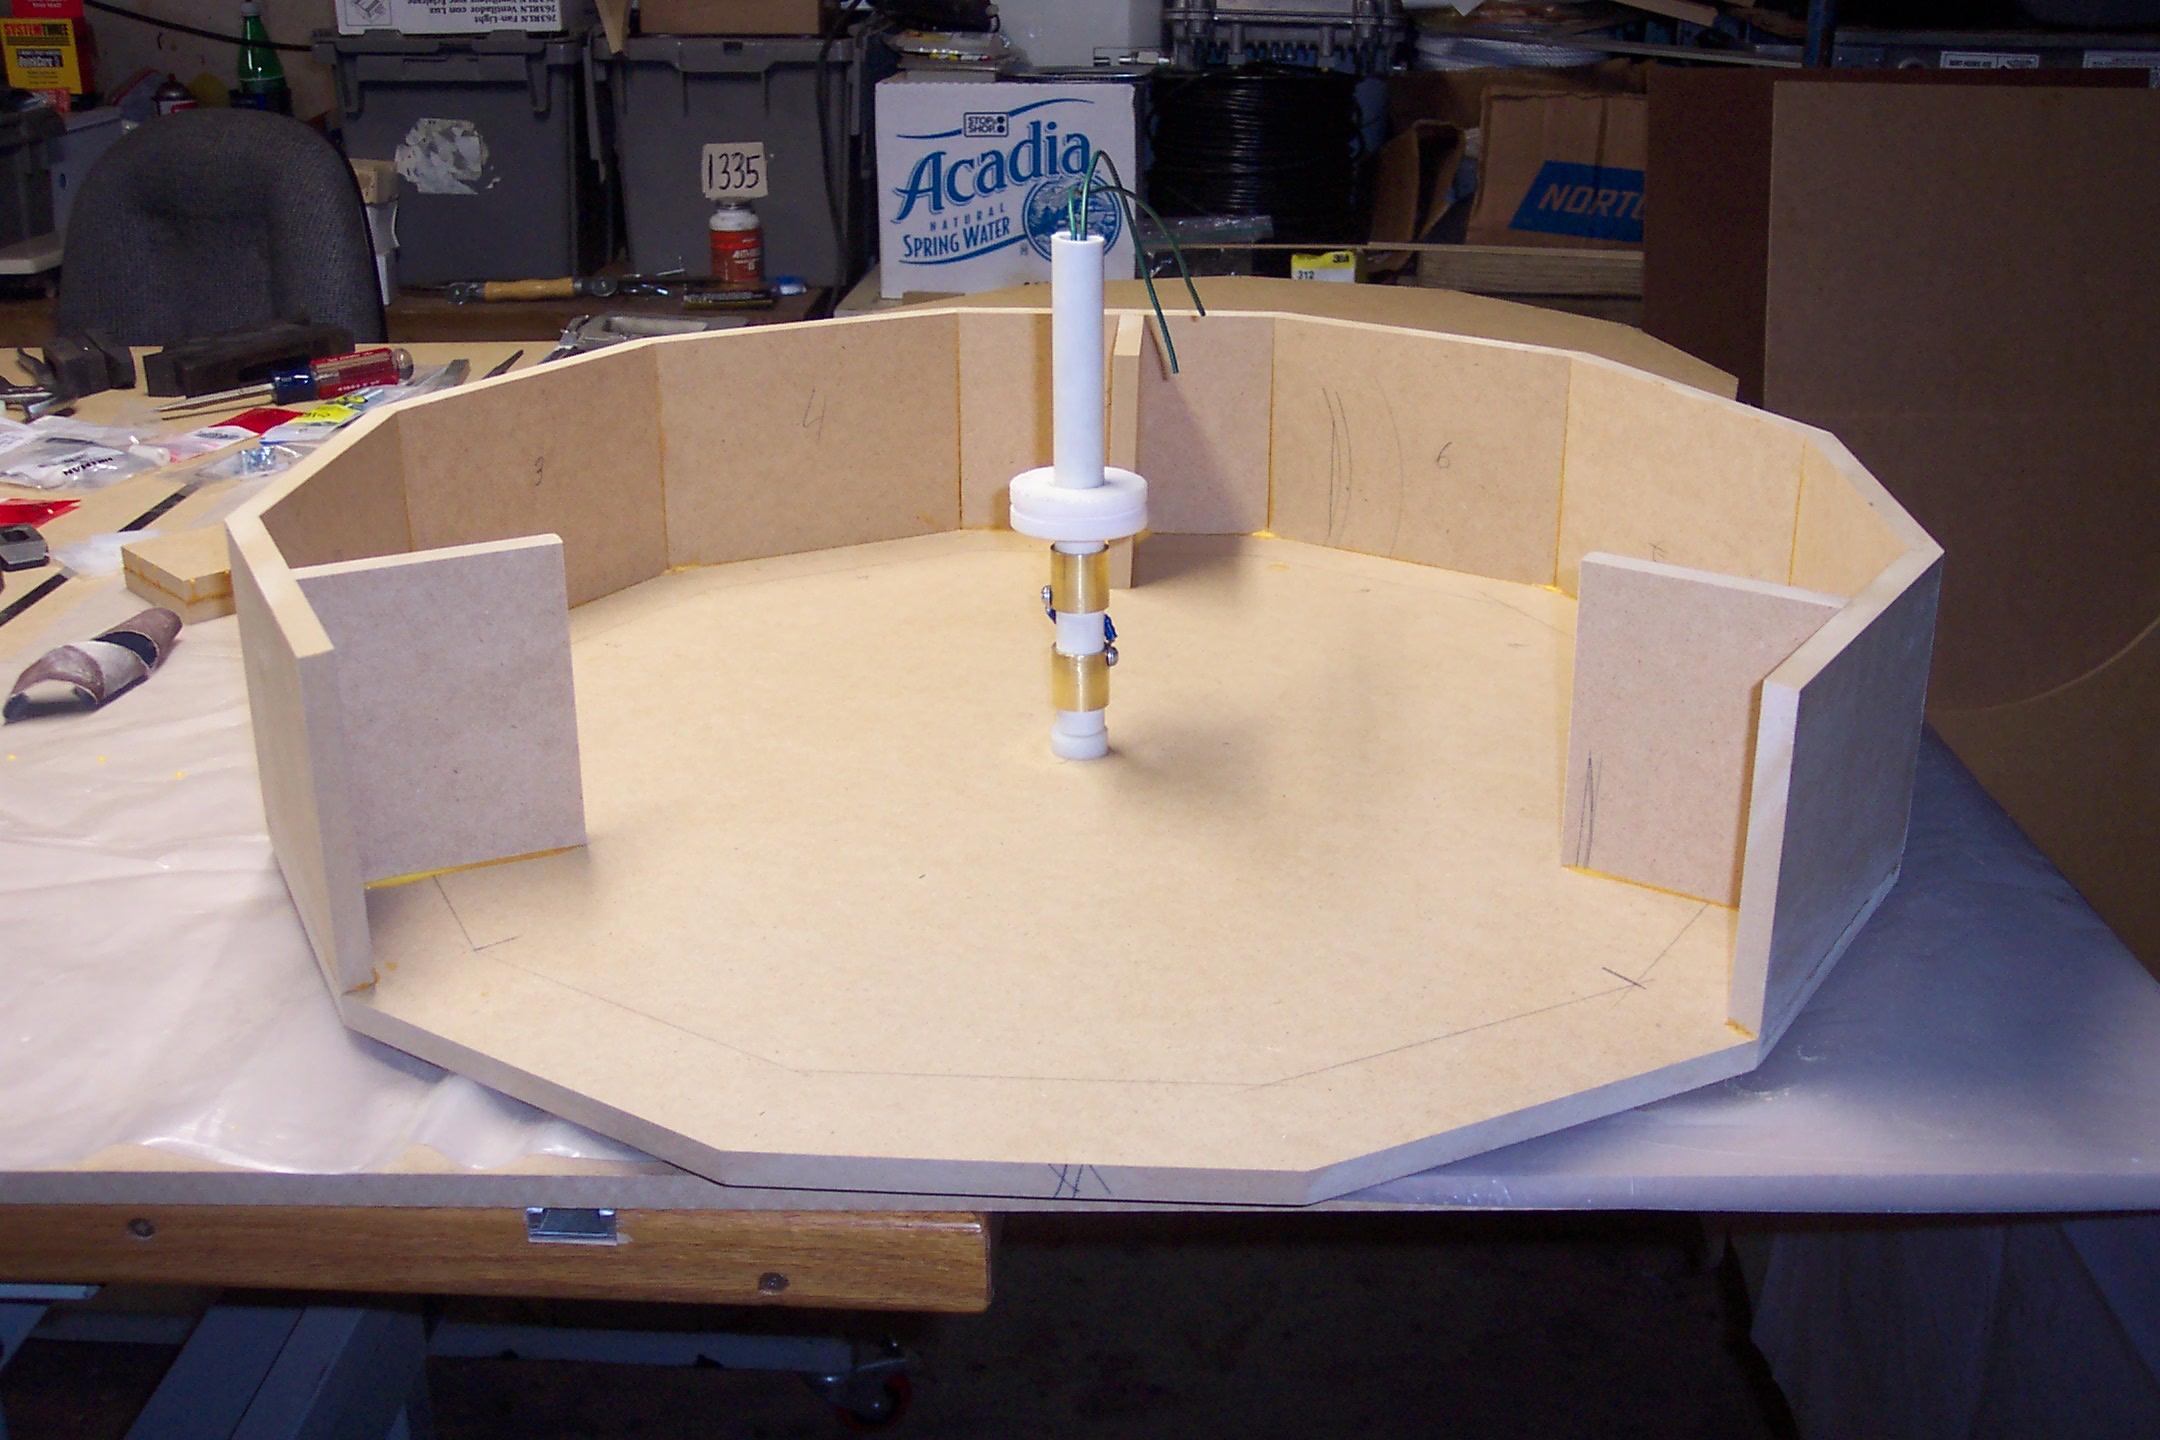
Test assembling the base and top with the center column and a few perimeter poles.
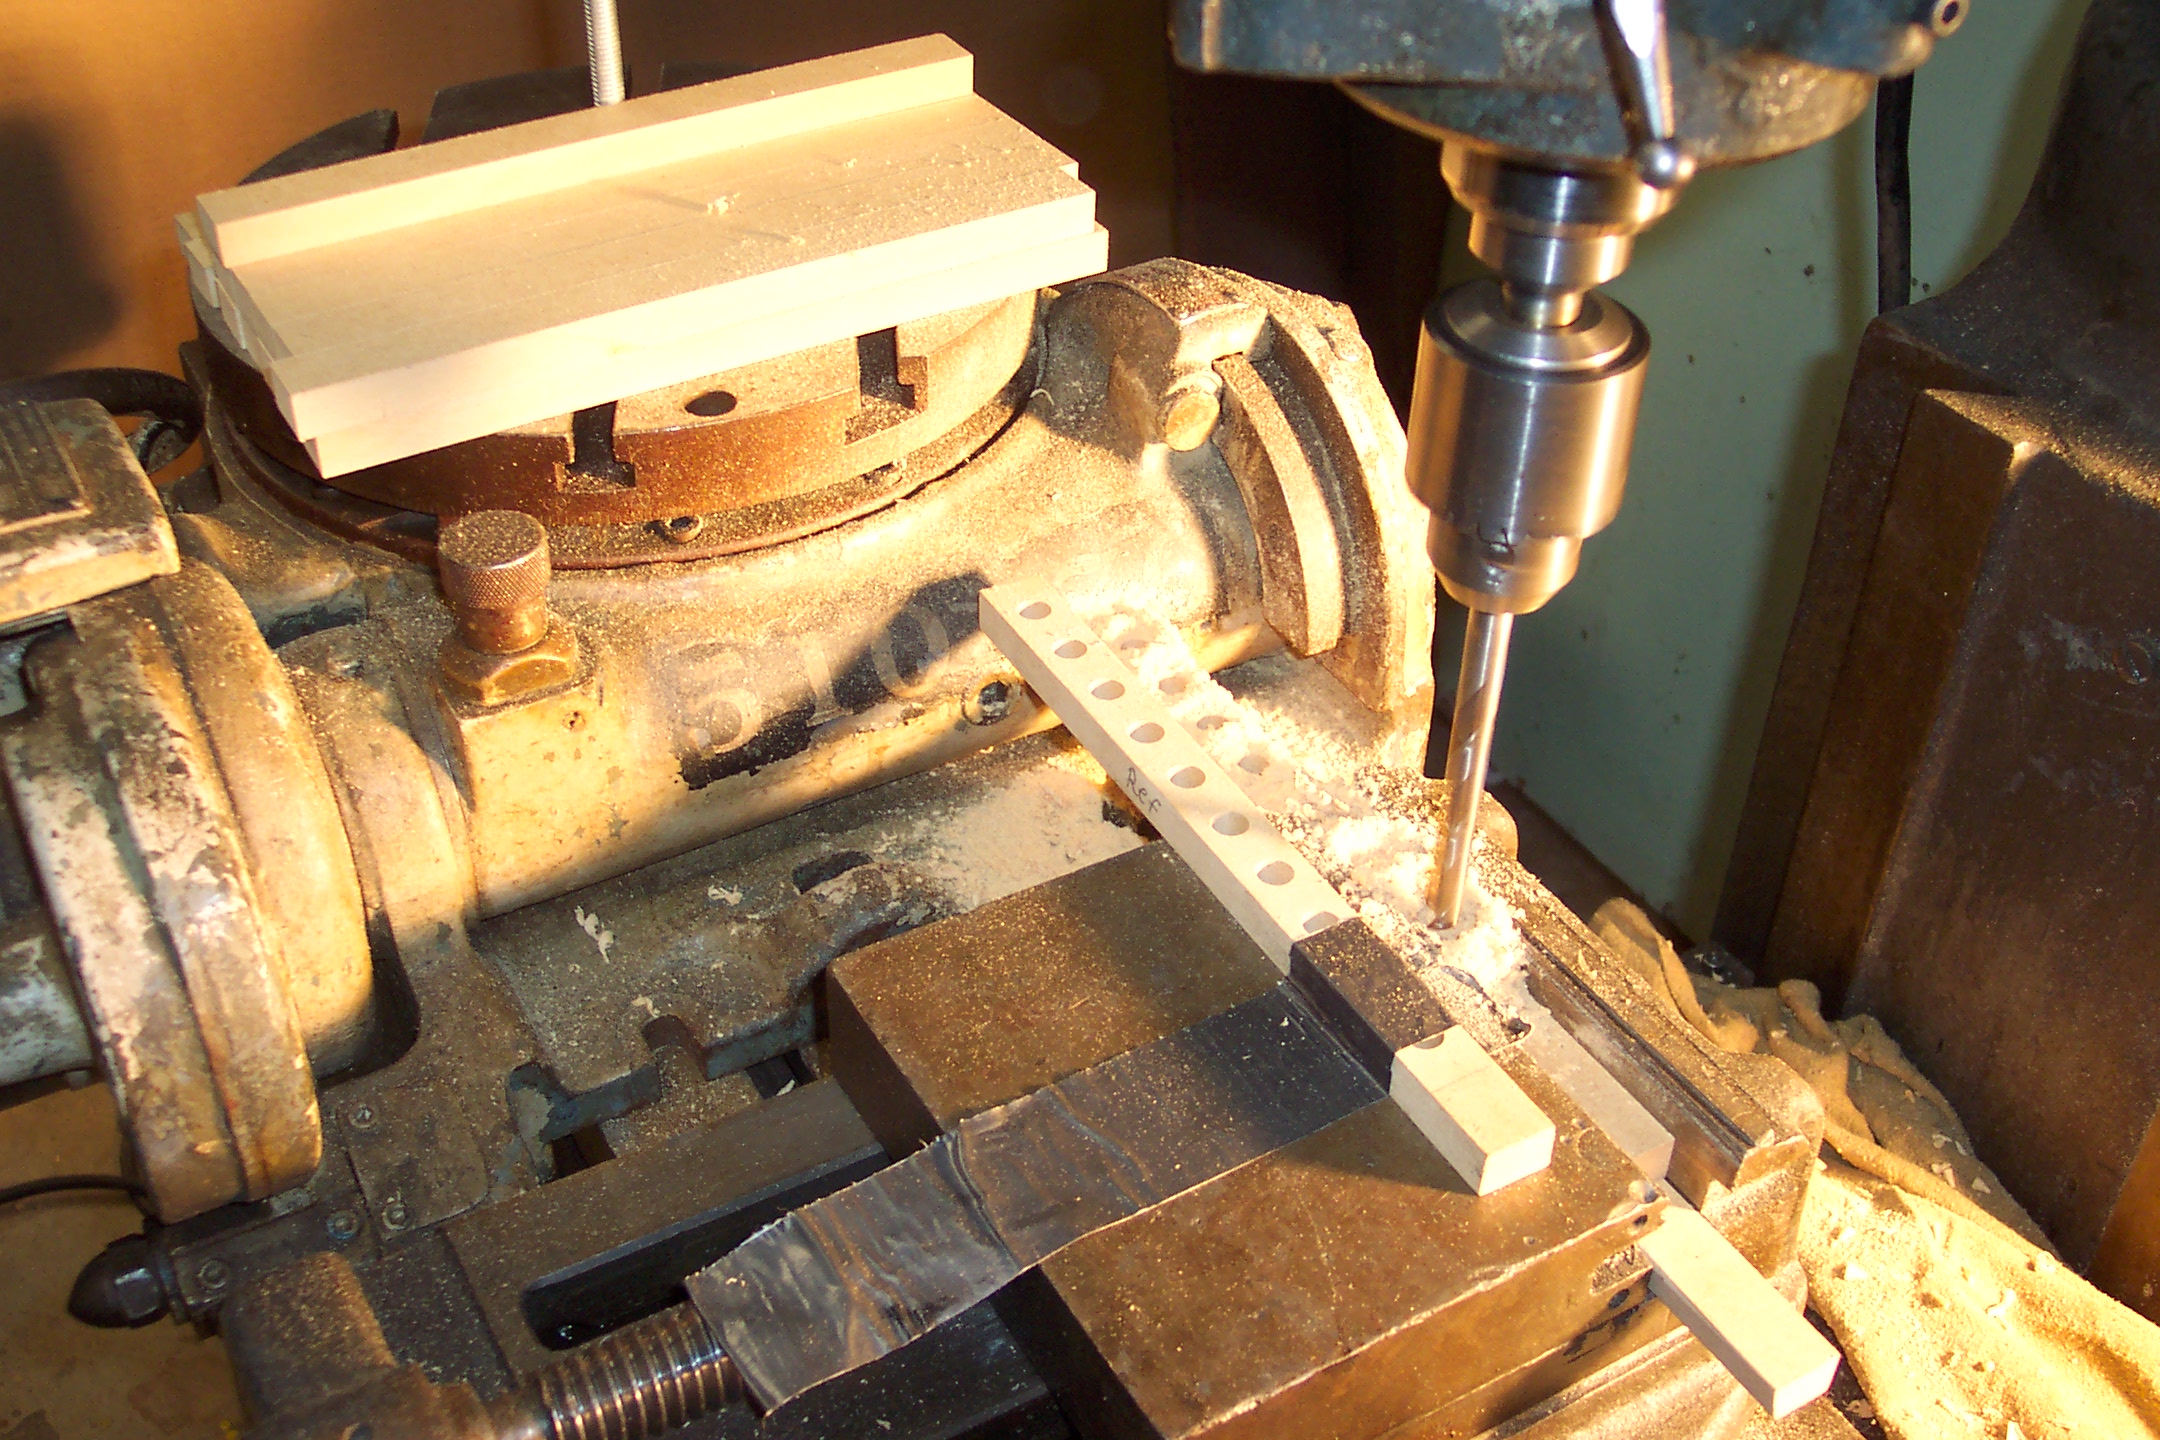
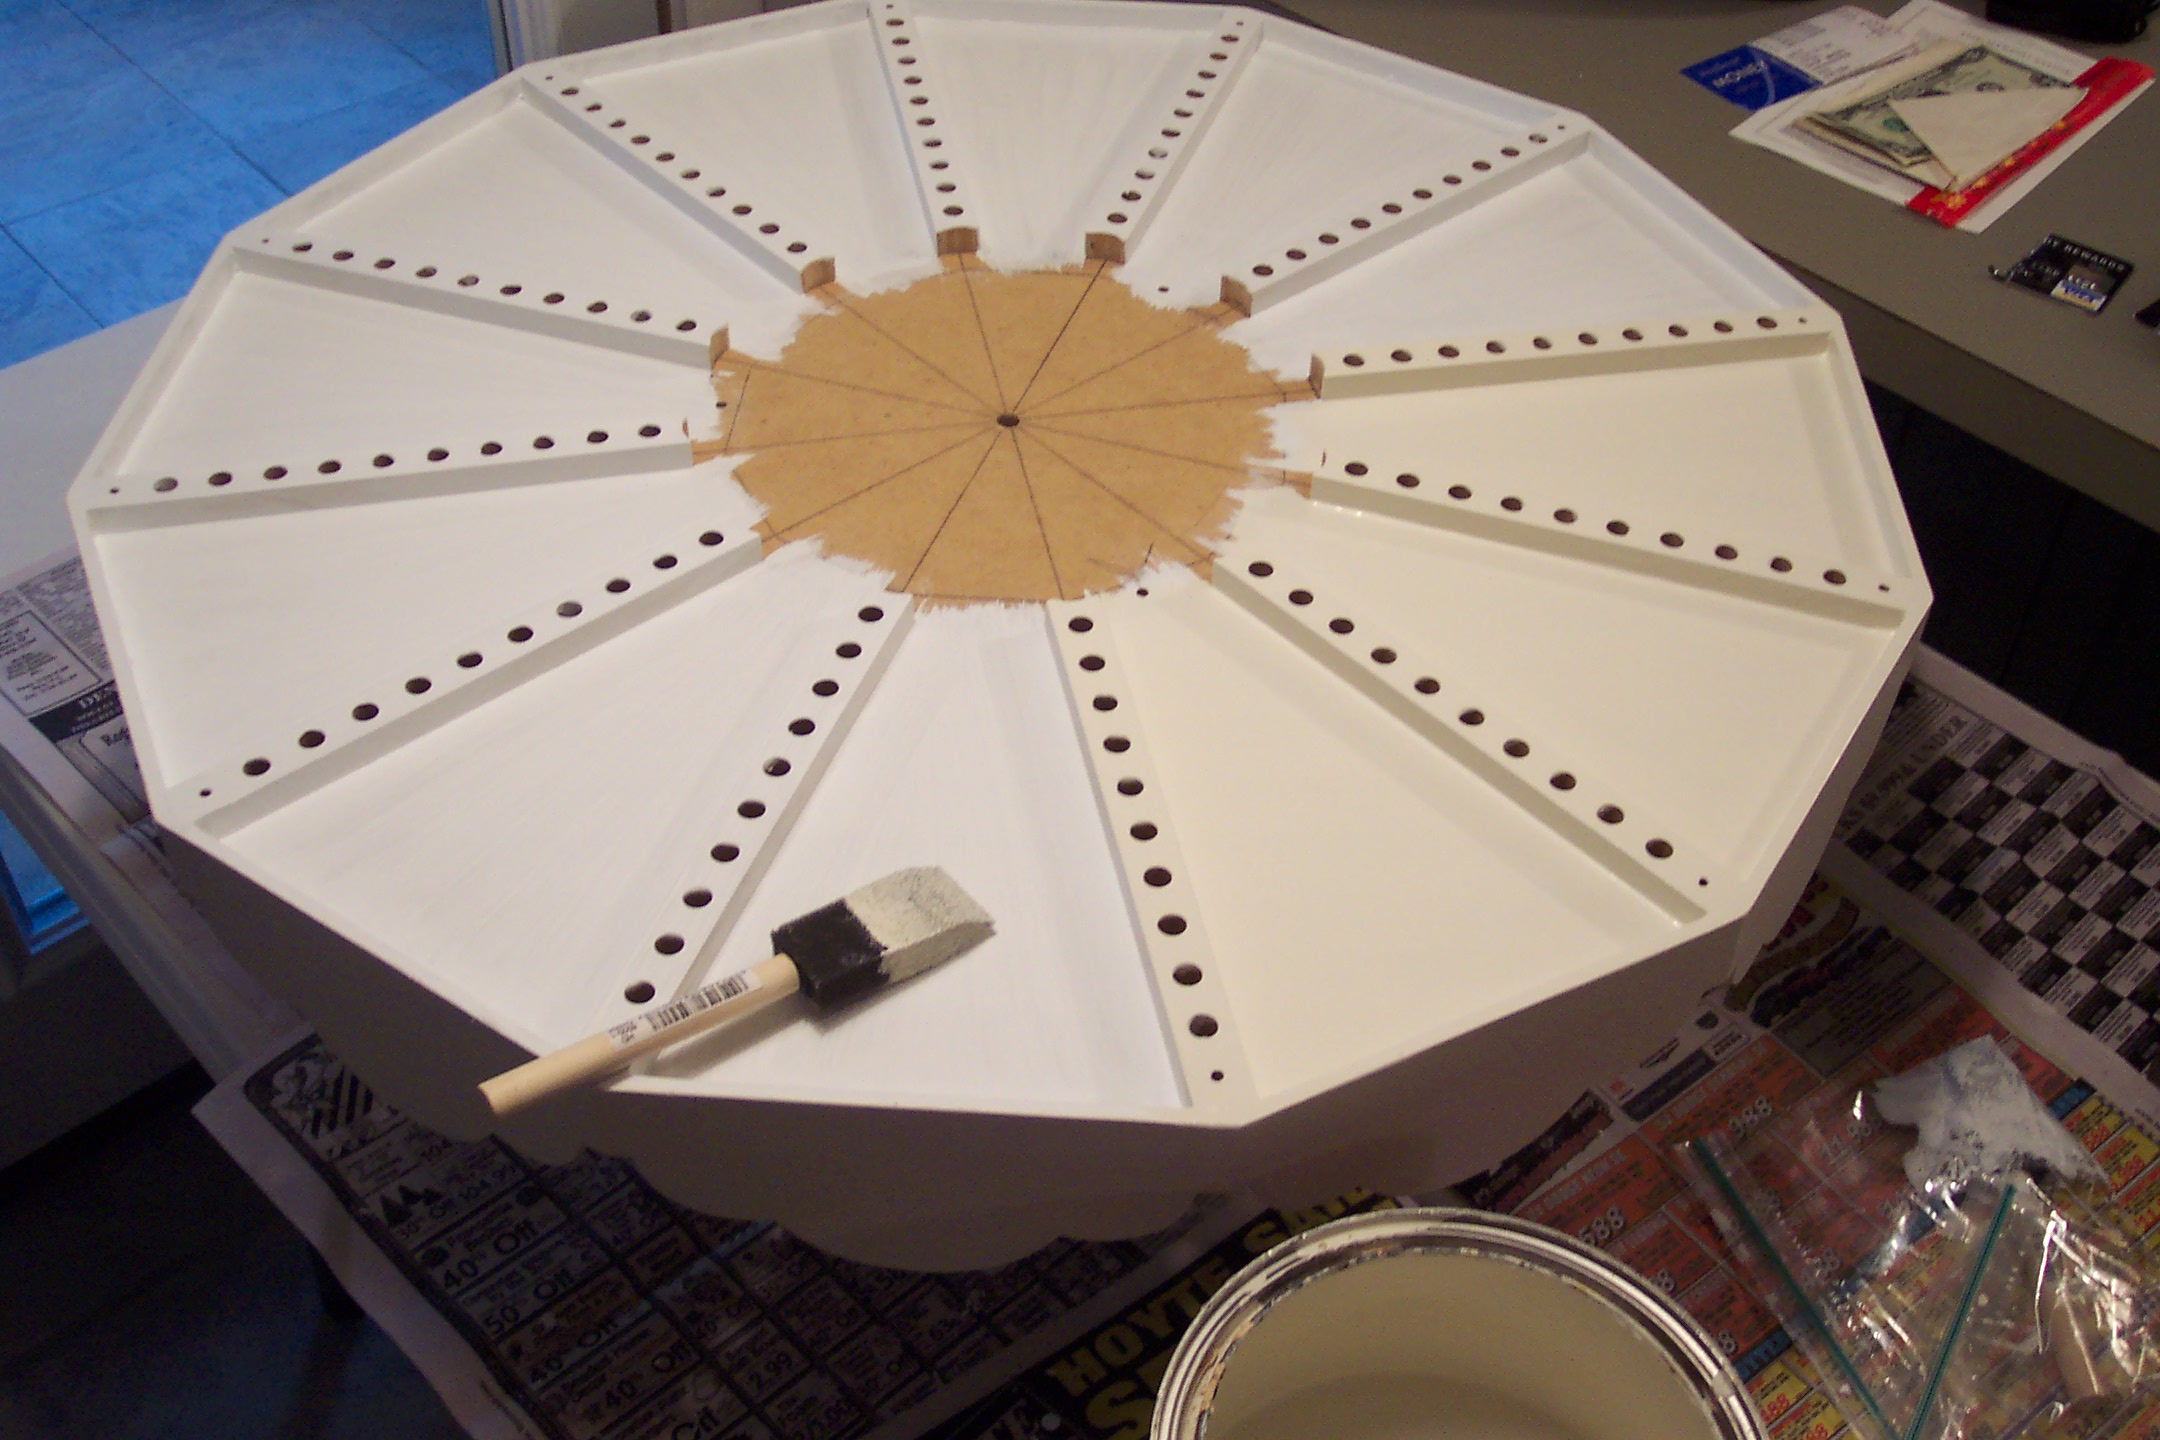
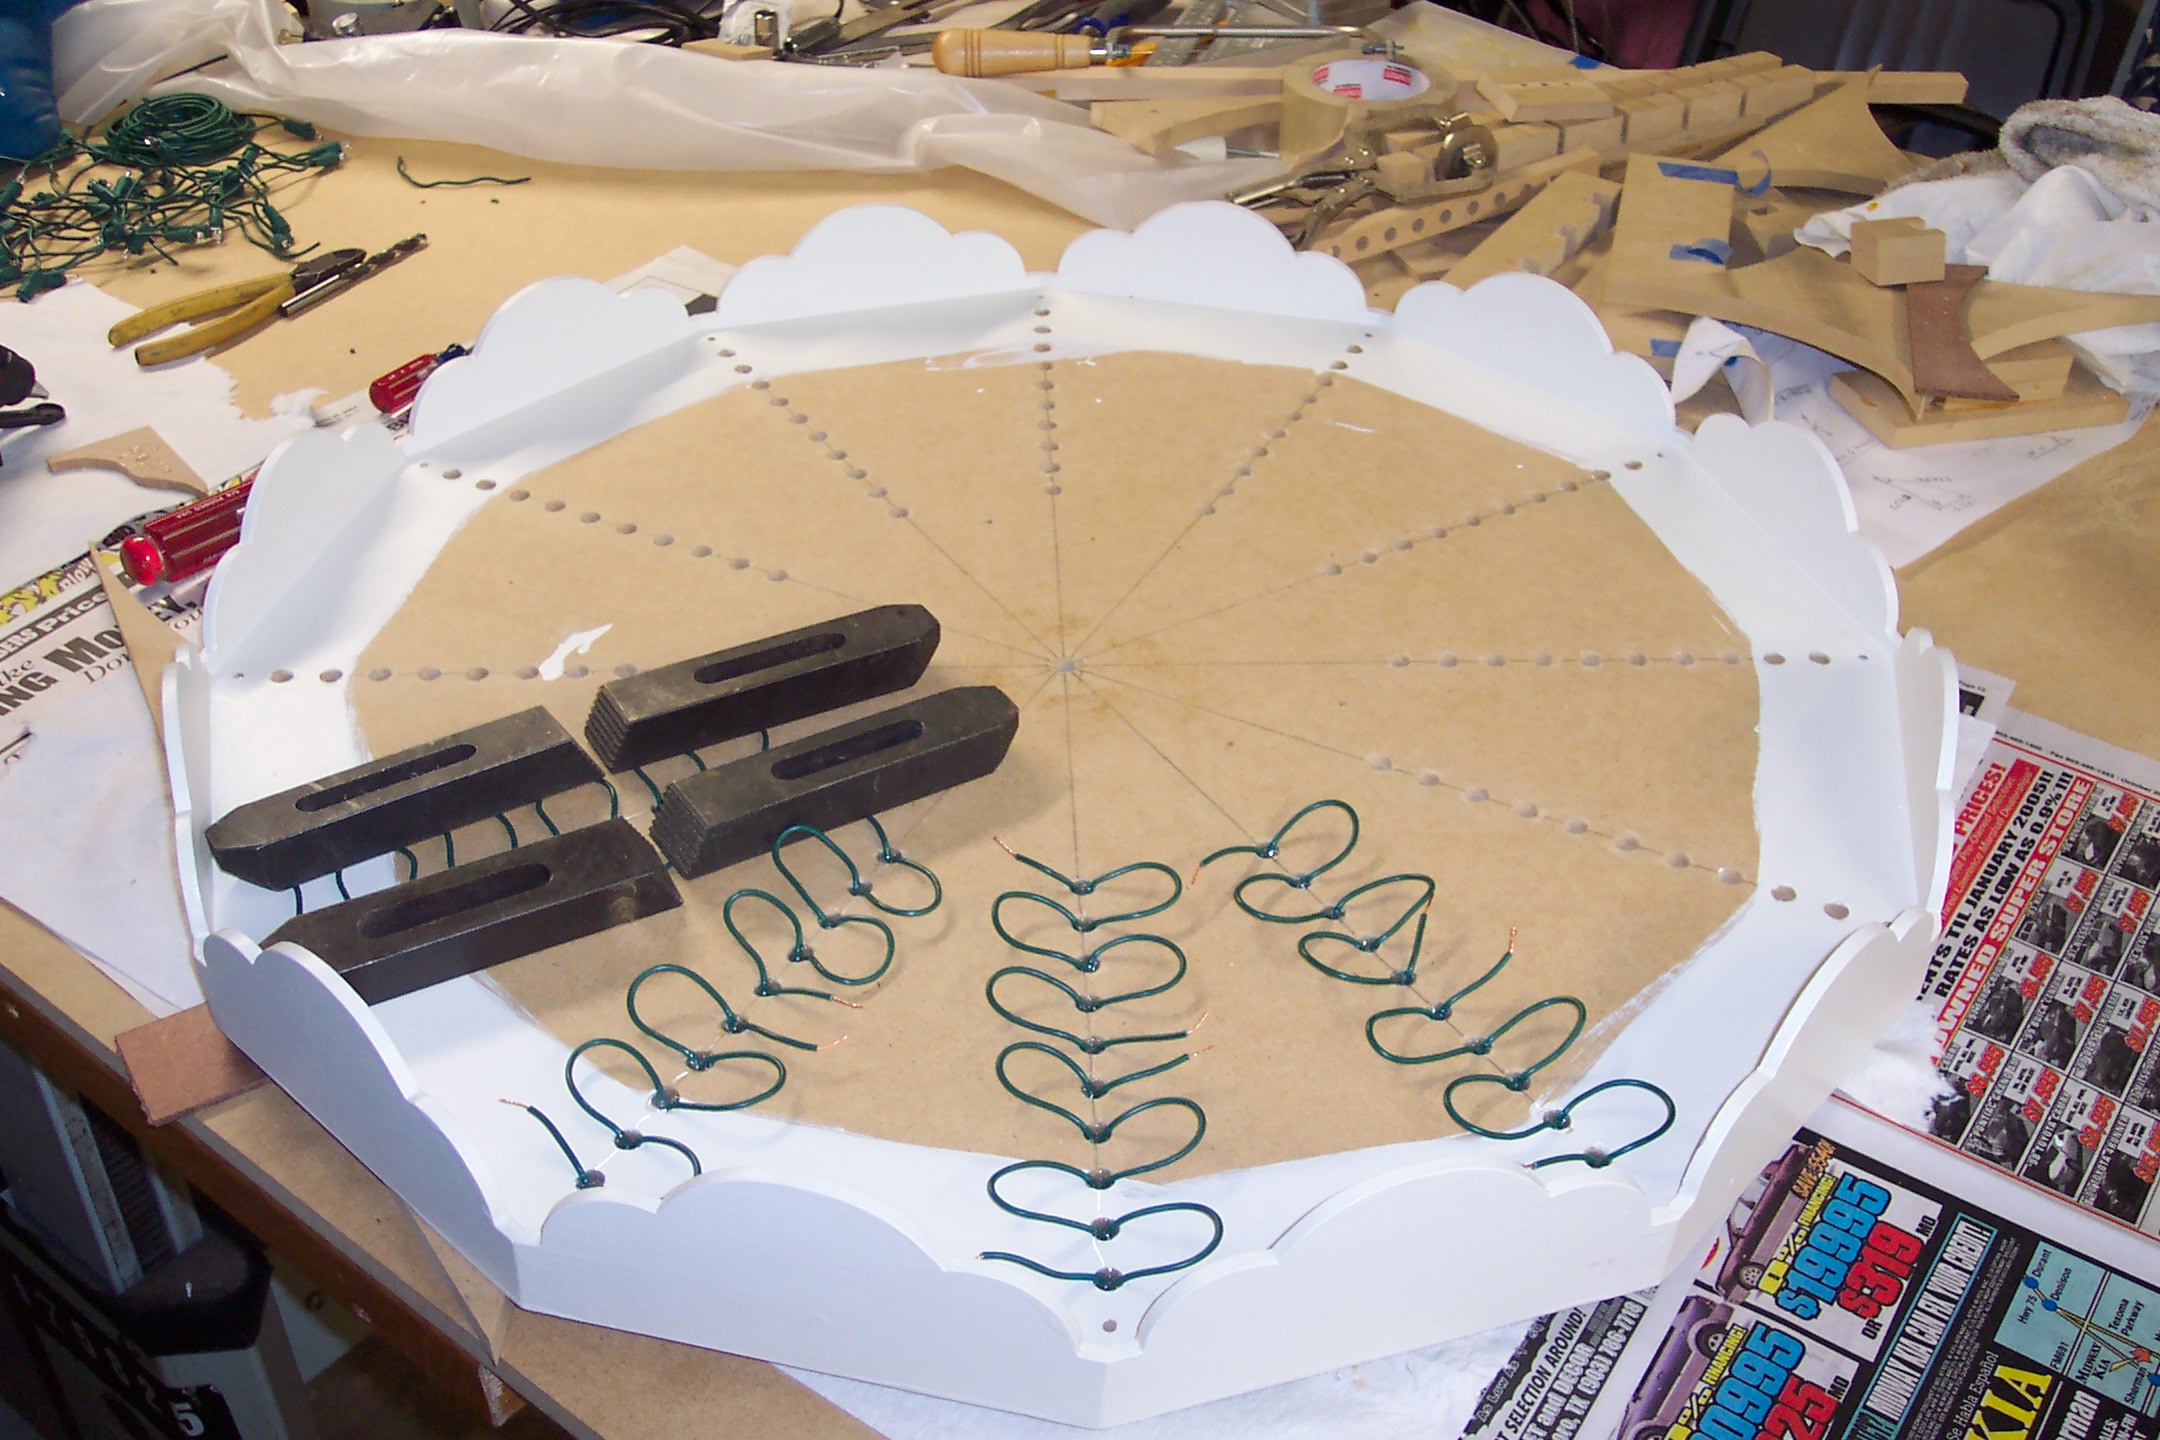
Milling the light bars. Gluing the light bars to the top. Through drilling the light bars.
A more complete test assembly. Only a few of the twelve perimeter poles have their brass tubes since the local store didn't have enough tubing in stock.
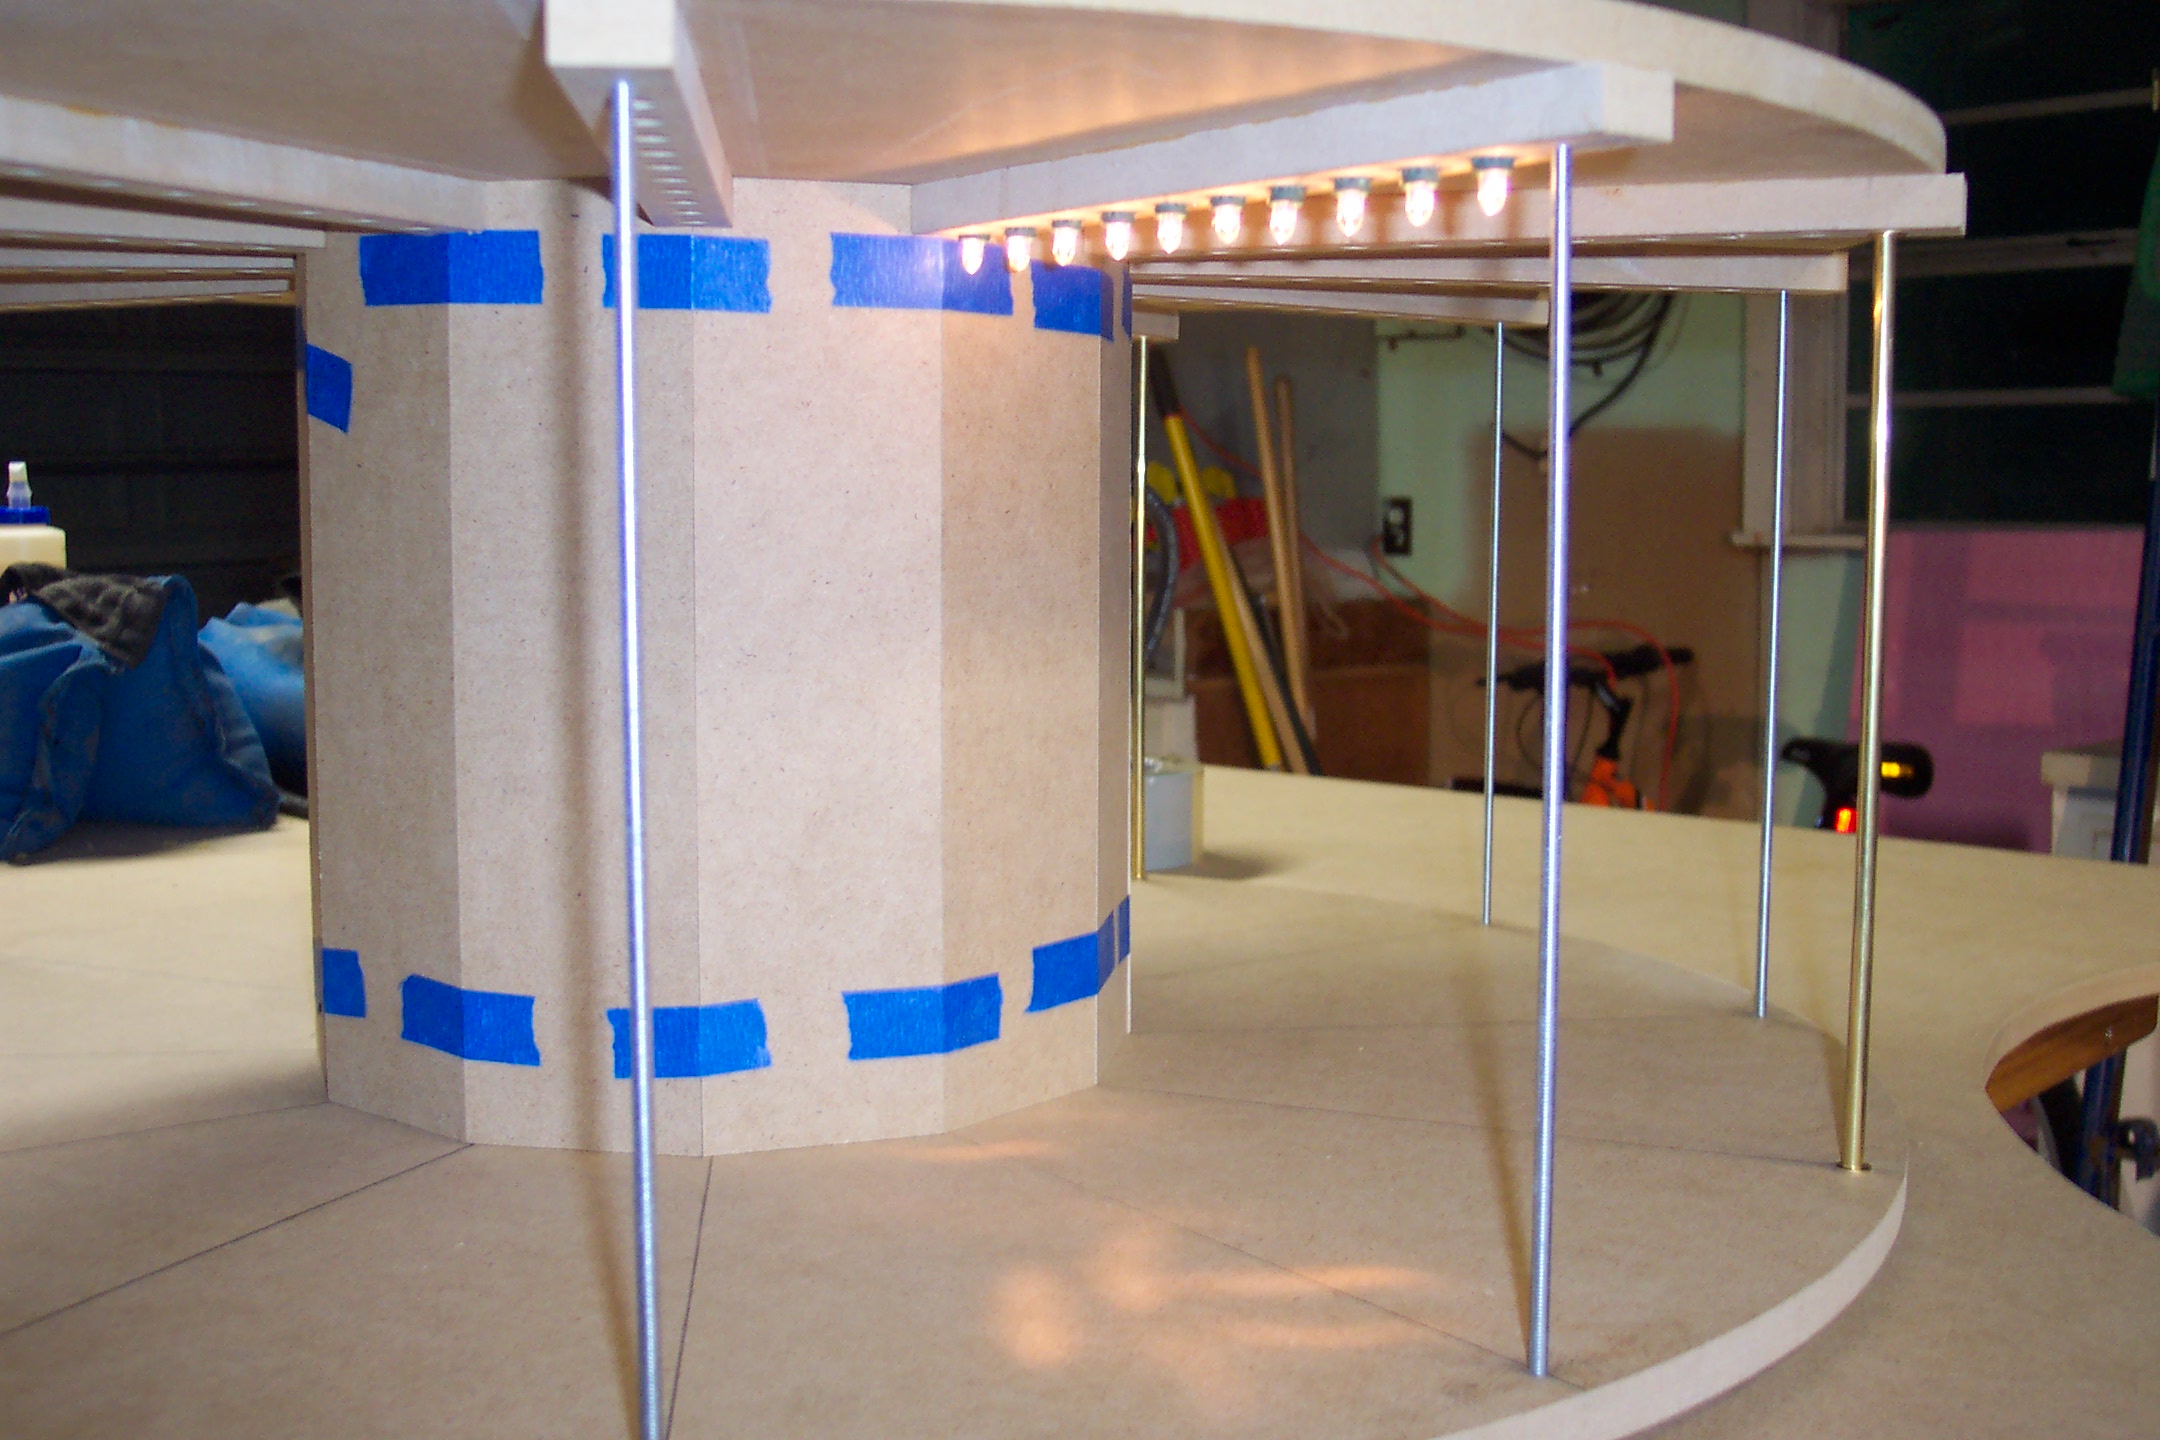
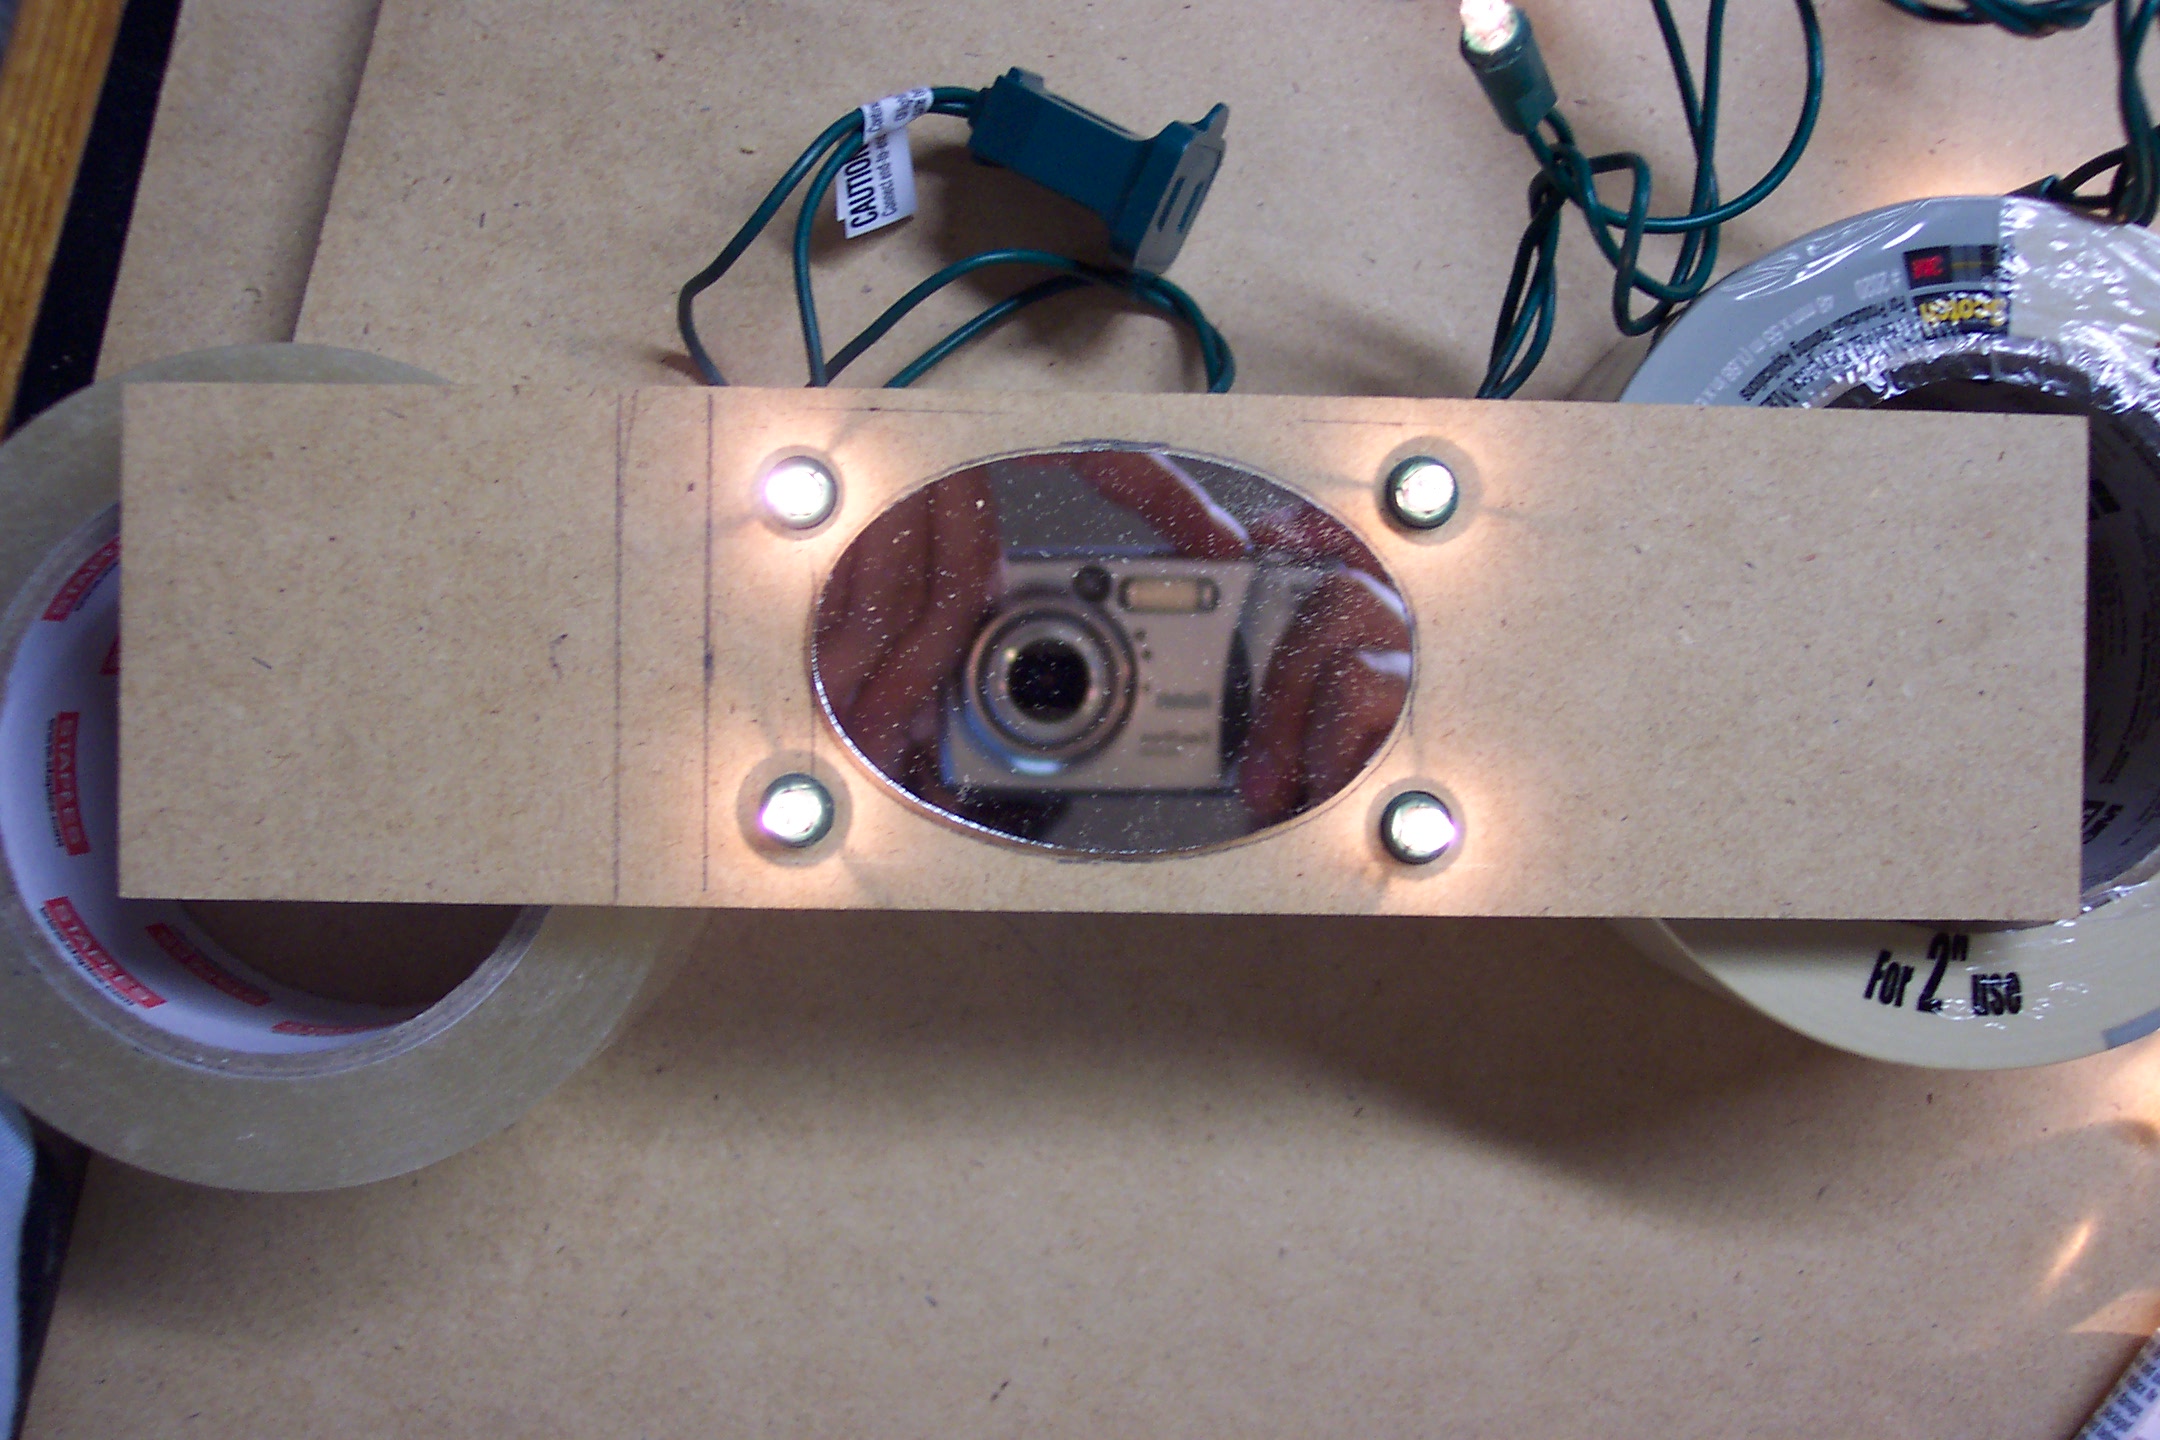
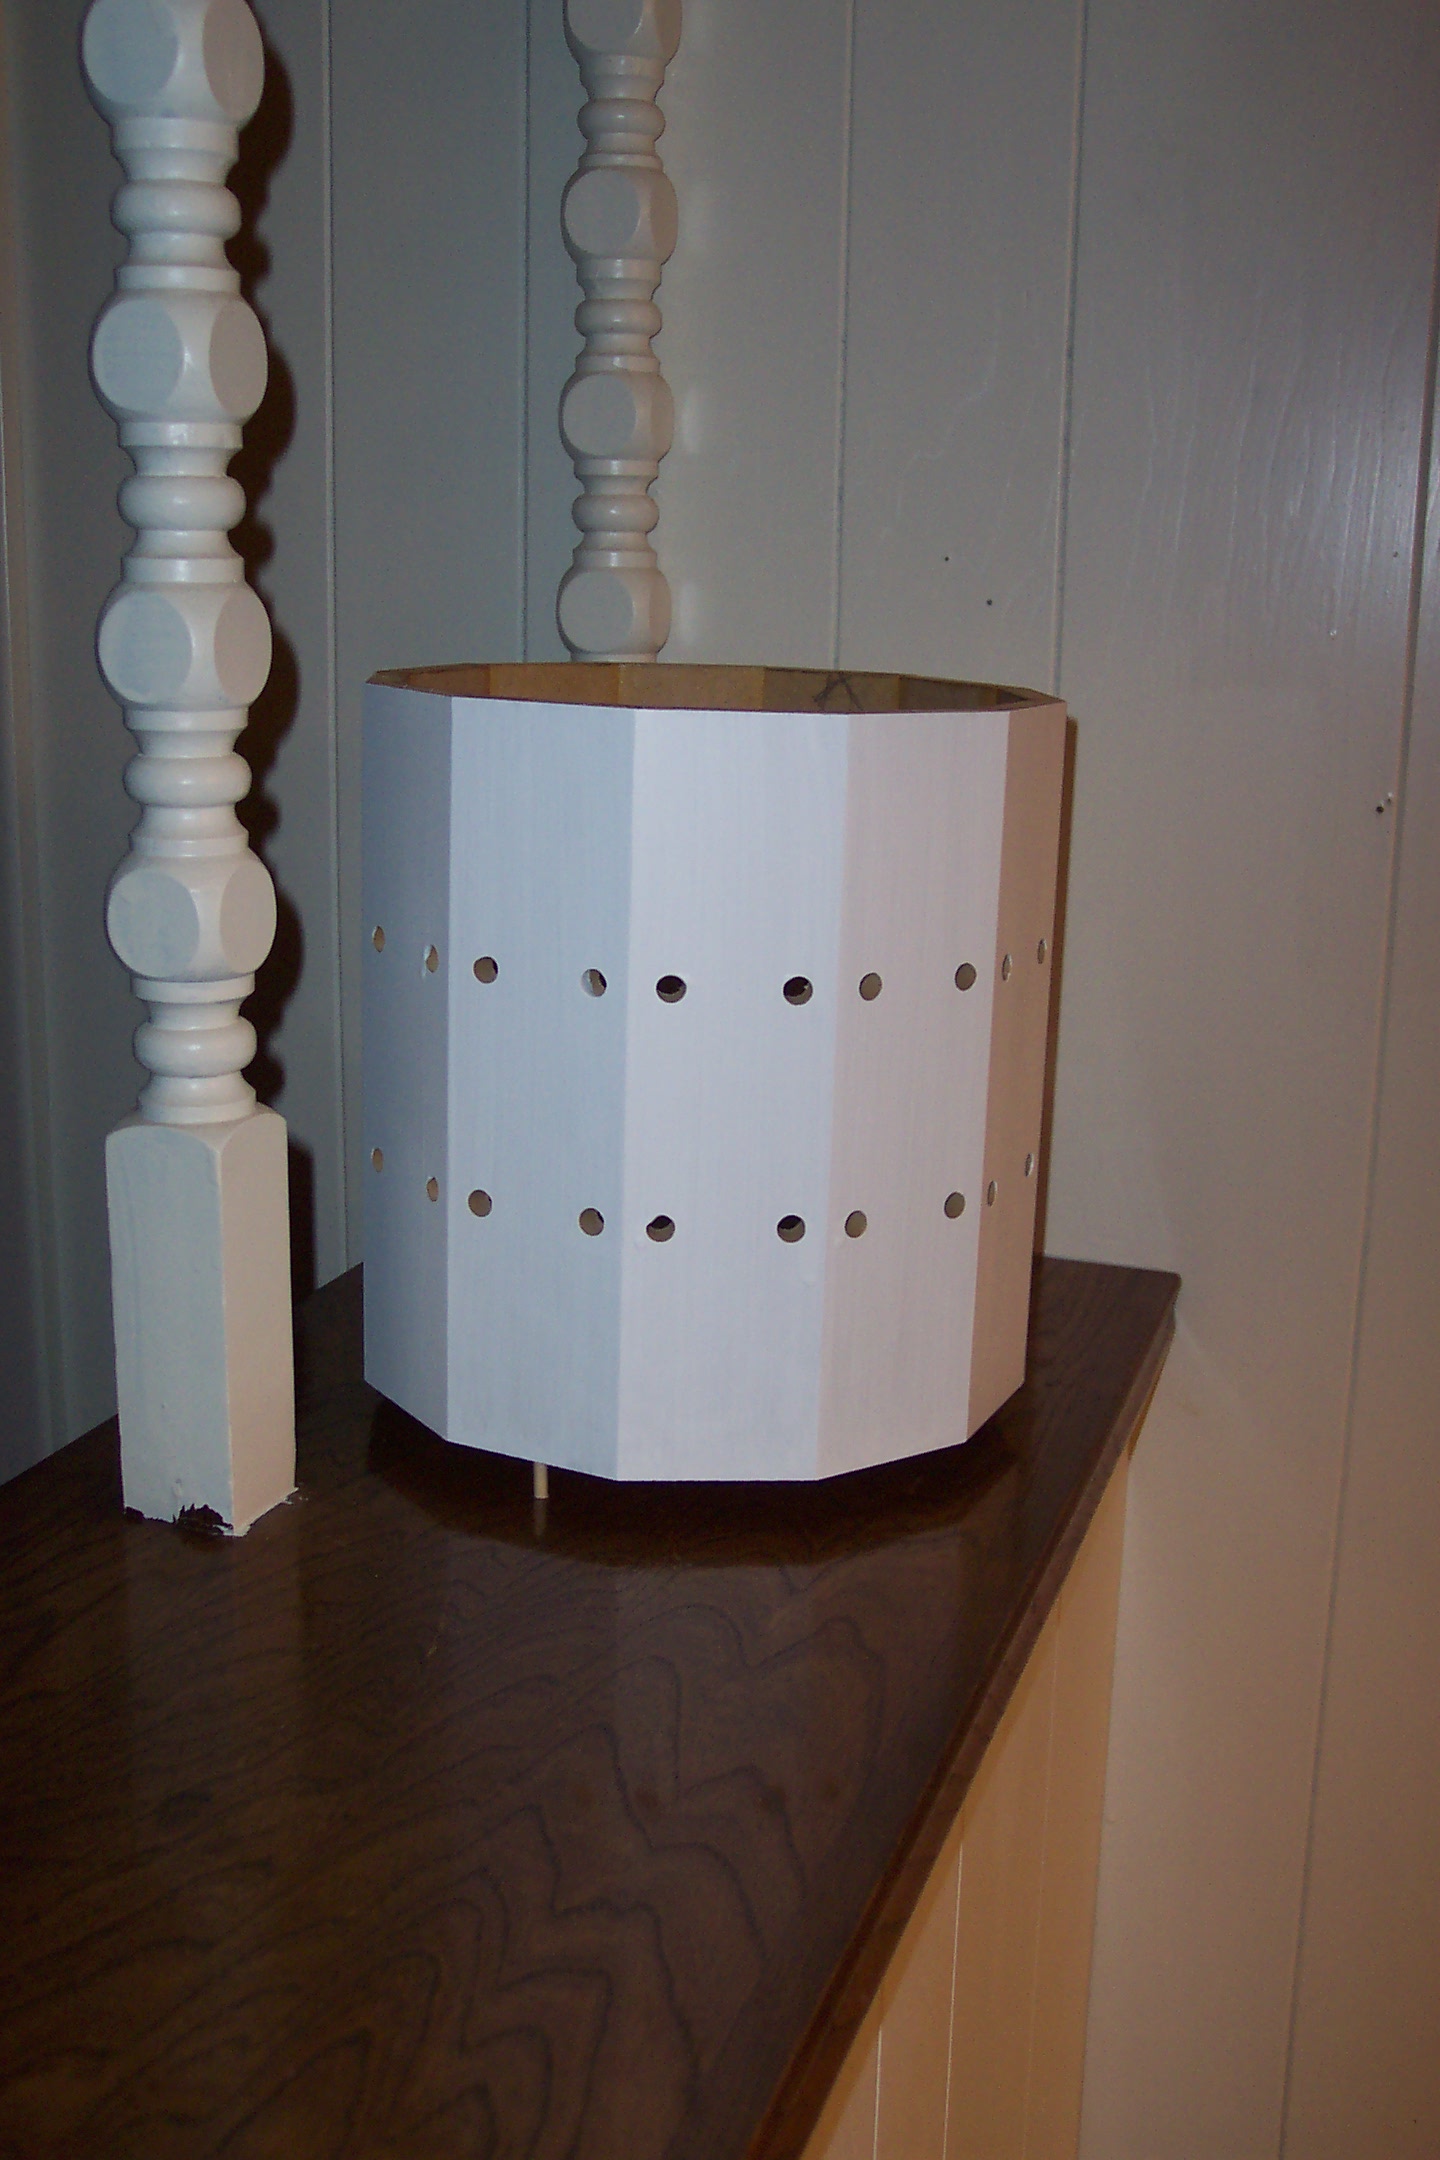
Testing some lights in the light bar. Testing the lighting and décor design for the center column.
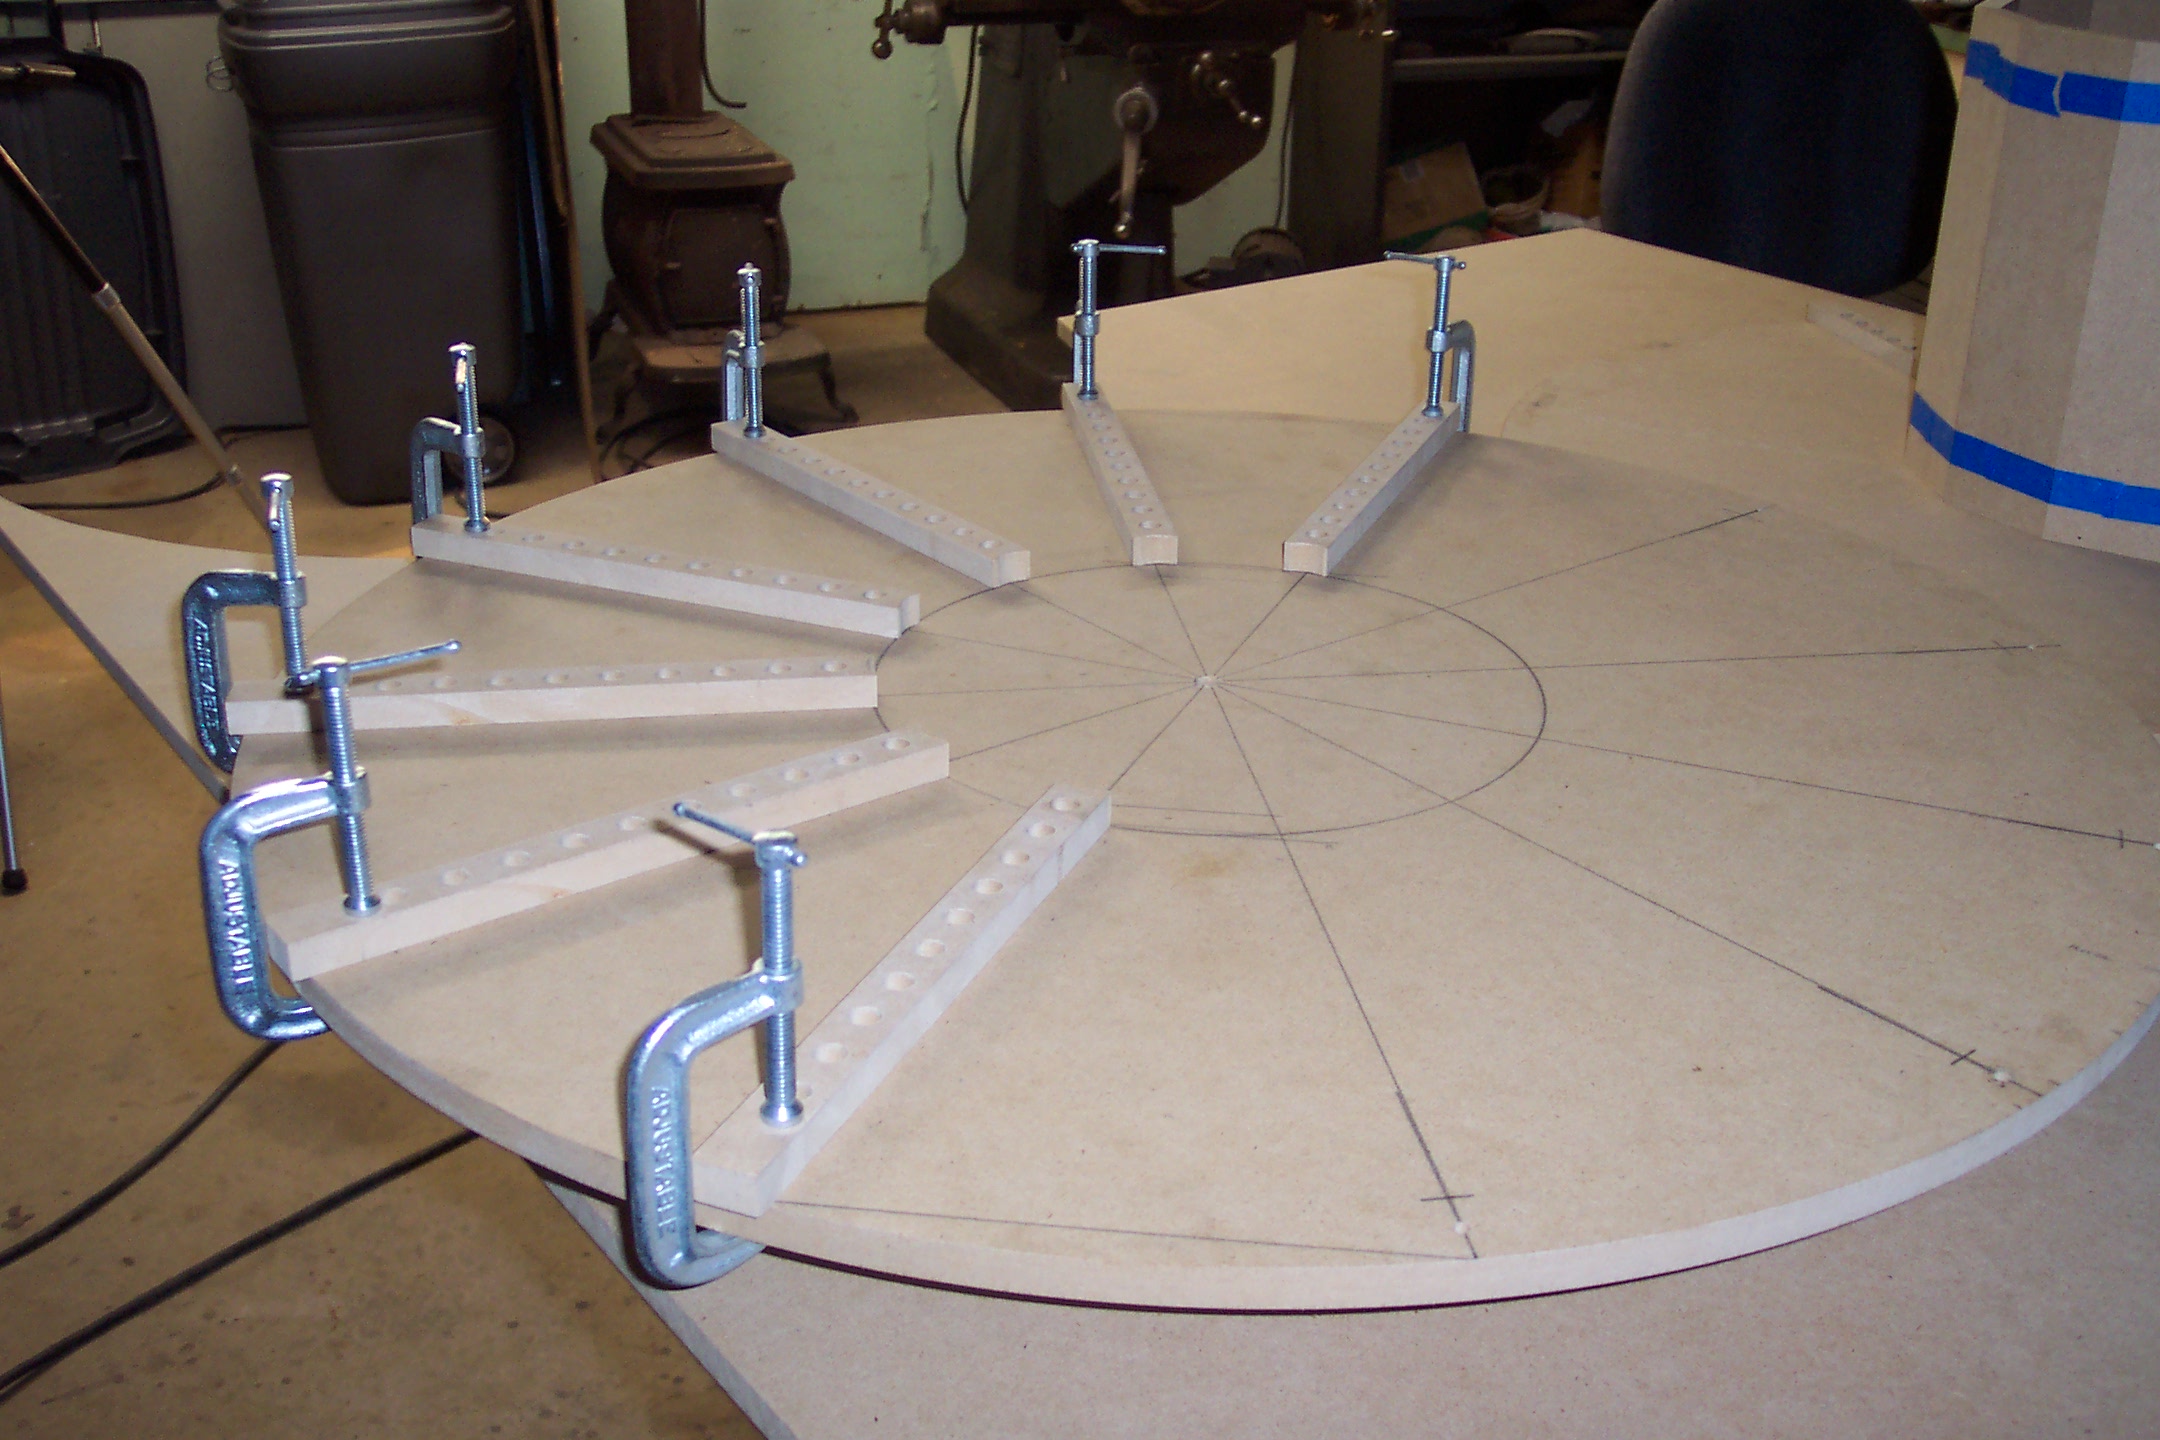
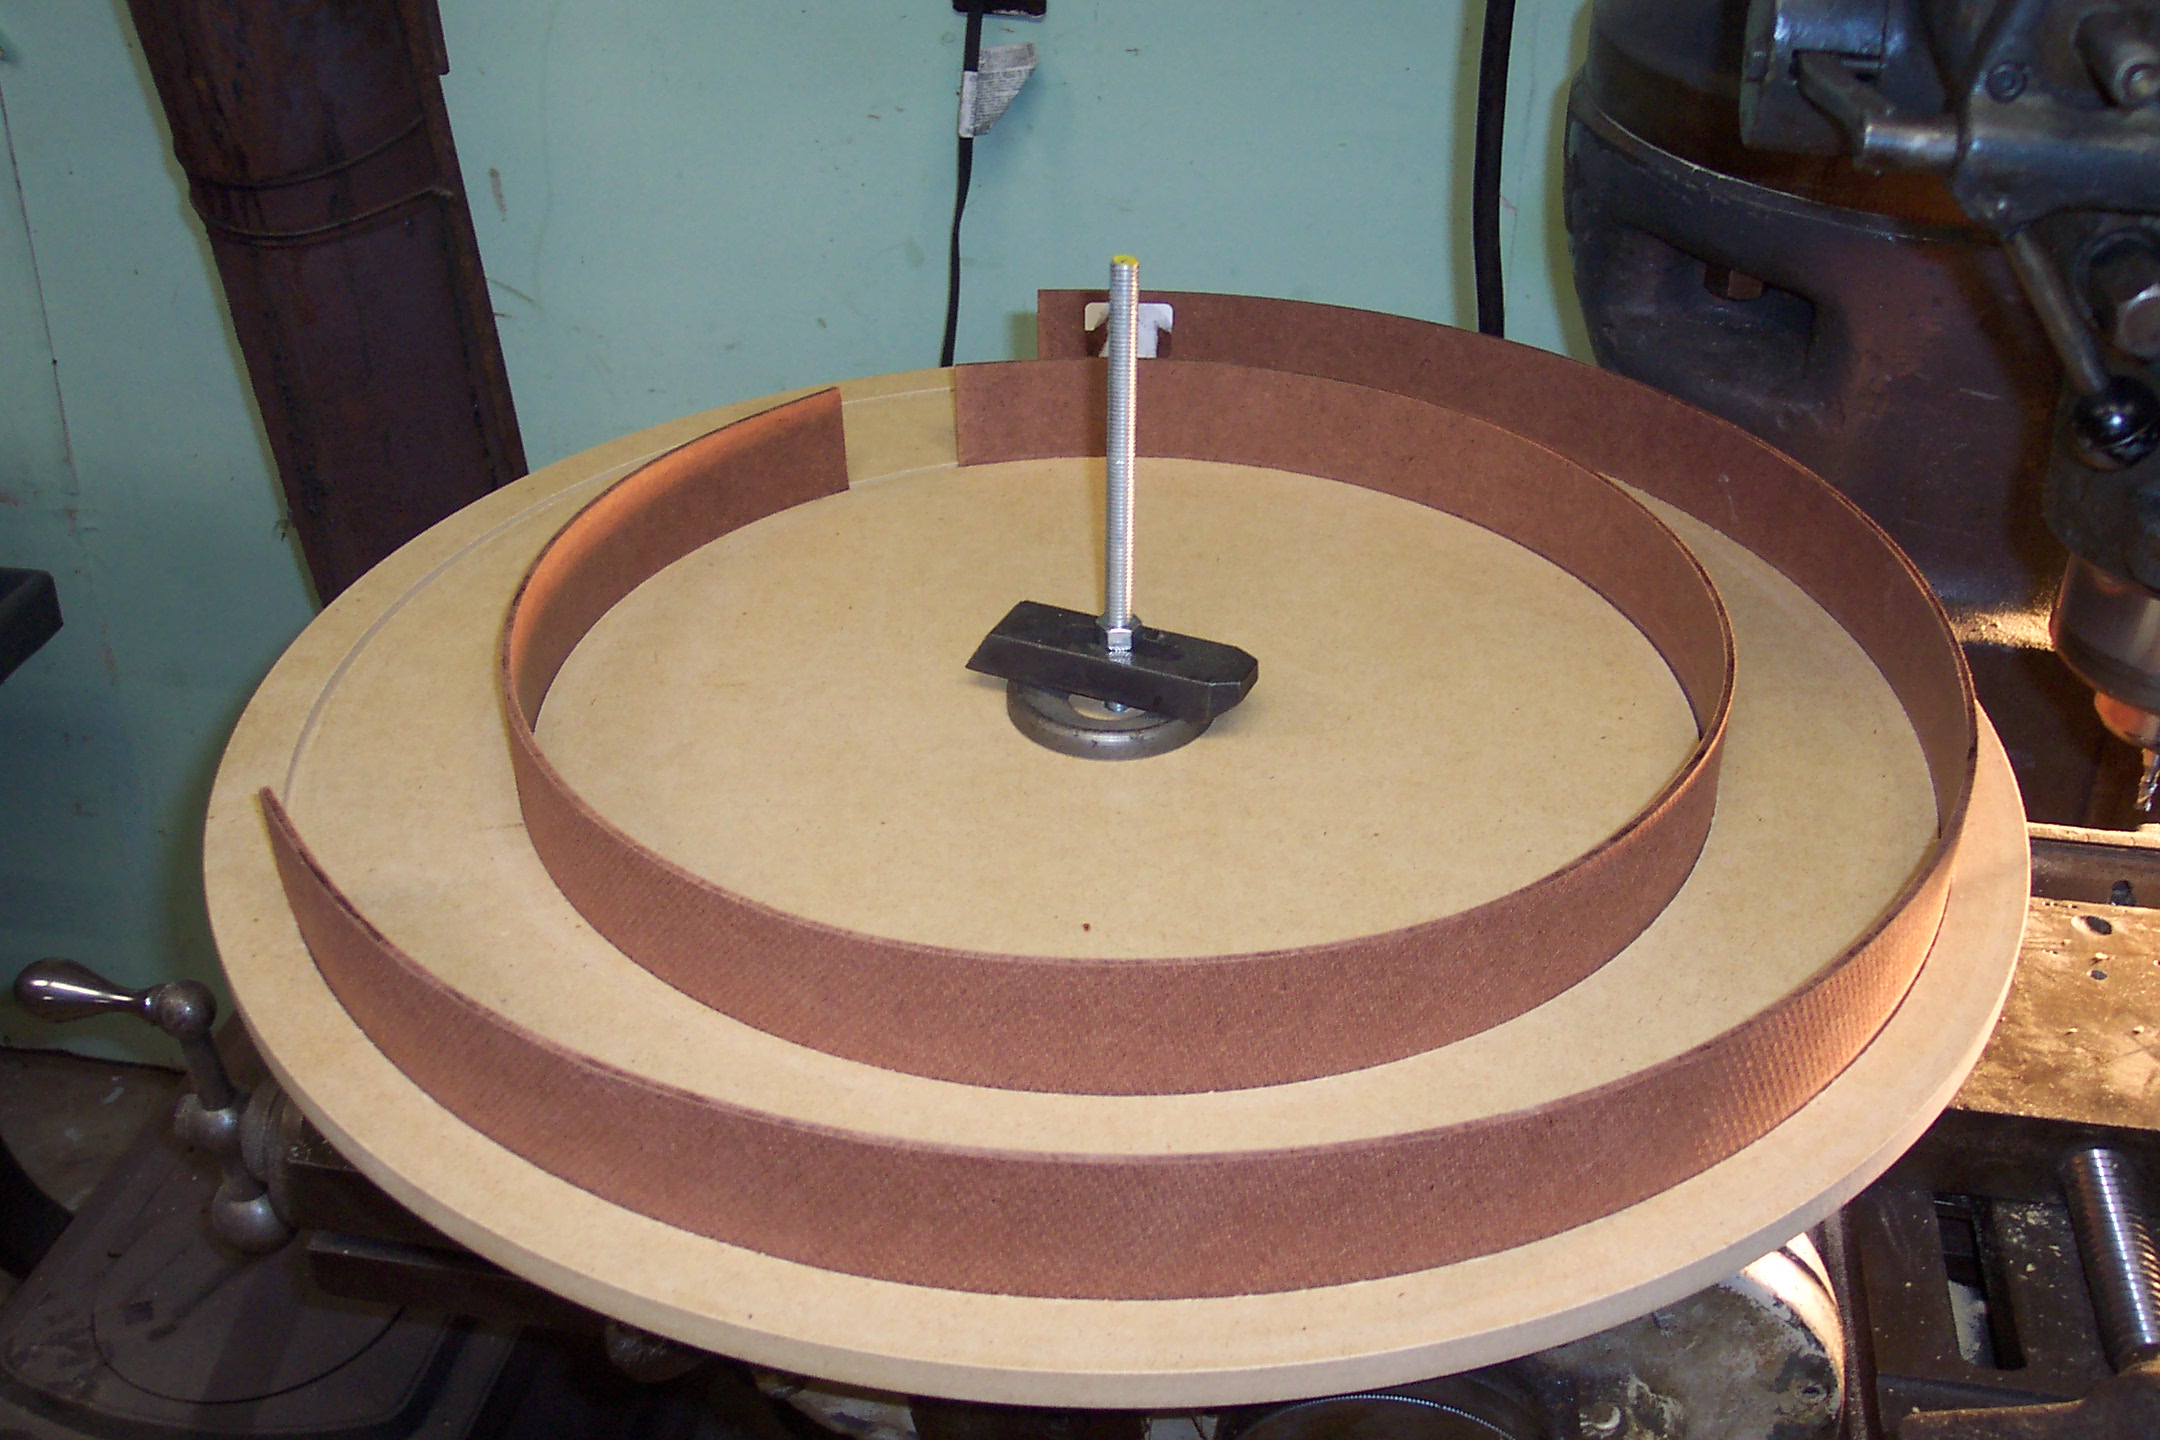
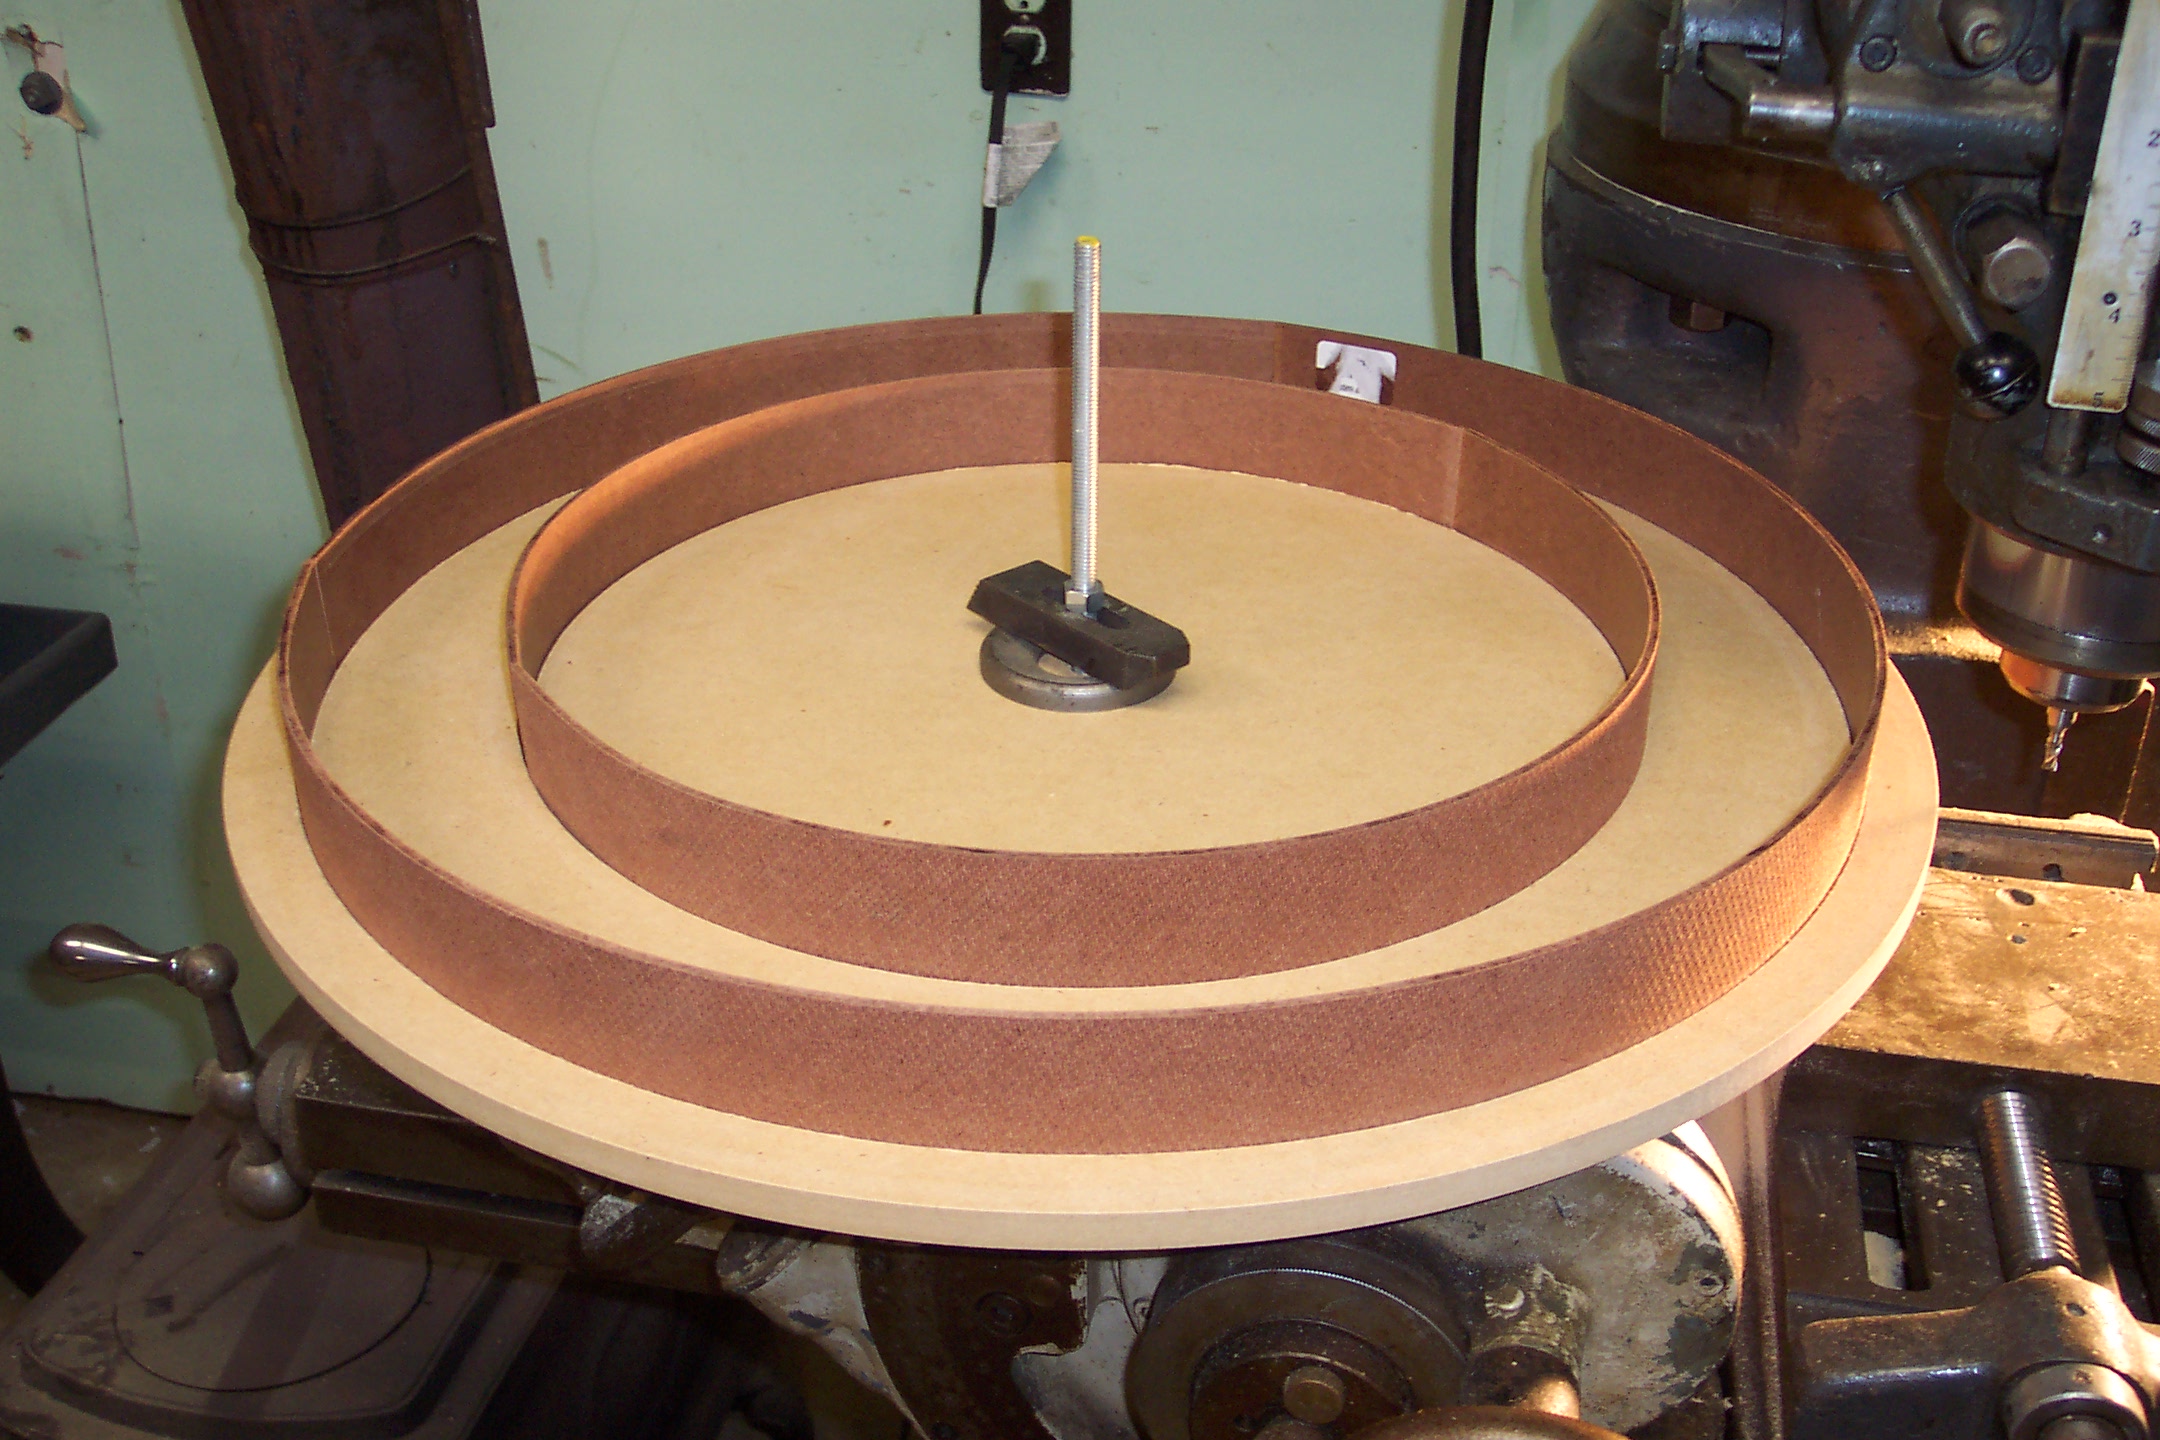
Segmenting the top for the fascia panels.
Drilling the center column for lights using the prototype segment as a template.

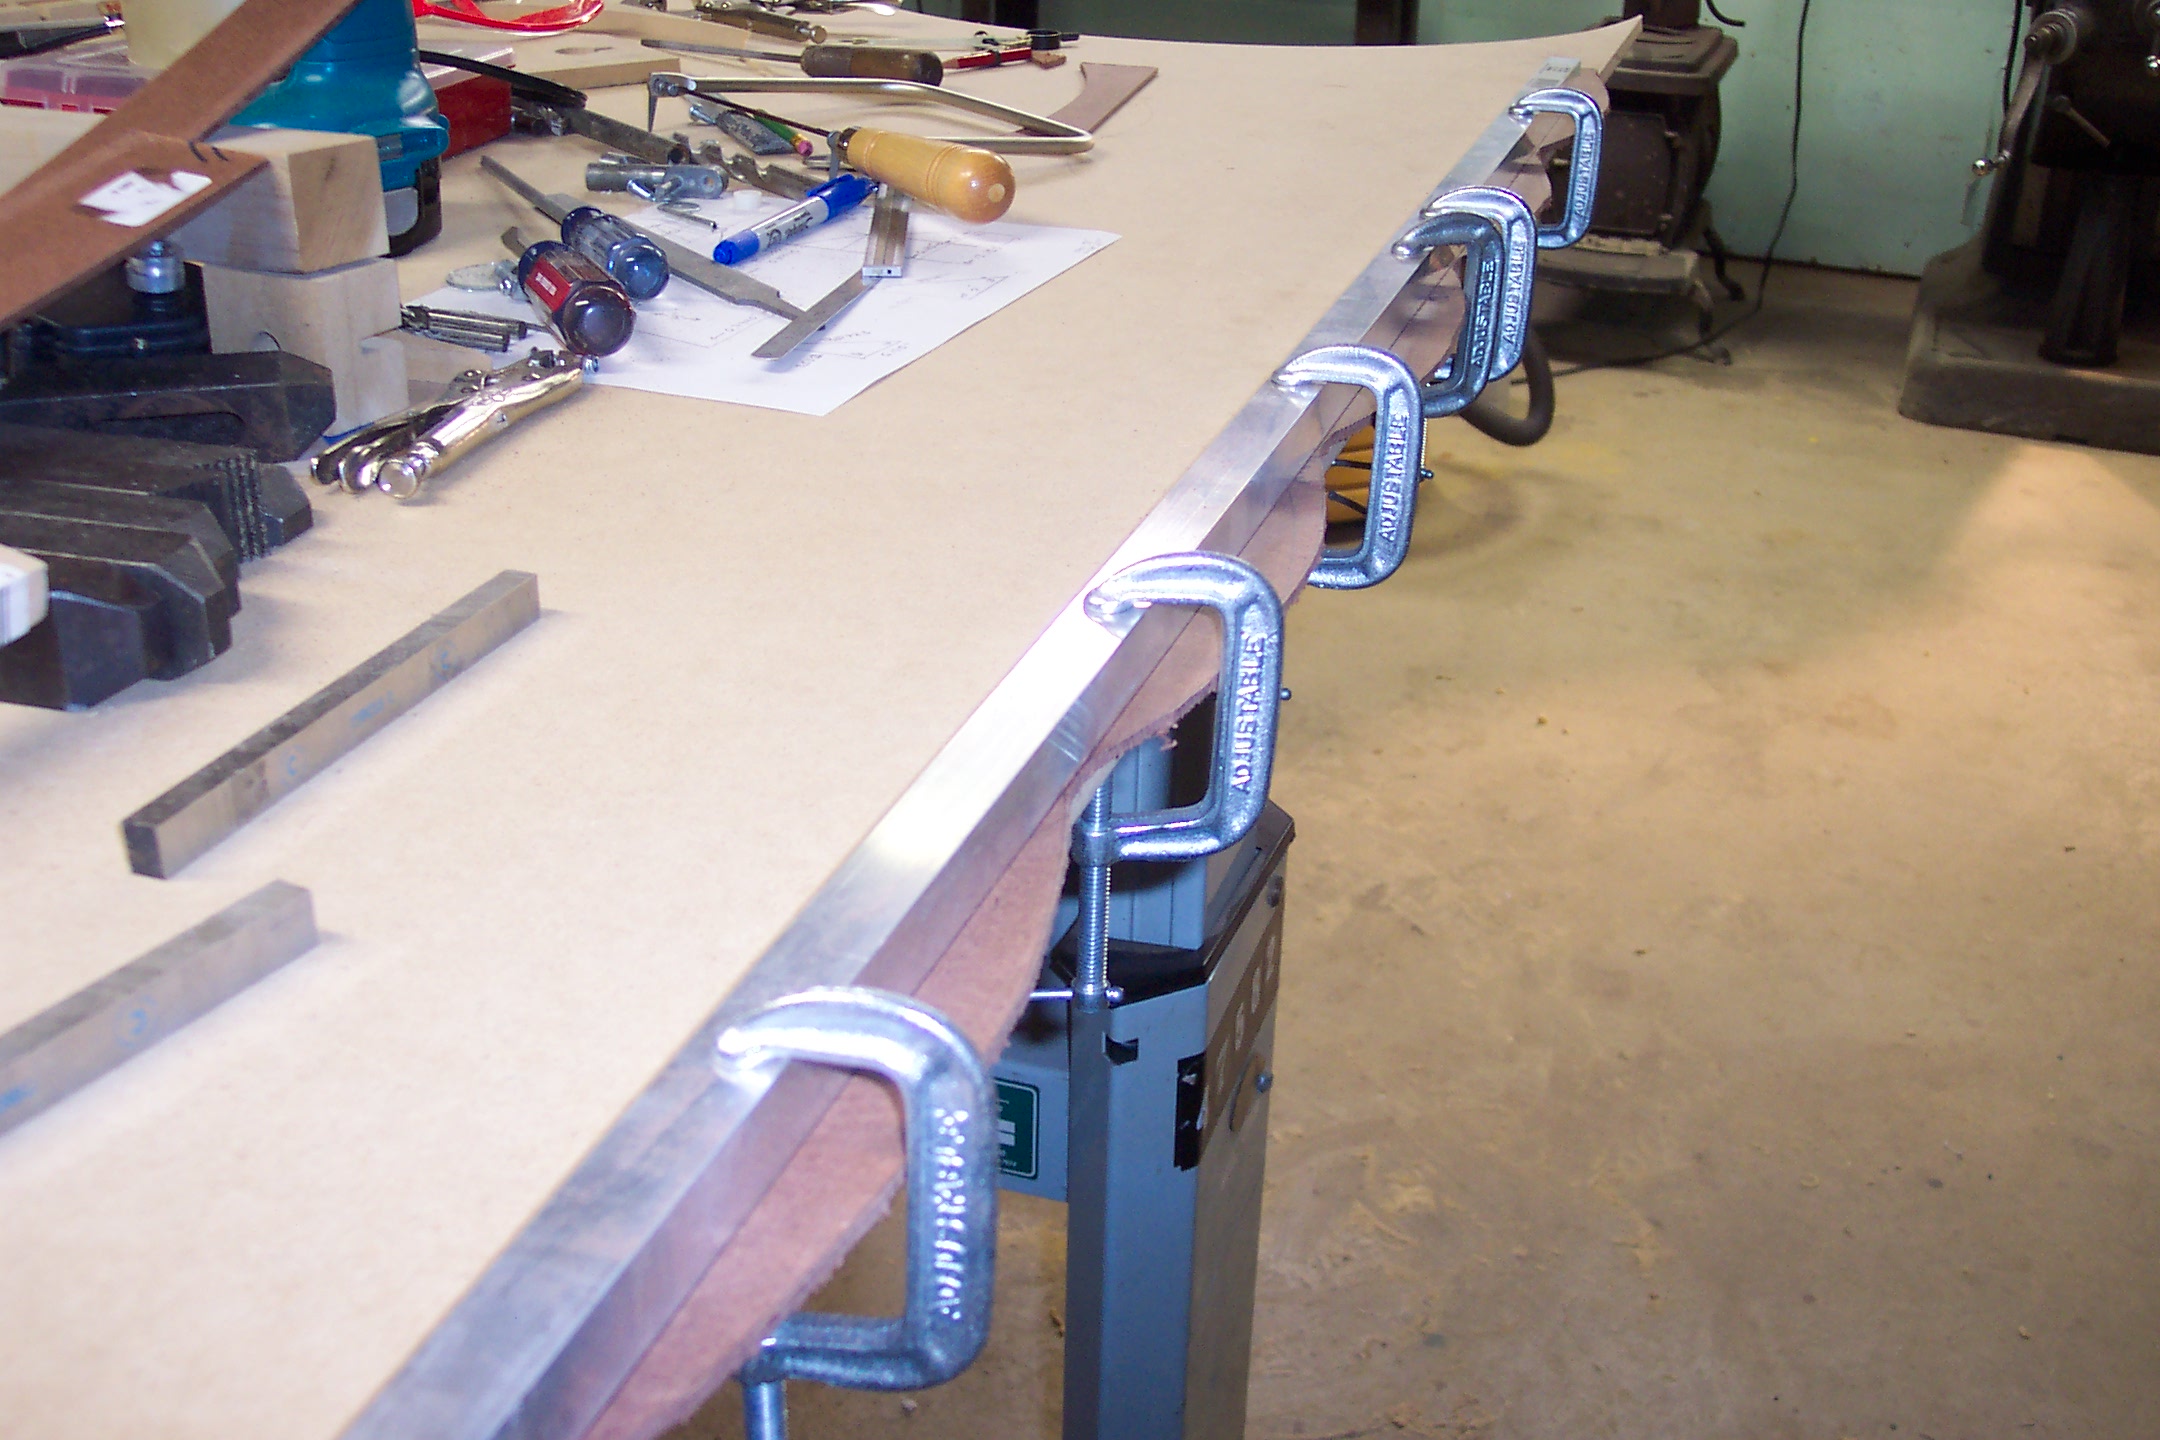
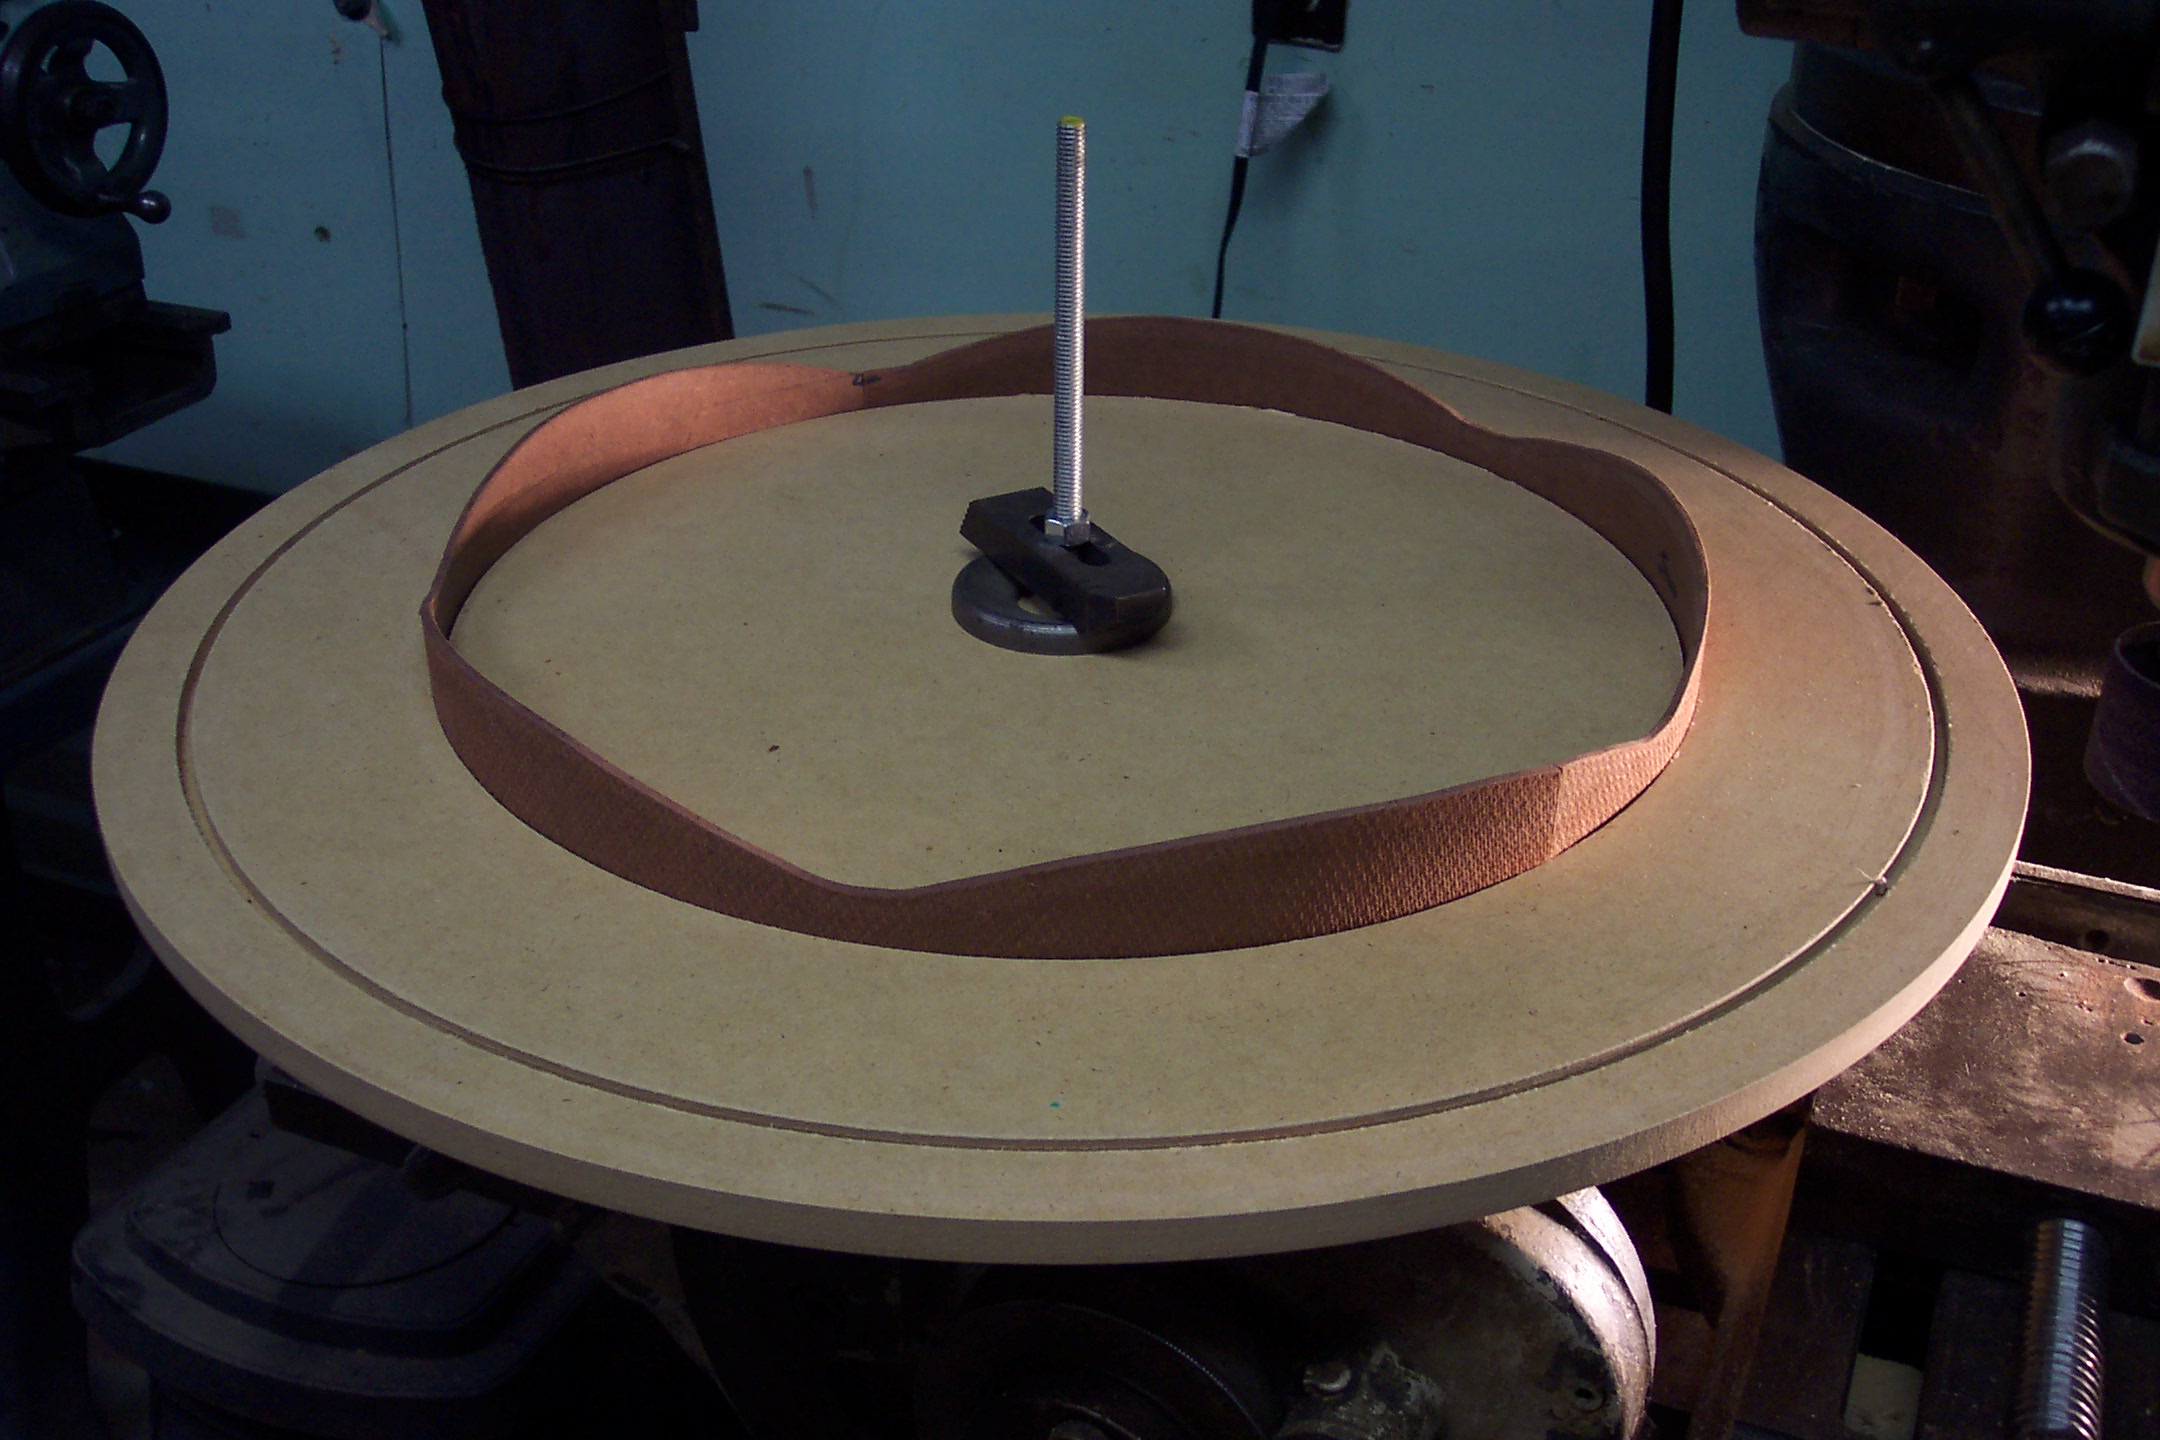
Checking the fascia segment design. Cutting the twelve fascia segments. Test fitting the fascia. Glued and clamped.
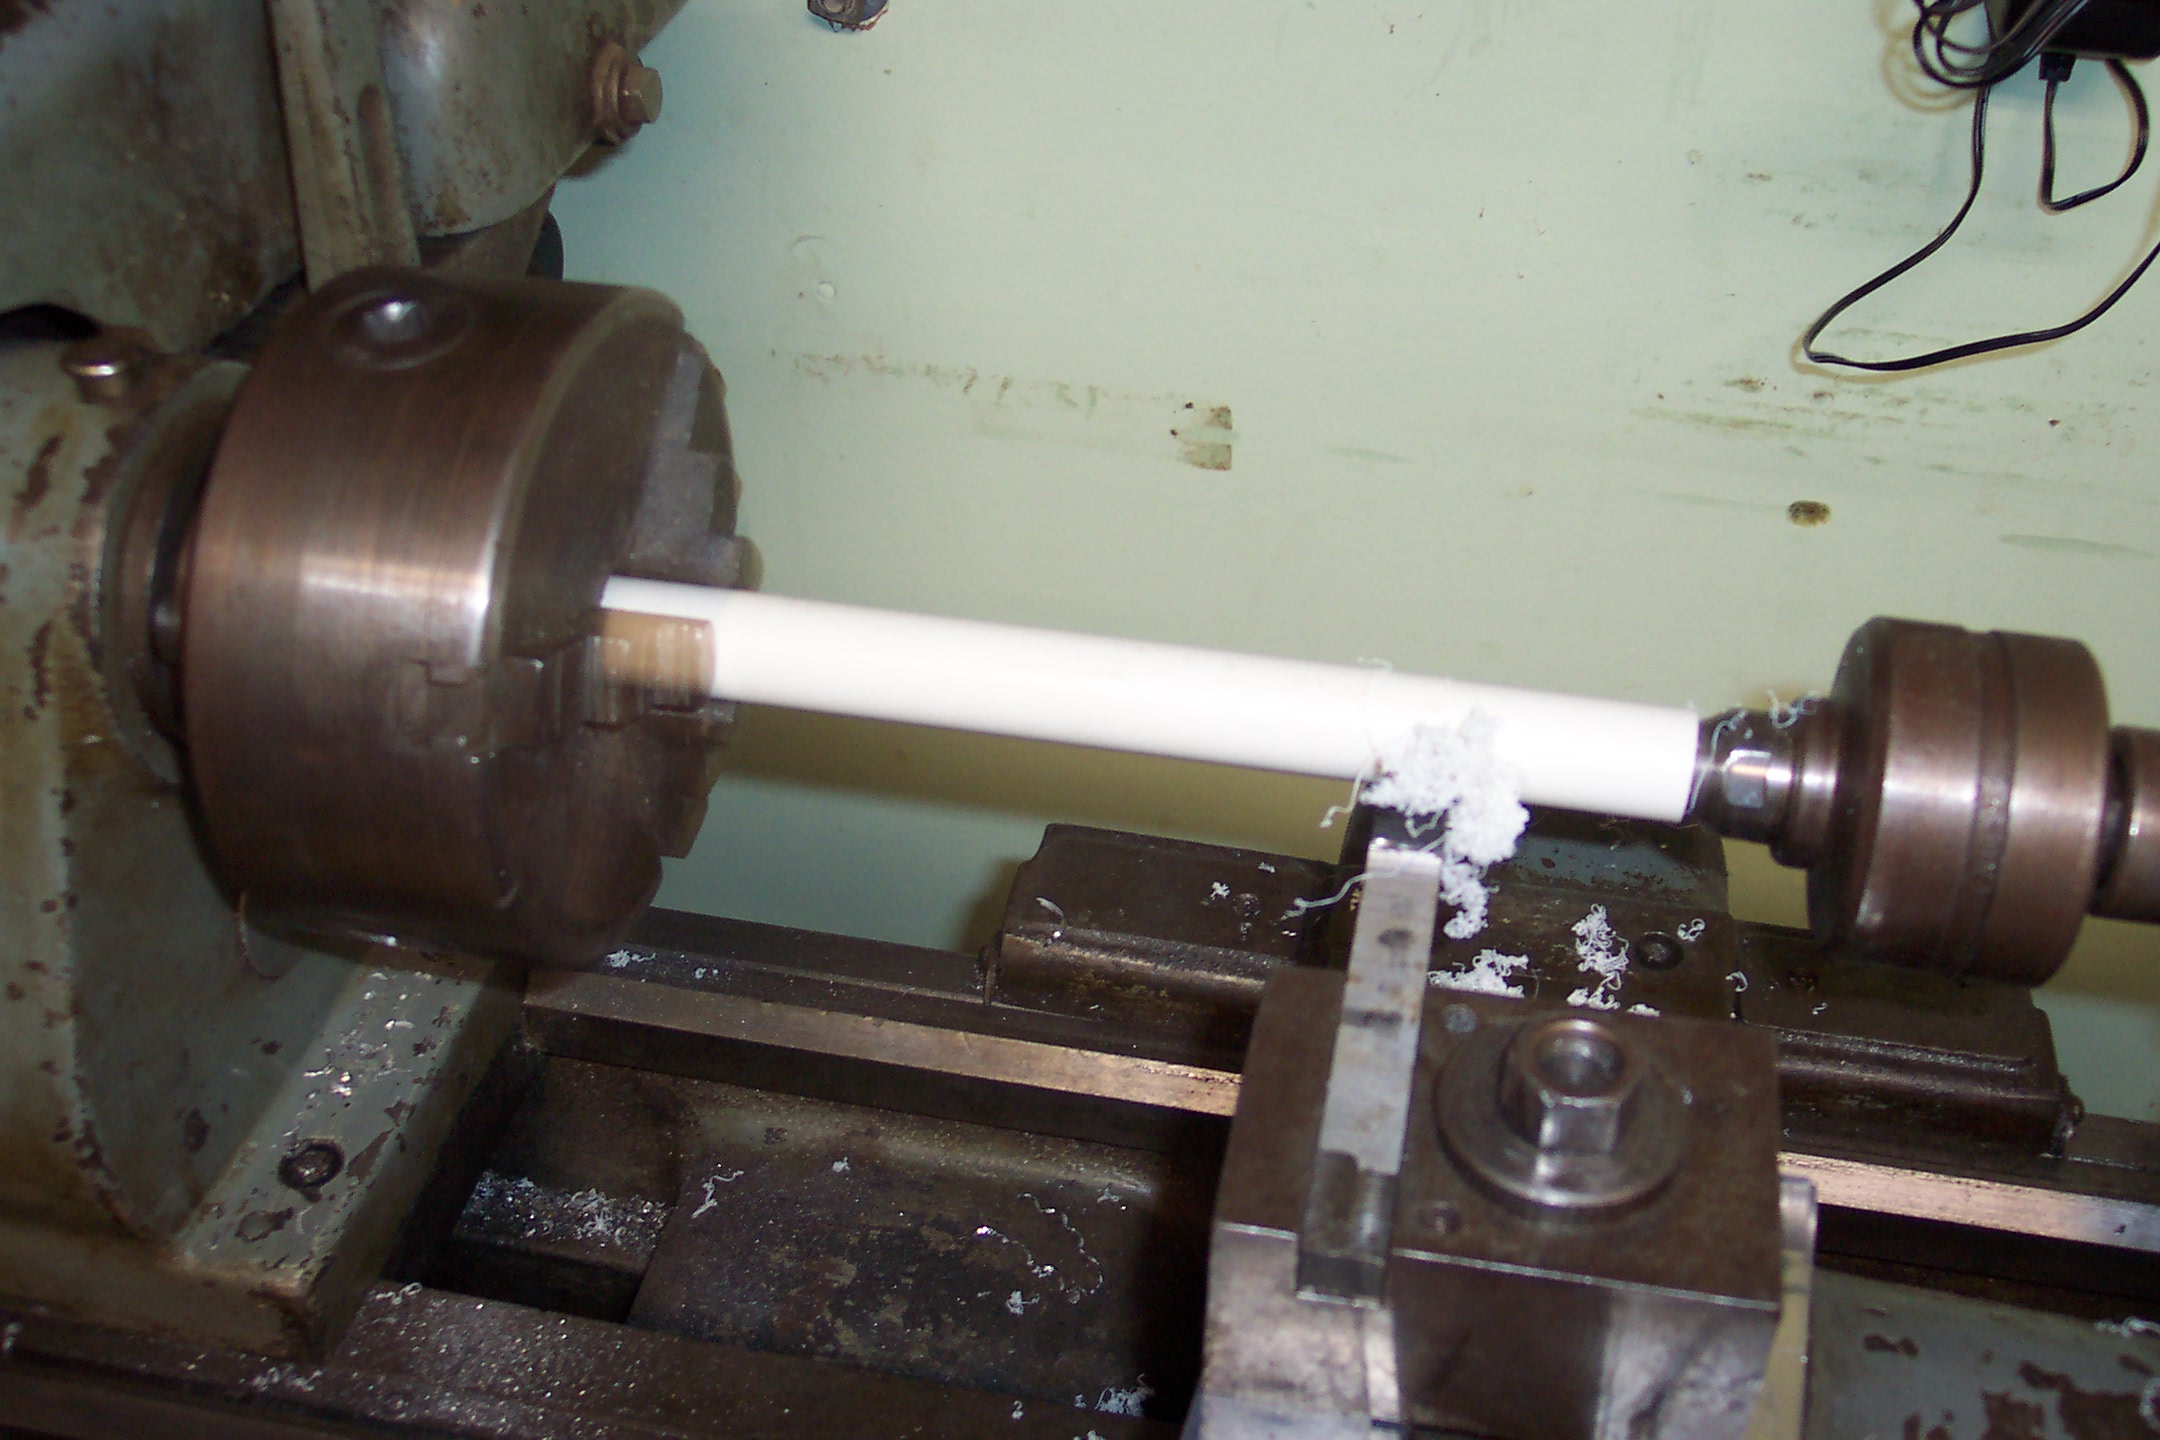
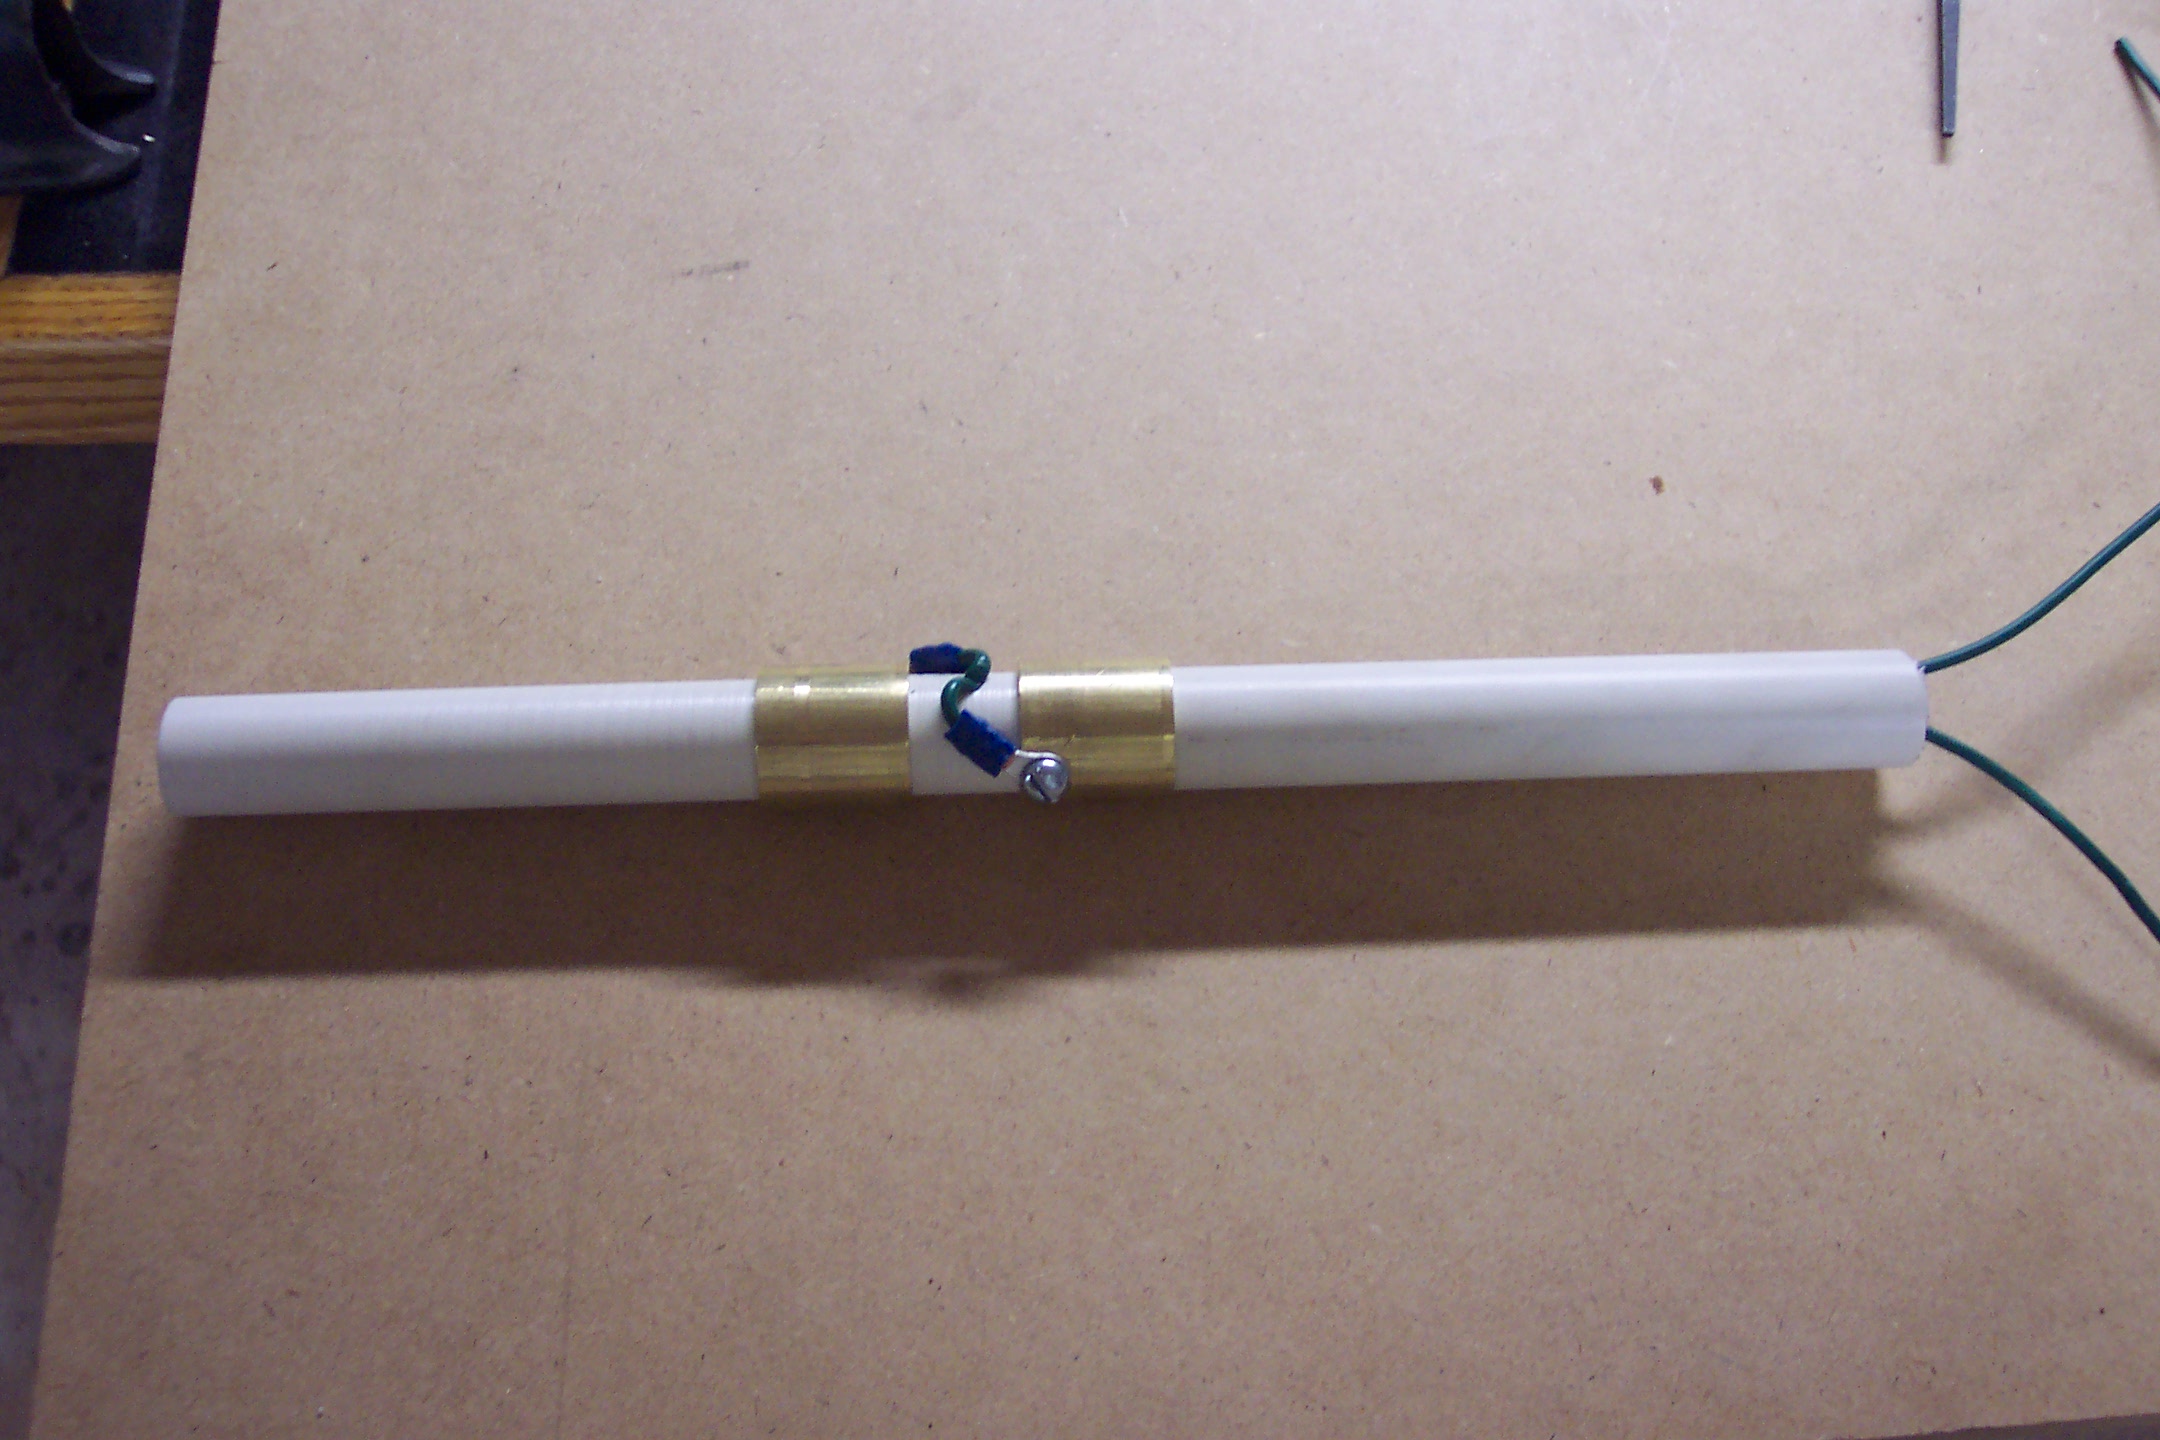
Turning down some PVC pipe to fit slip rings. Slip rings fitted and wired.
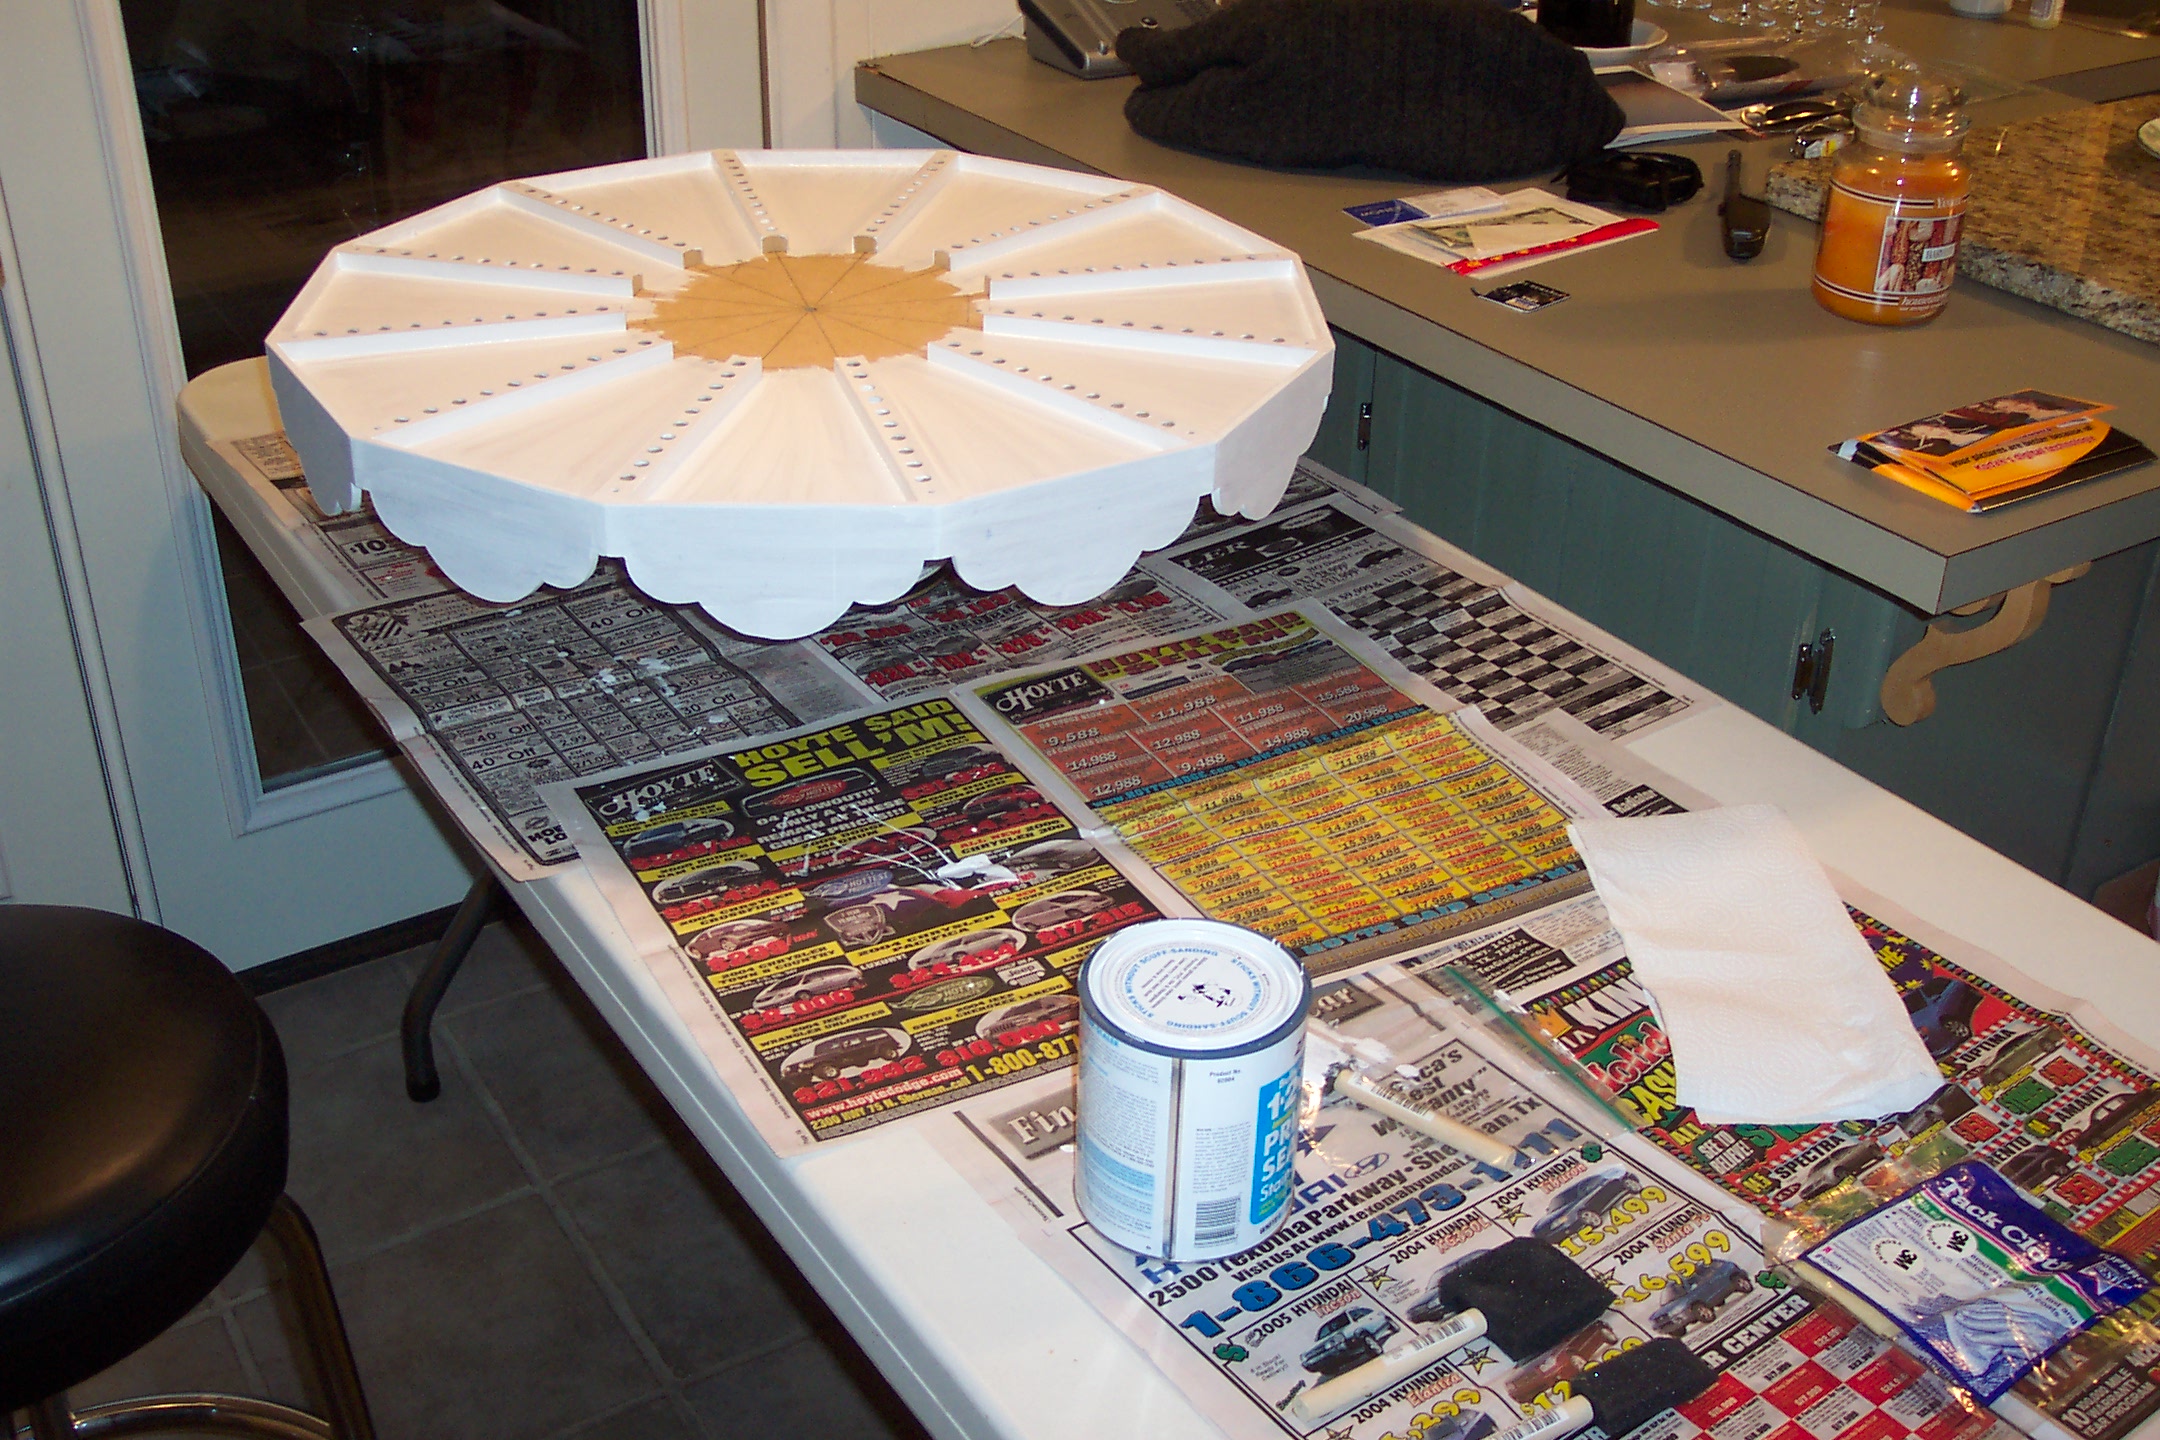
Putting primer on some of the parts.
Assembling parts of the base.
Some paint this time - Hazelnut Creme.

Milling the groves for the cam track. Fitting pieces of Masonite for the cam tracks. Cutting the profile on the cam tracks. Installing the cam tracks. Checking clearances.
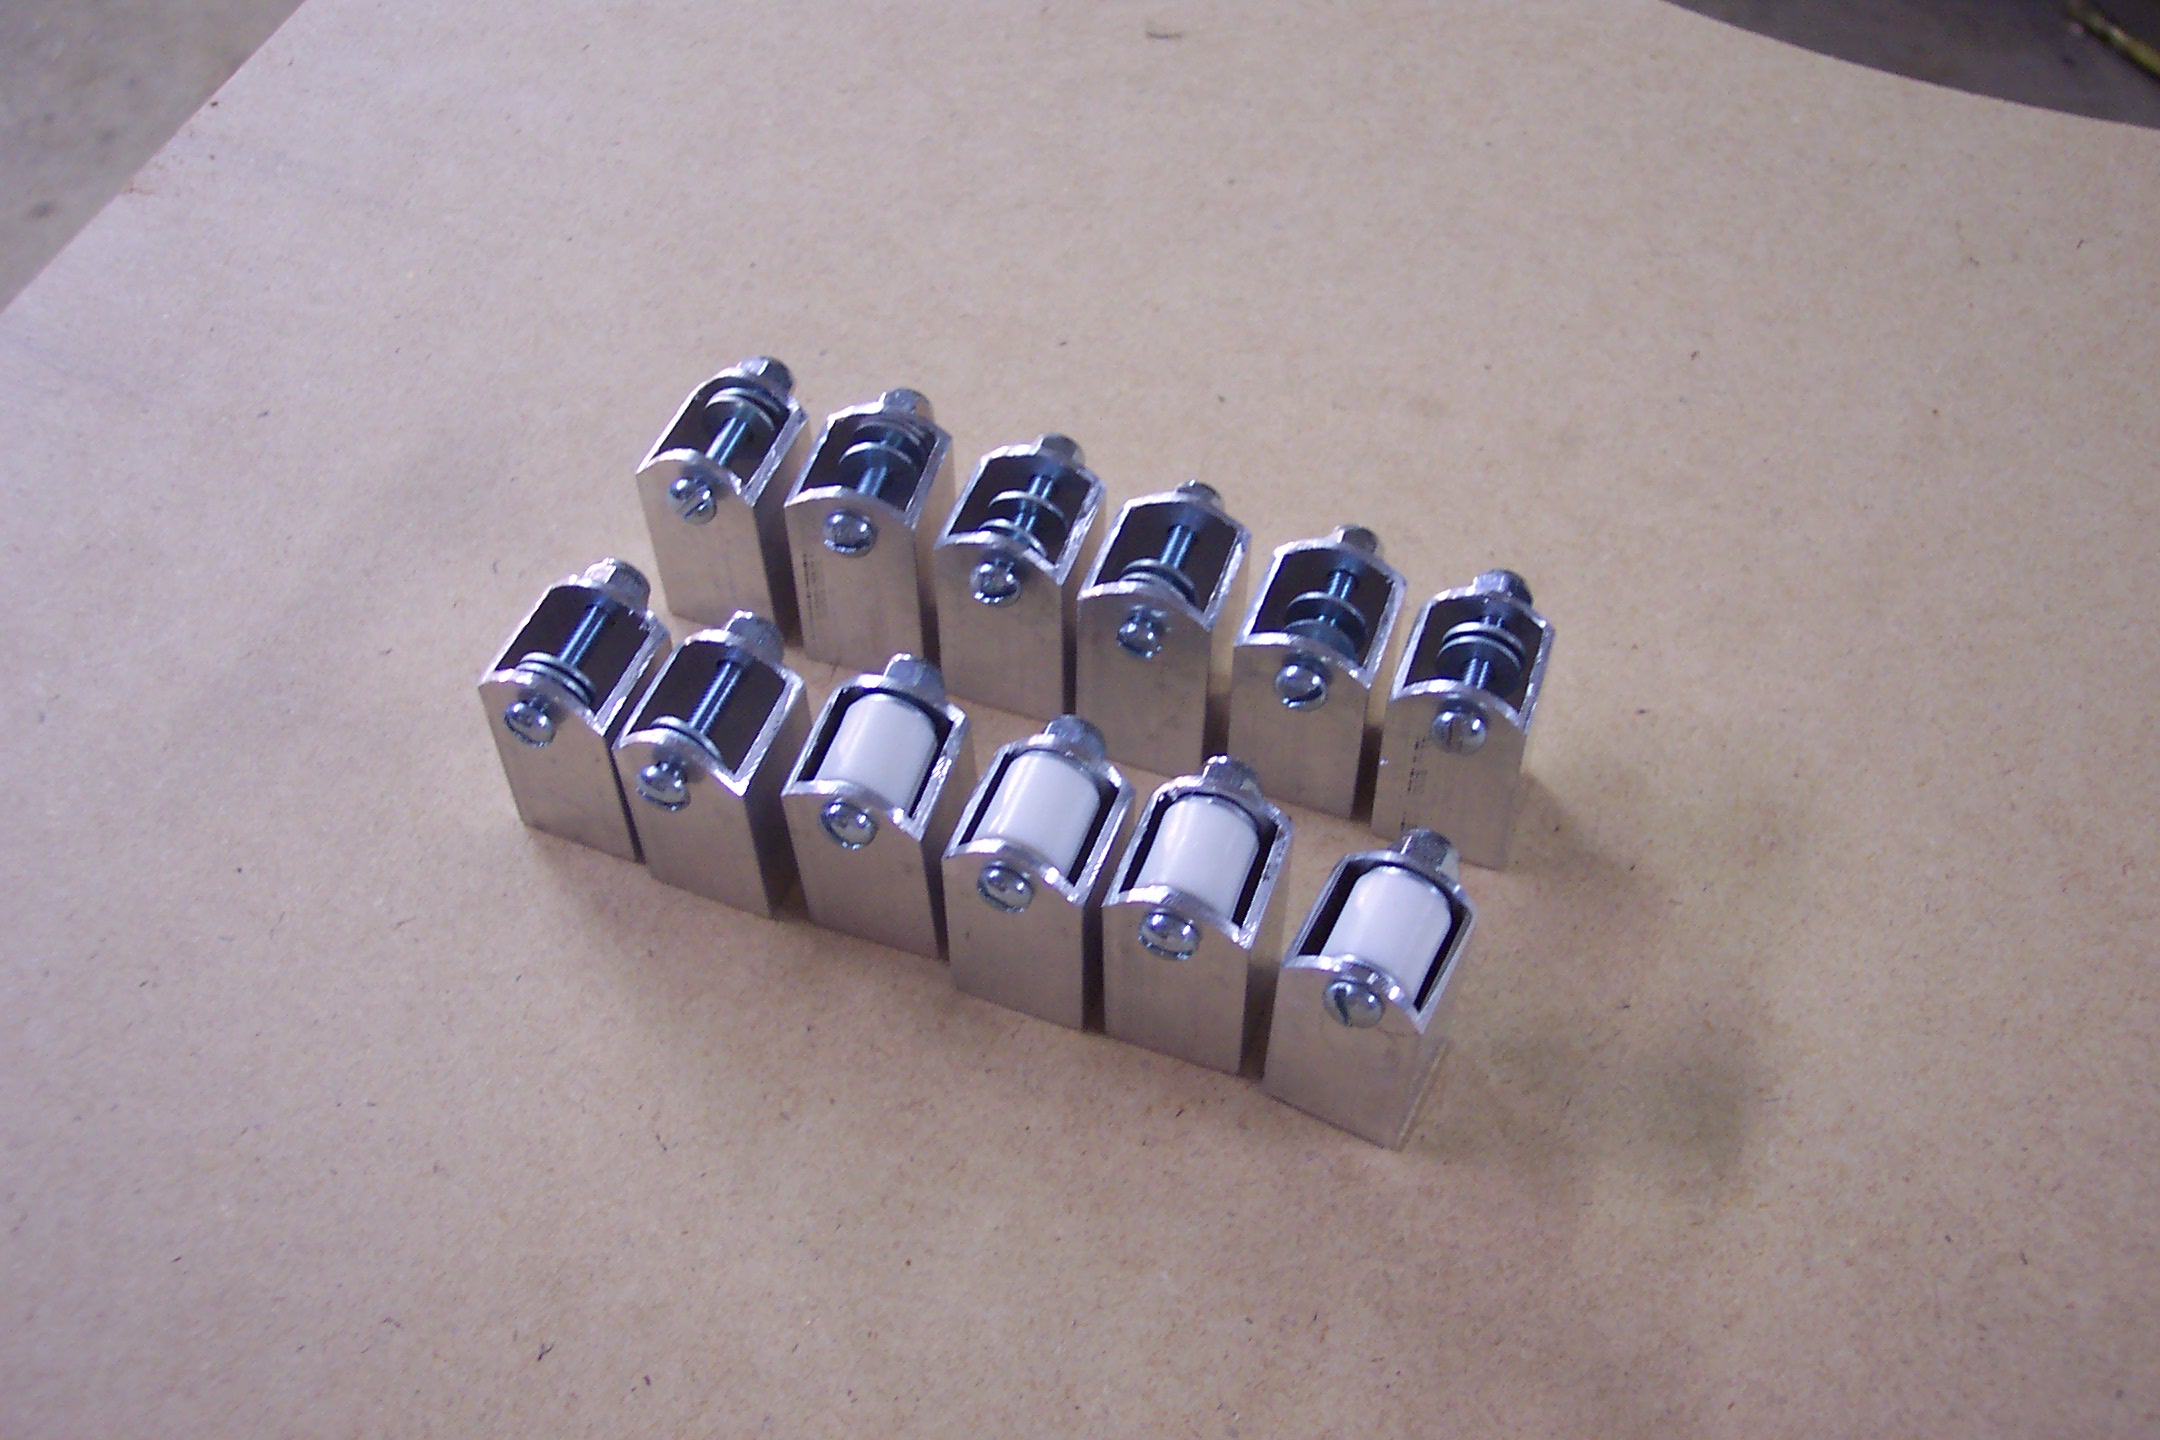
Some partially assembled roller lifters.
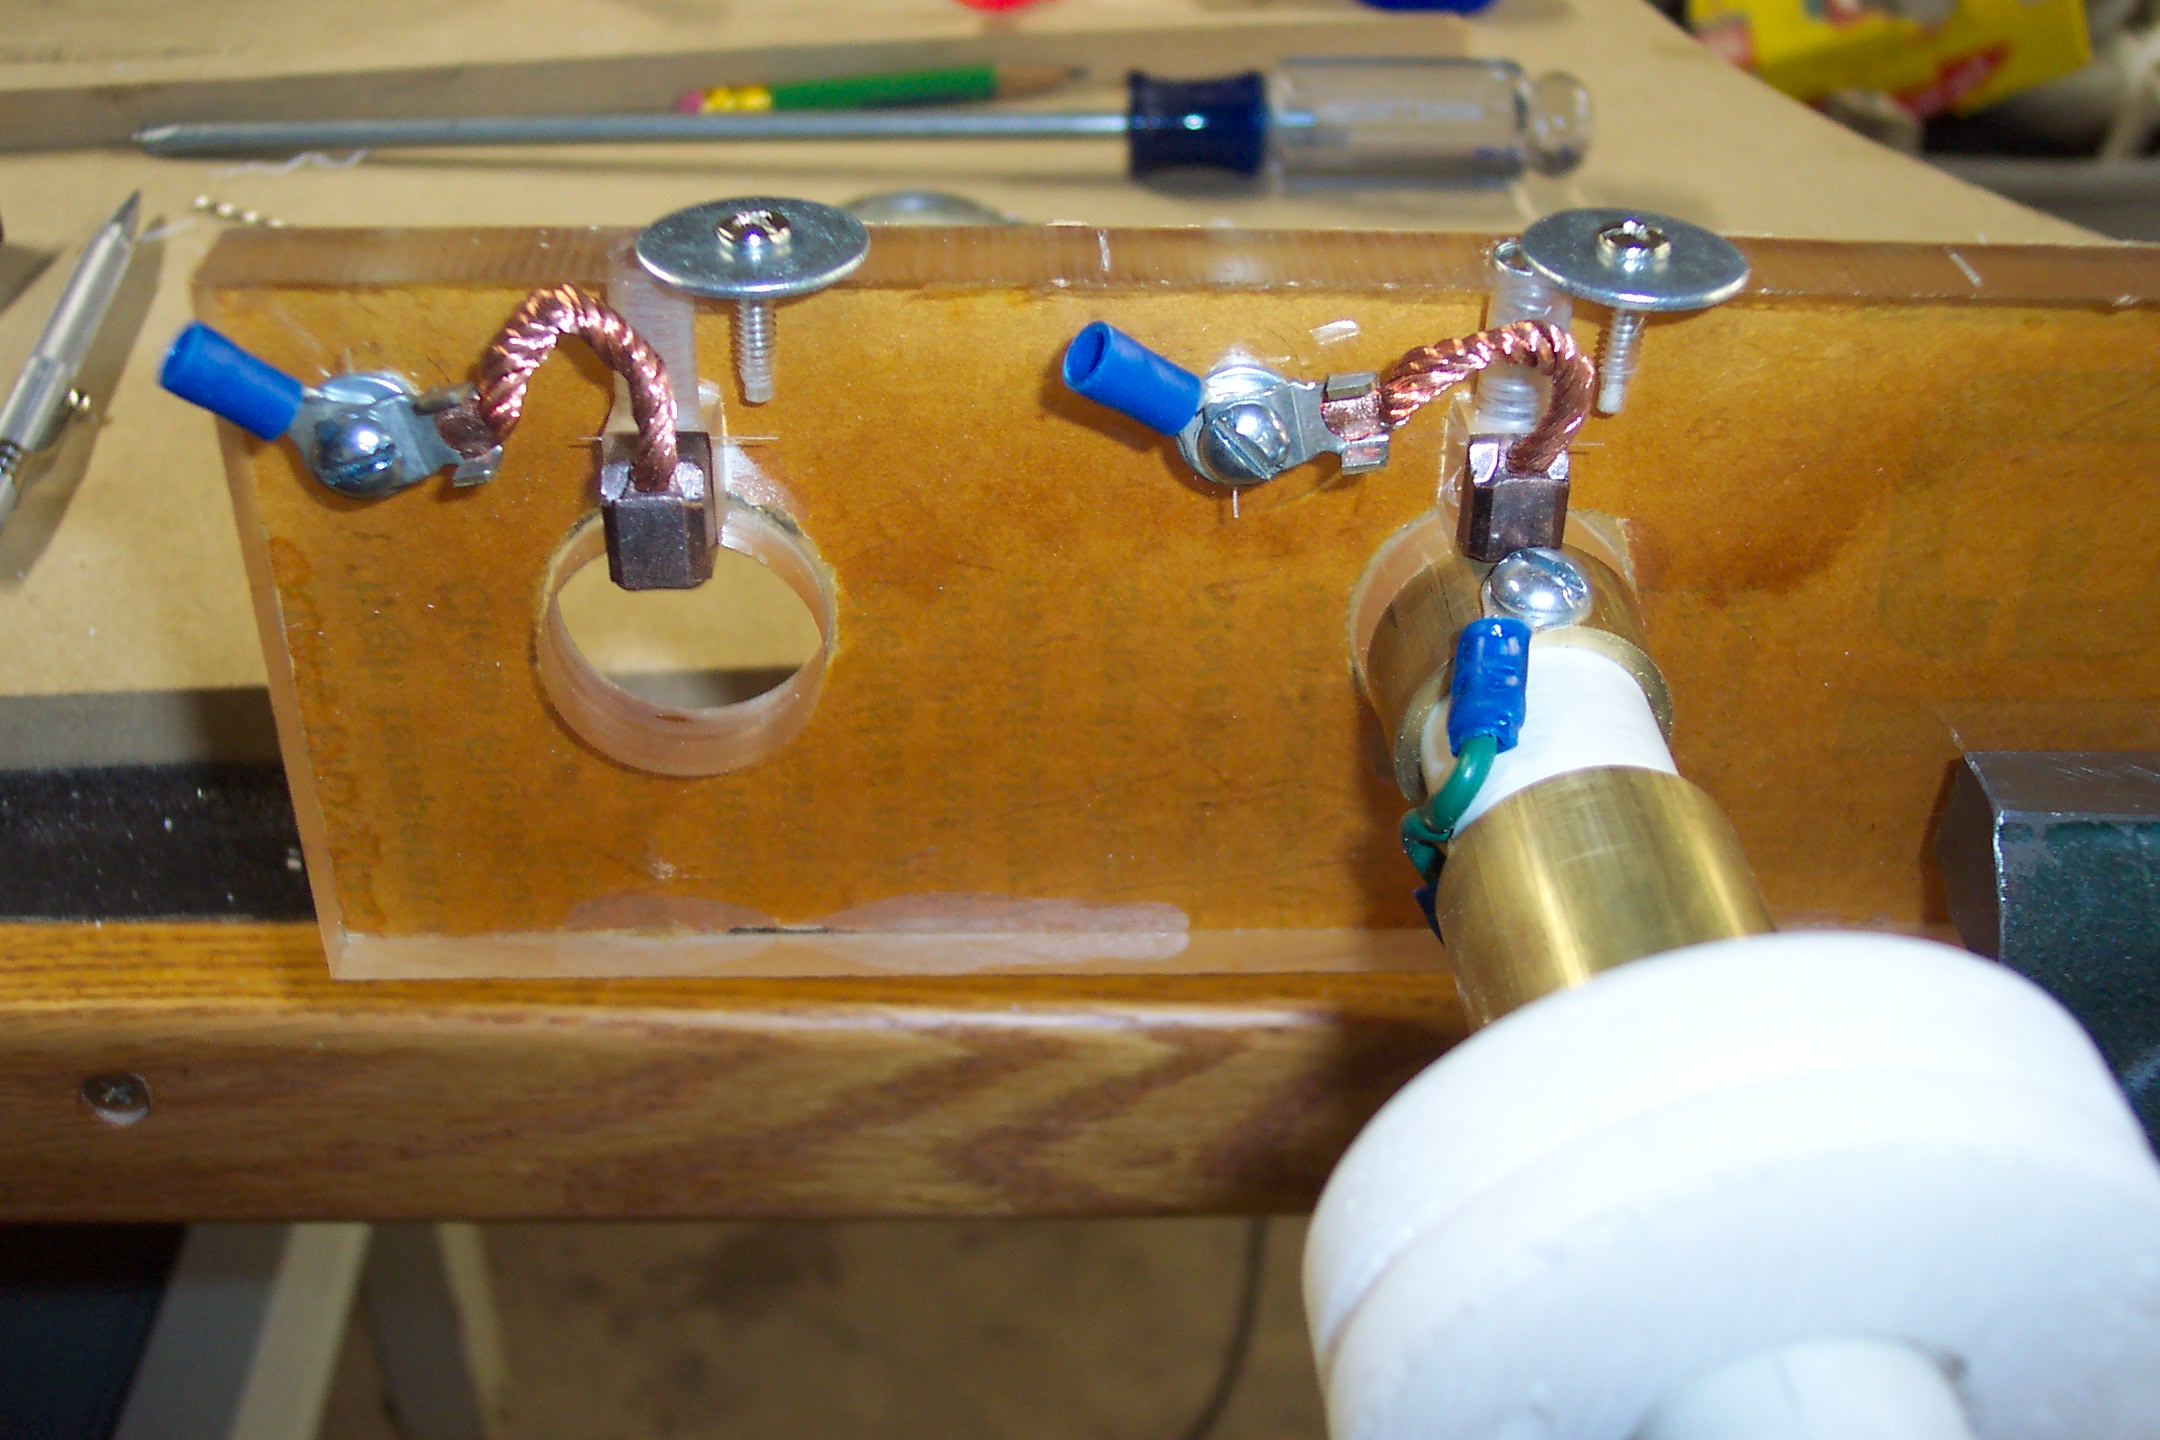
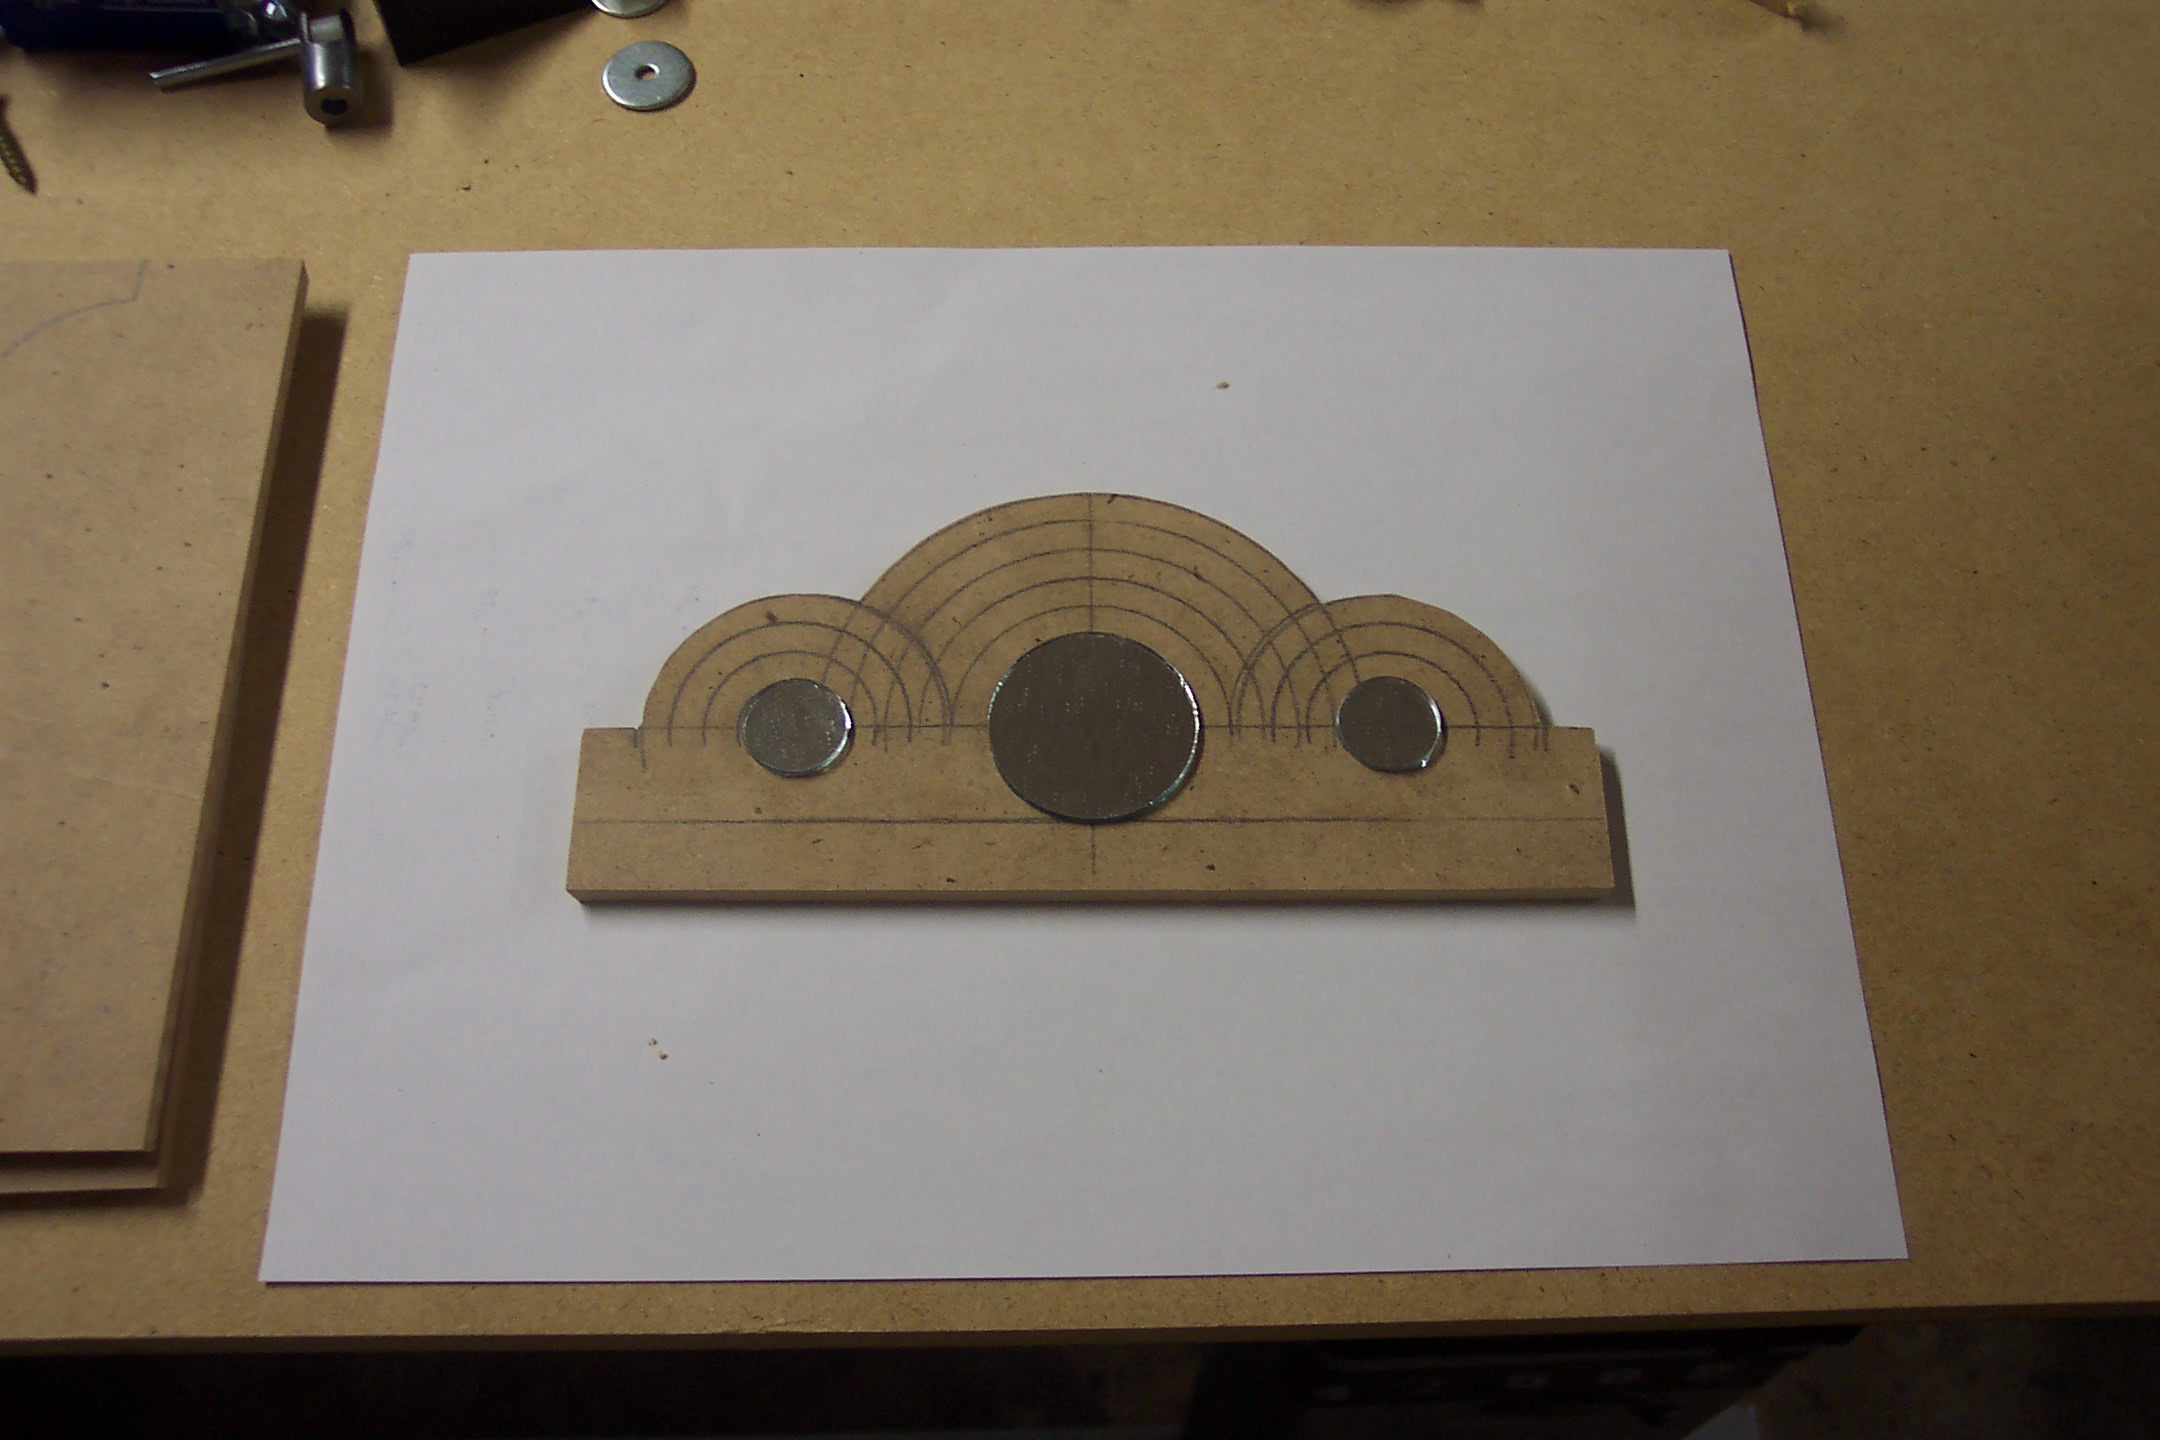
Freshly milled brush holders, still two up on the sheet of acrylic.
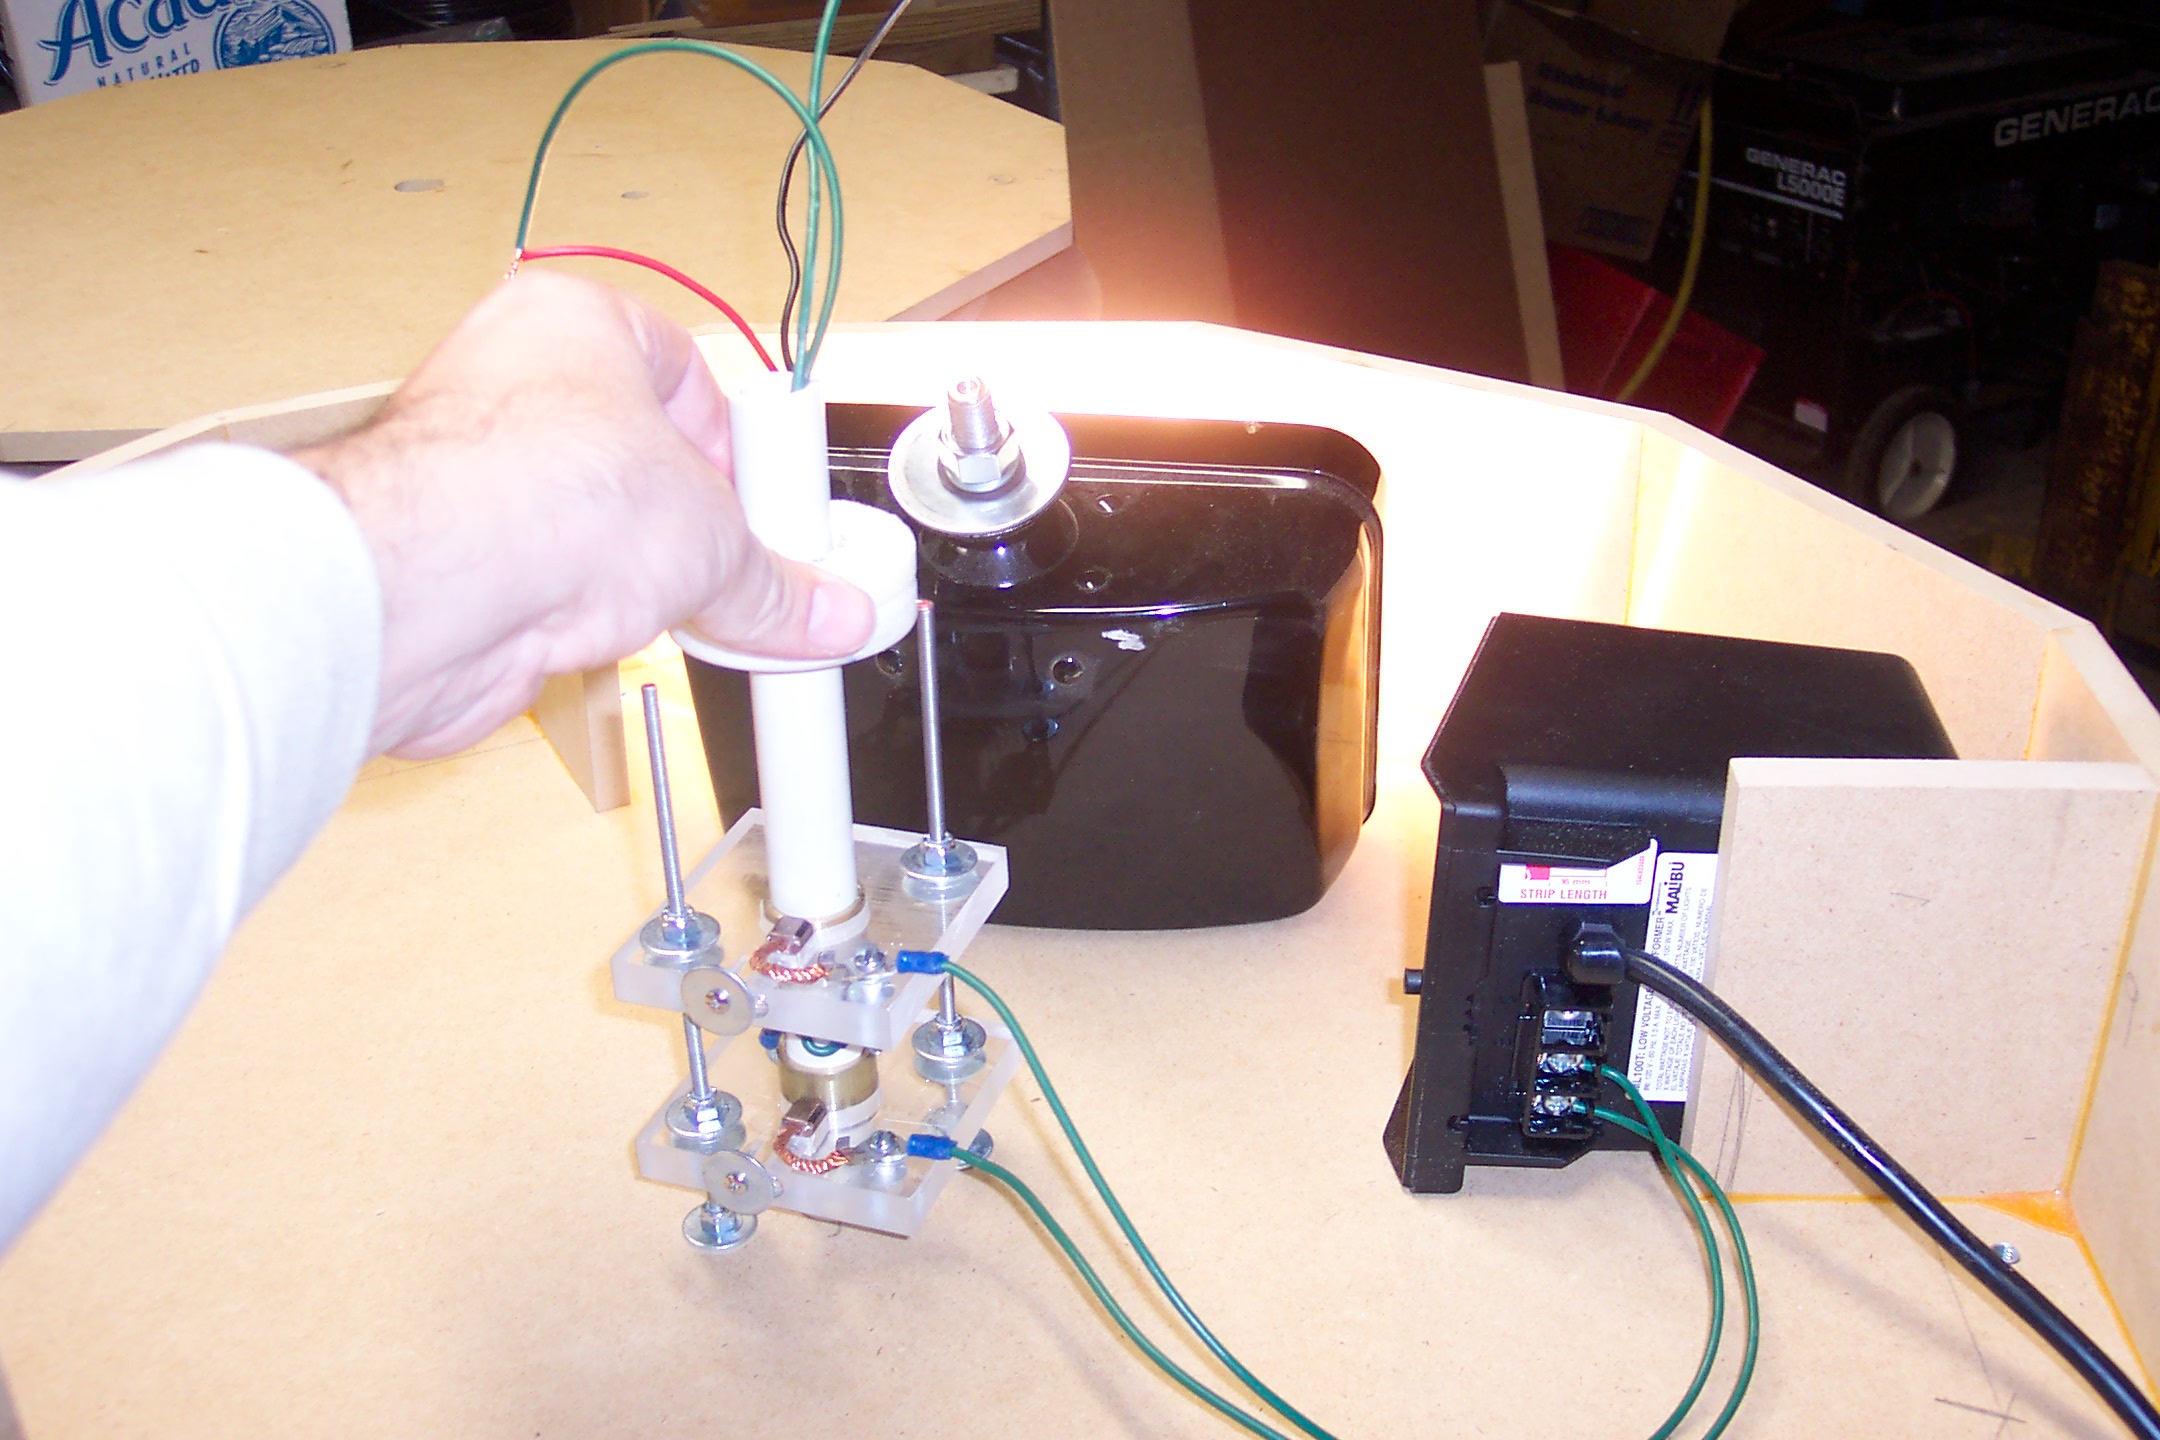
Load testing the slip rings.

The first (and last) casualty of the project.
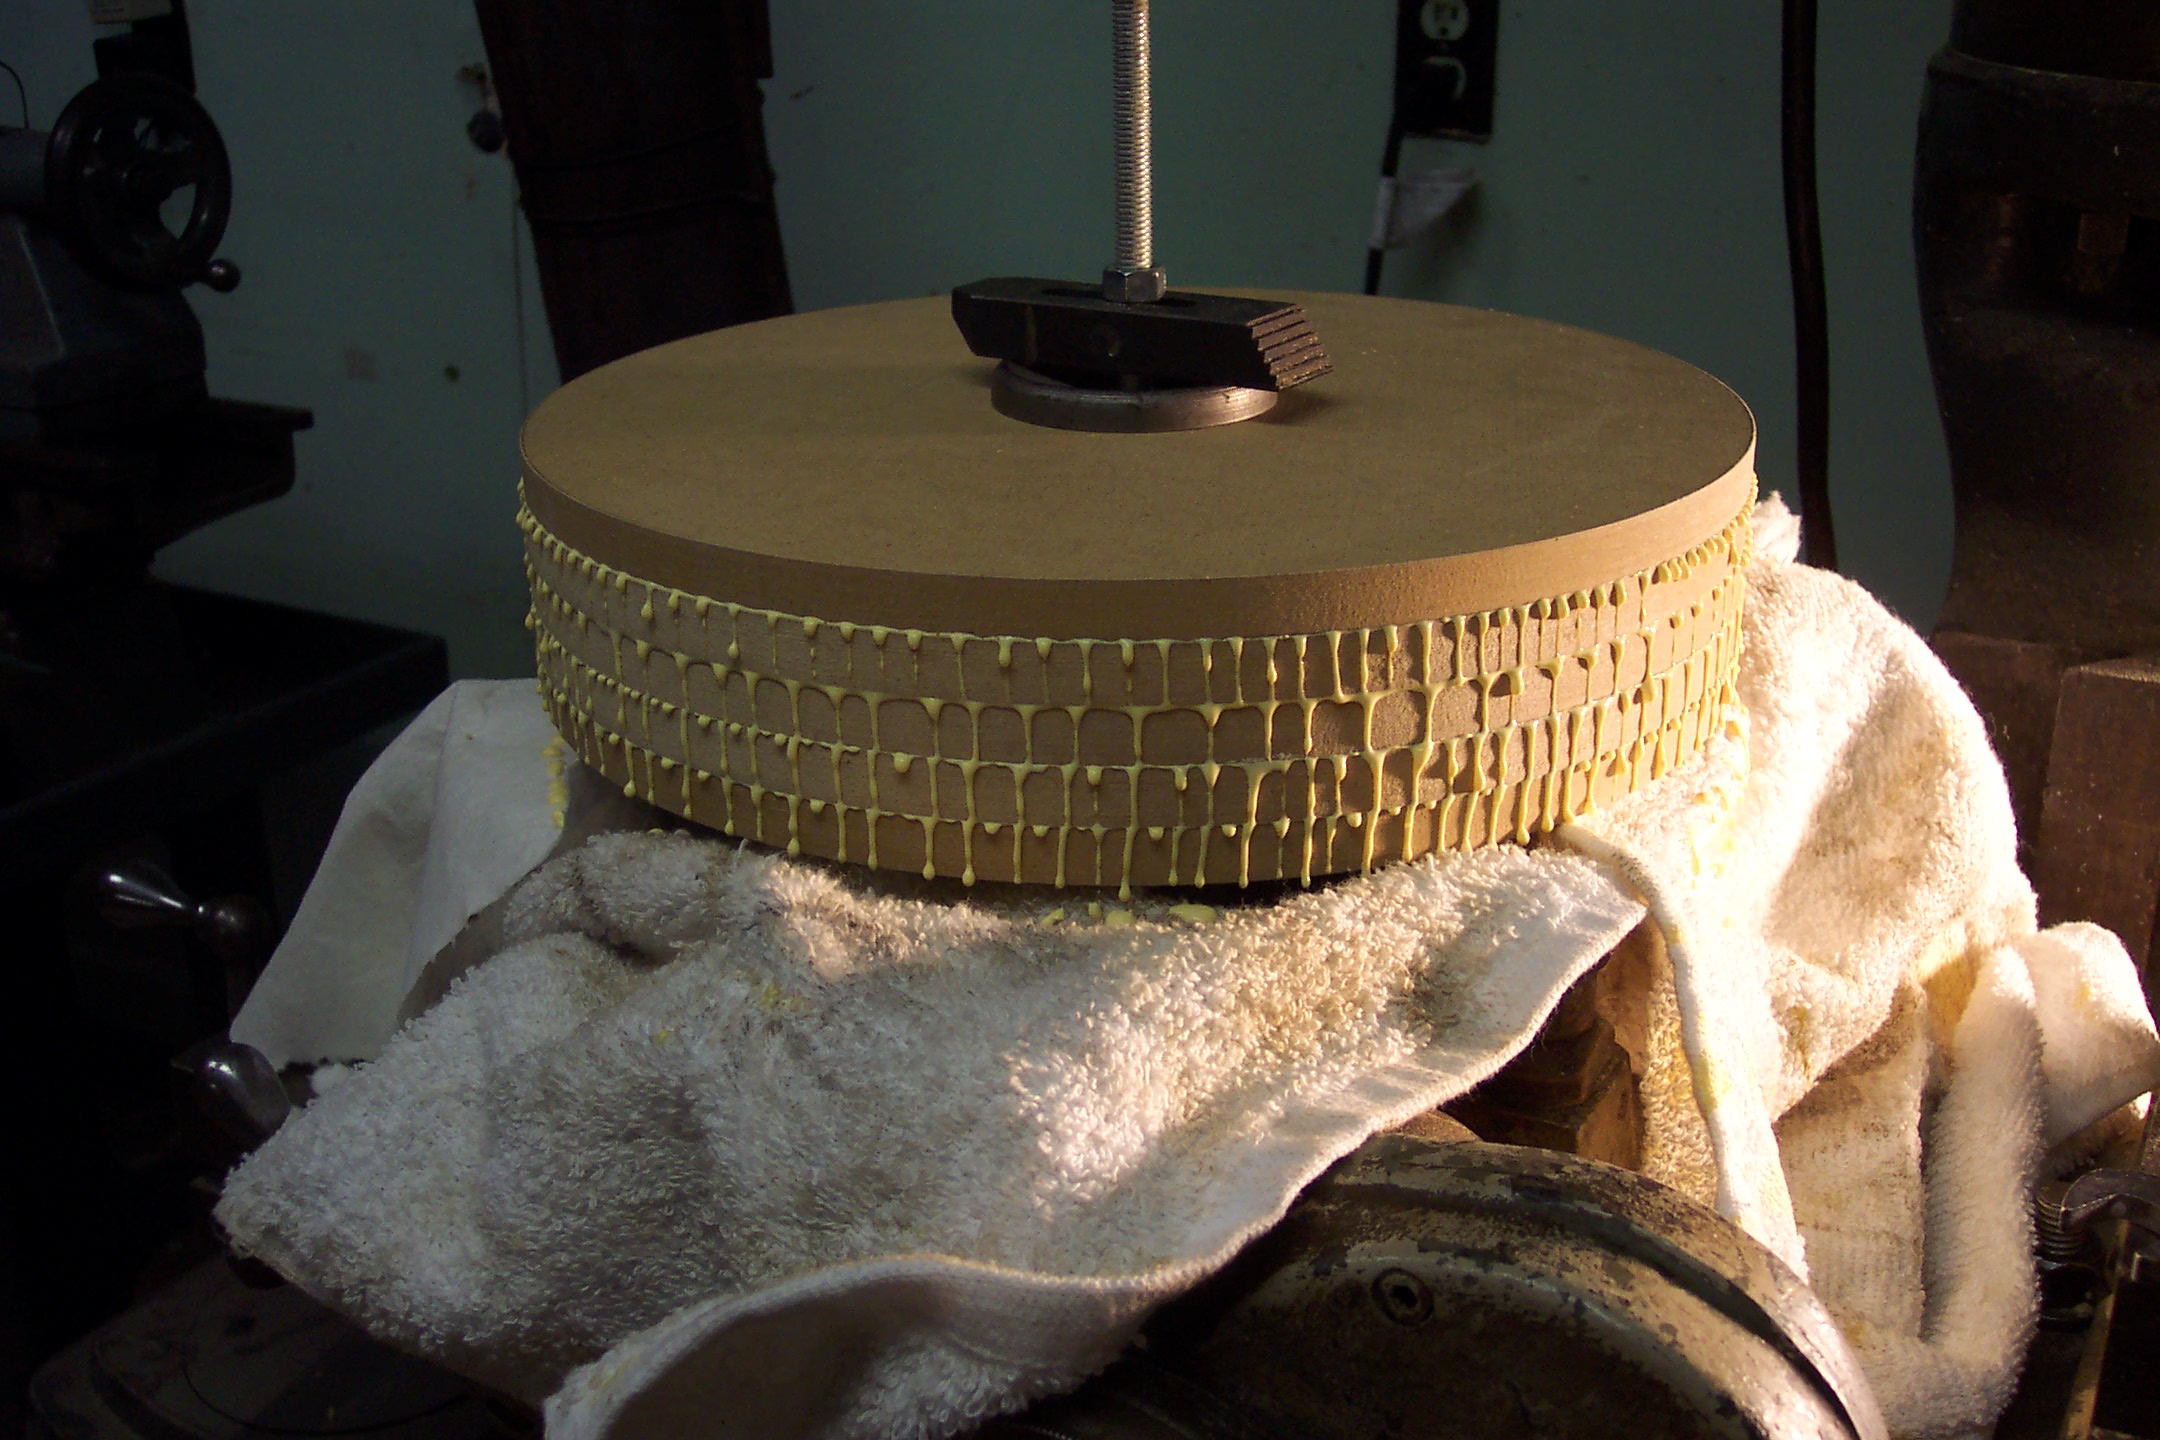
A lovely MDF layer cake.
Wiring and testing the lighting in the center column.
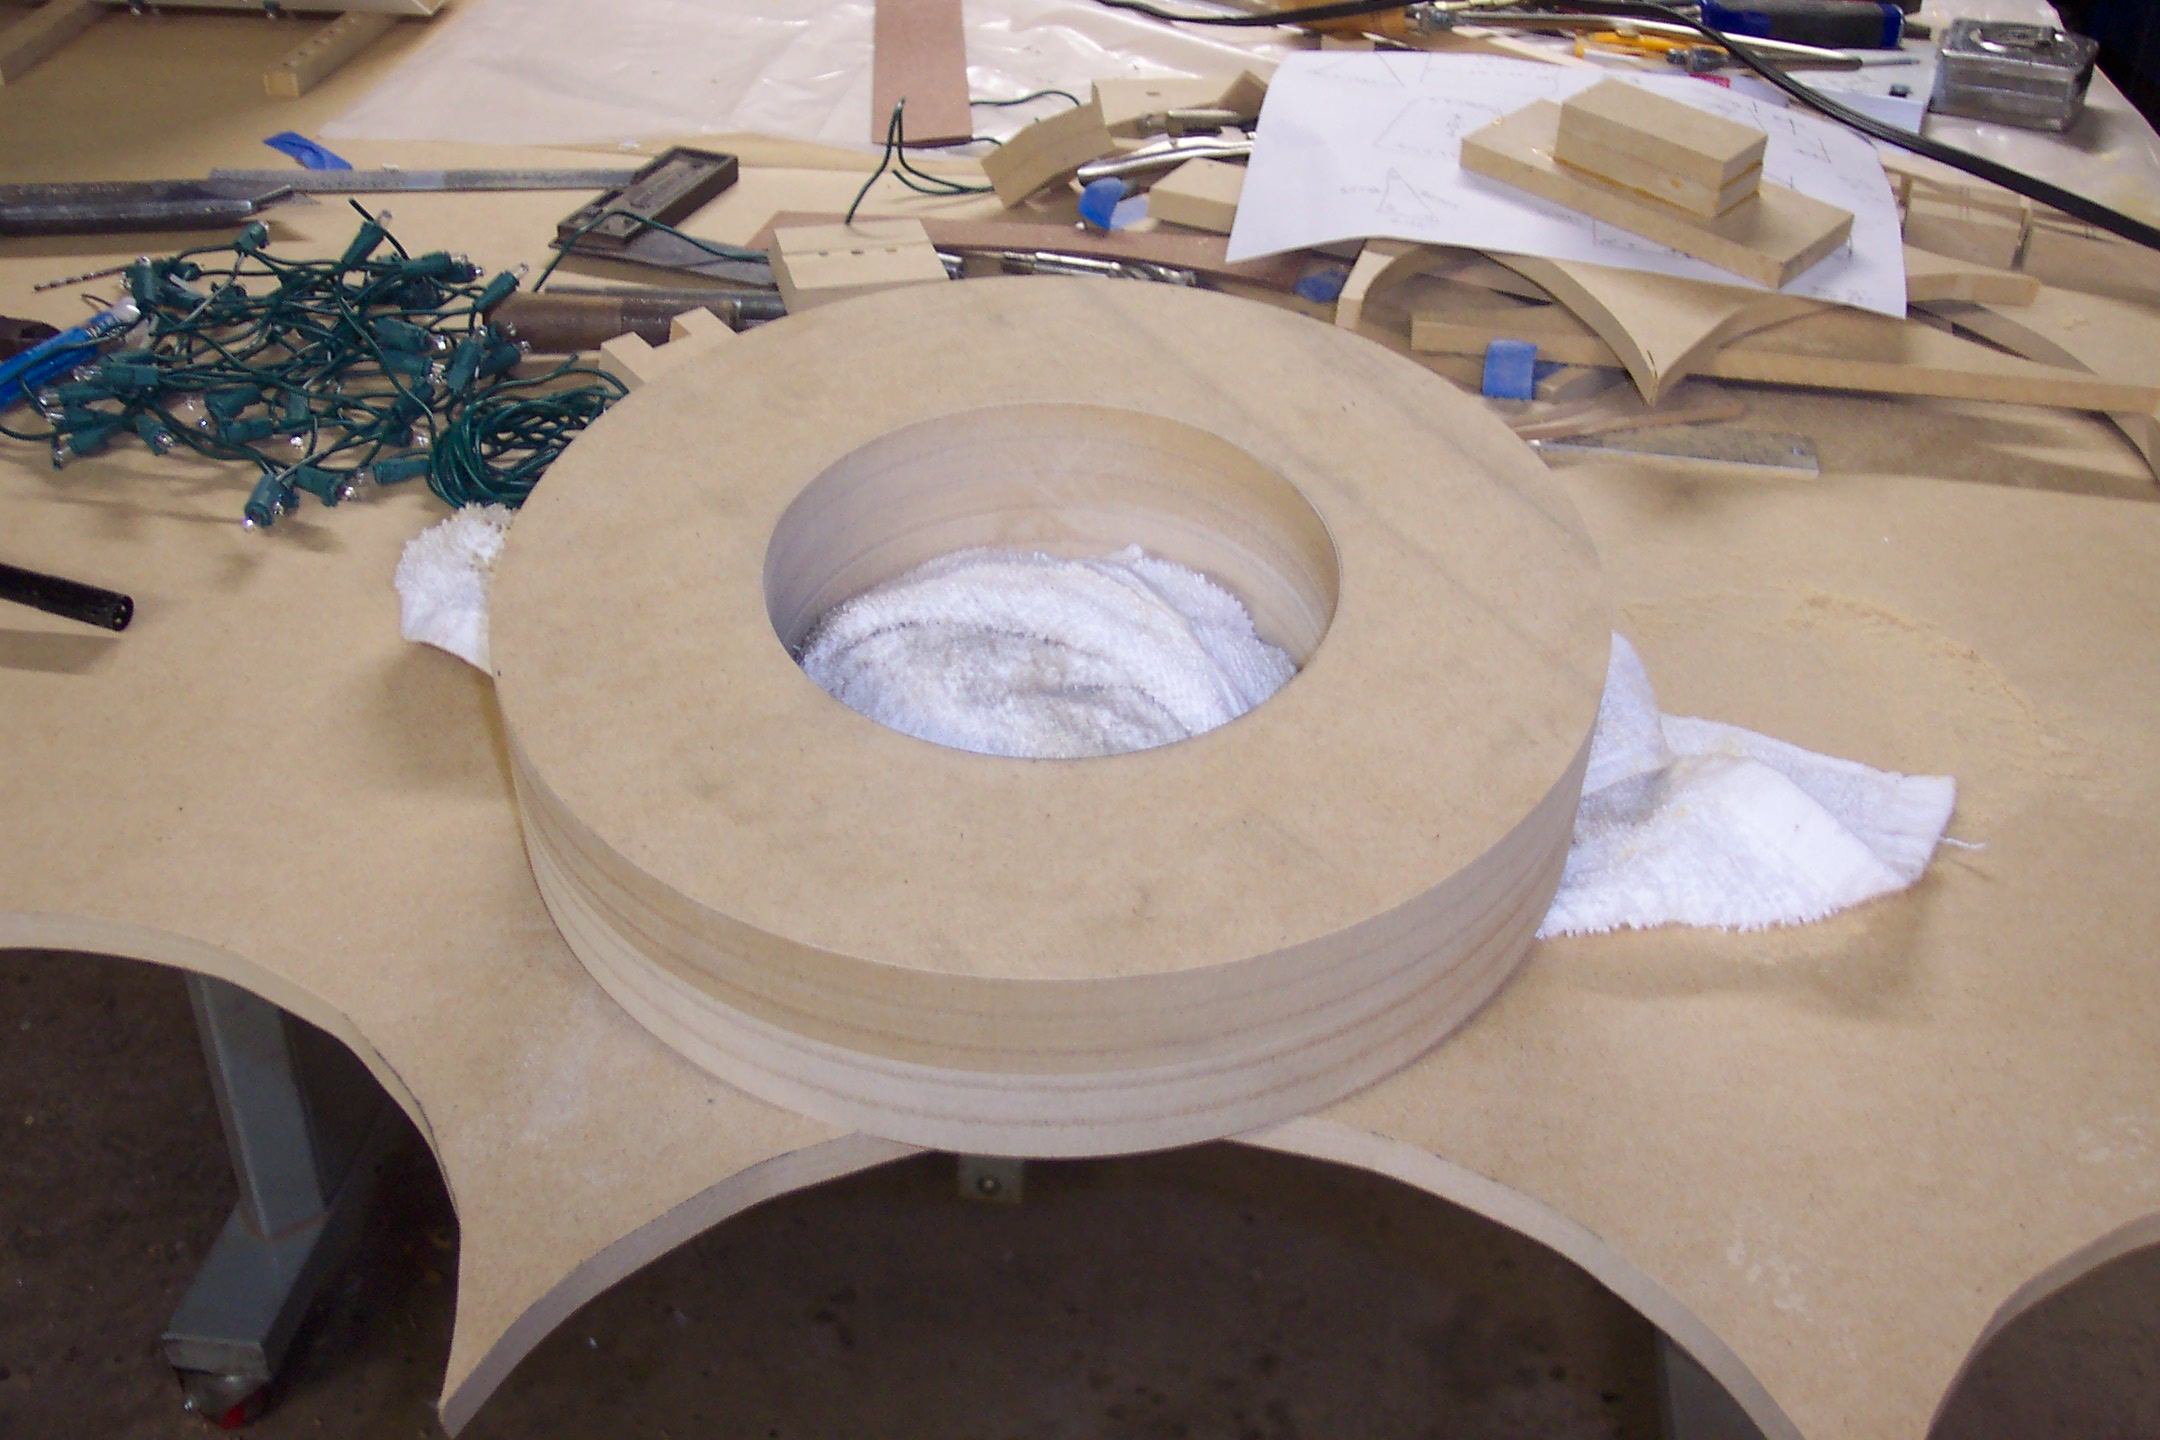
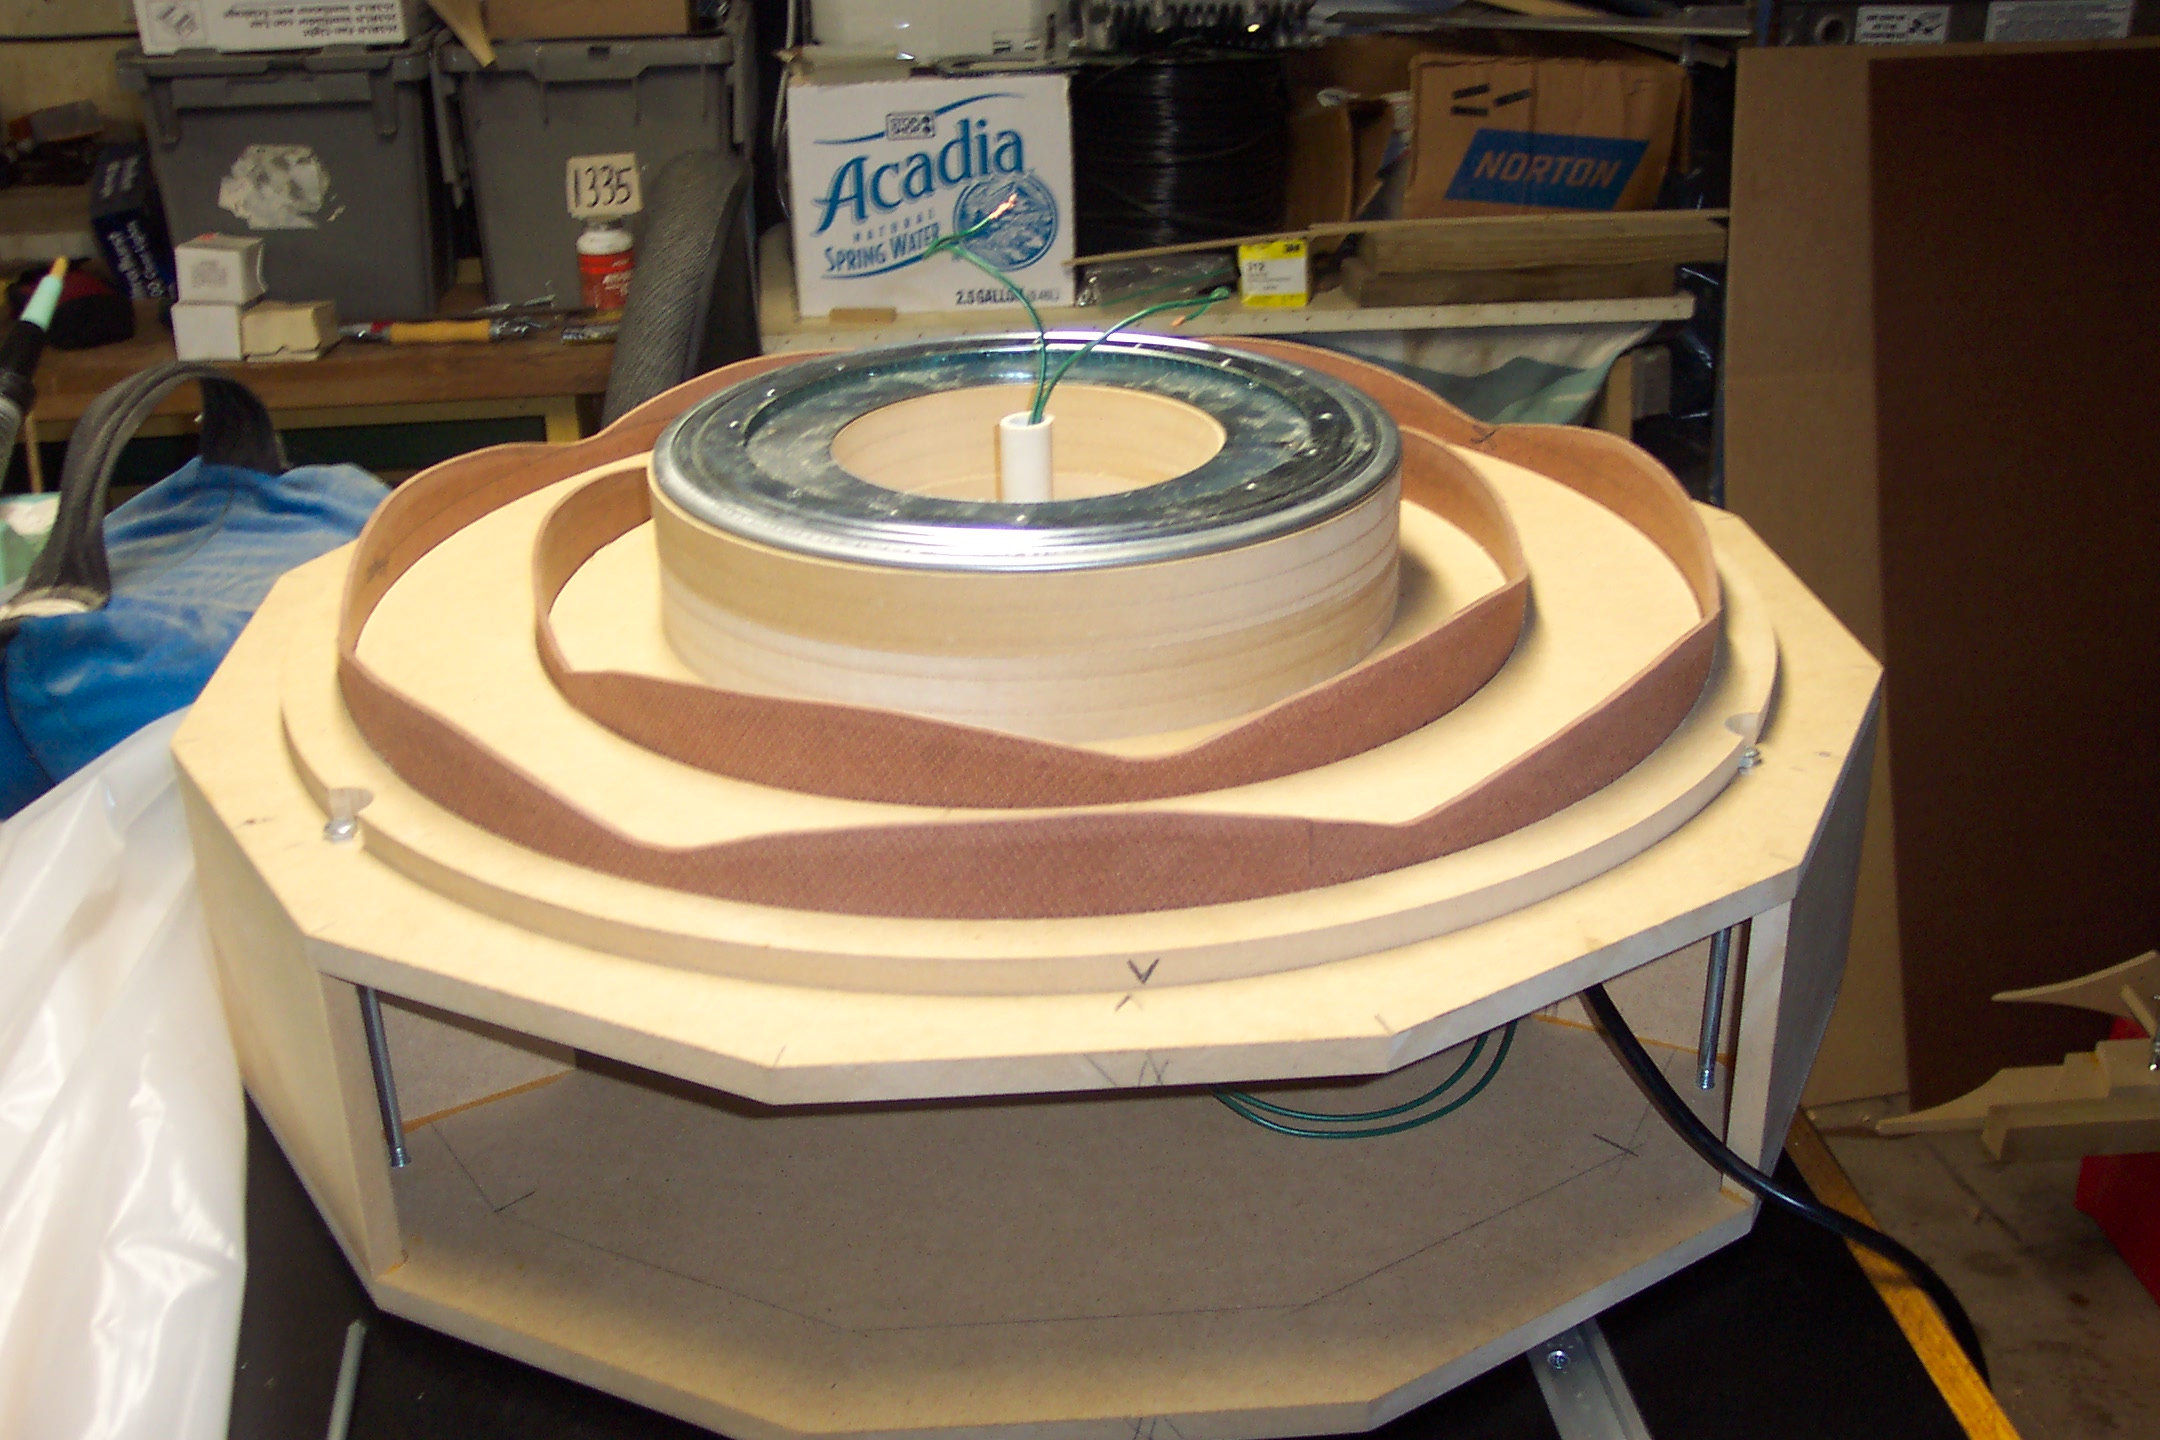
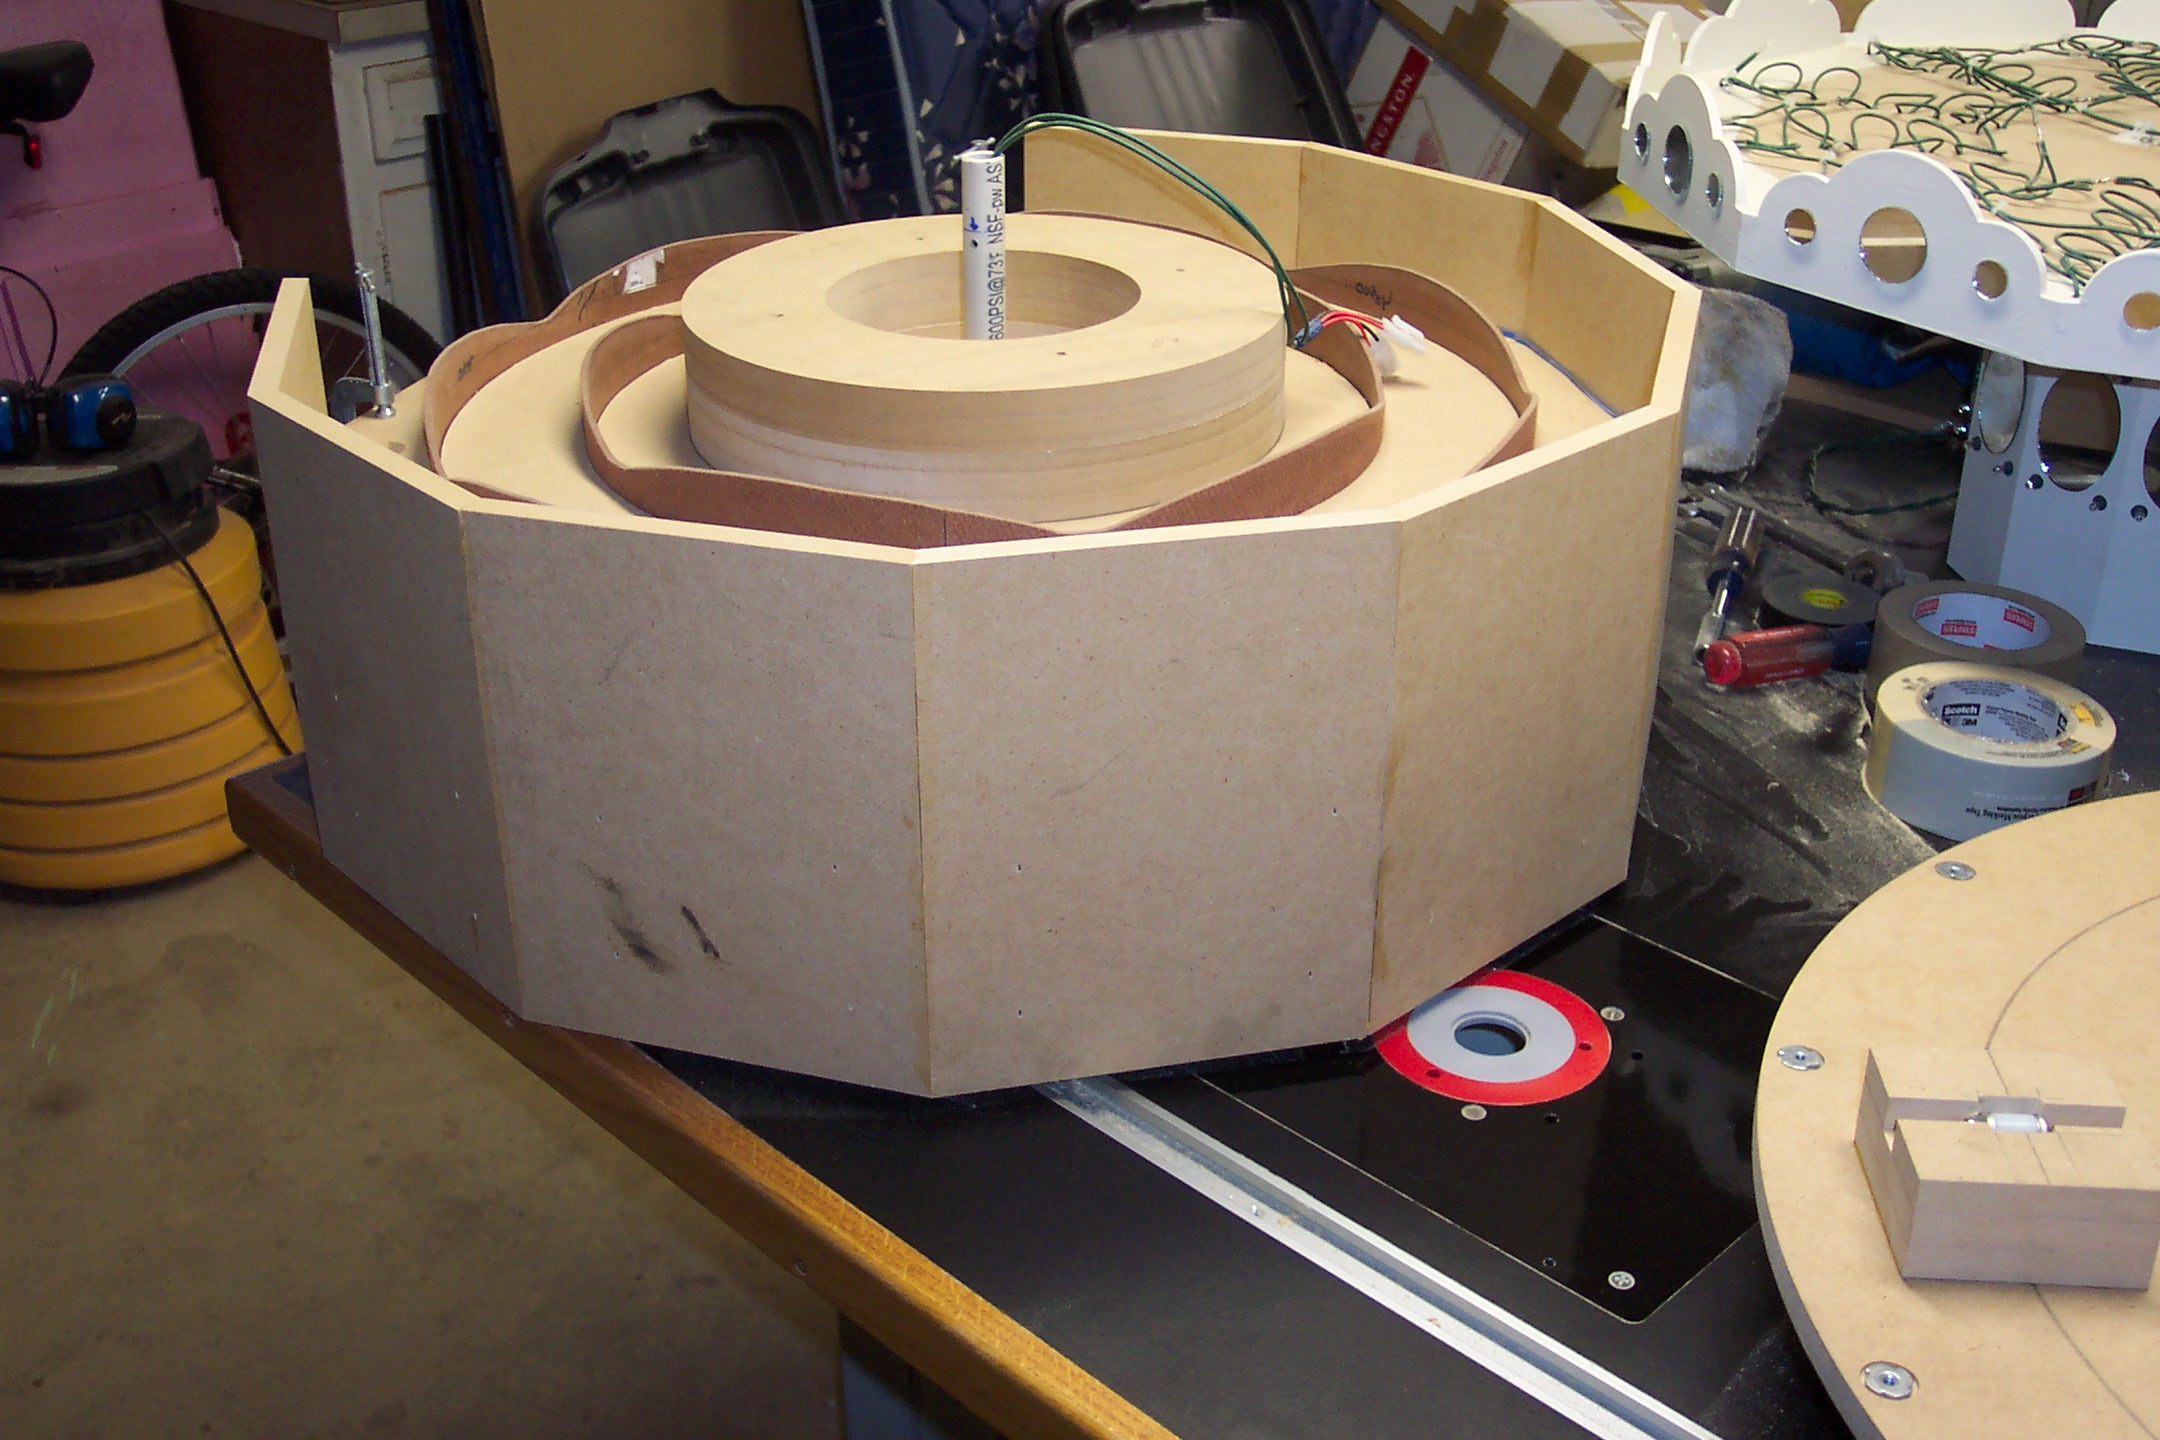
The MDF layer cake cored and assembled supporting the turntable bearing. Checking clearances again.
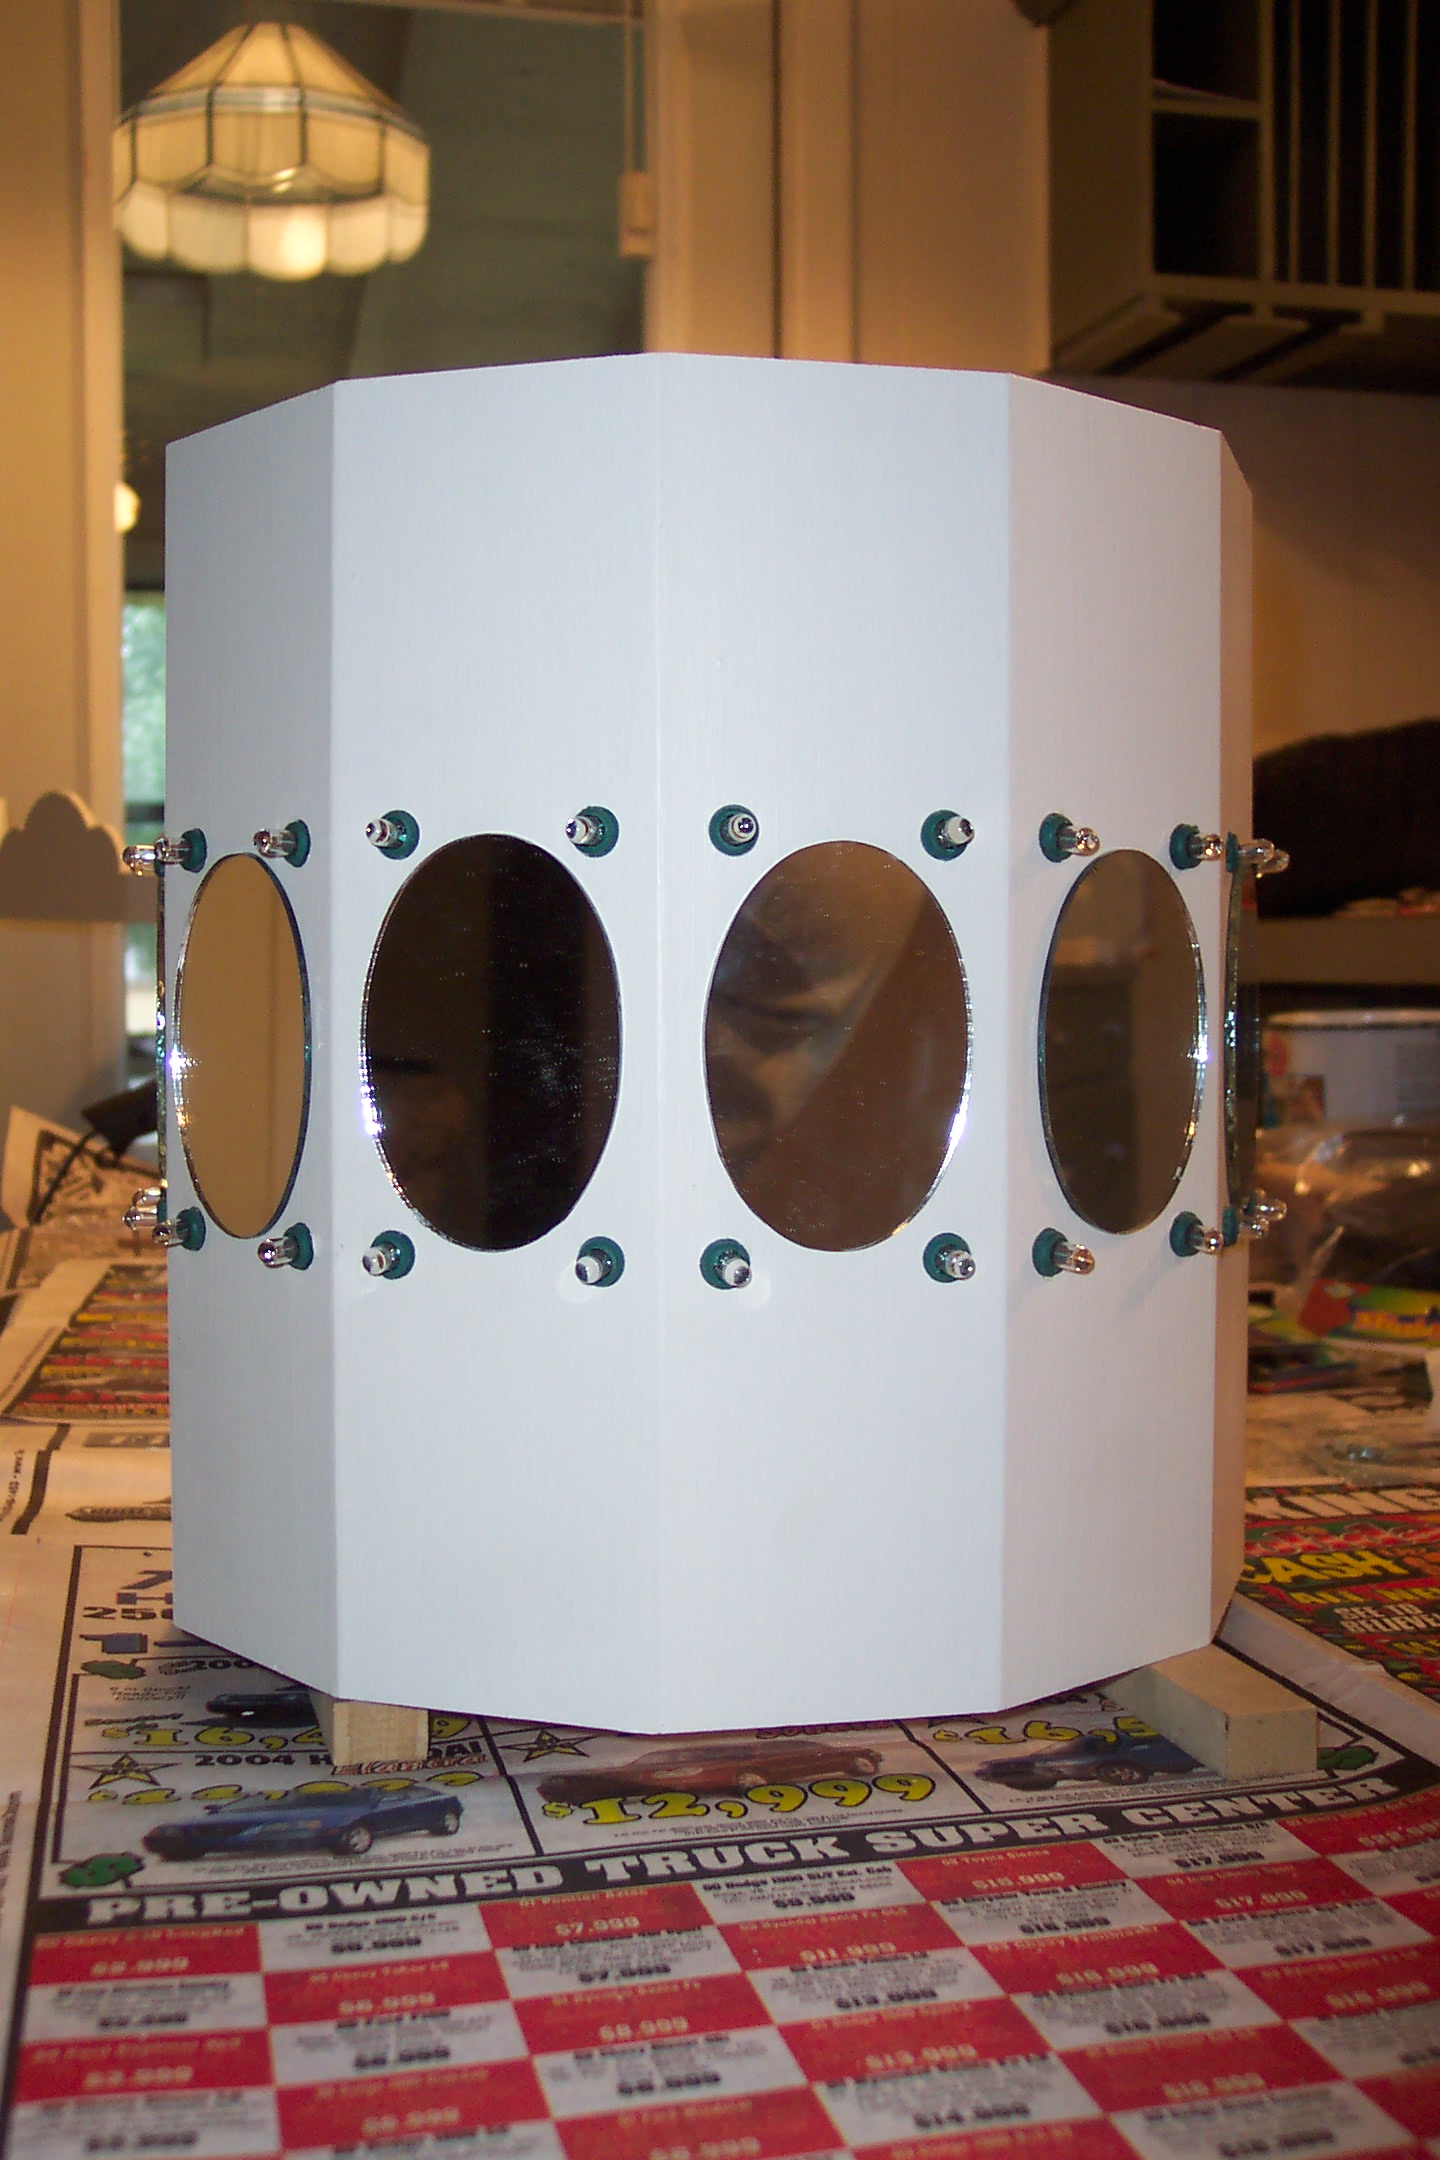
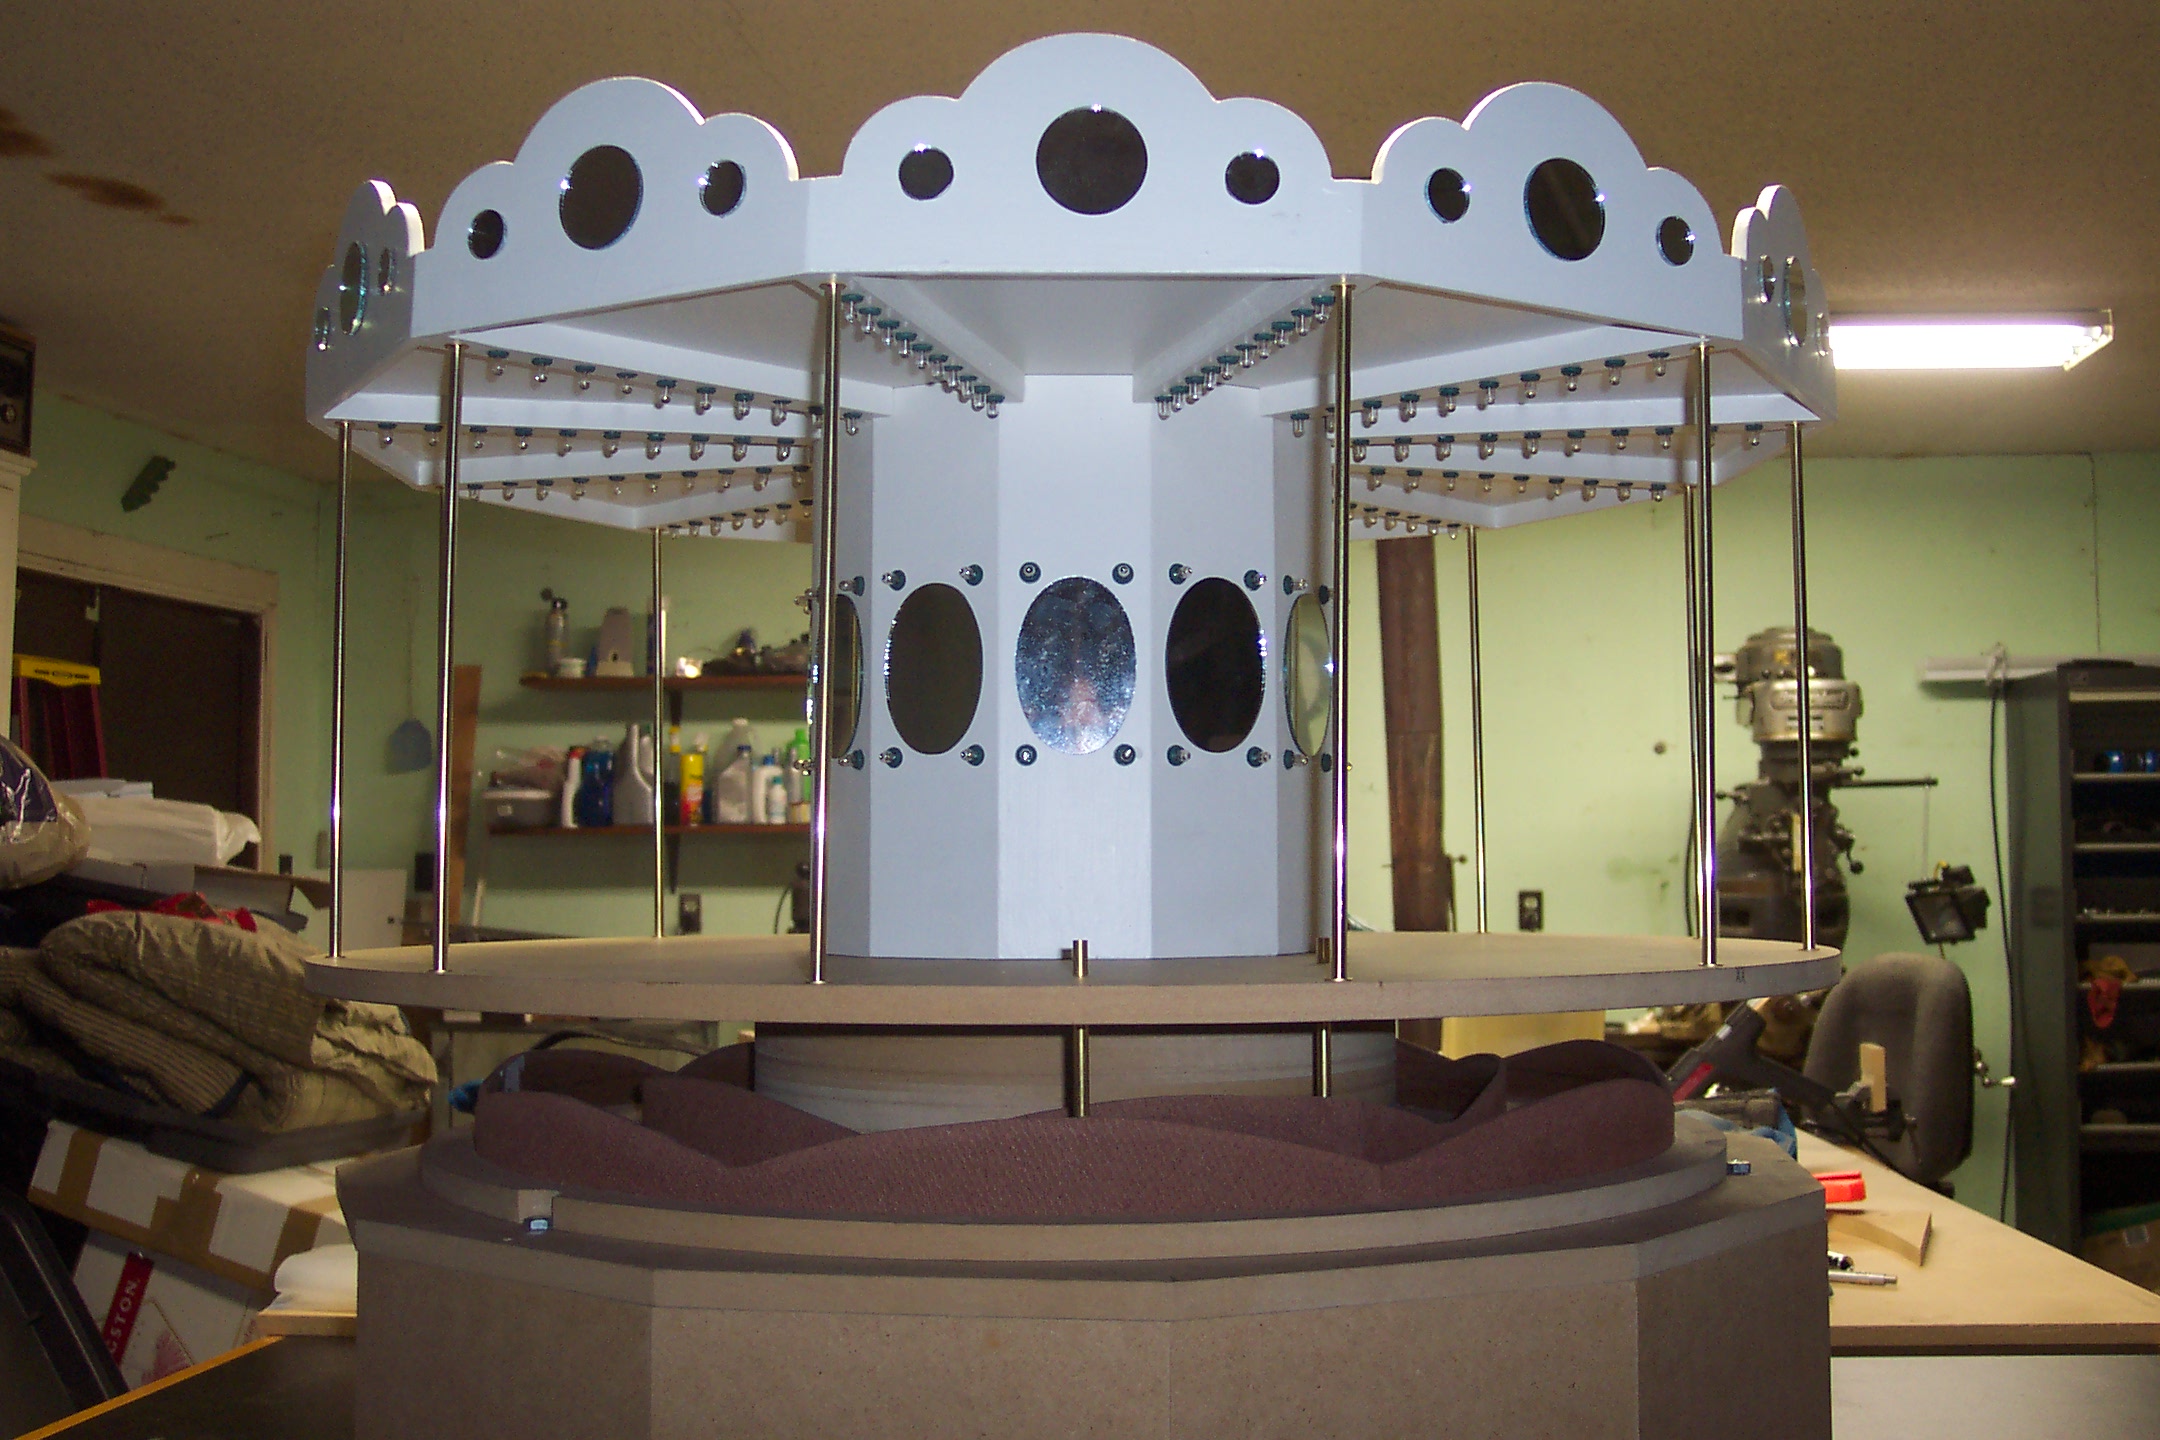
Mirrors added to the center column.
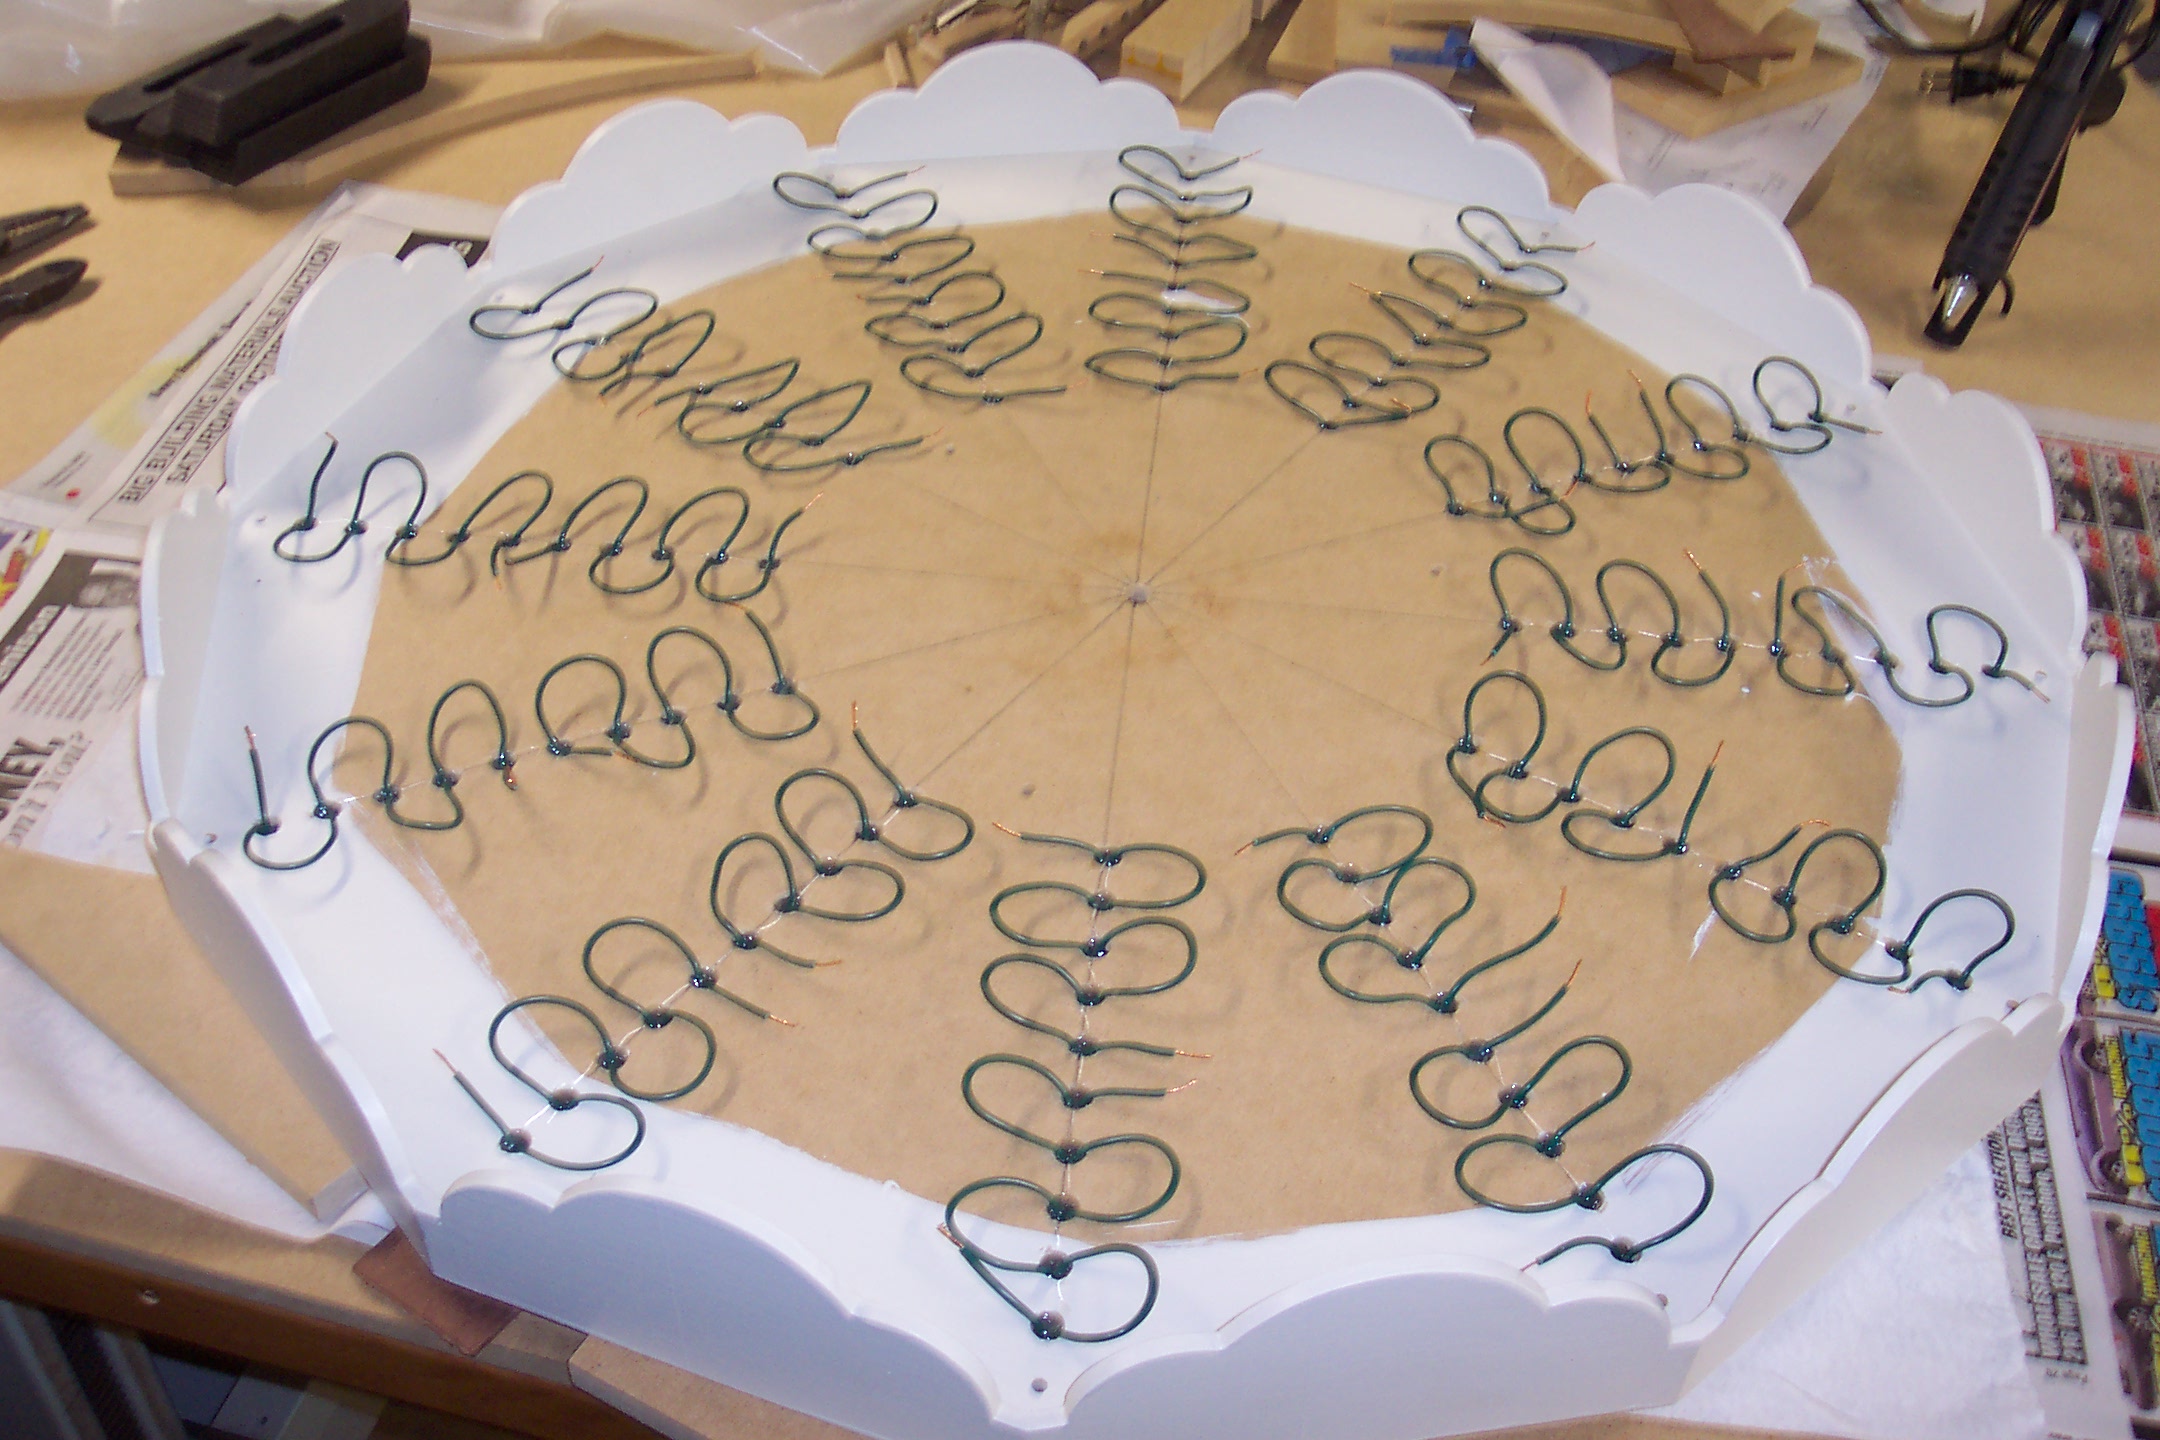
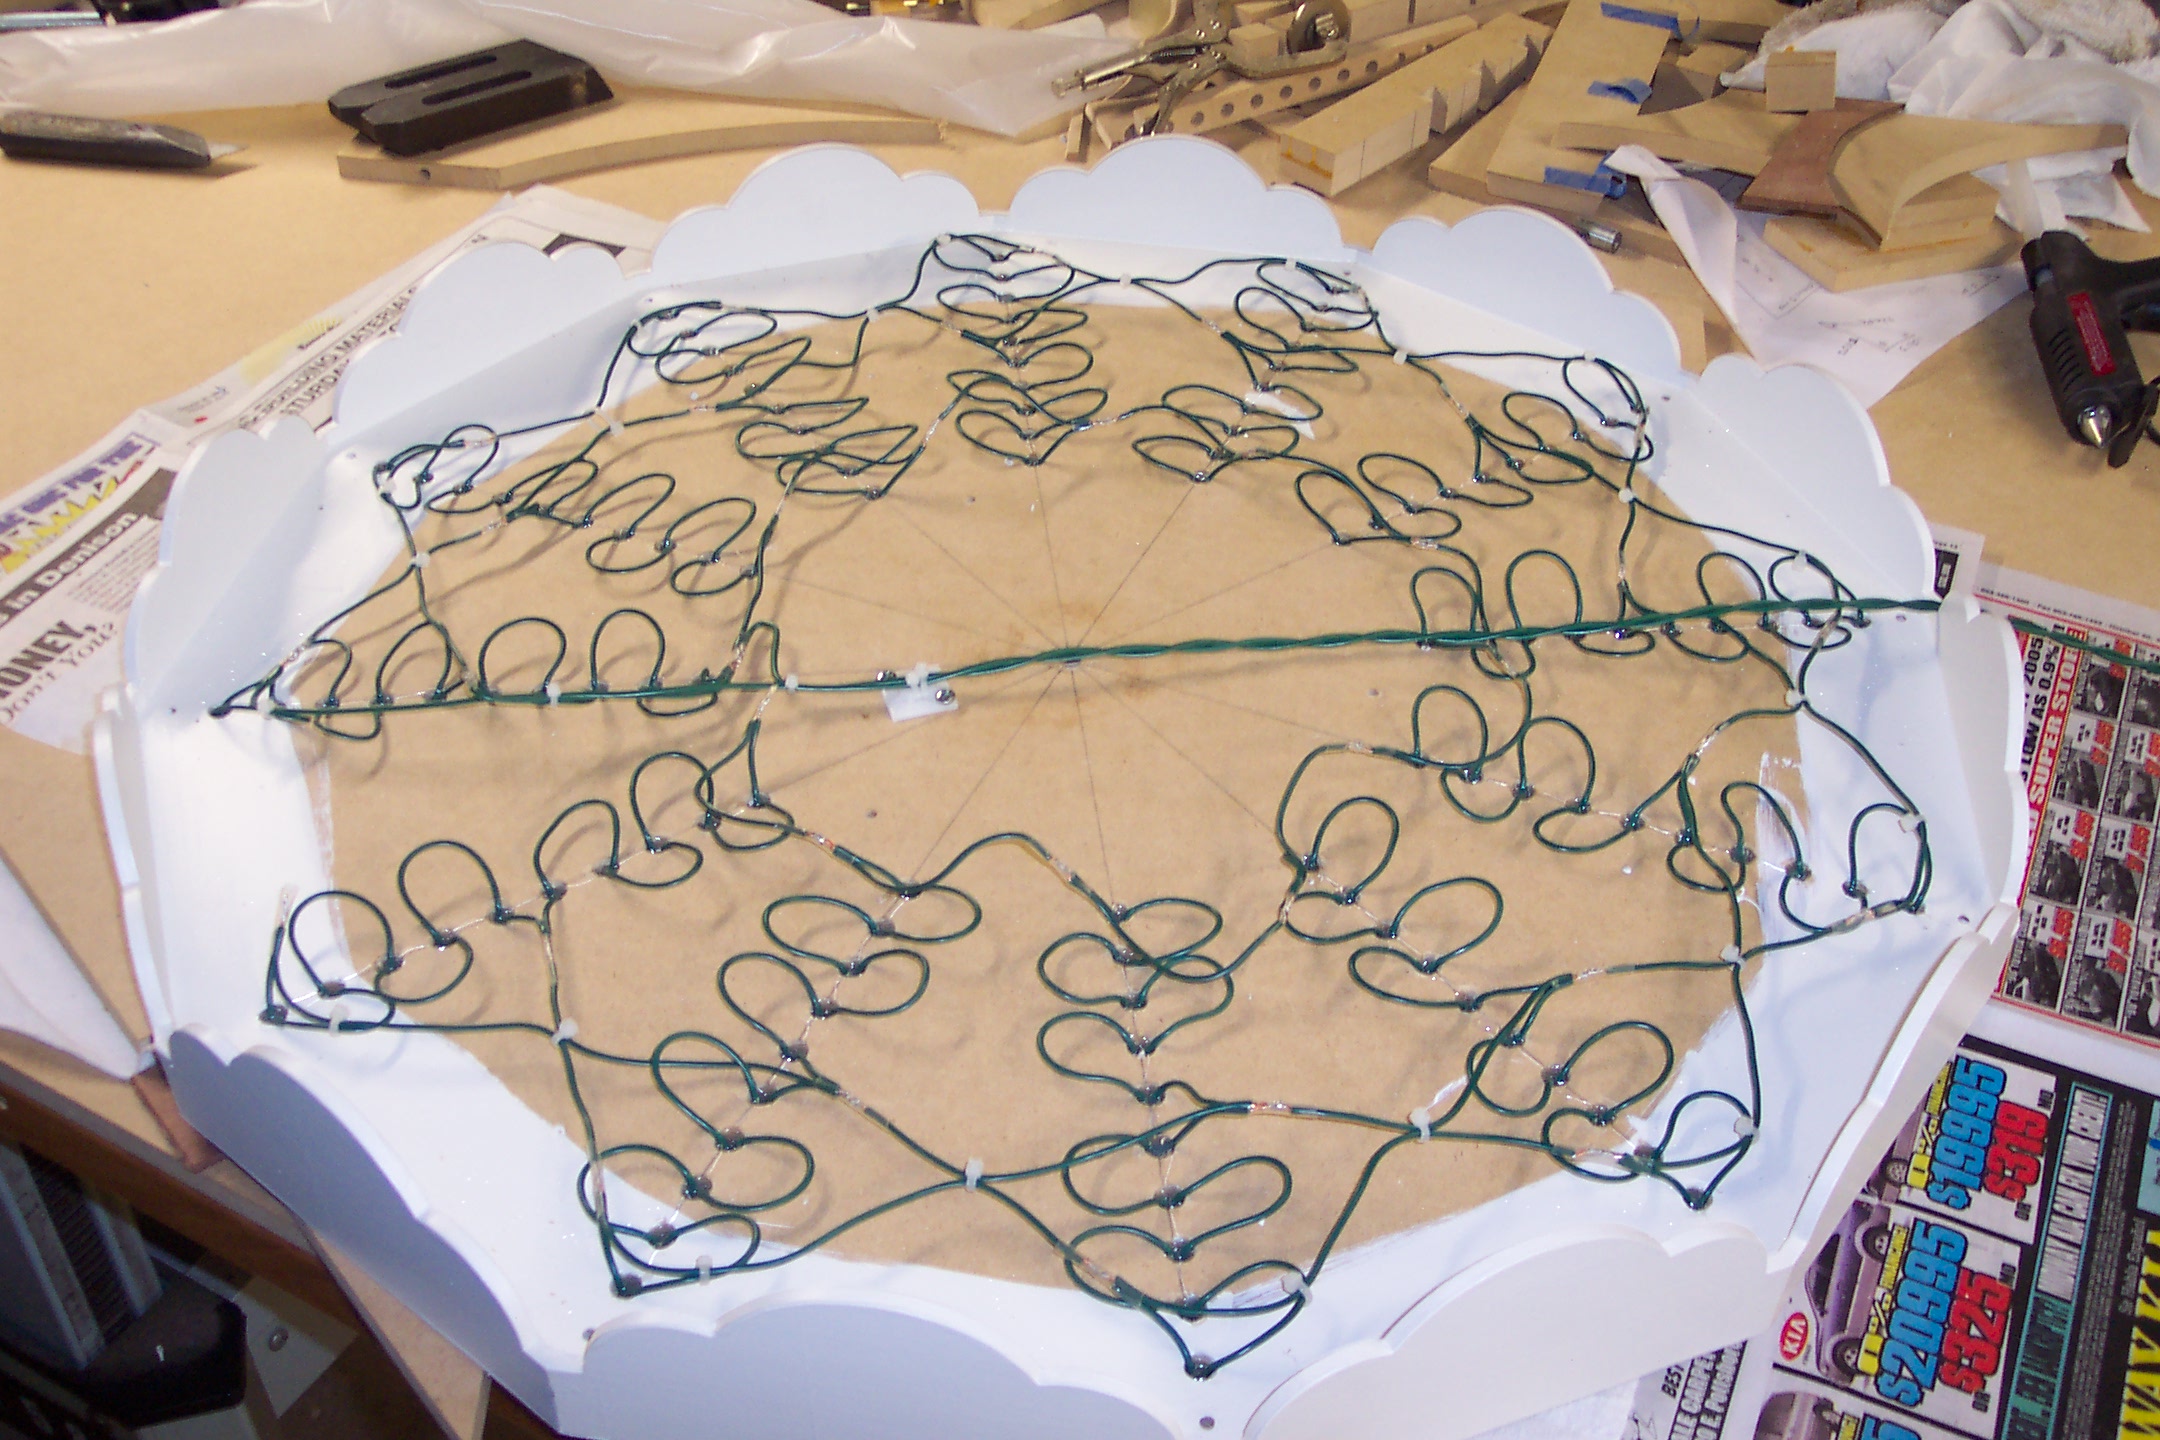
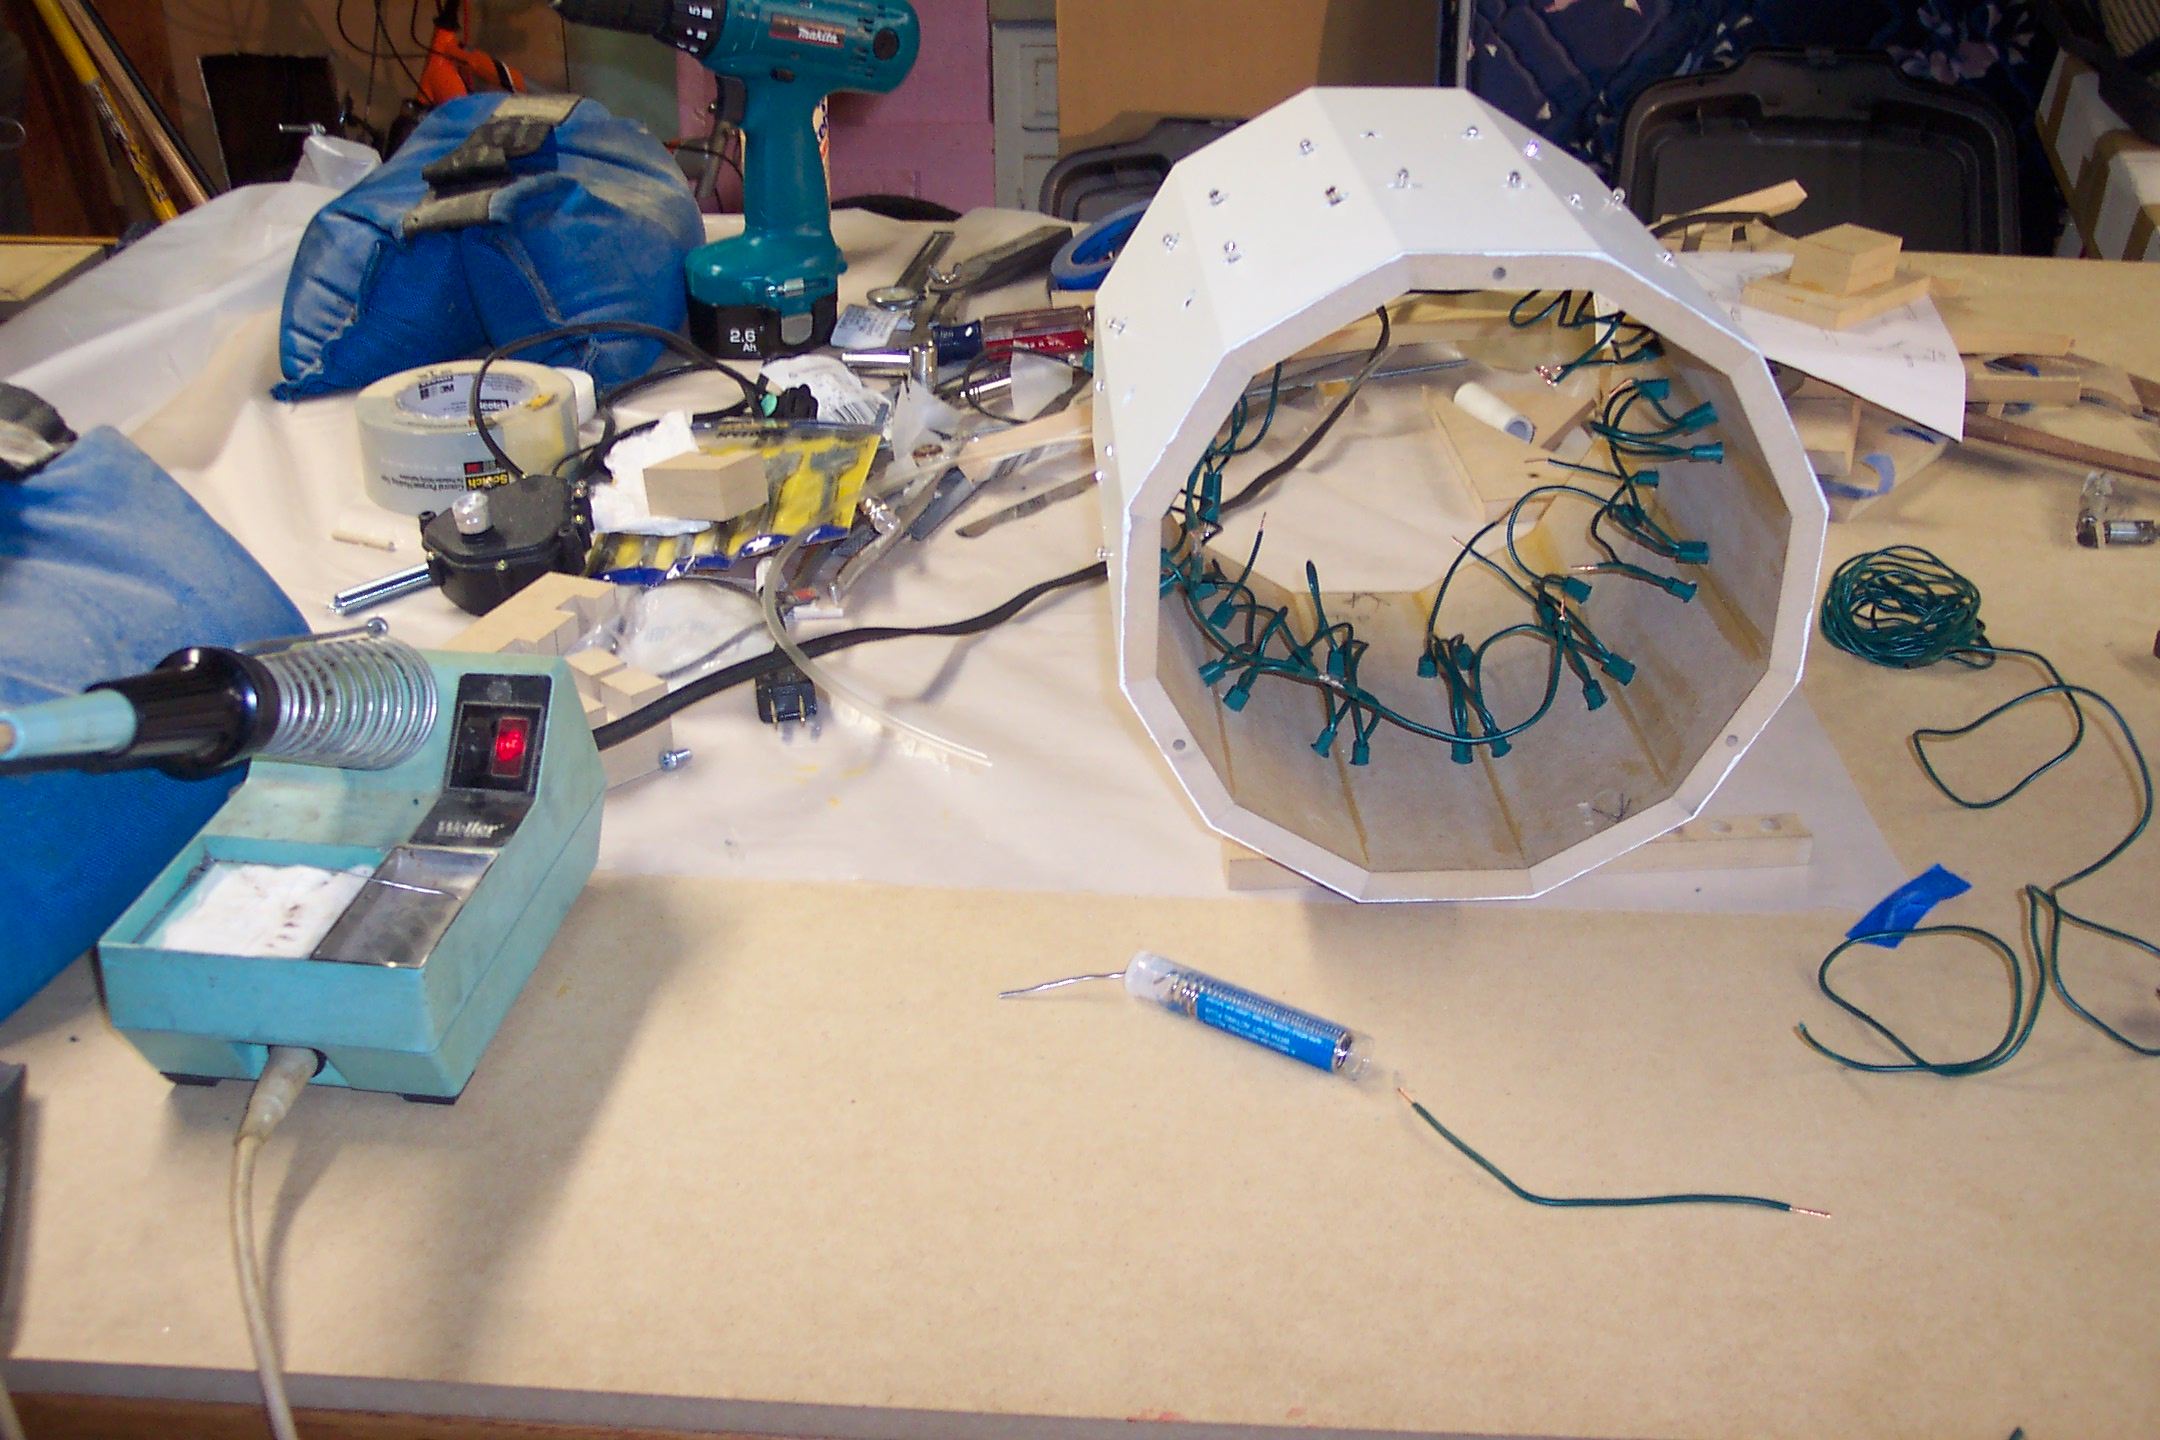
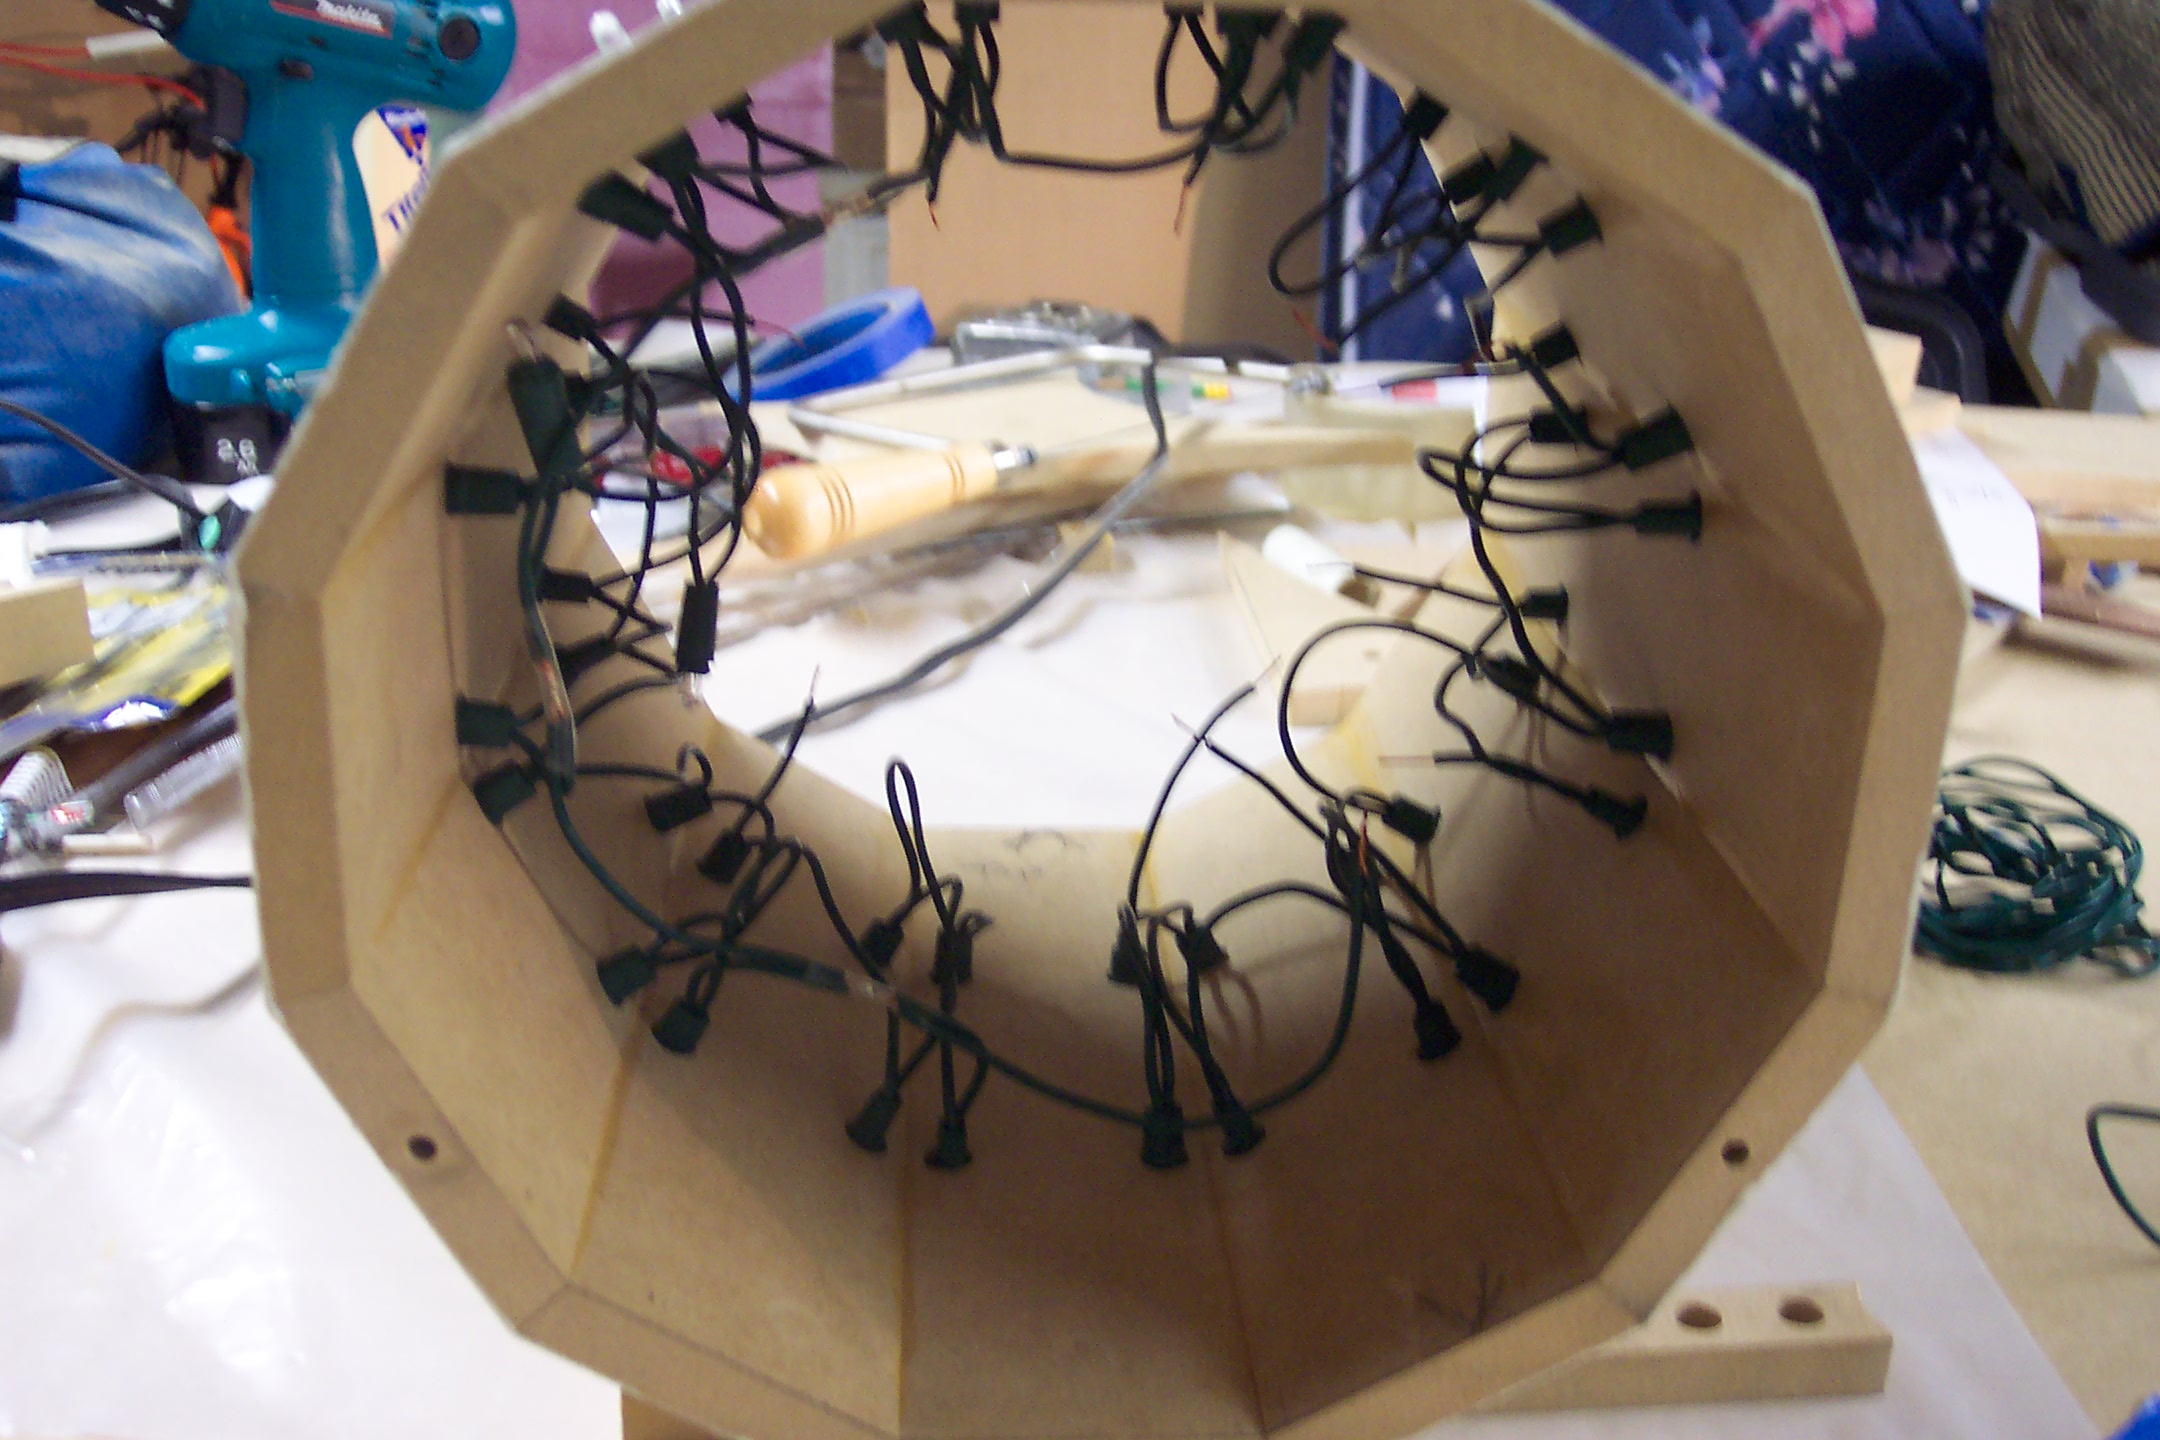
Wiring the lights in the top.
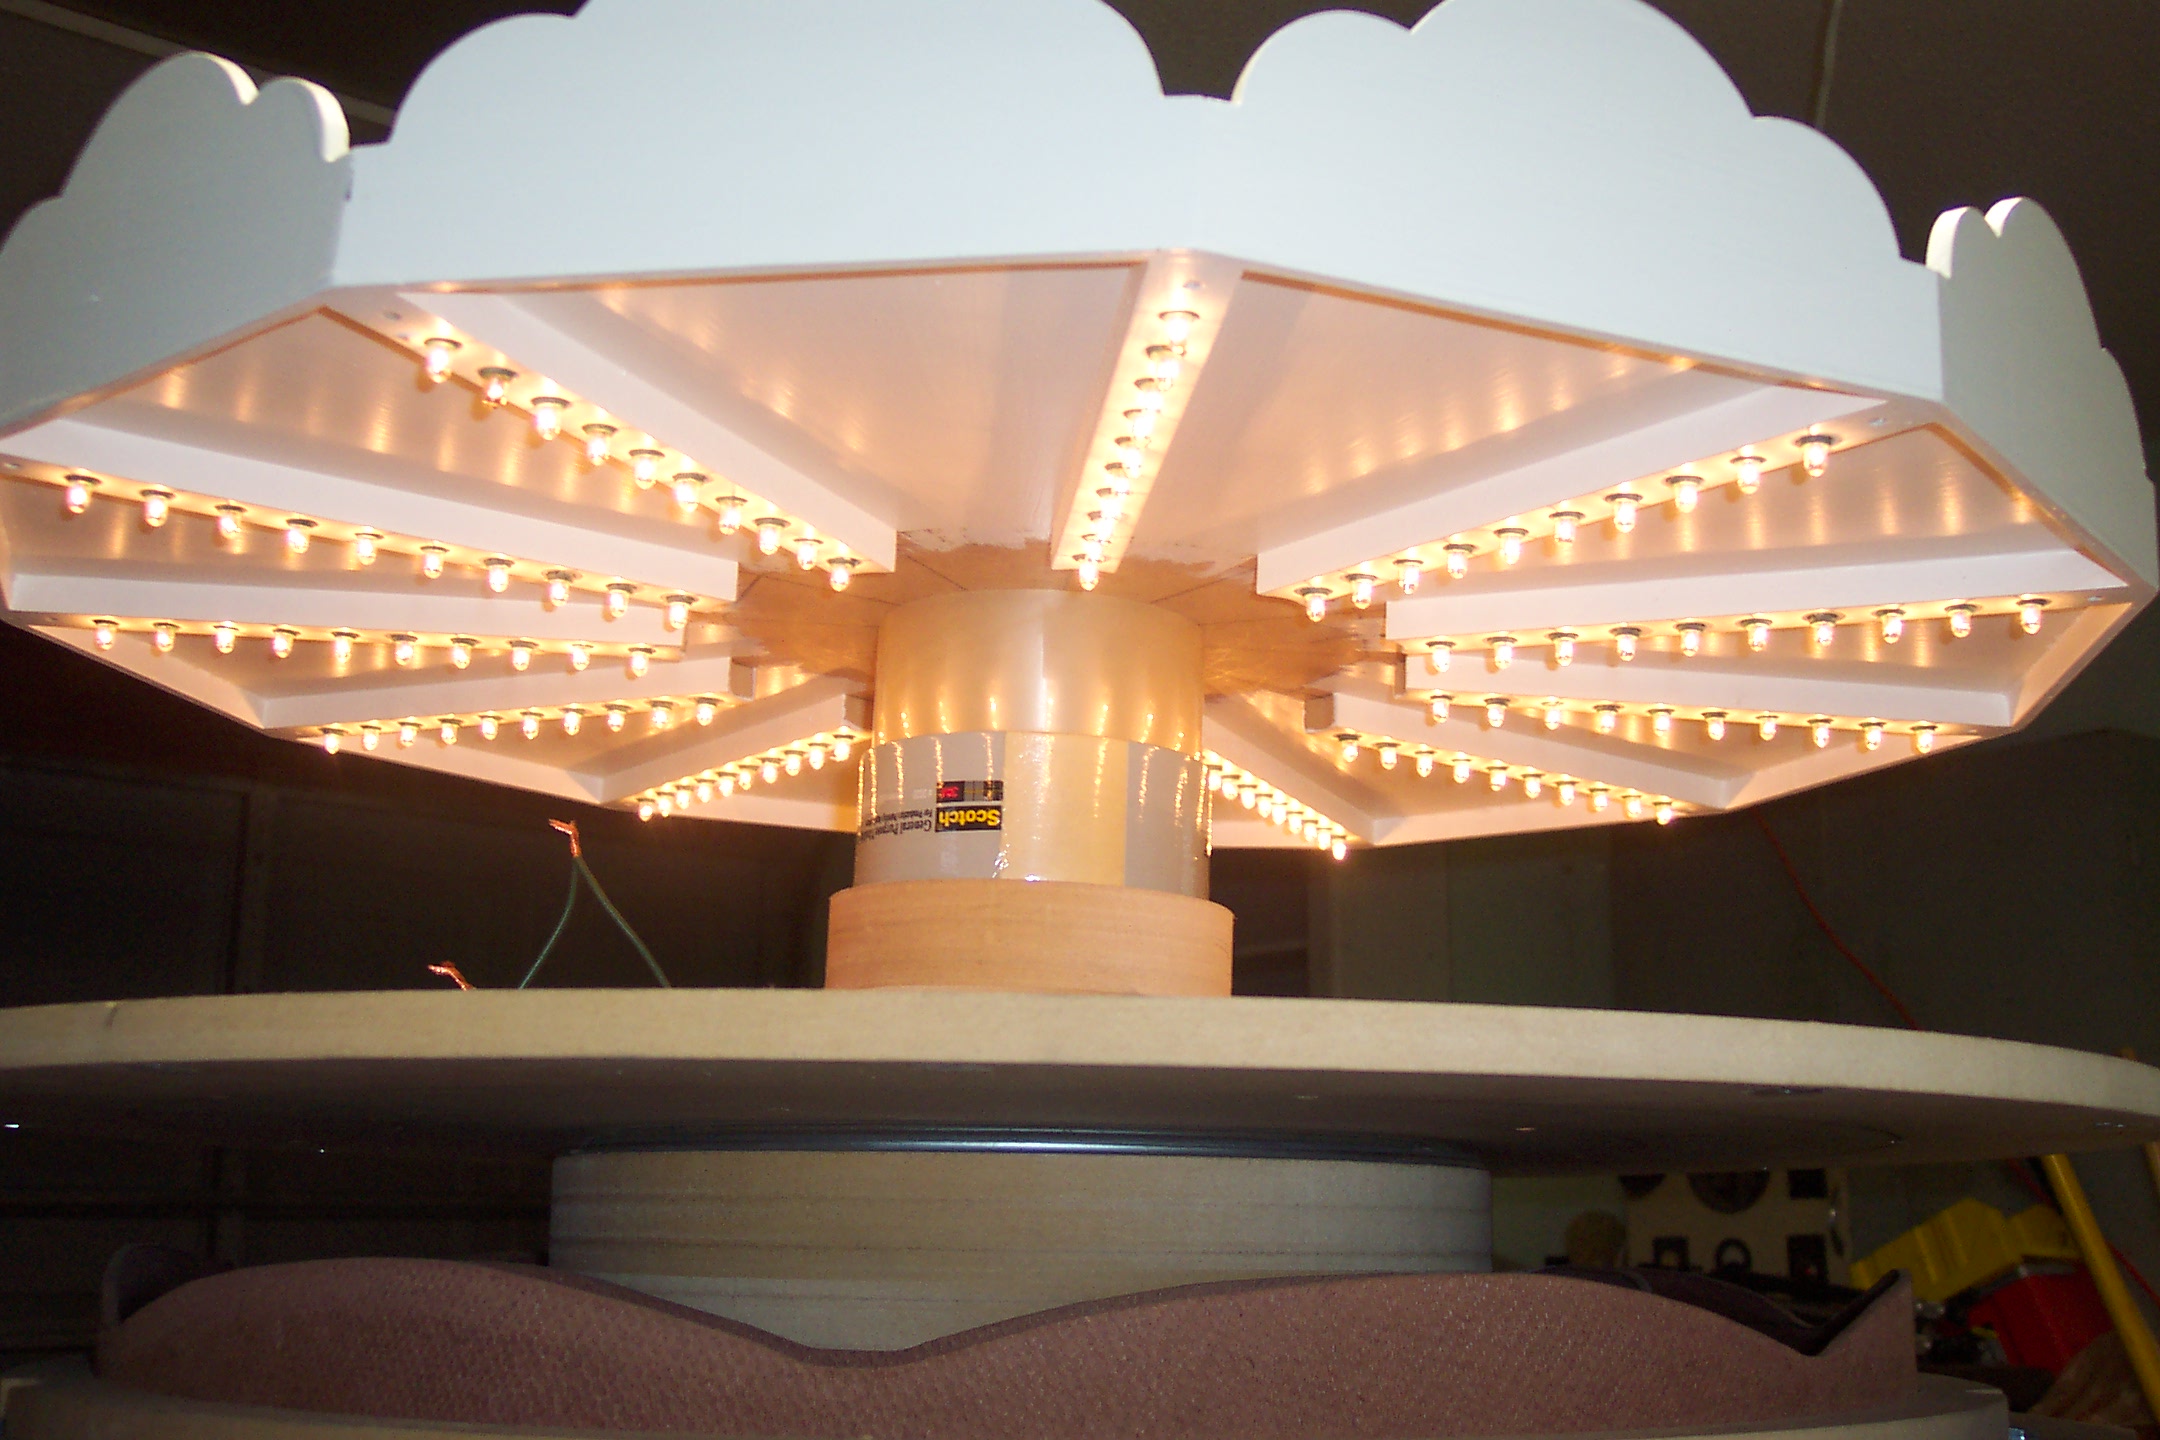
Testing the lights in the top.
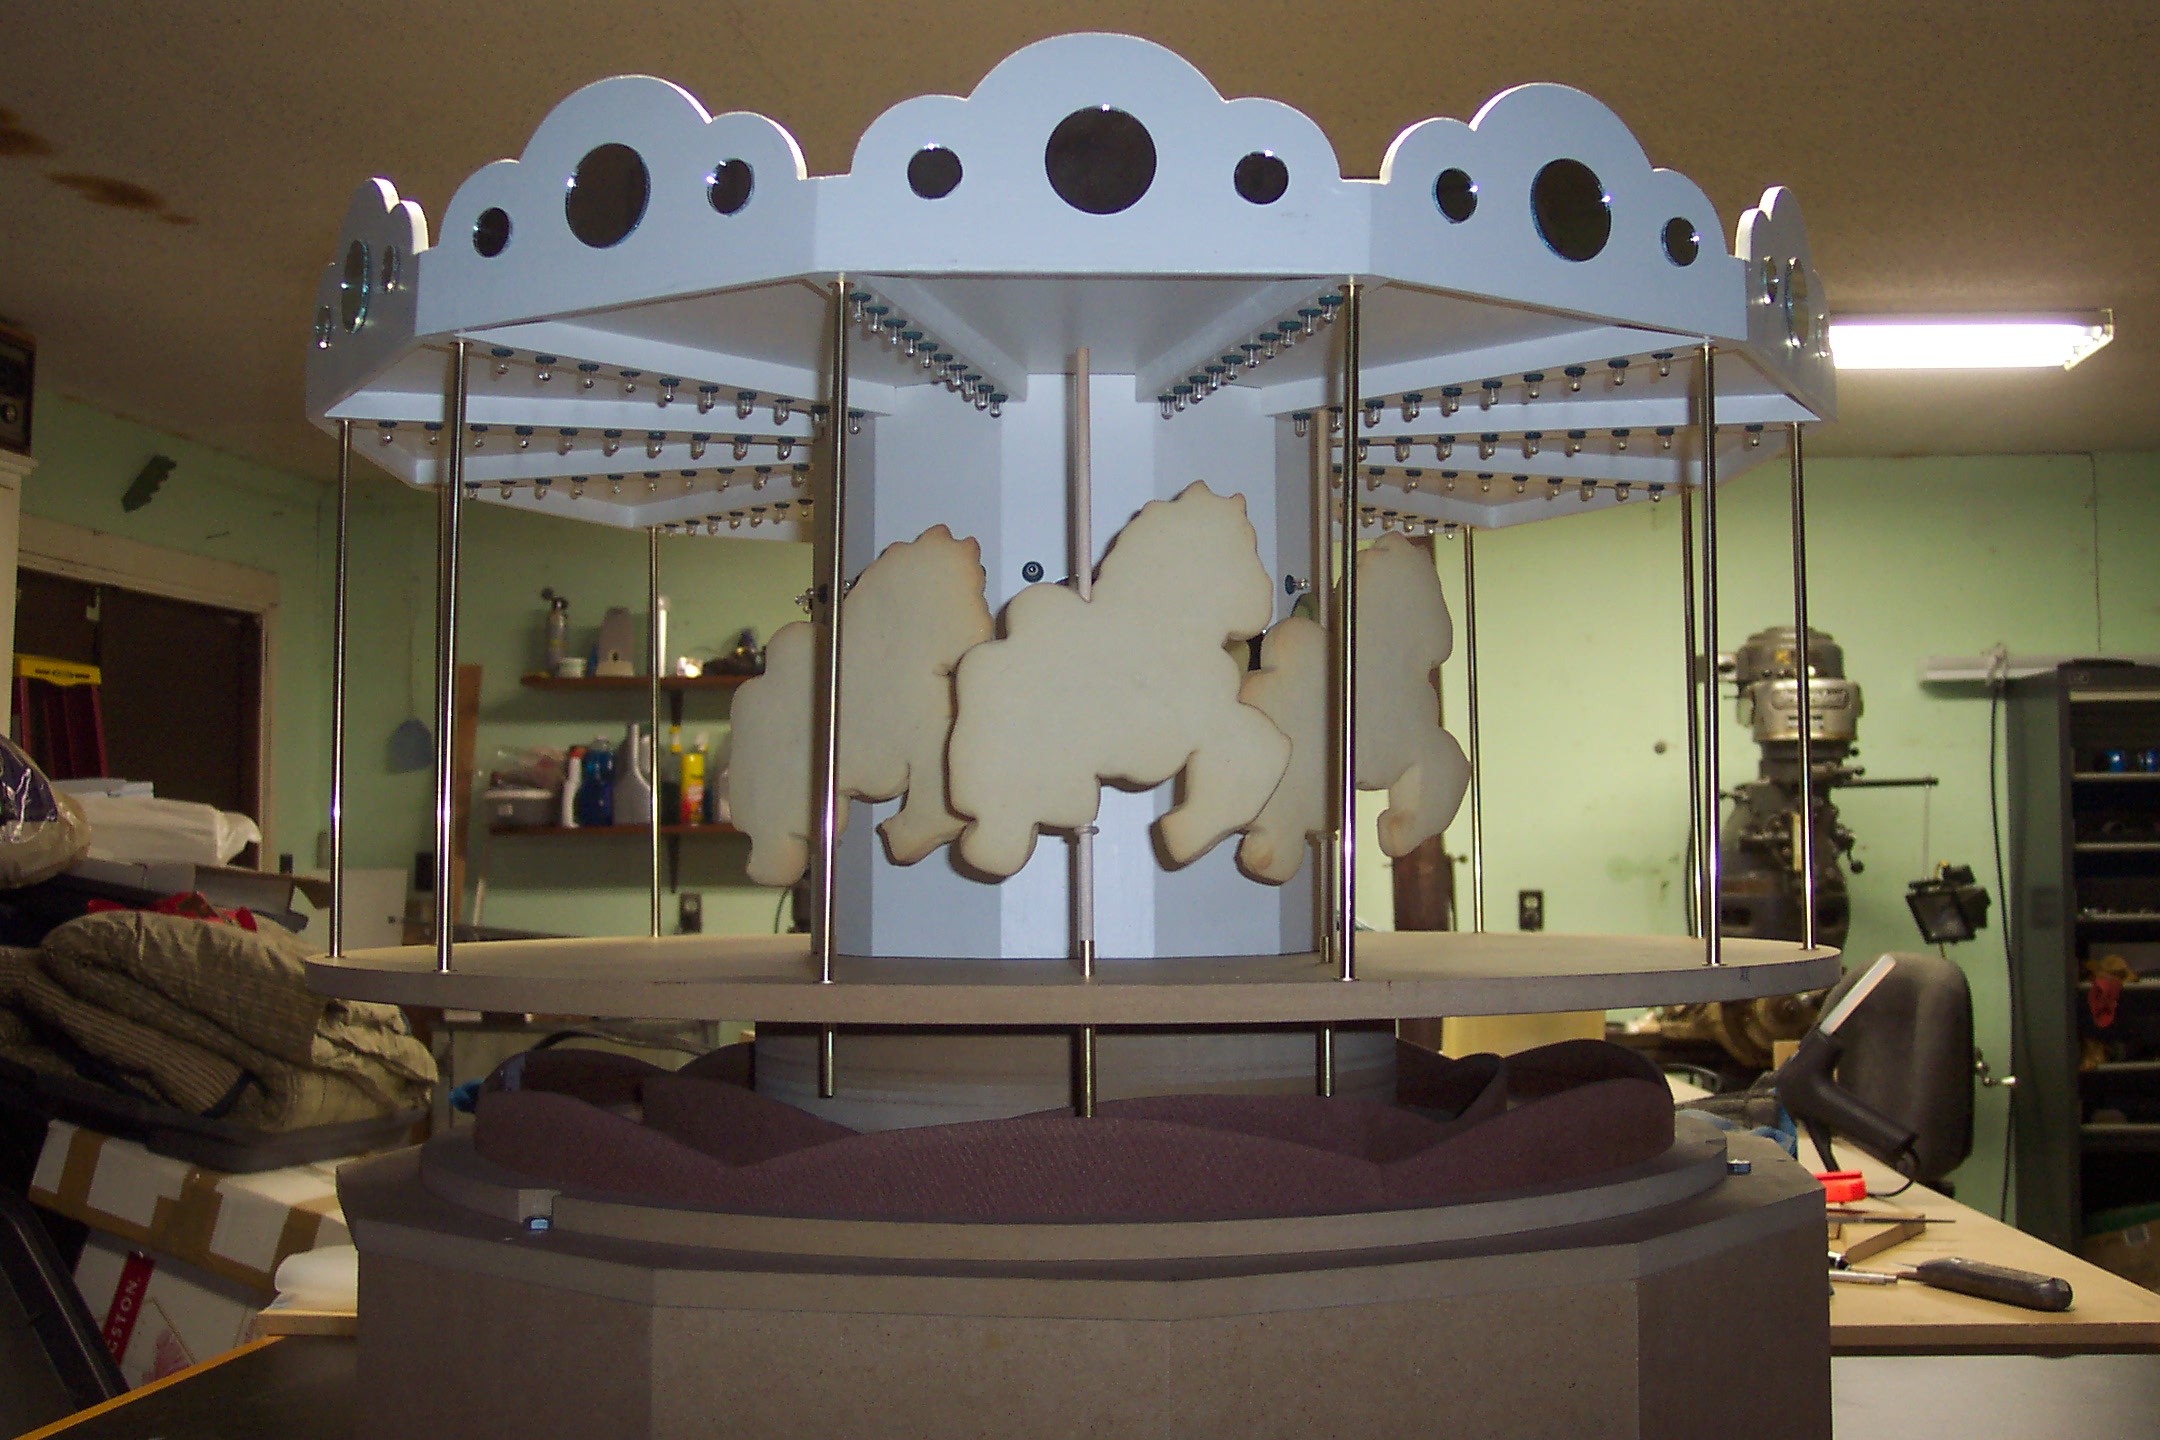
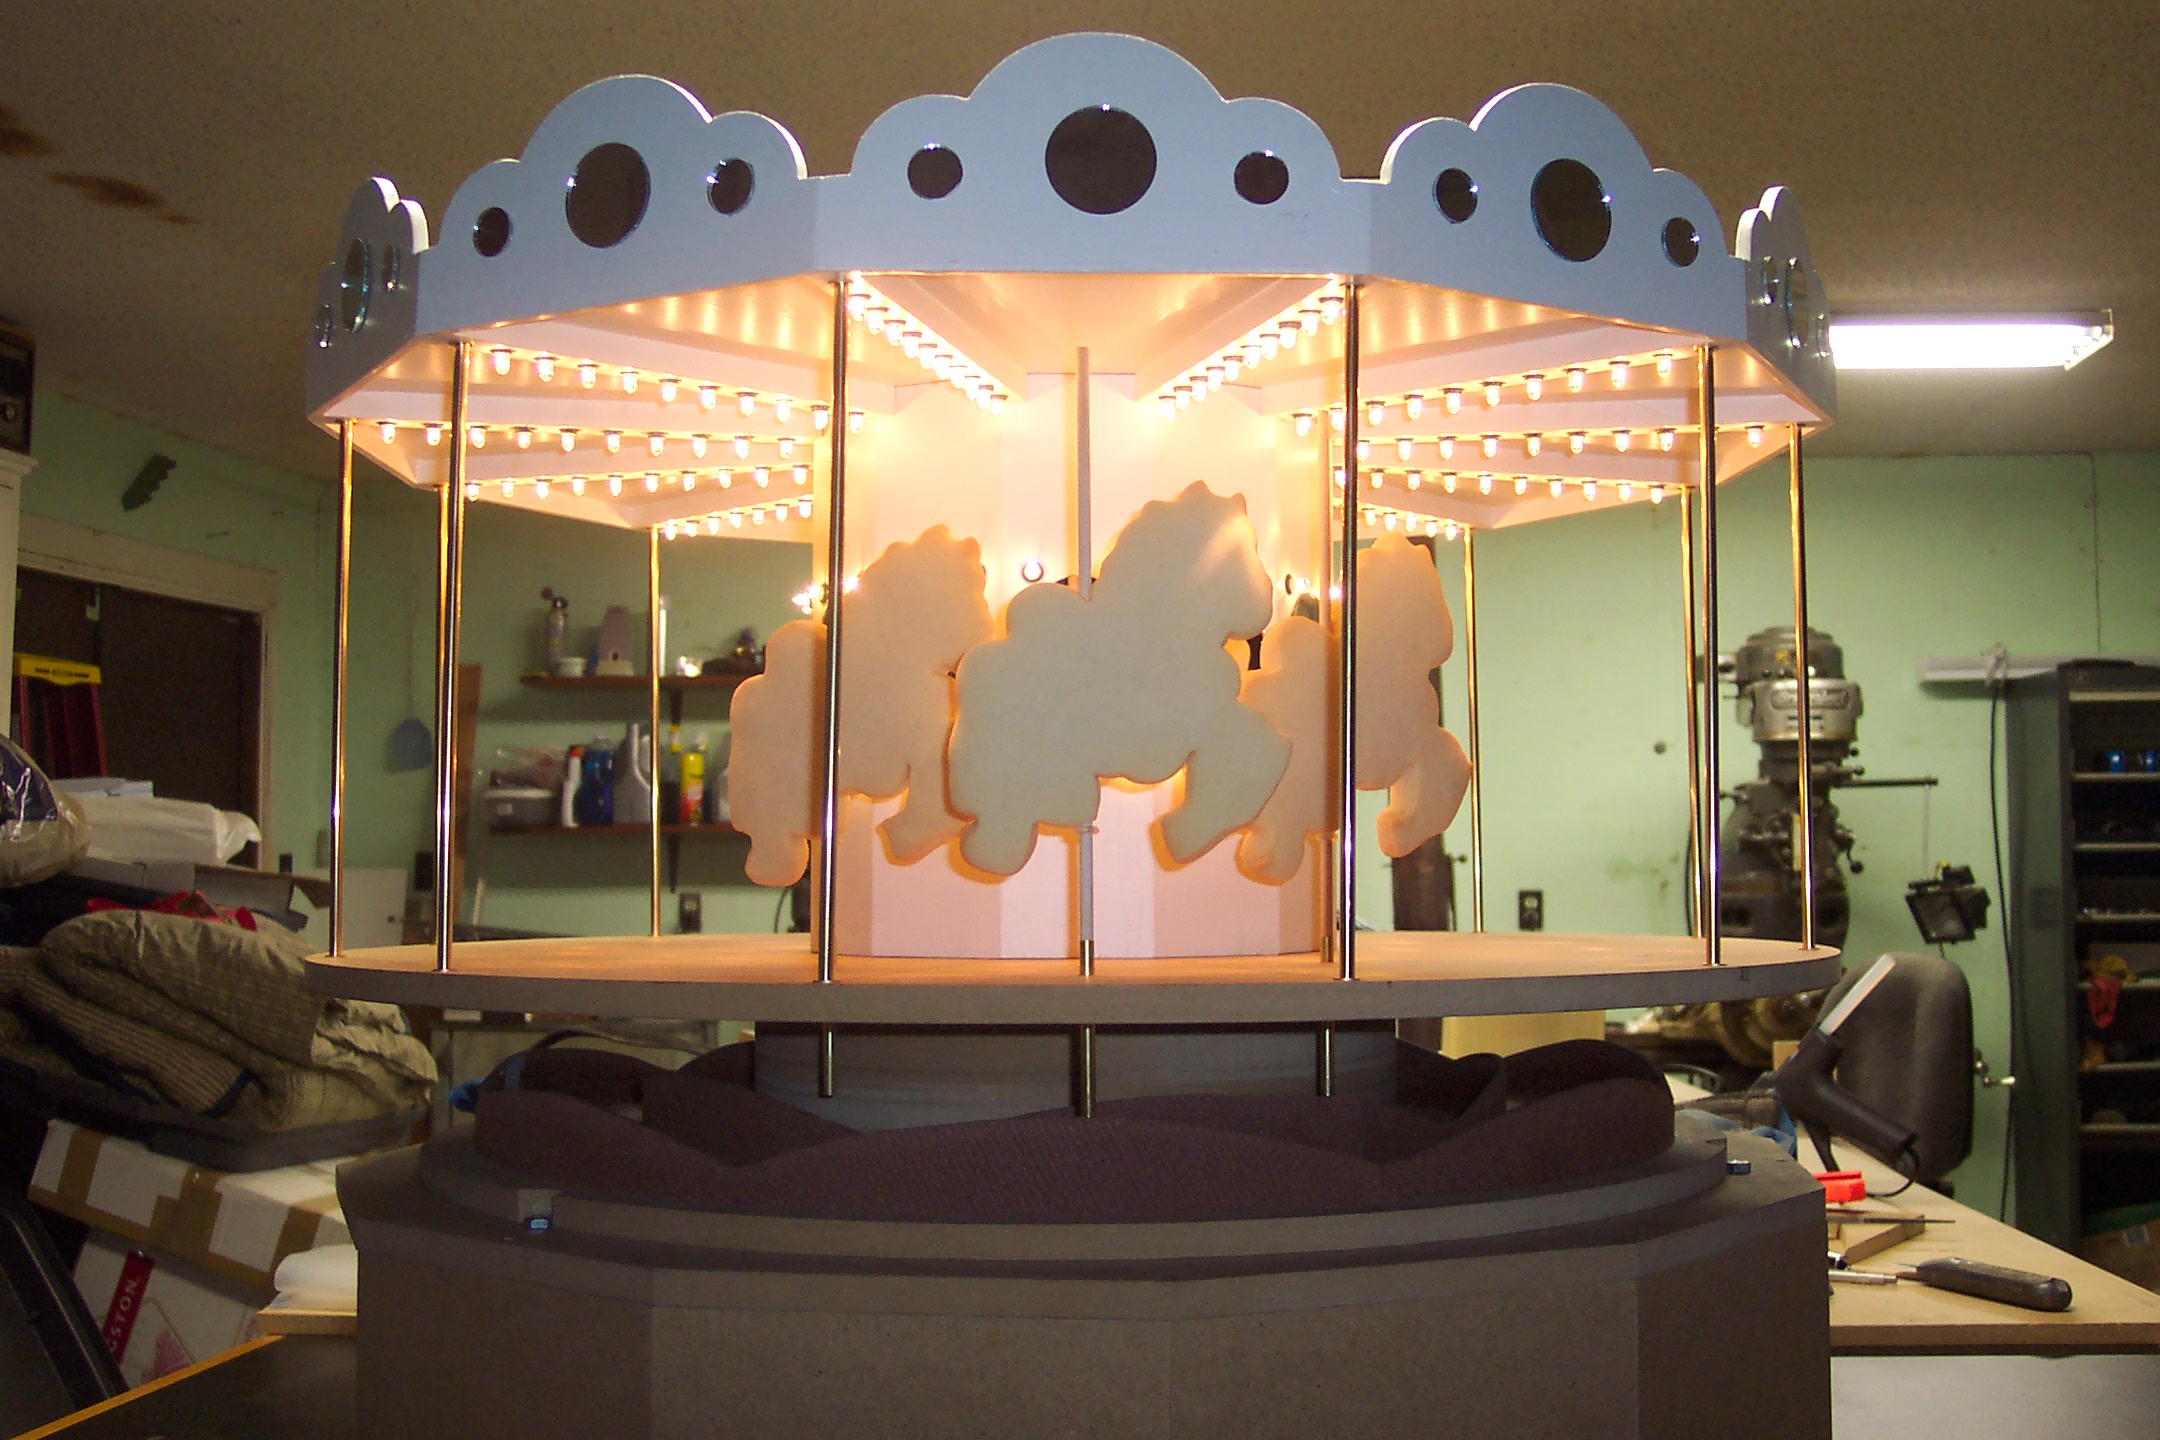
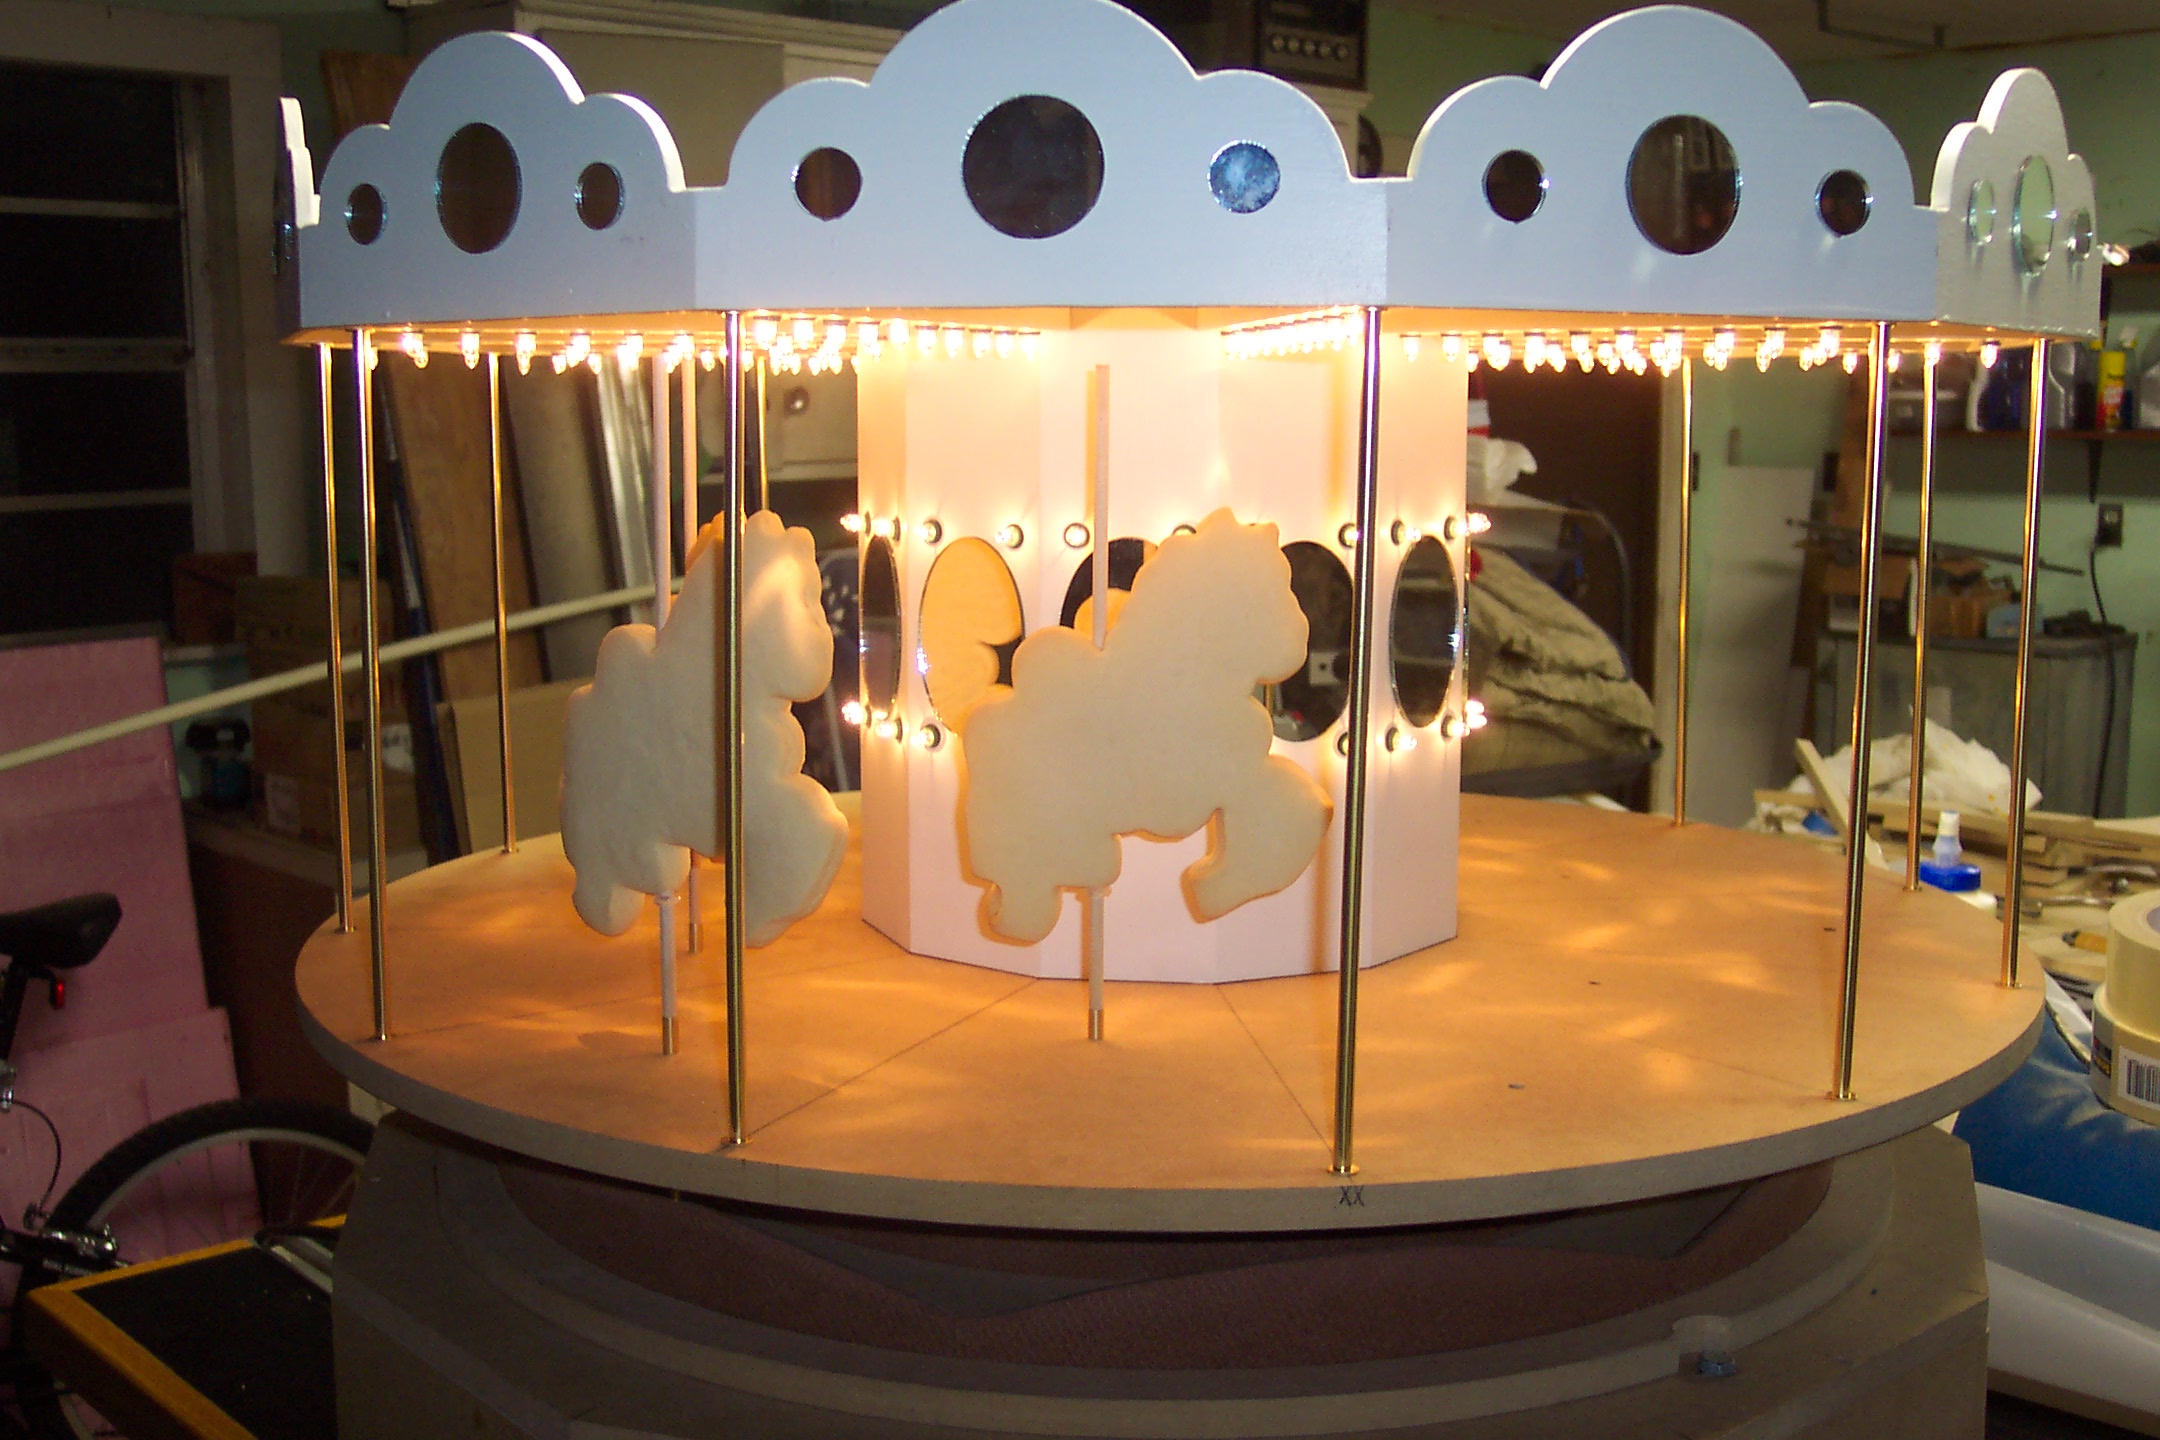
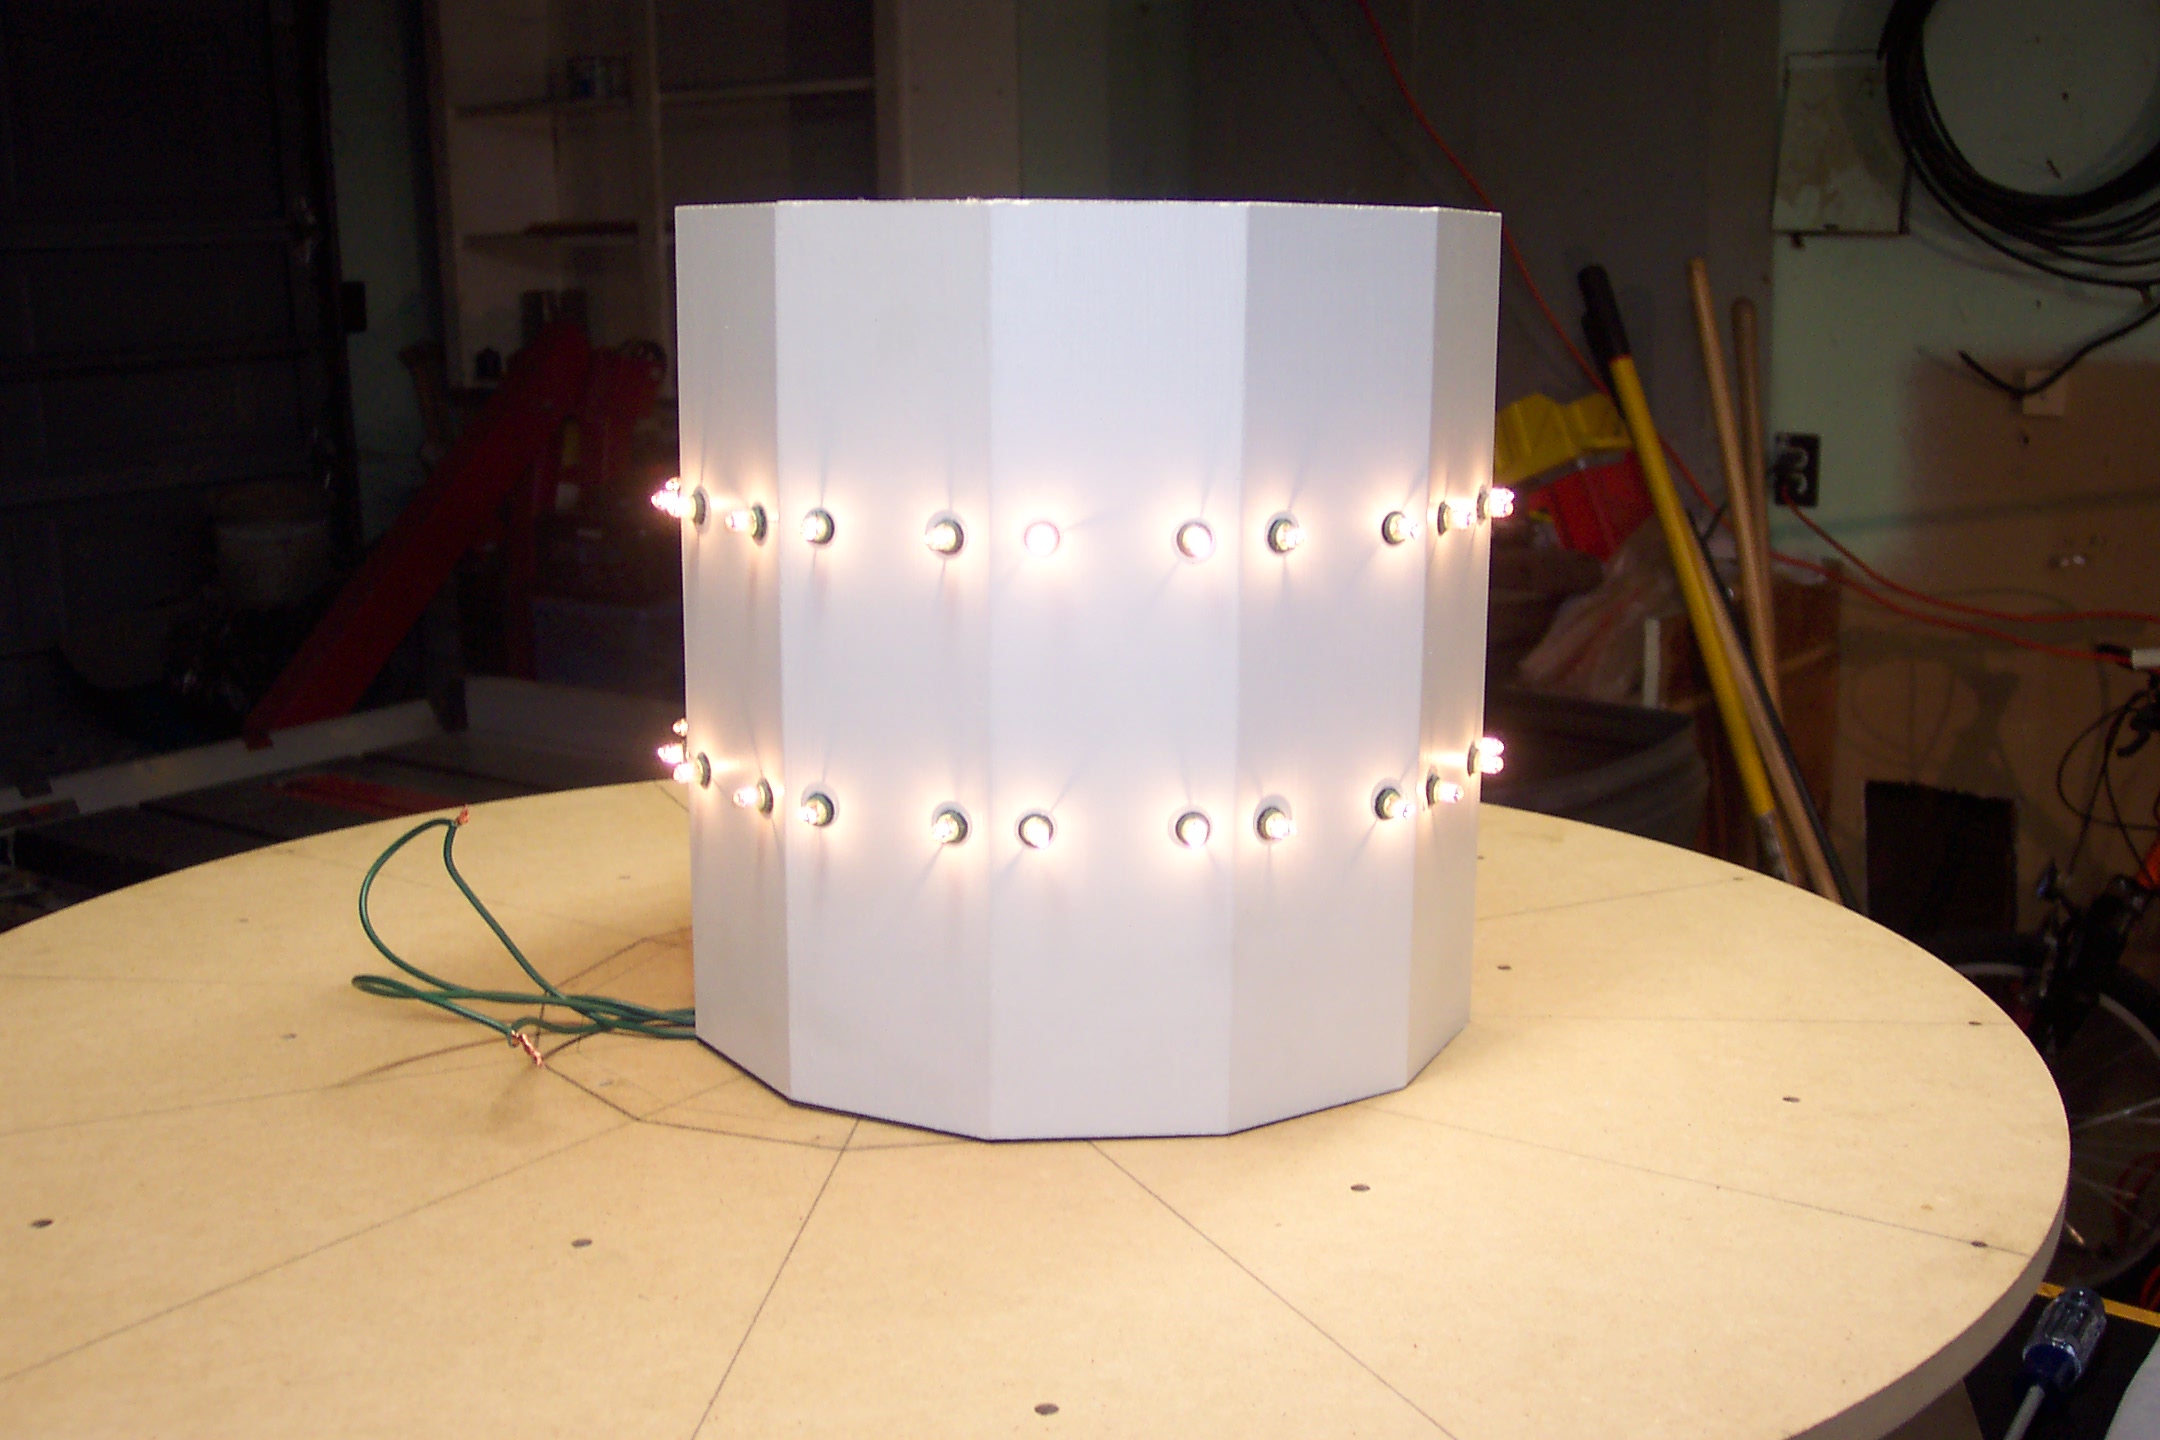
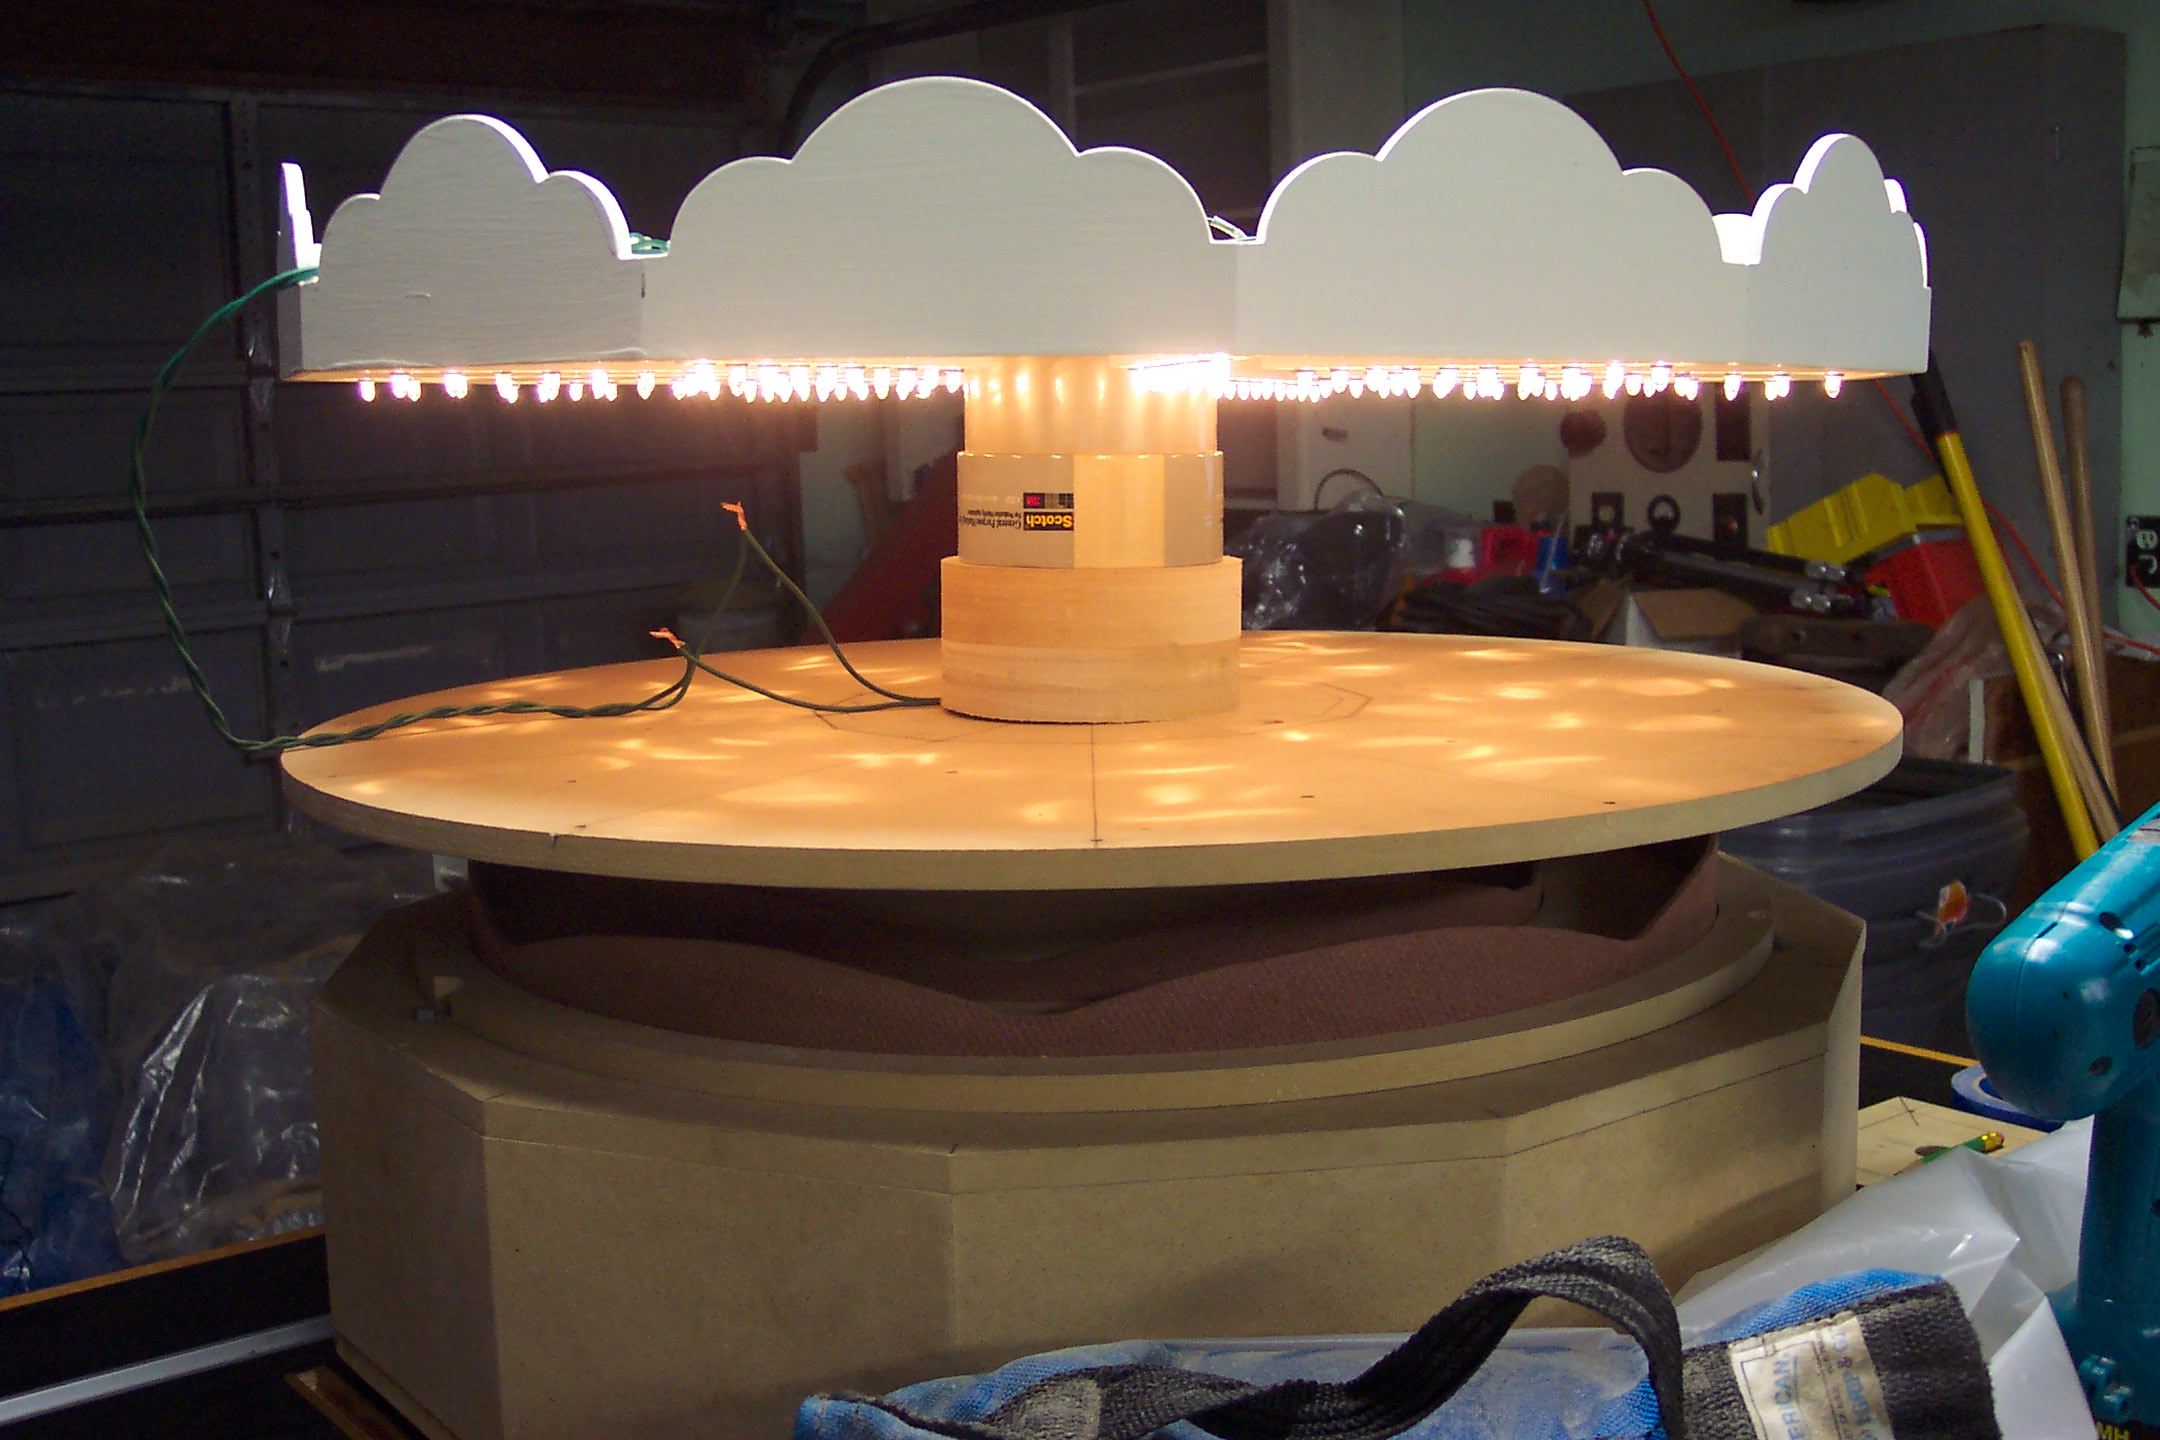
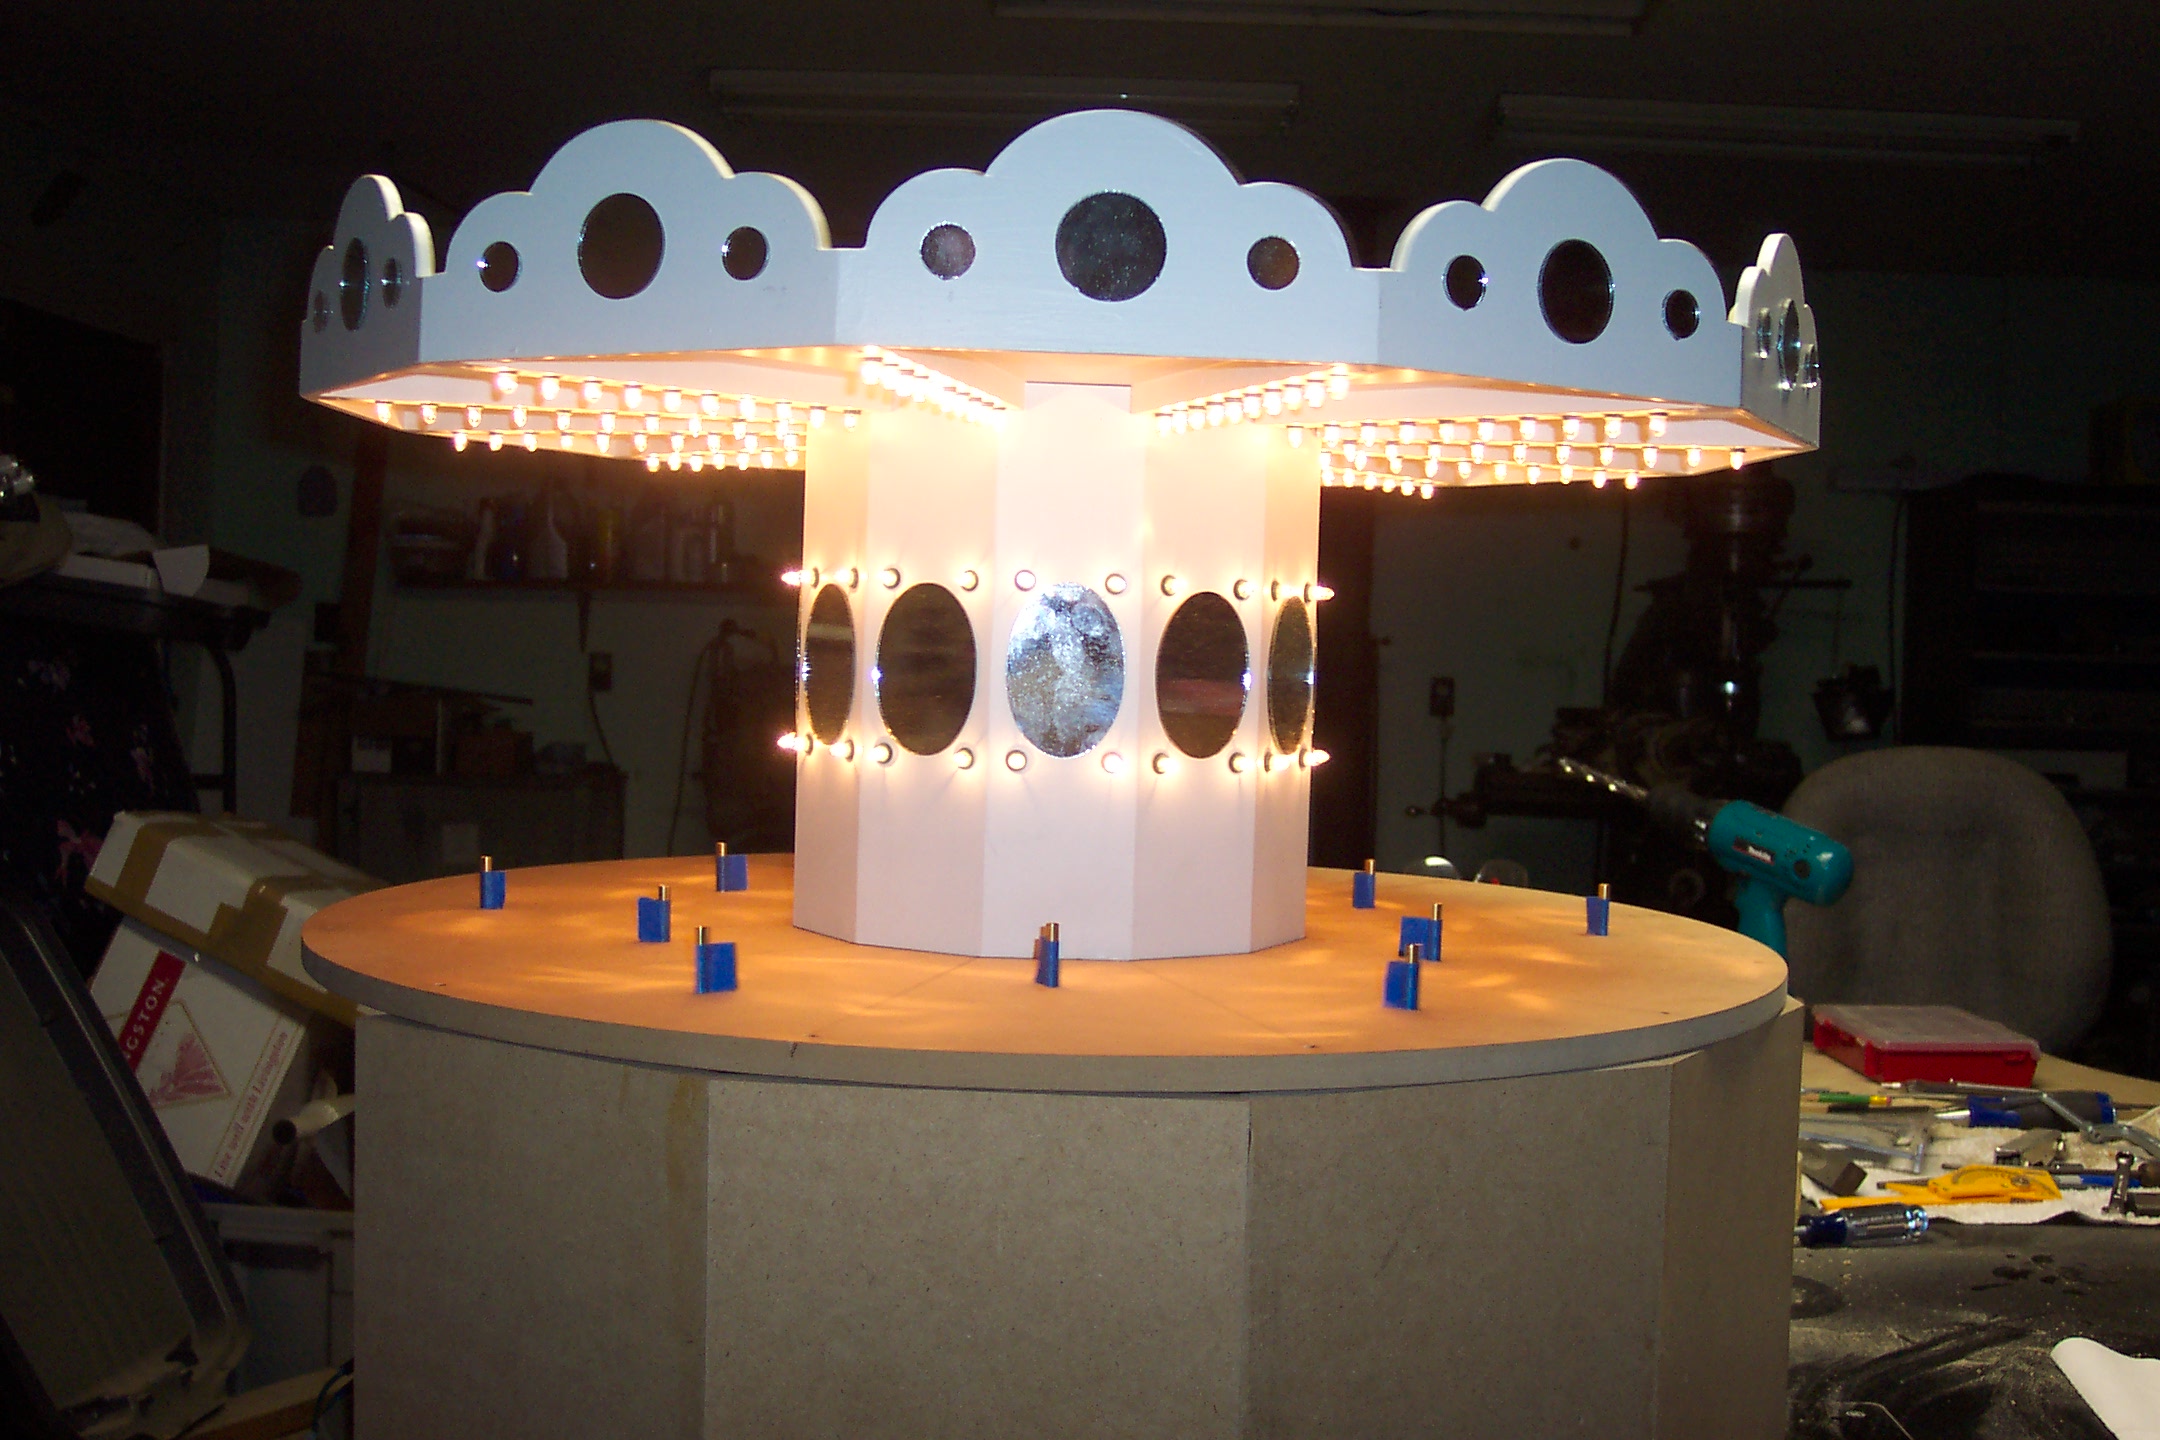
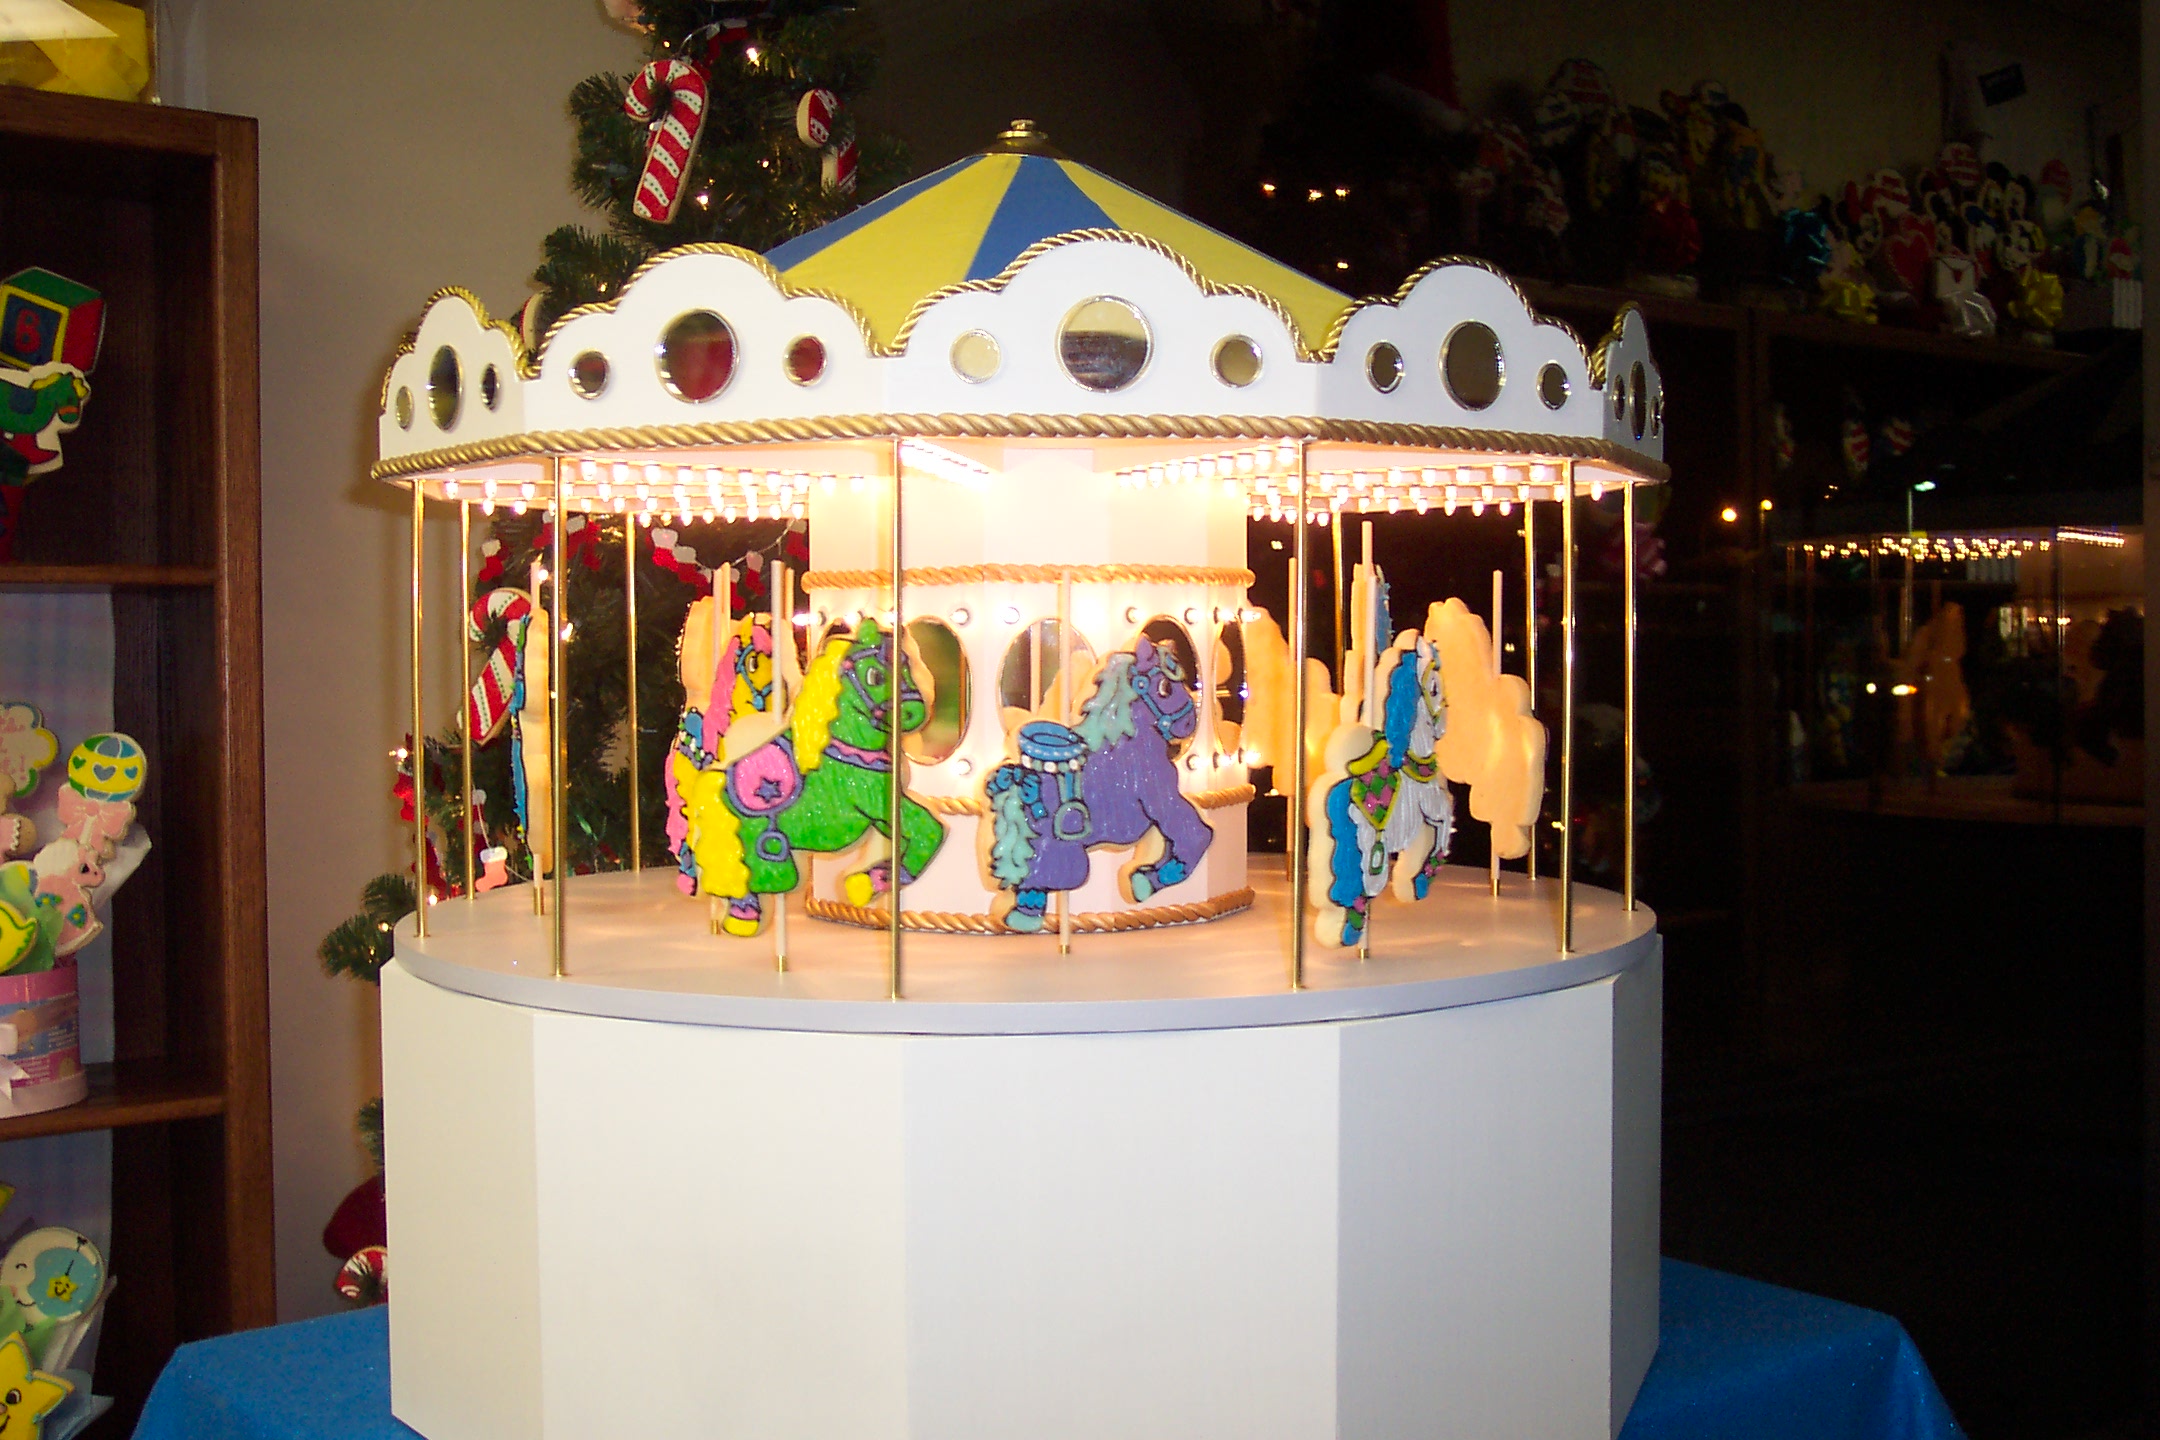
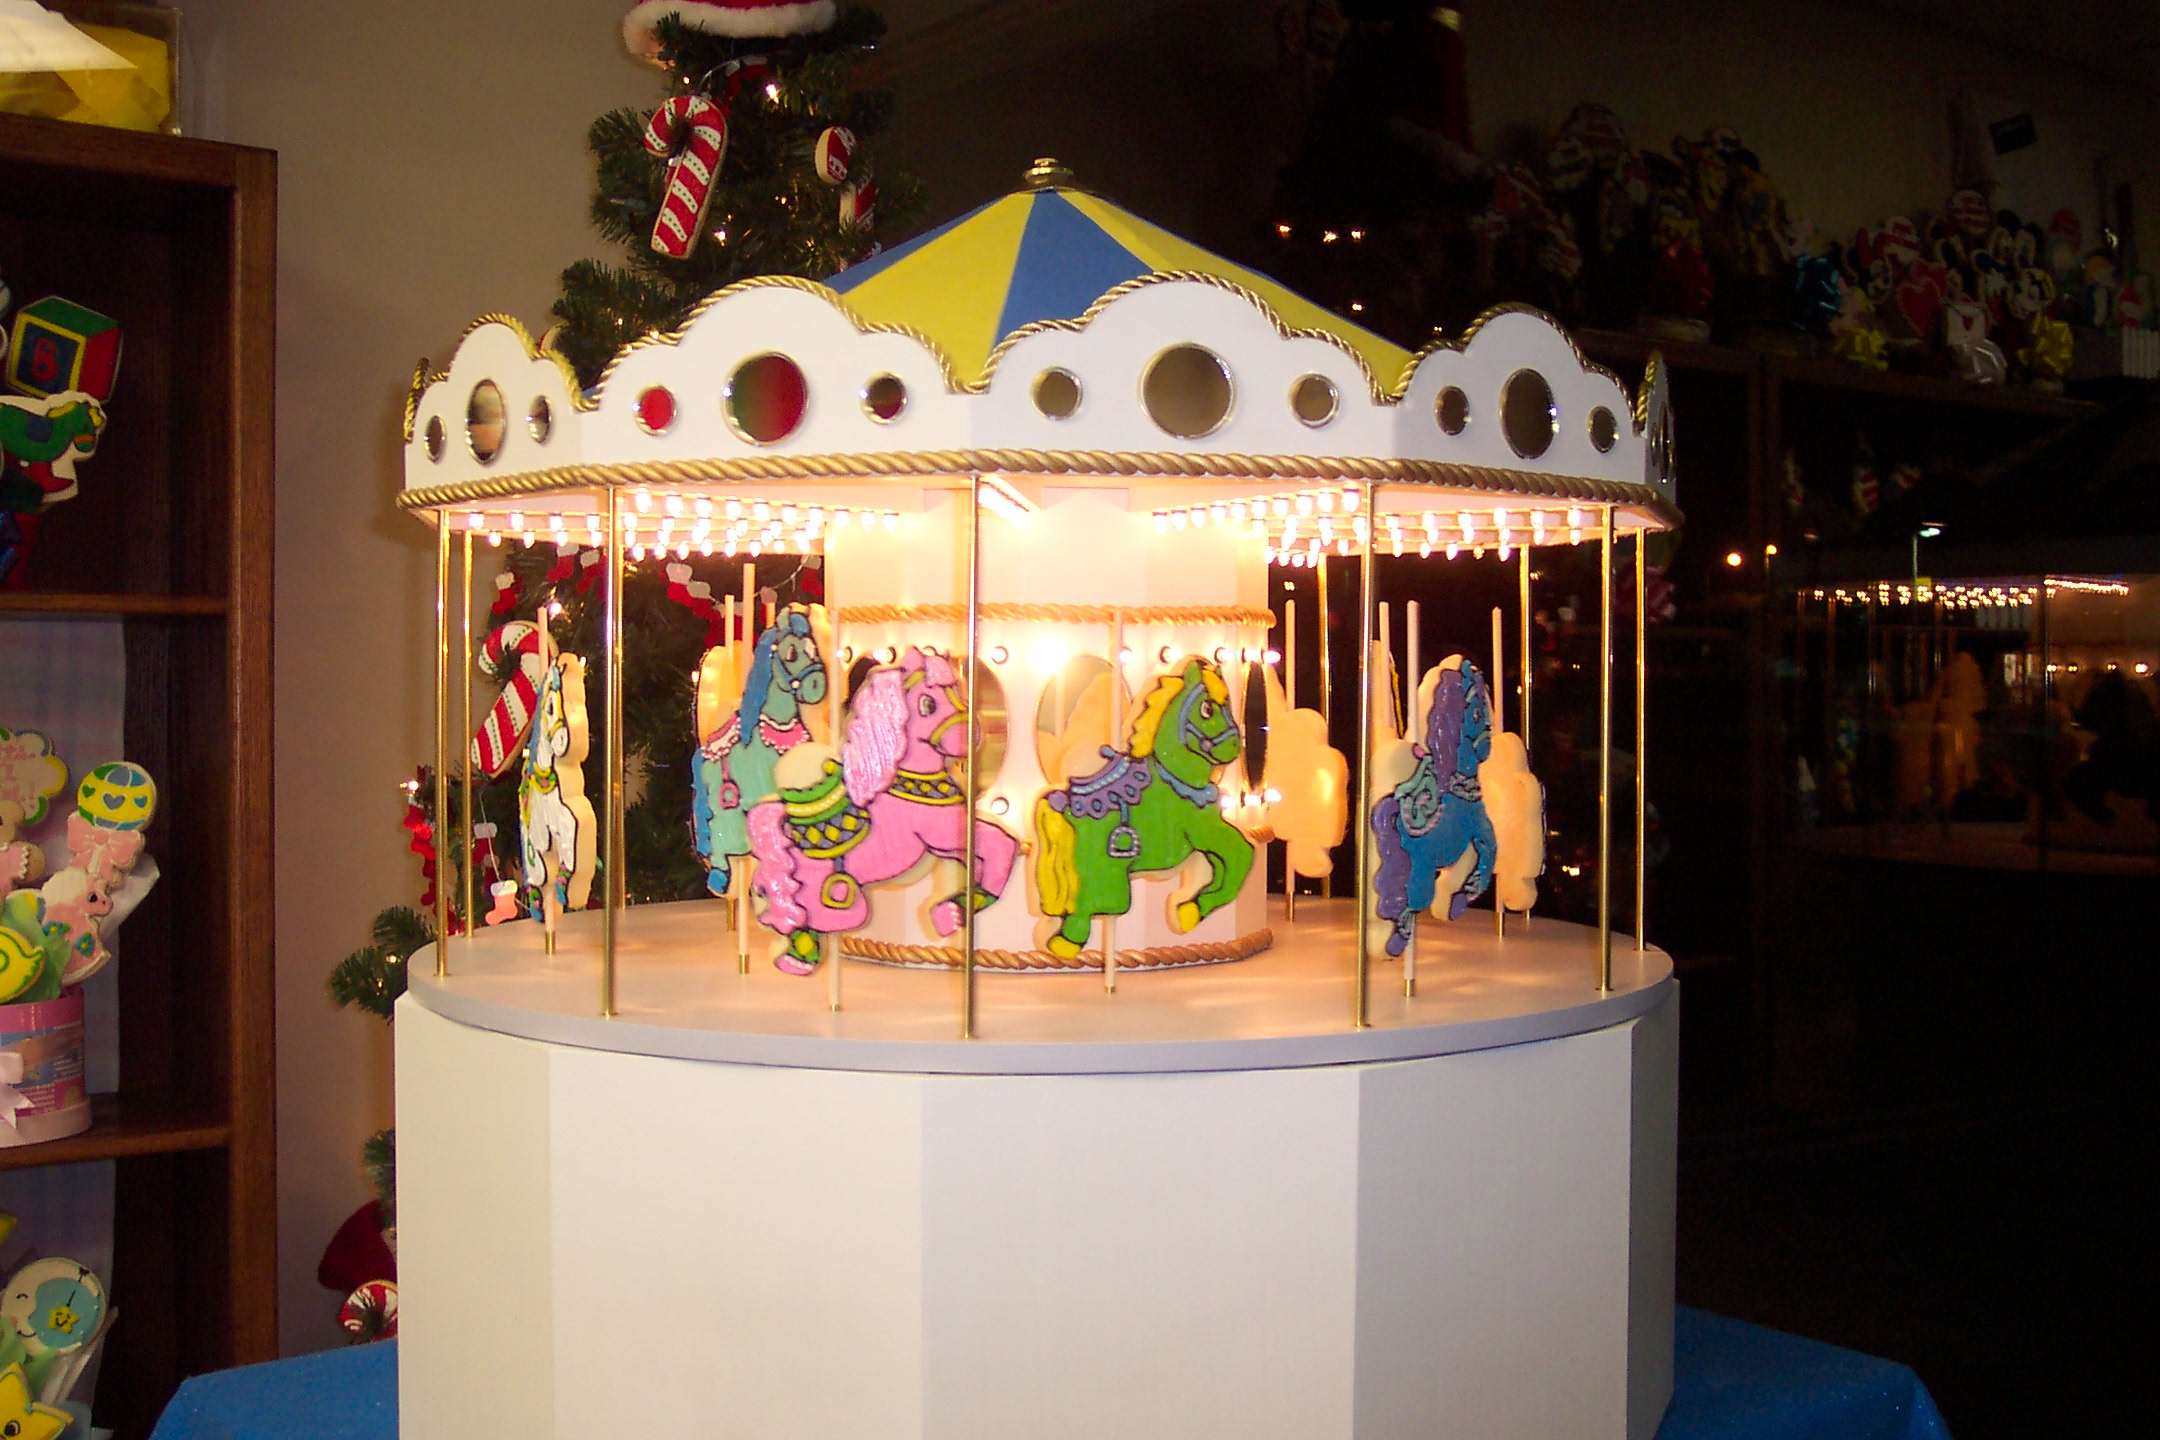
Another test assembly, this time with lights and test cookies.
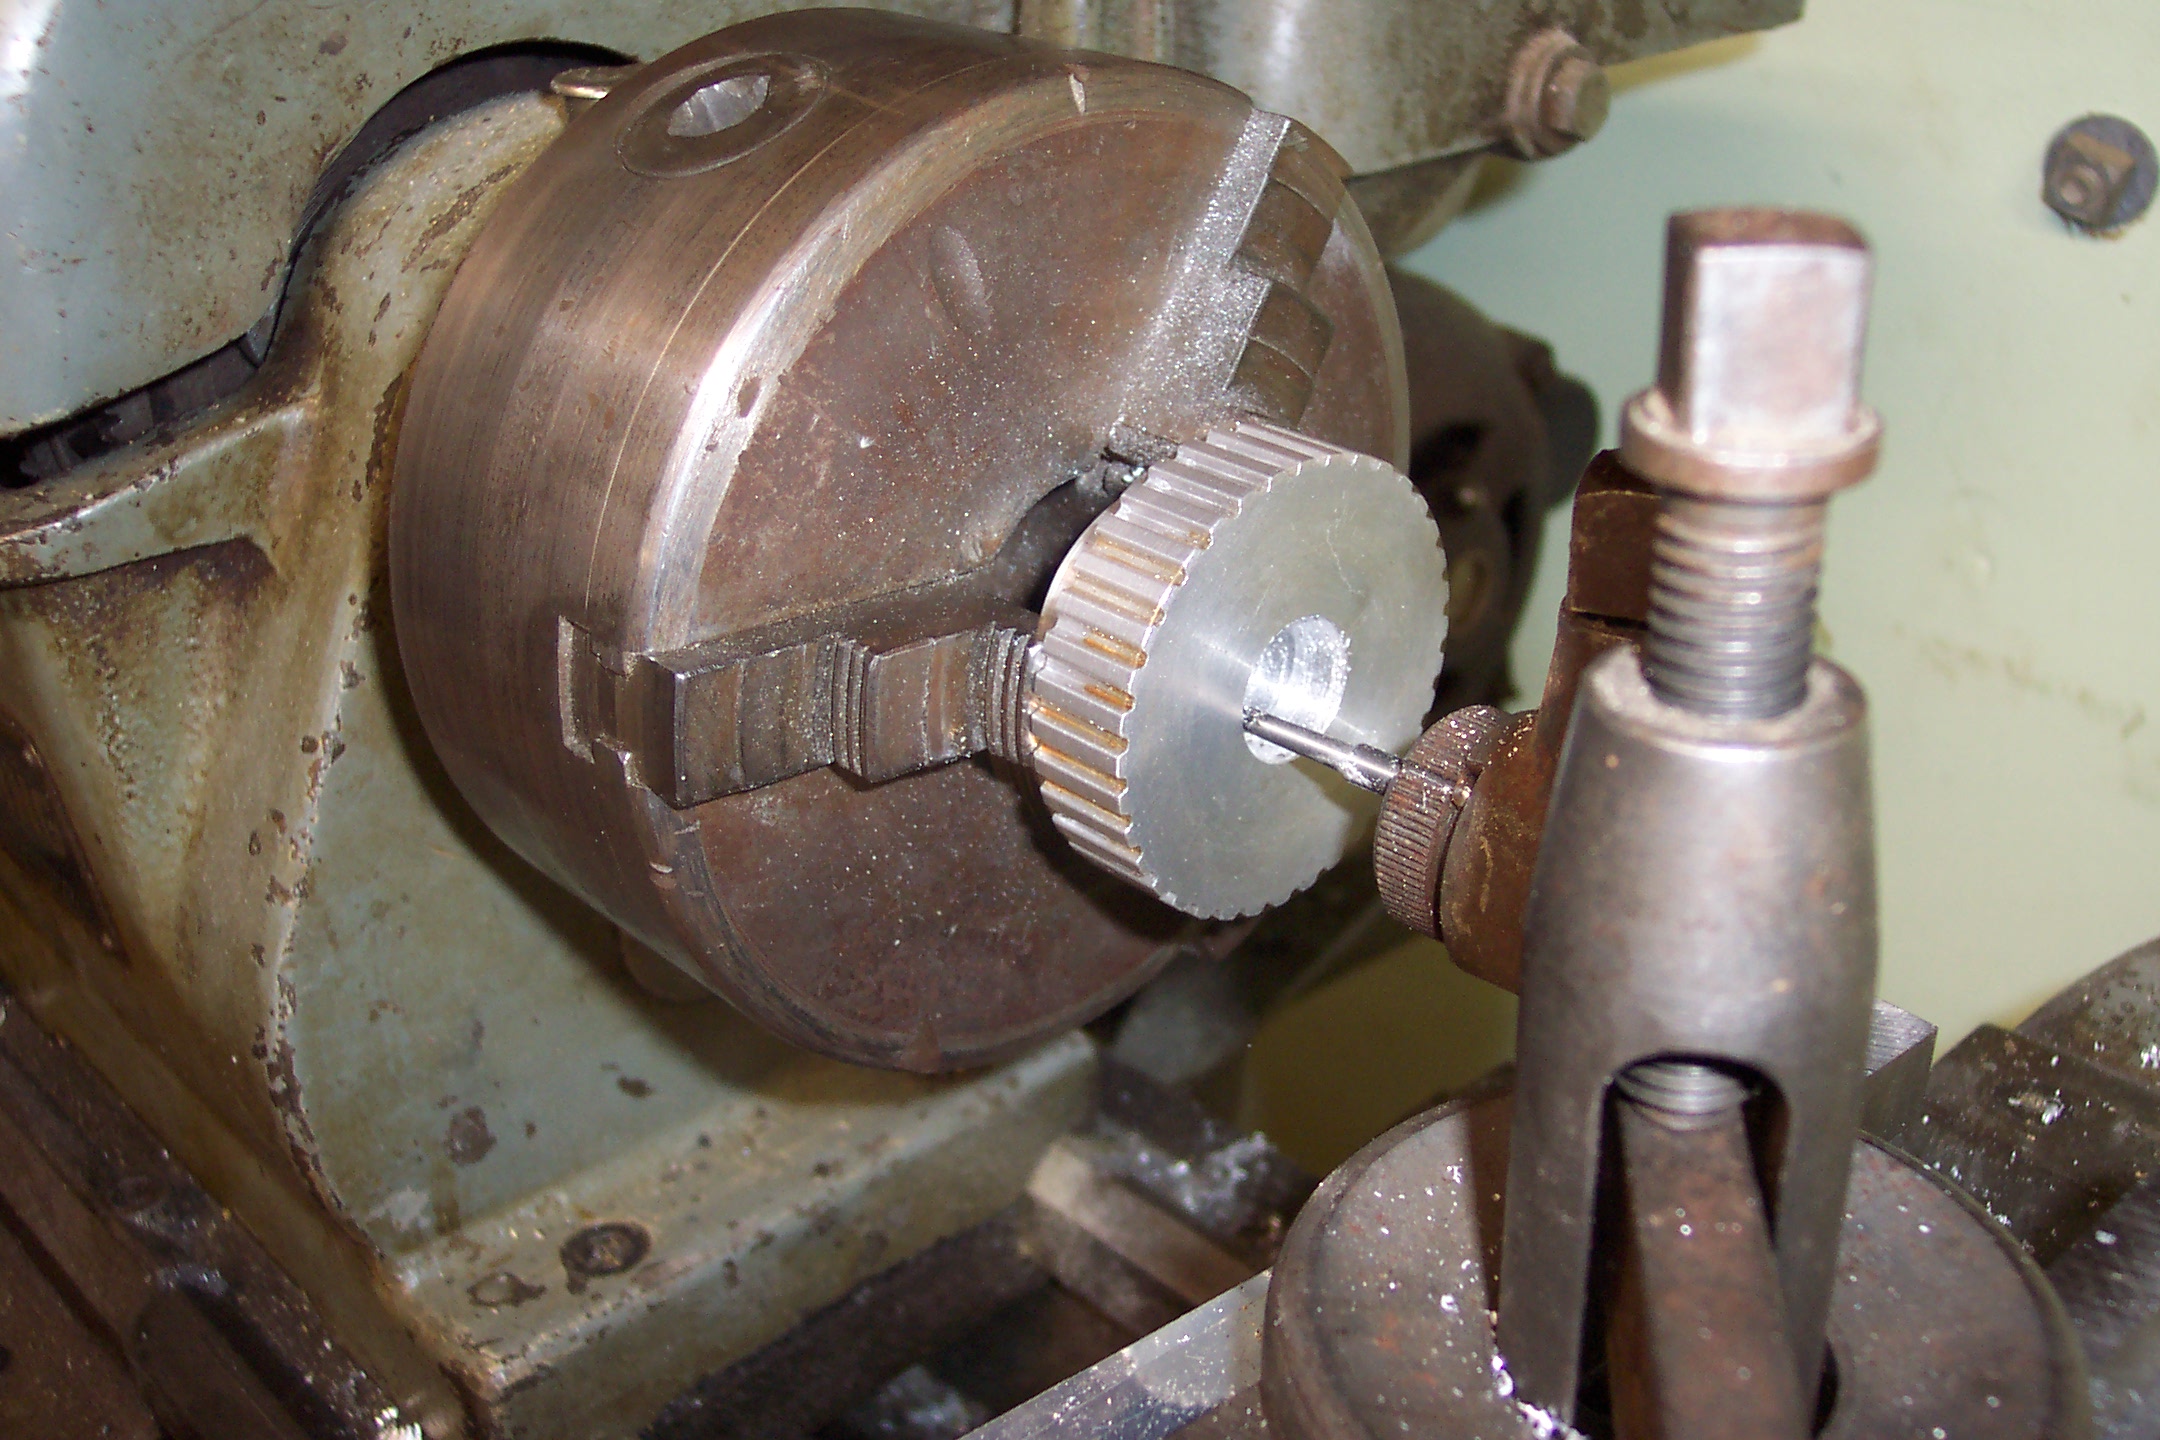
Boring the drive pulley to size.

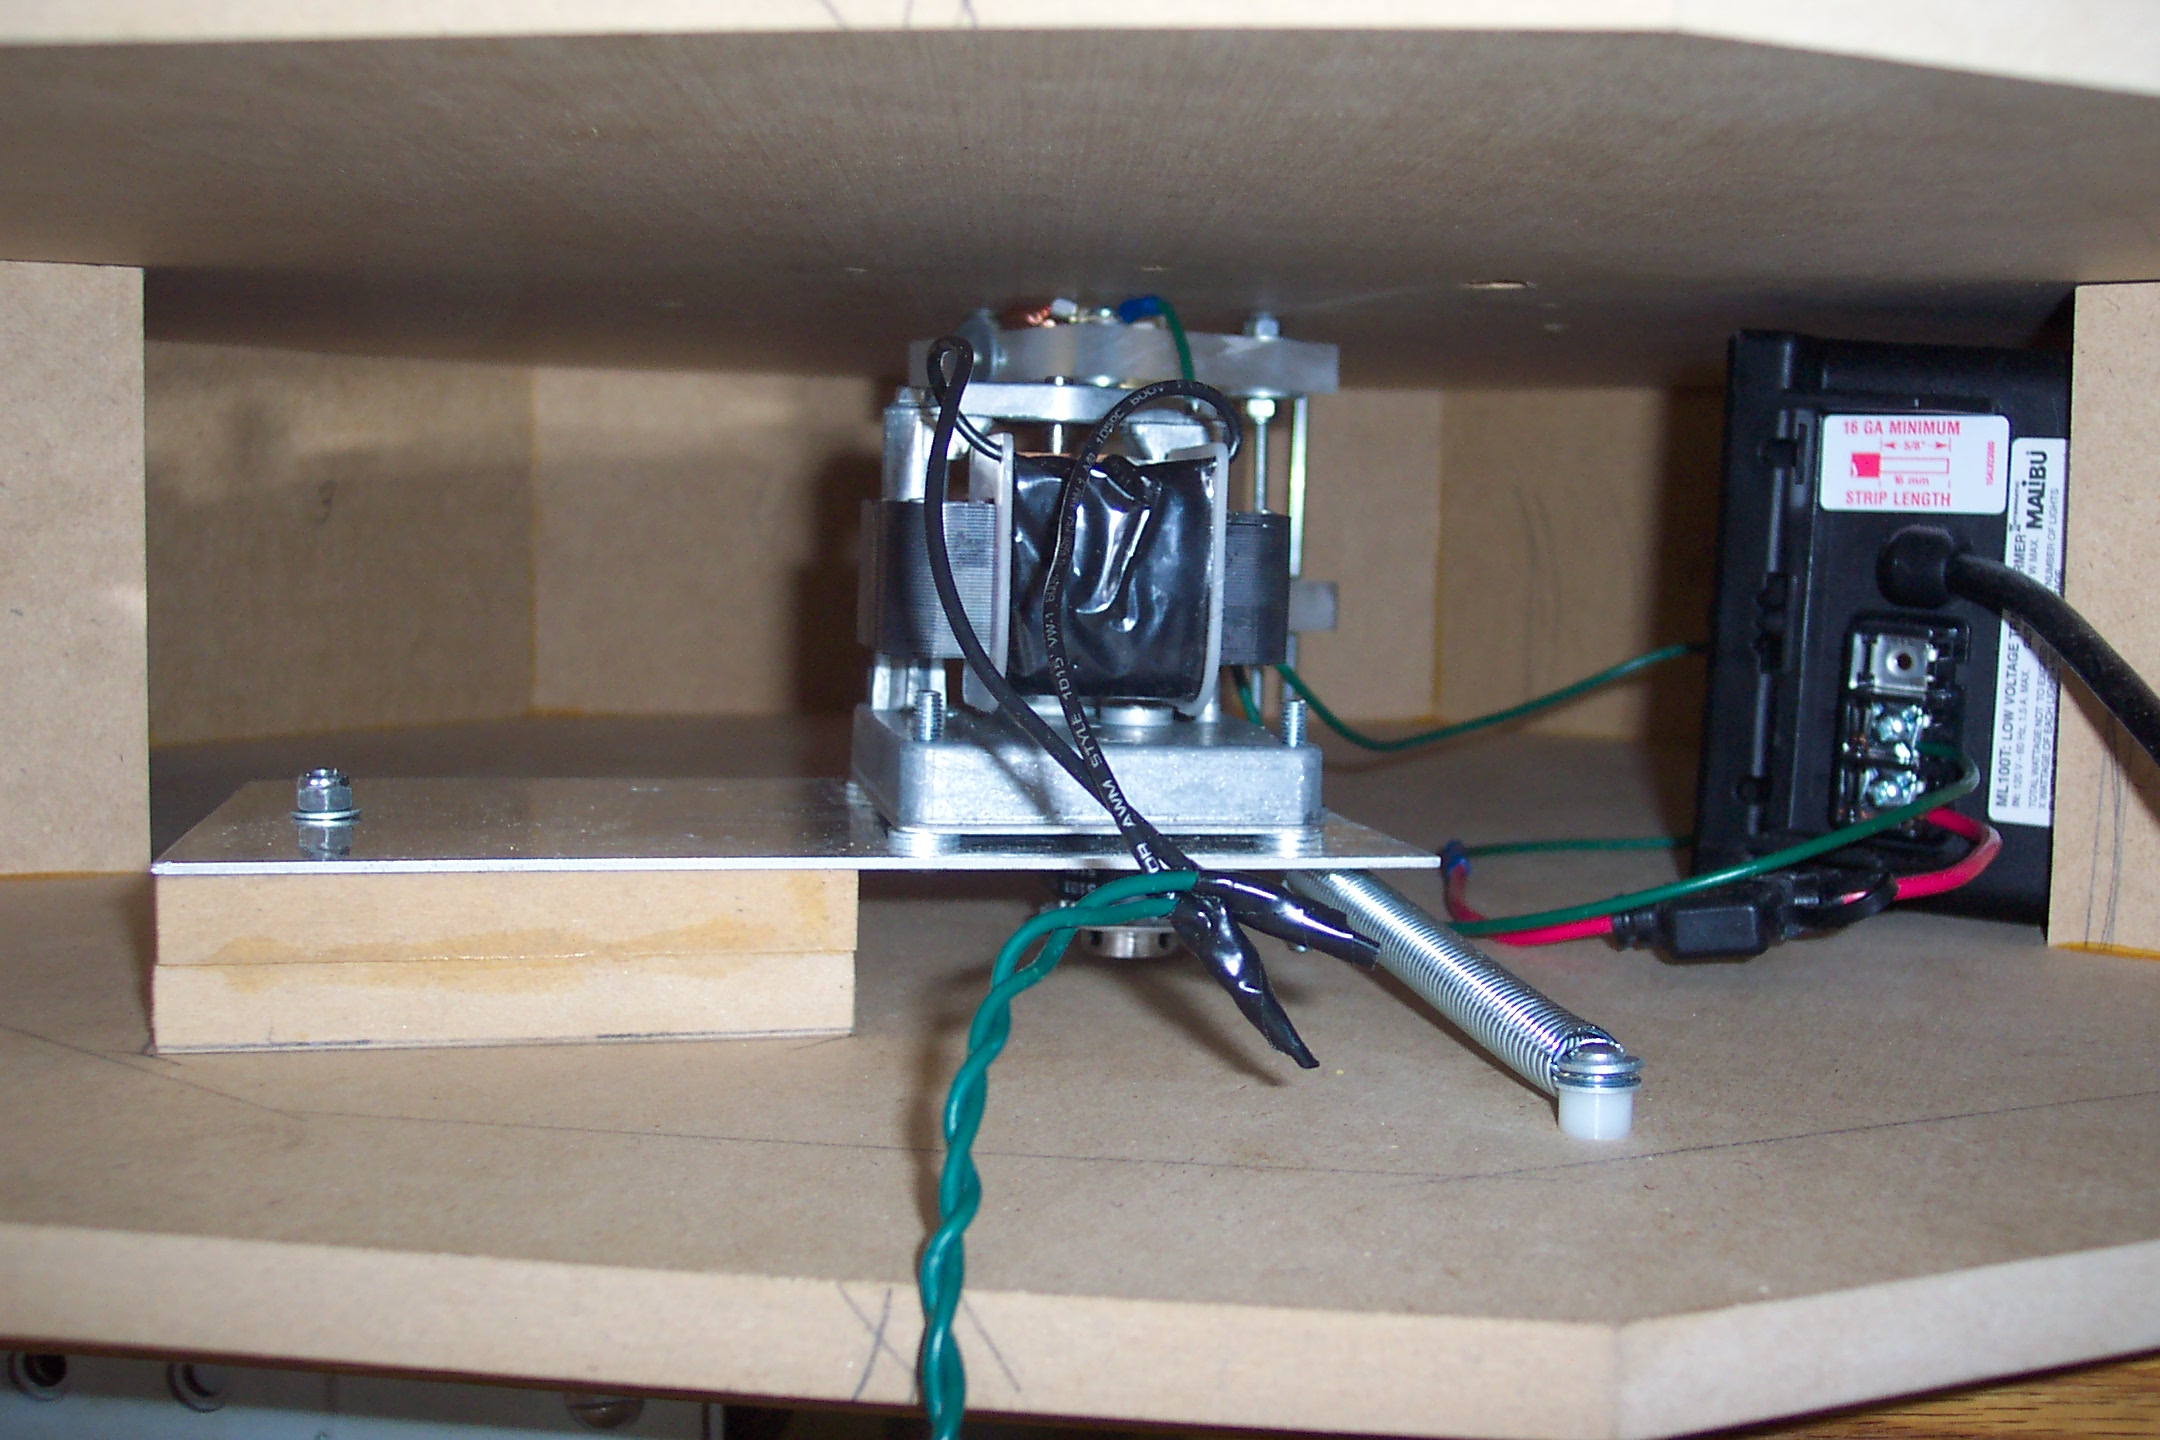
Some drive components.
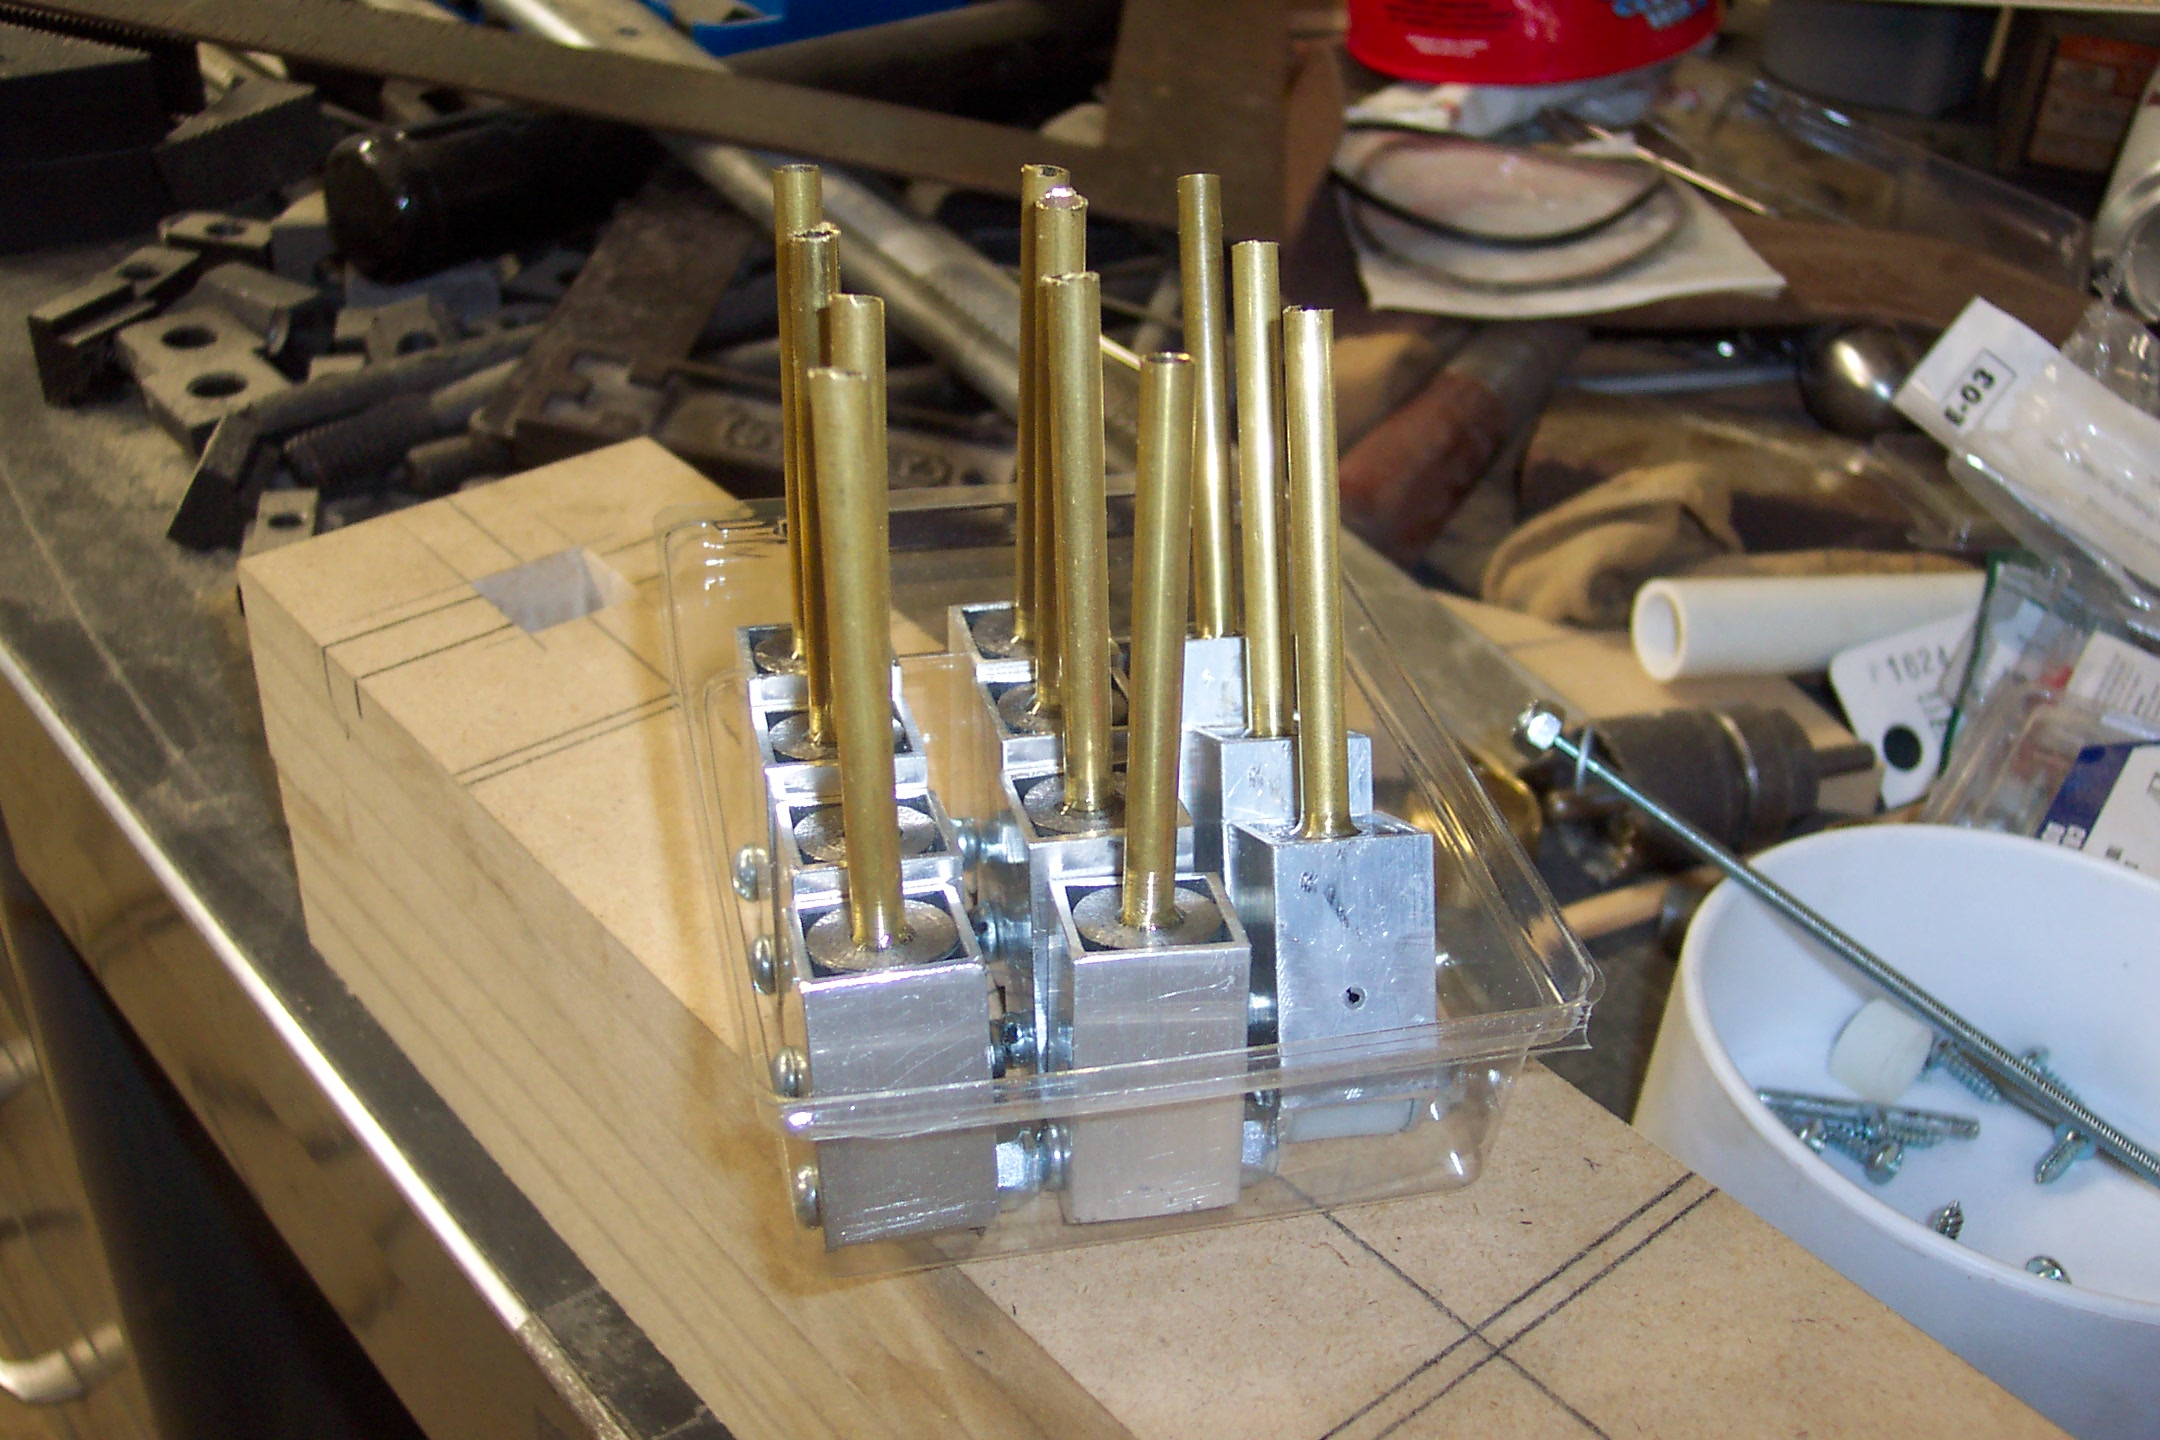
Almost completed roller lifters.
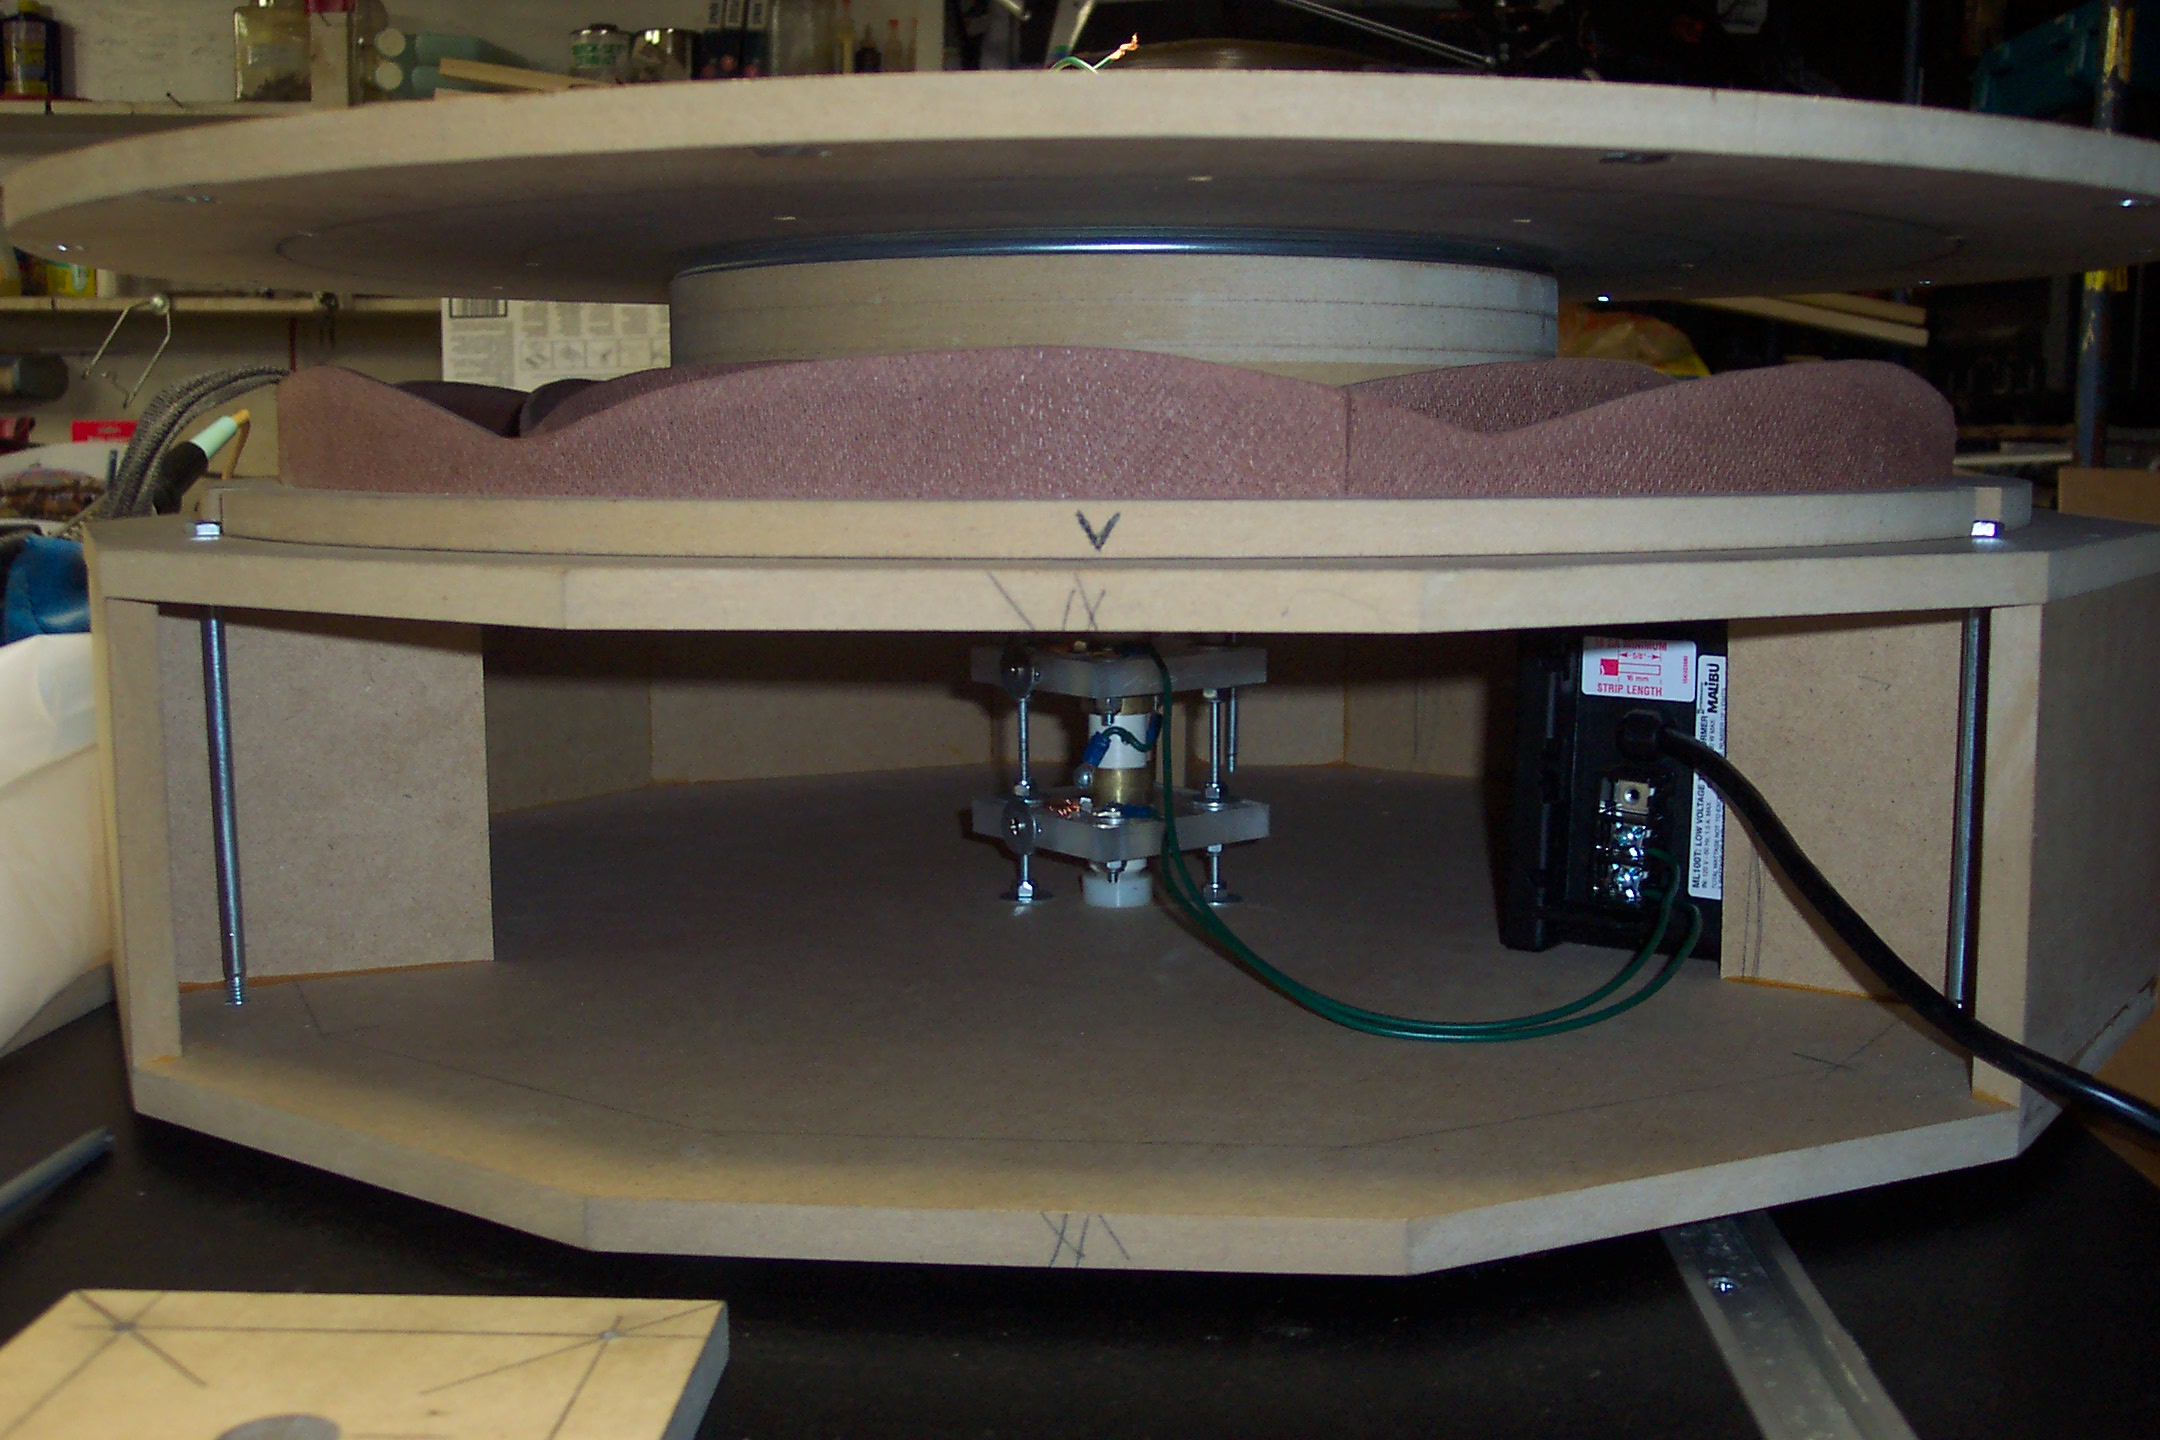
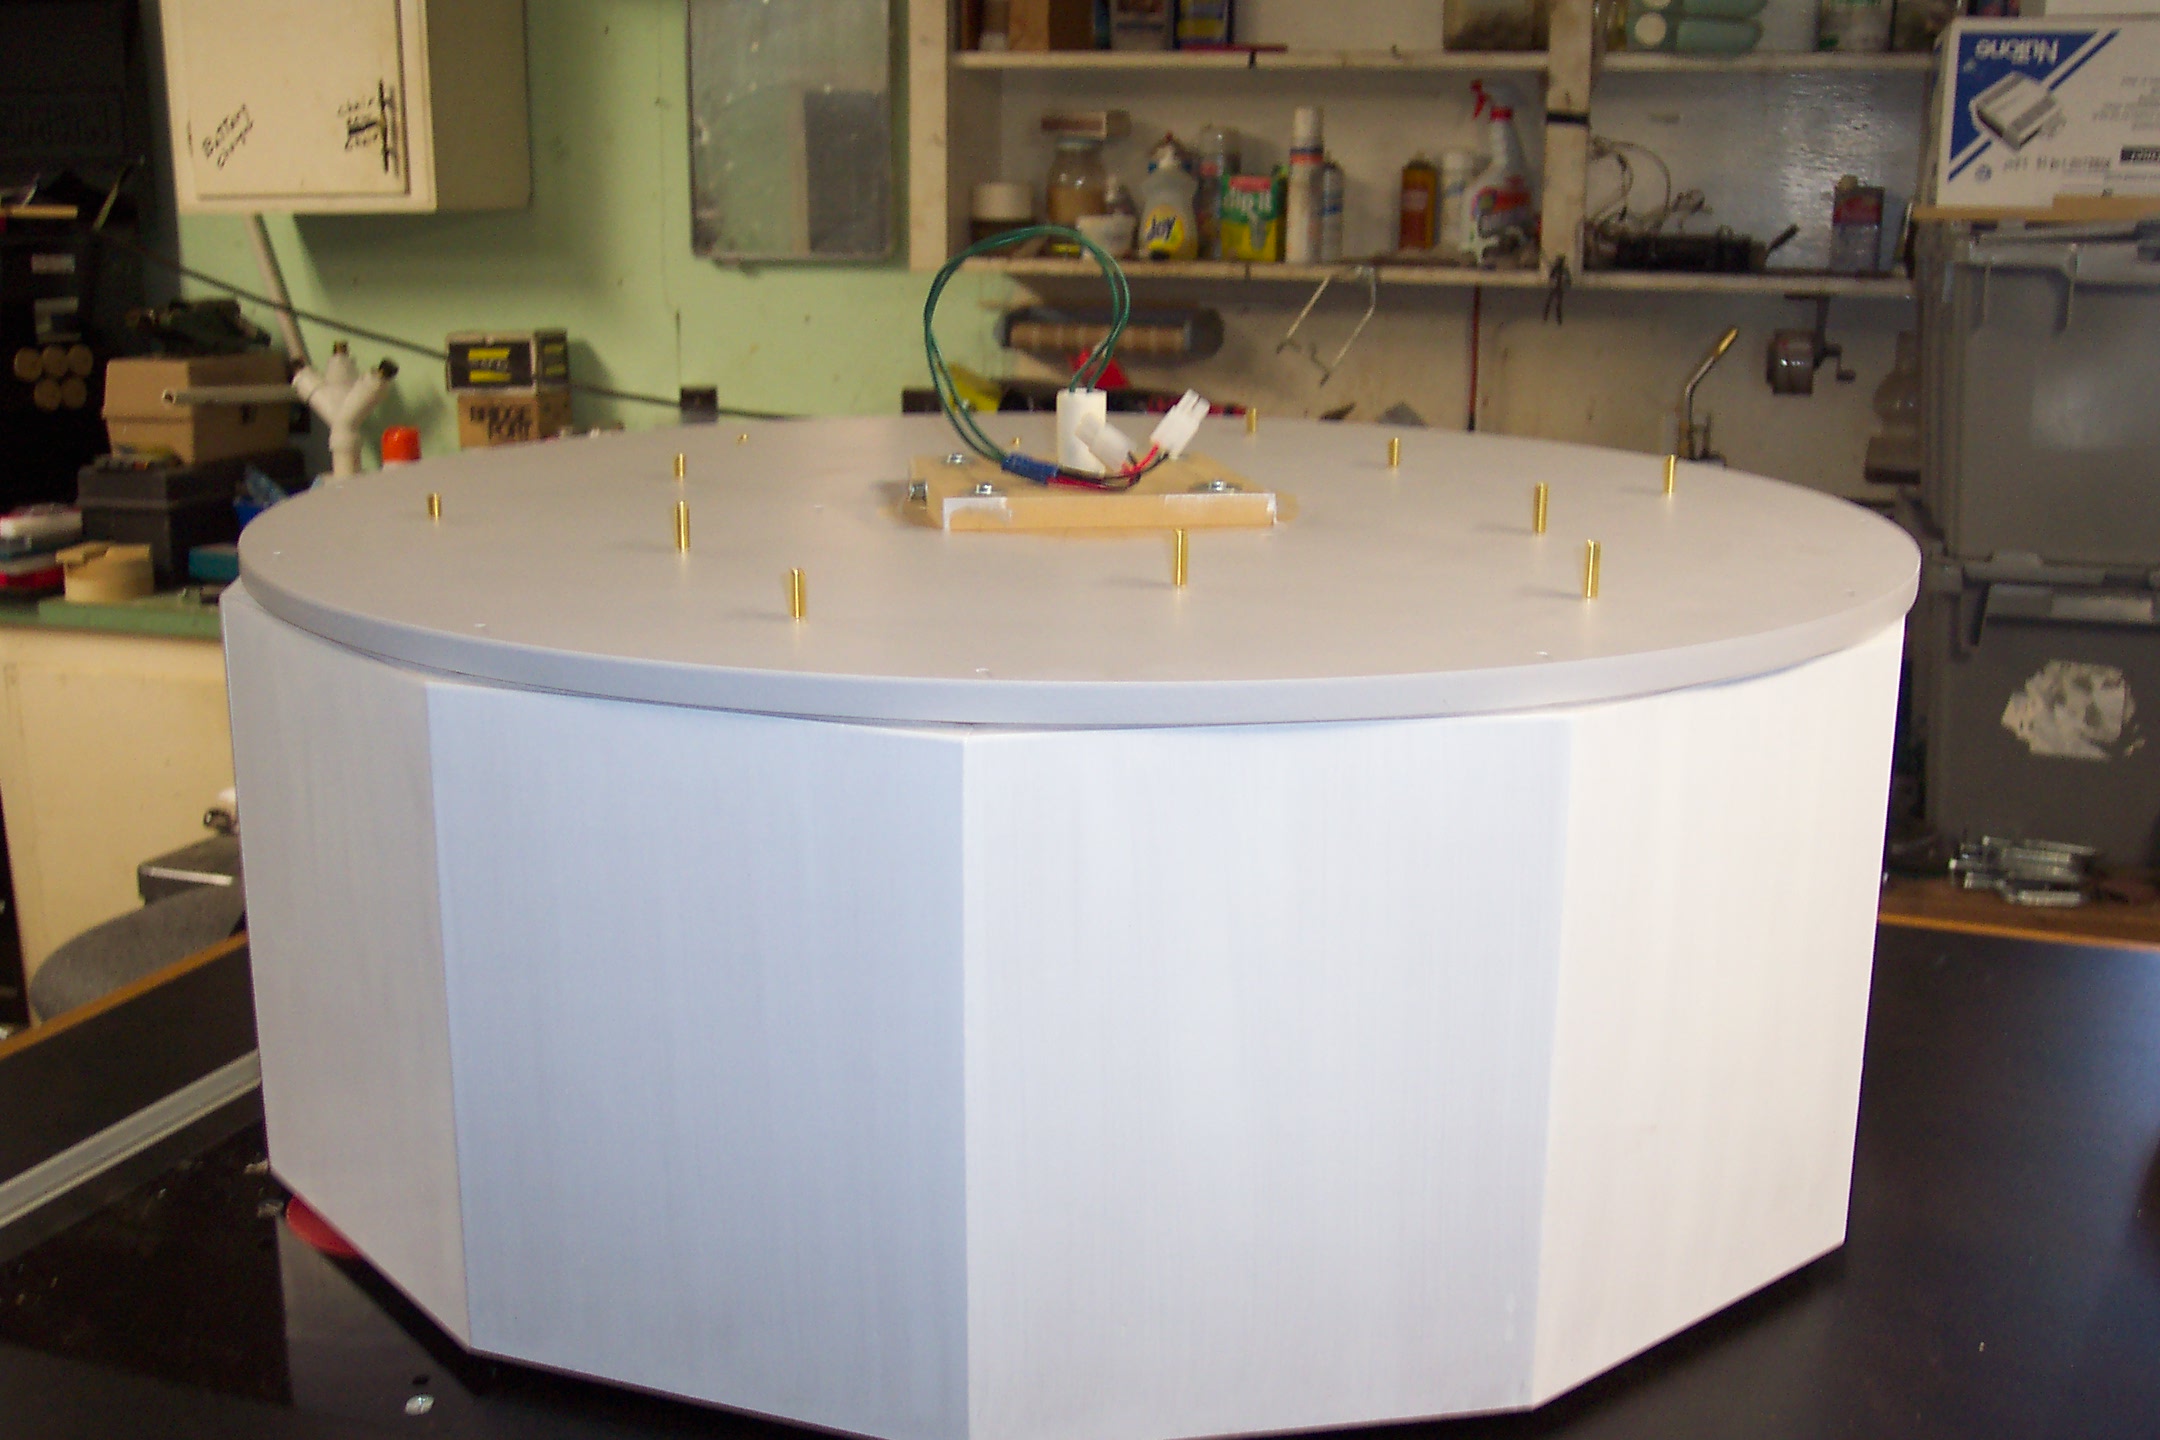
A mostly assembled base.
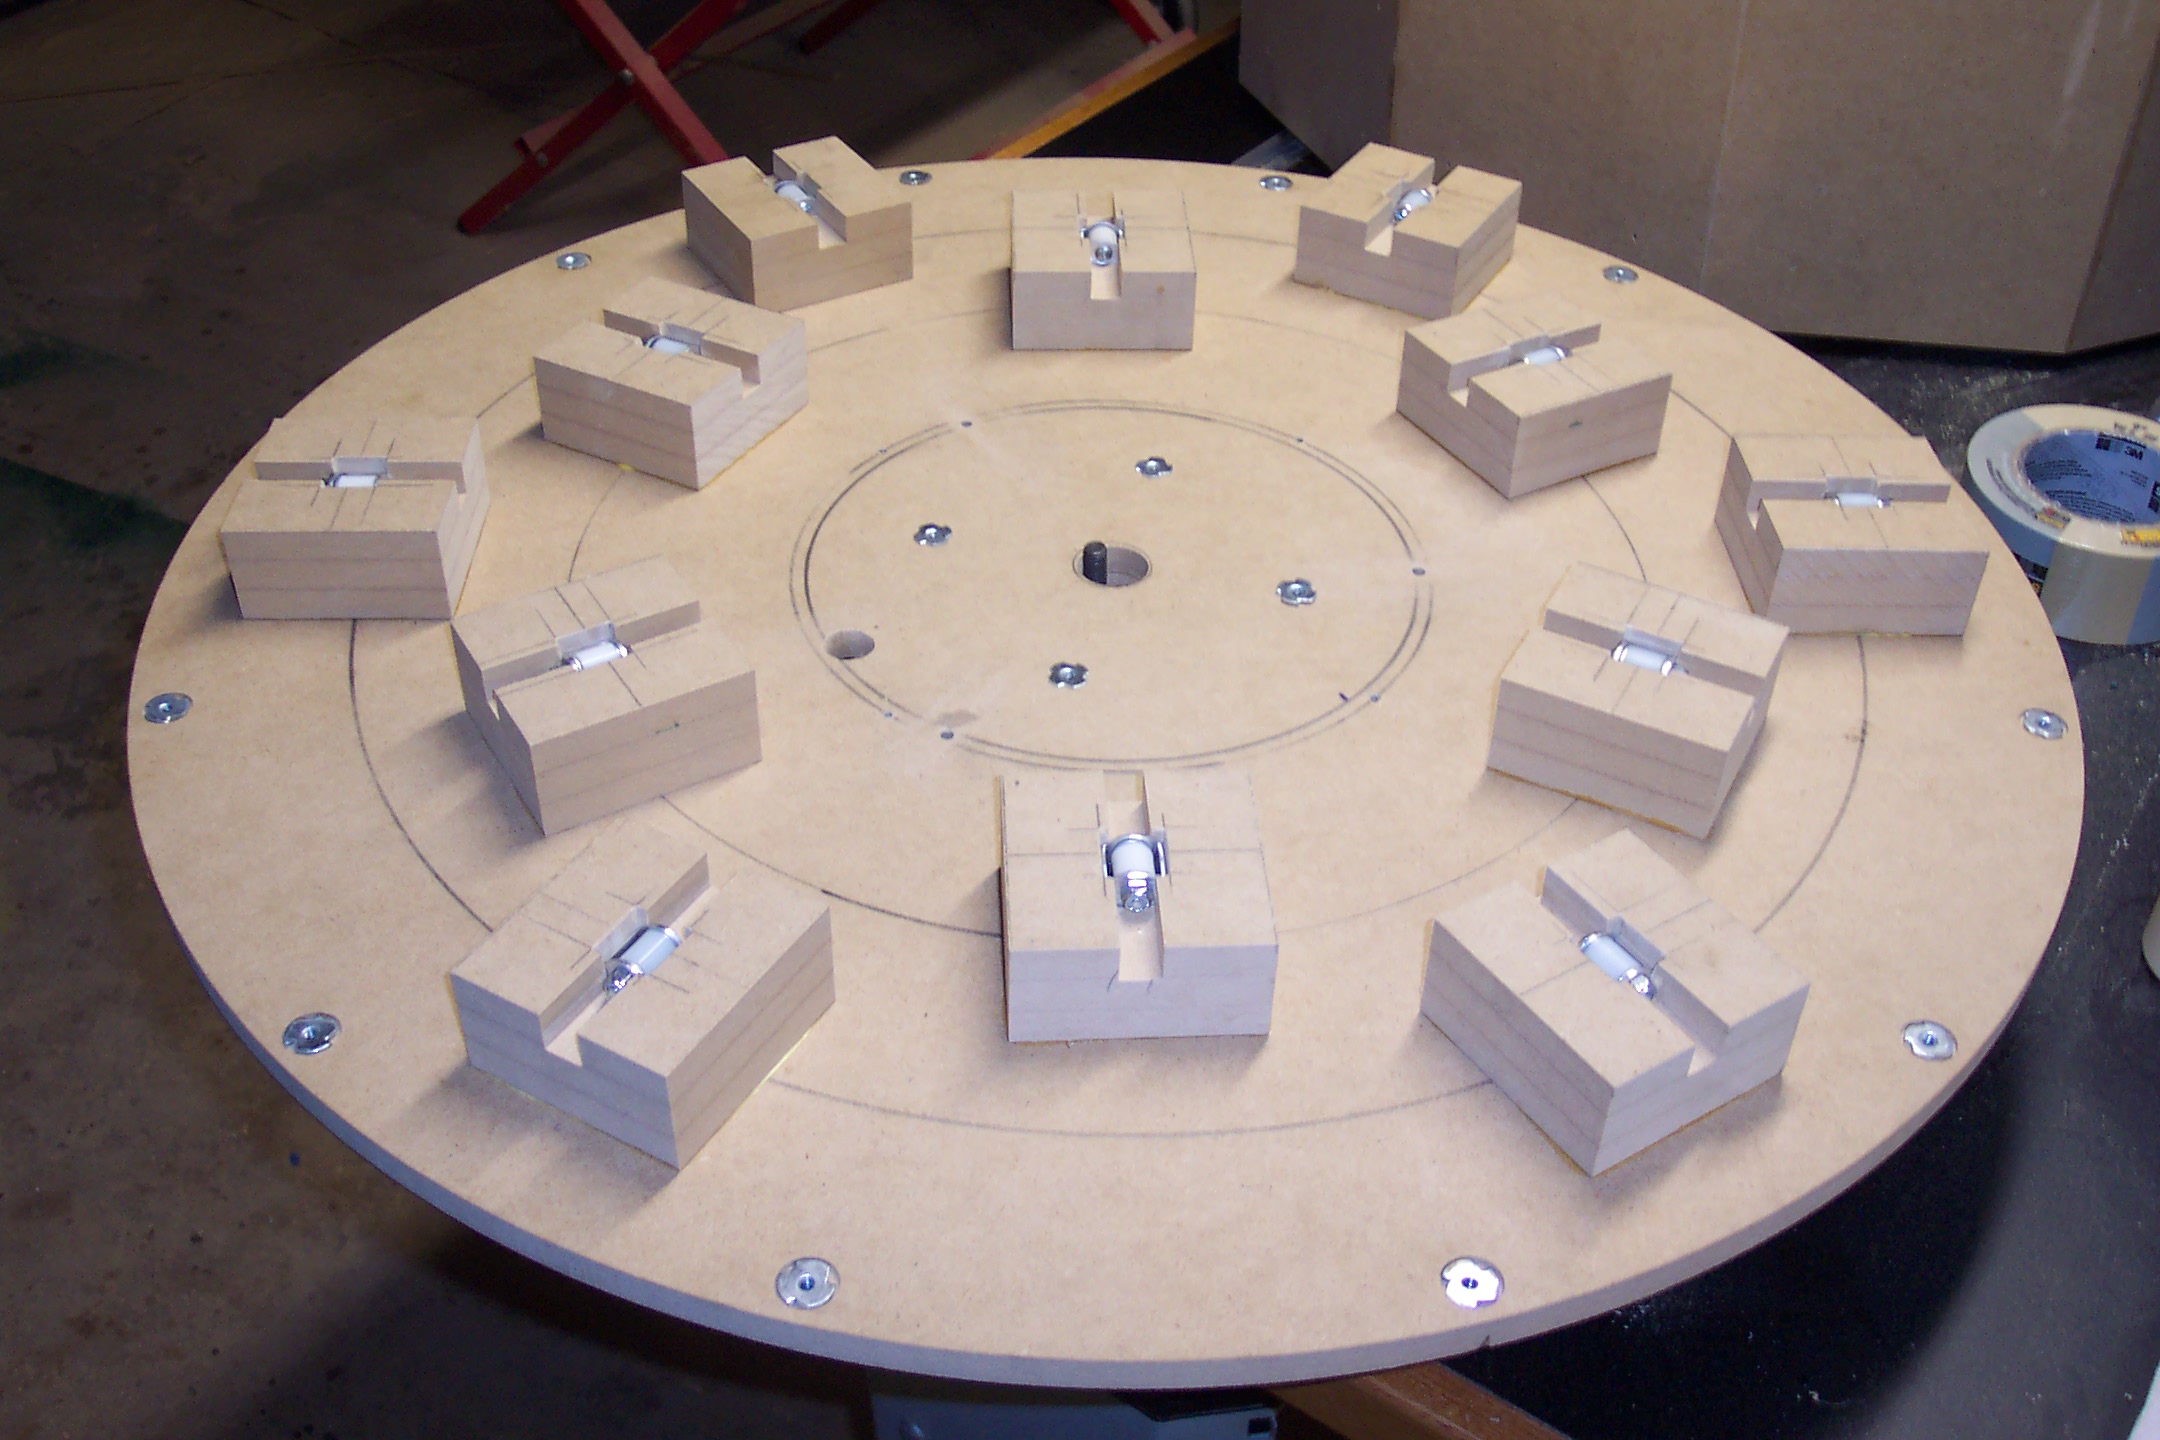
Lifter guides and lifters attached to the base.
 Test run without lifters (video) Test run without lifters - different lighting (video) Test run without lifters - different lighting (video)
An early test run without the lifters active.
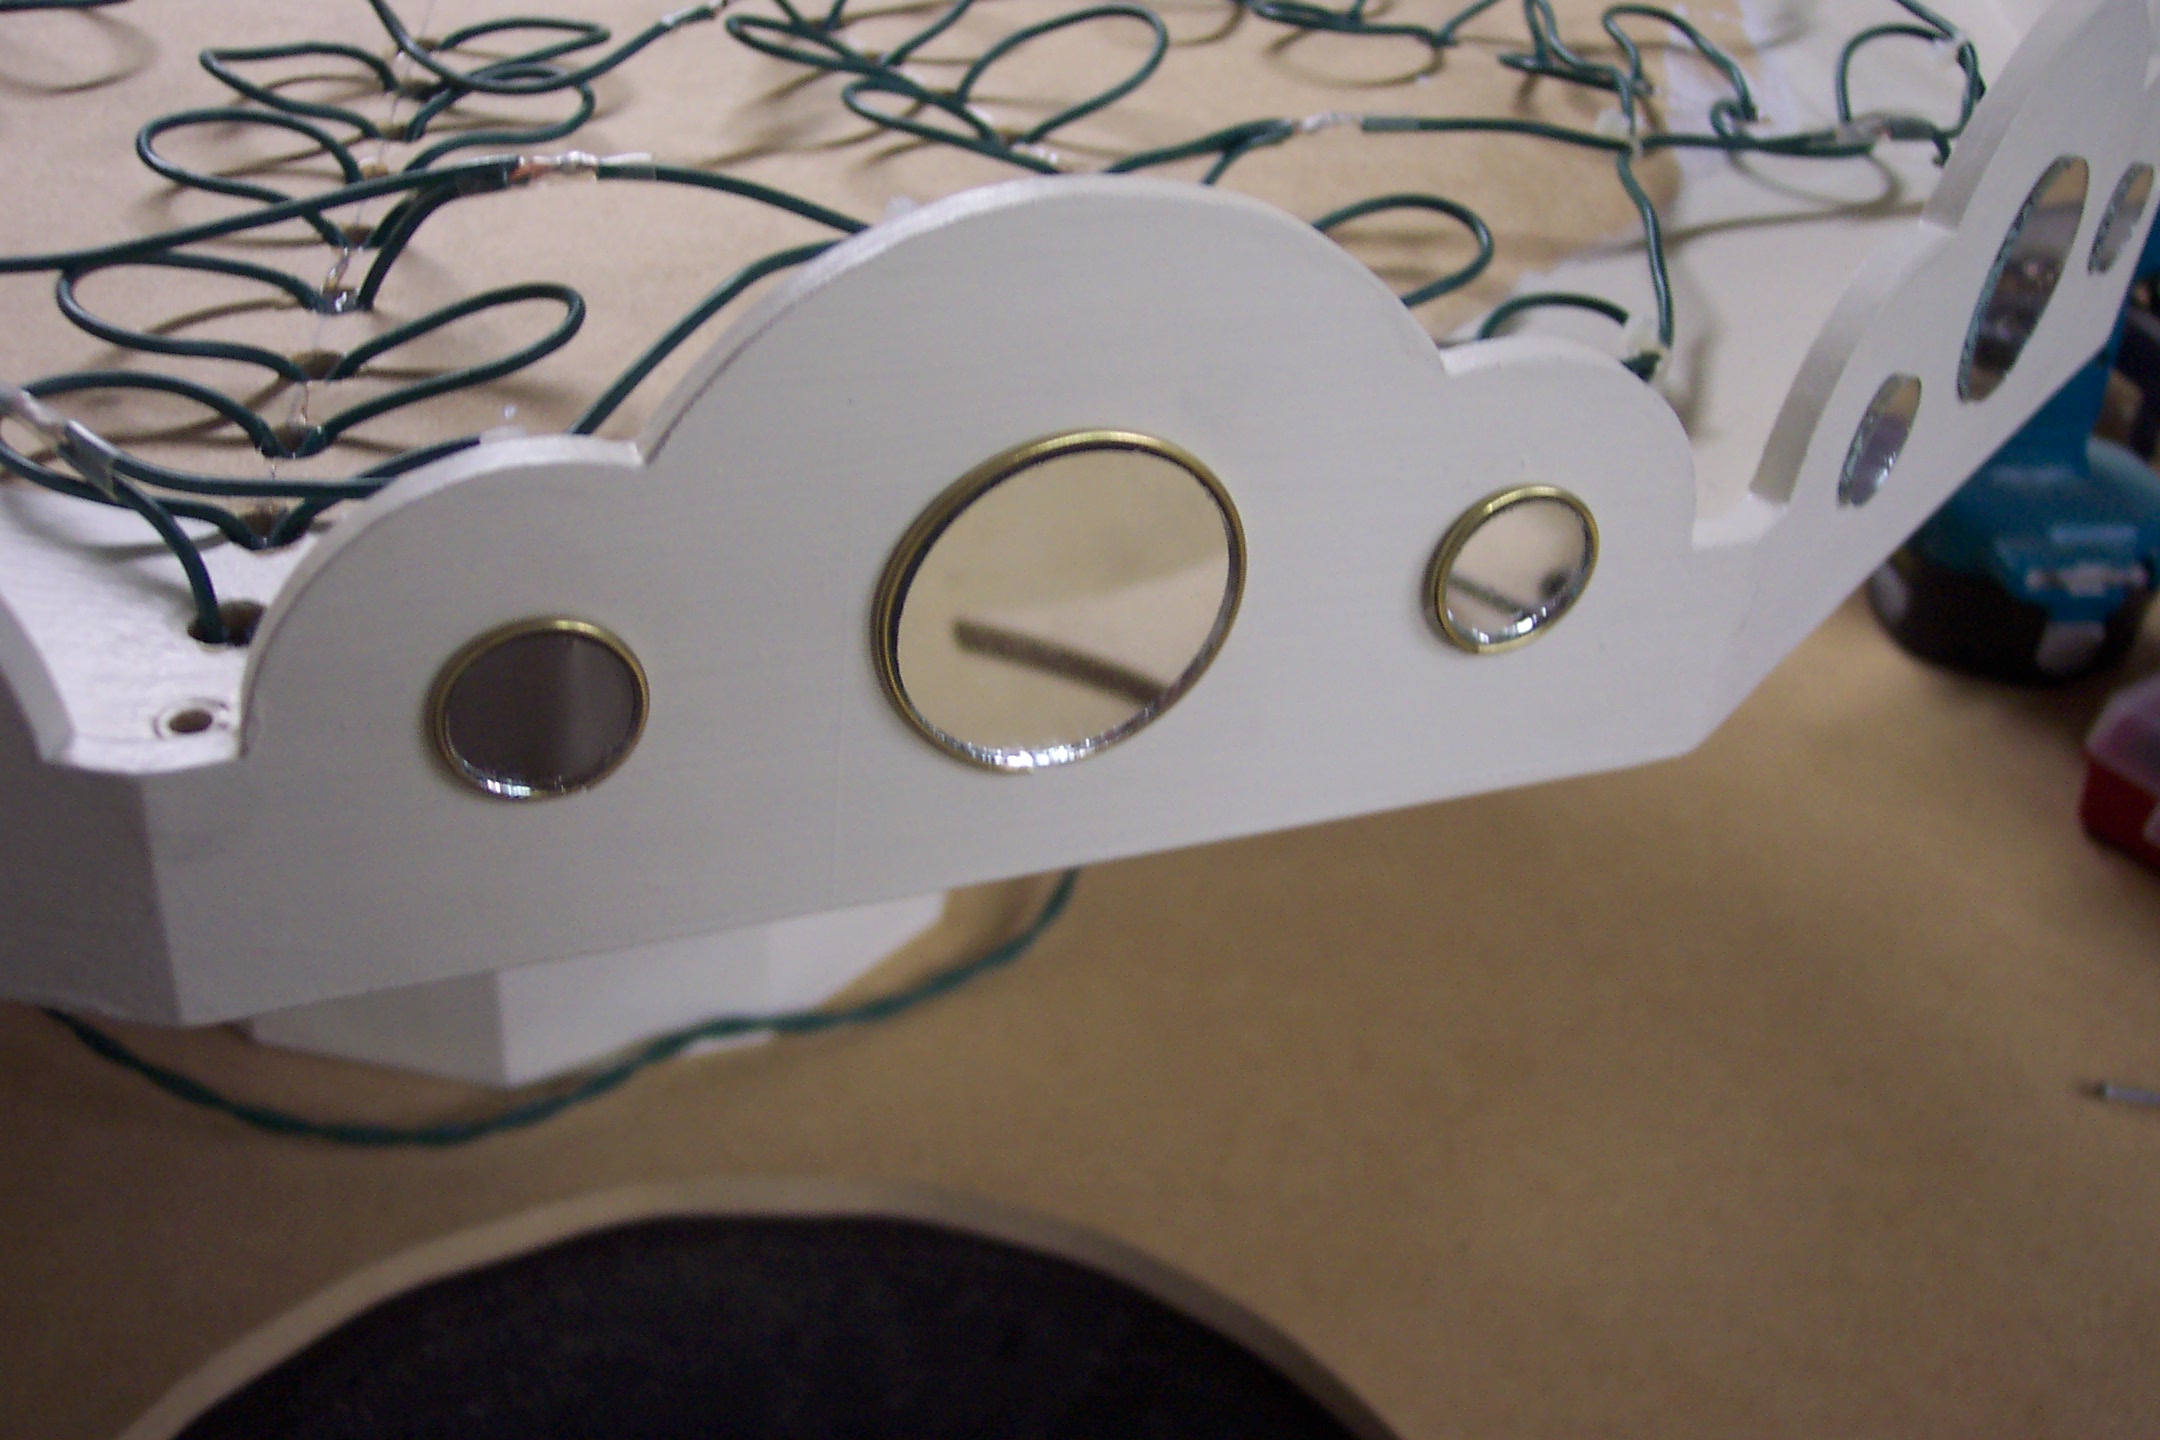
Brass frames for the mirrors.
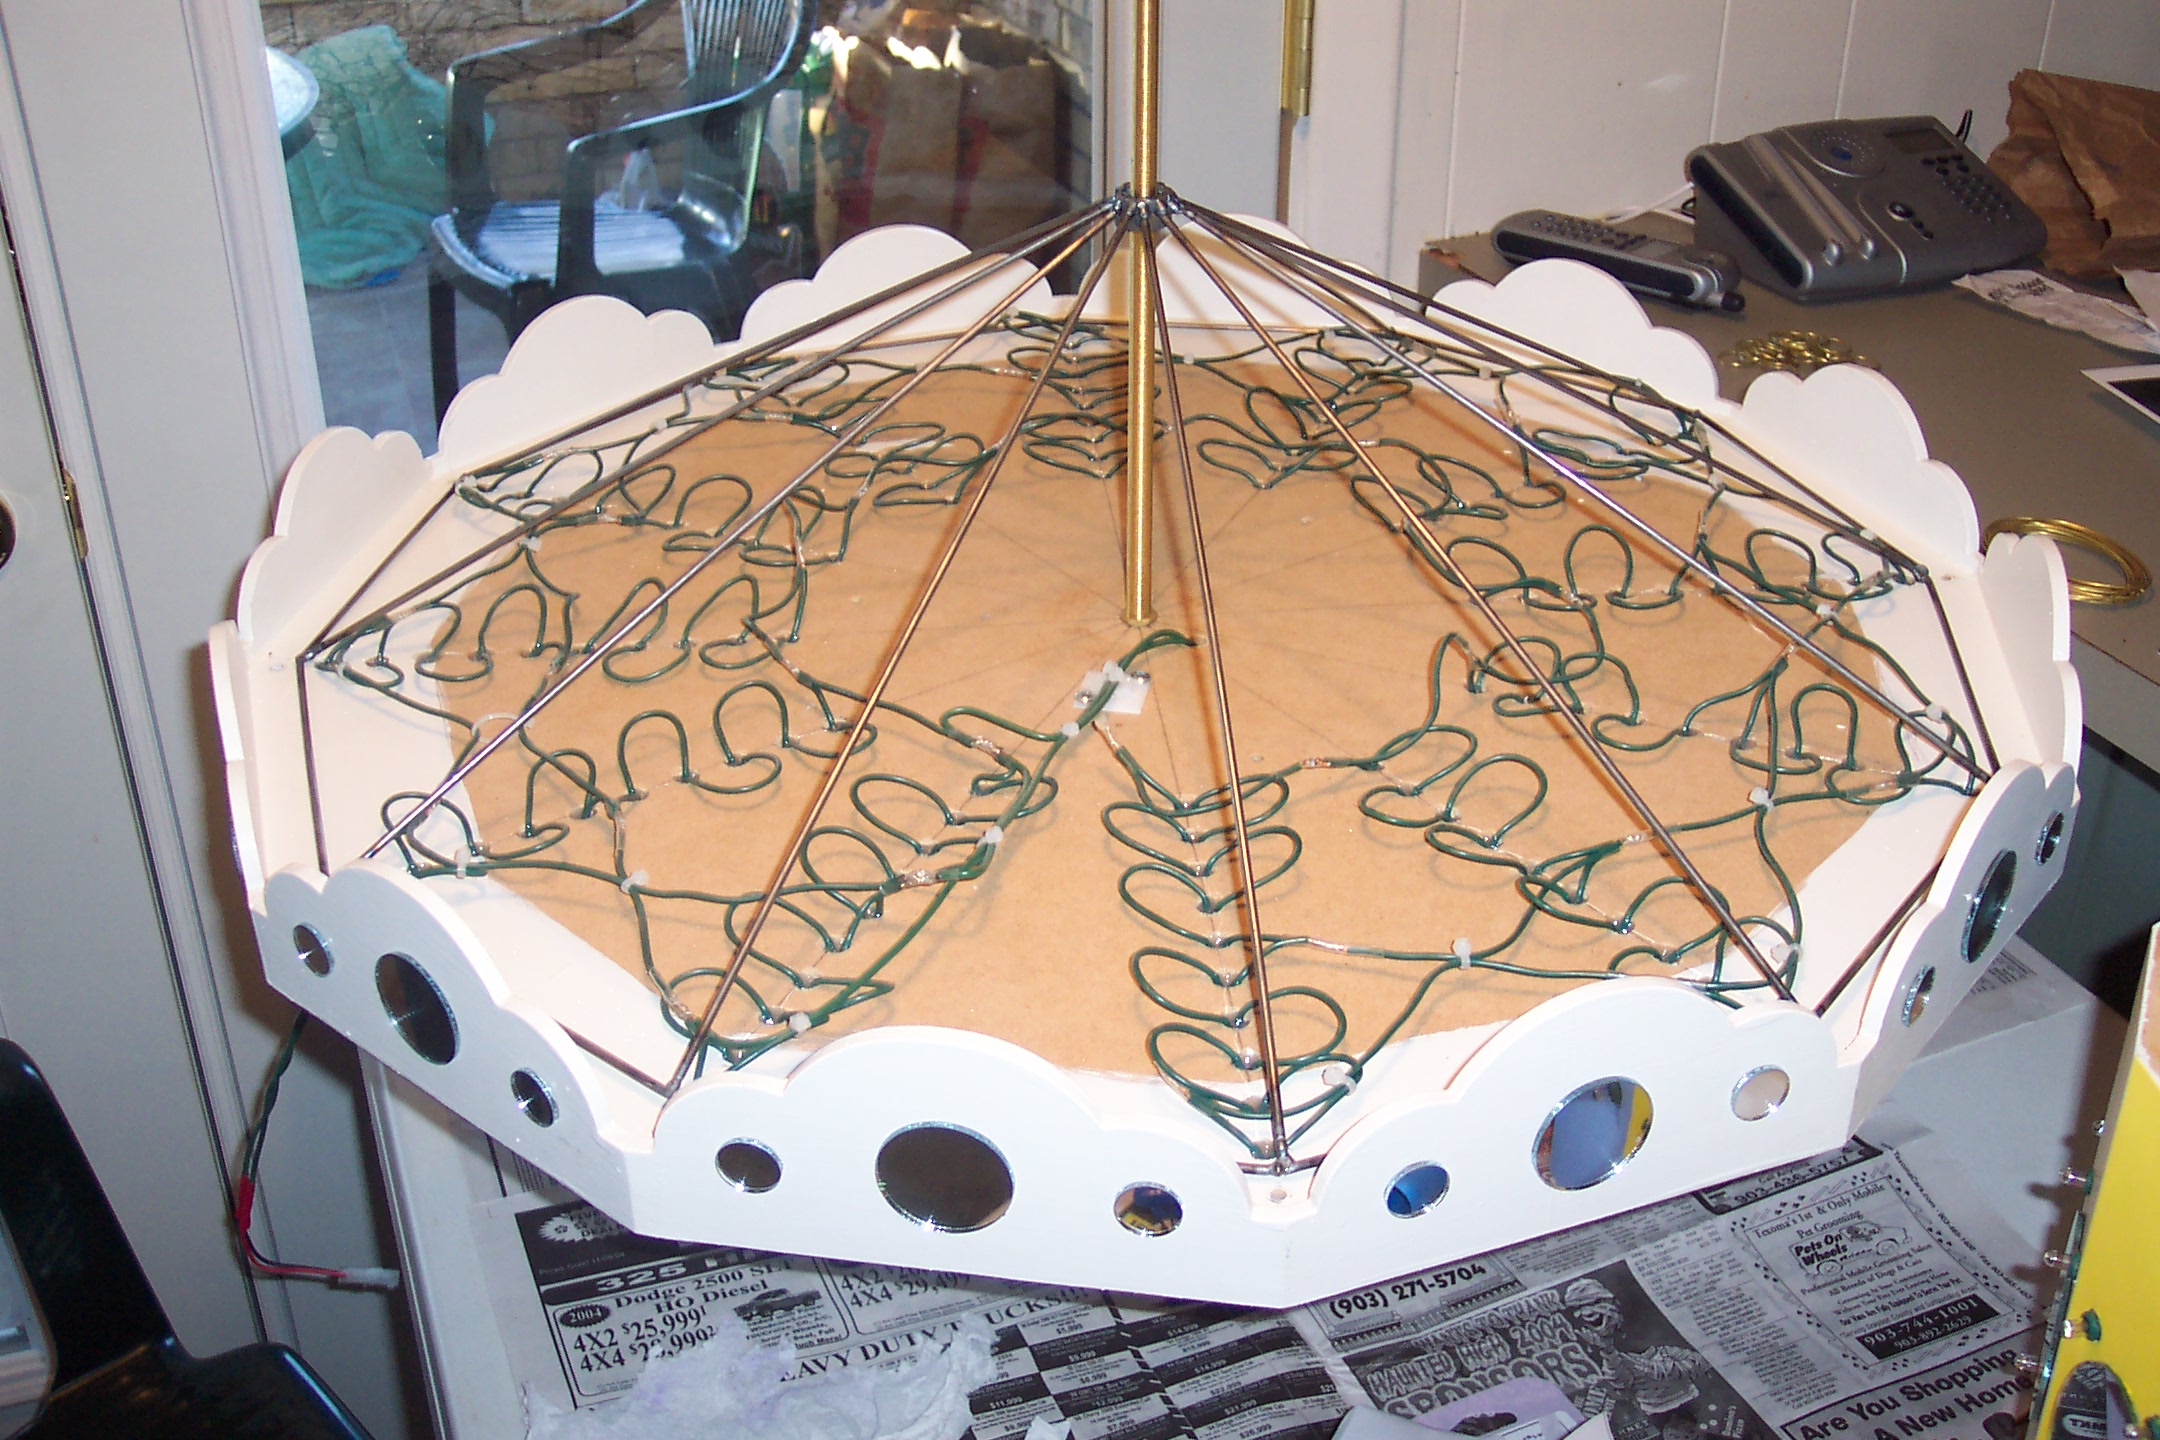
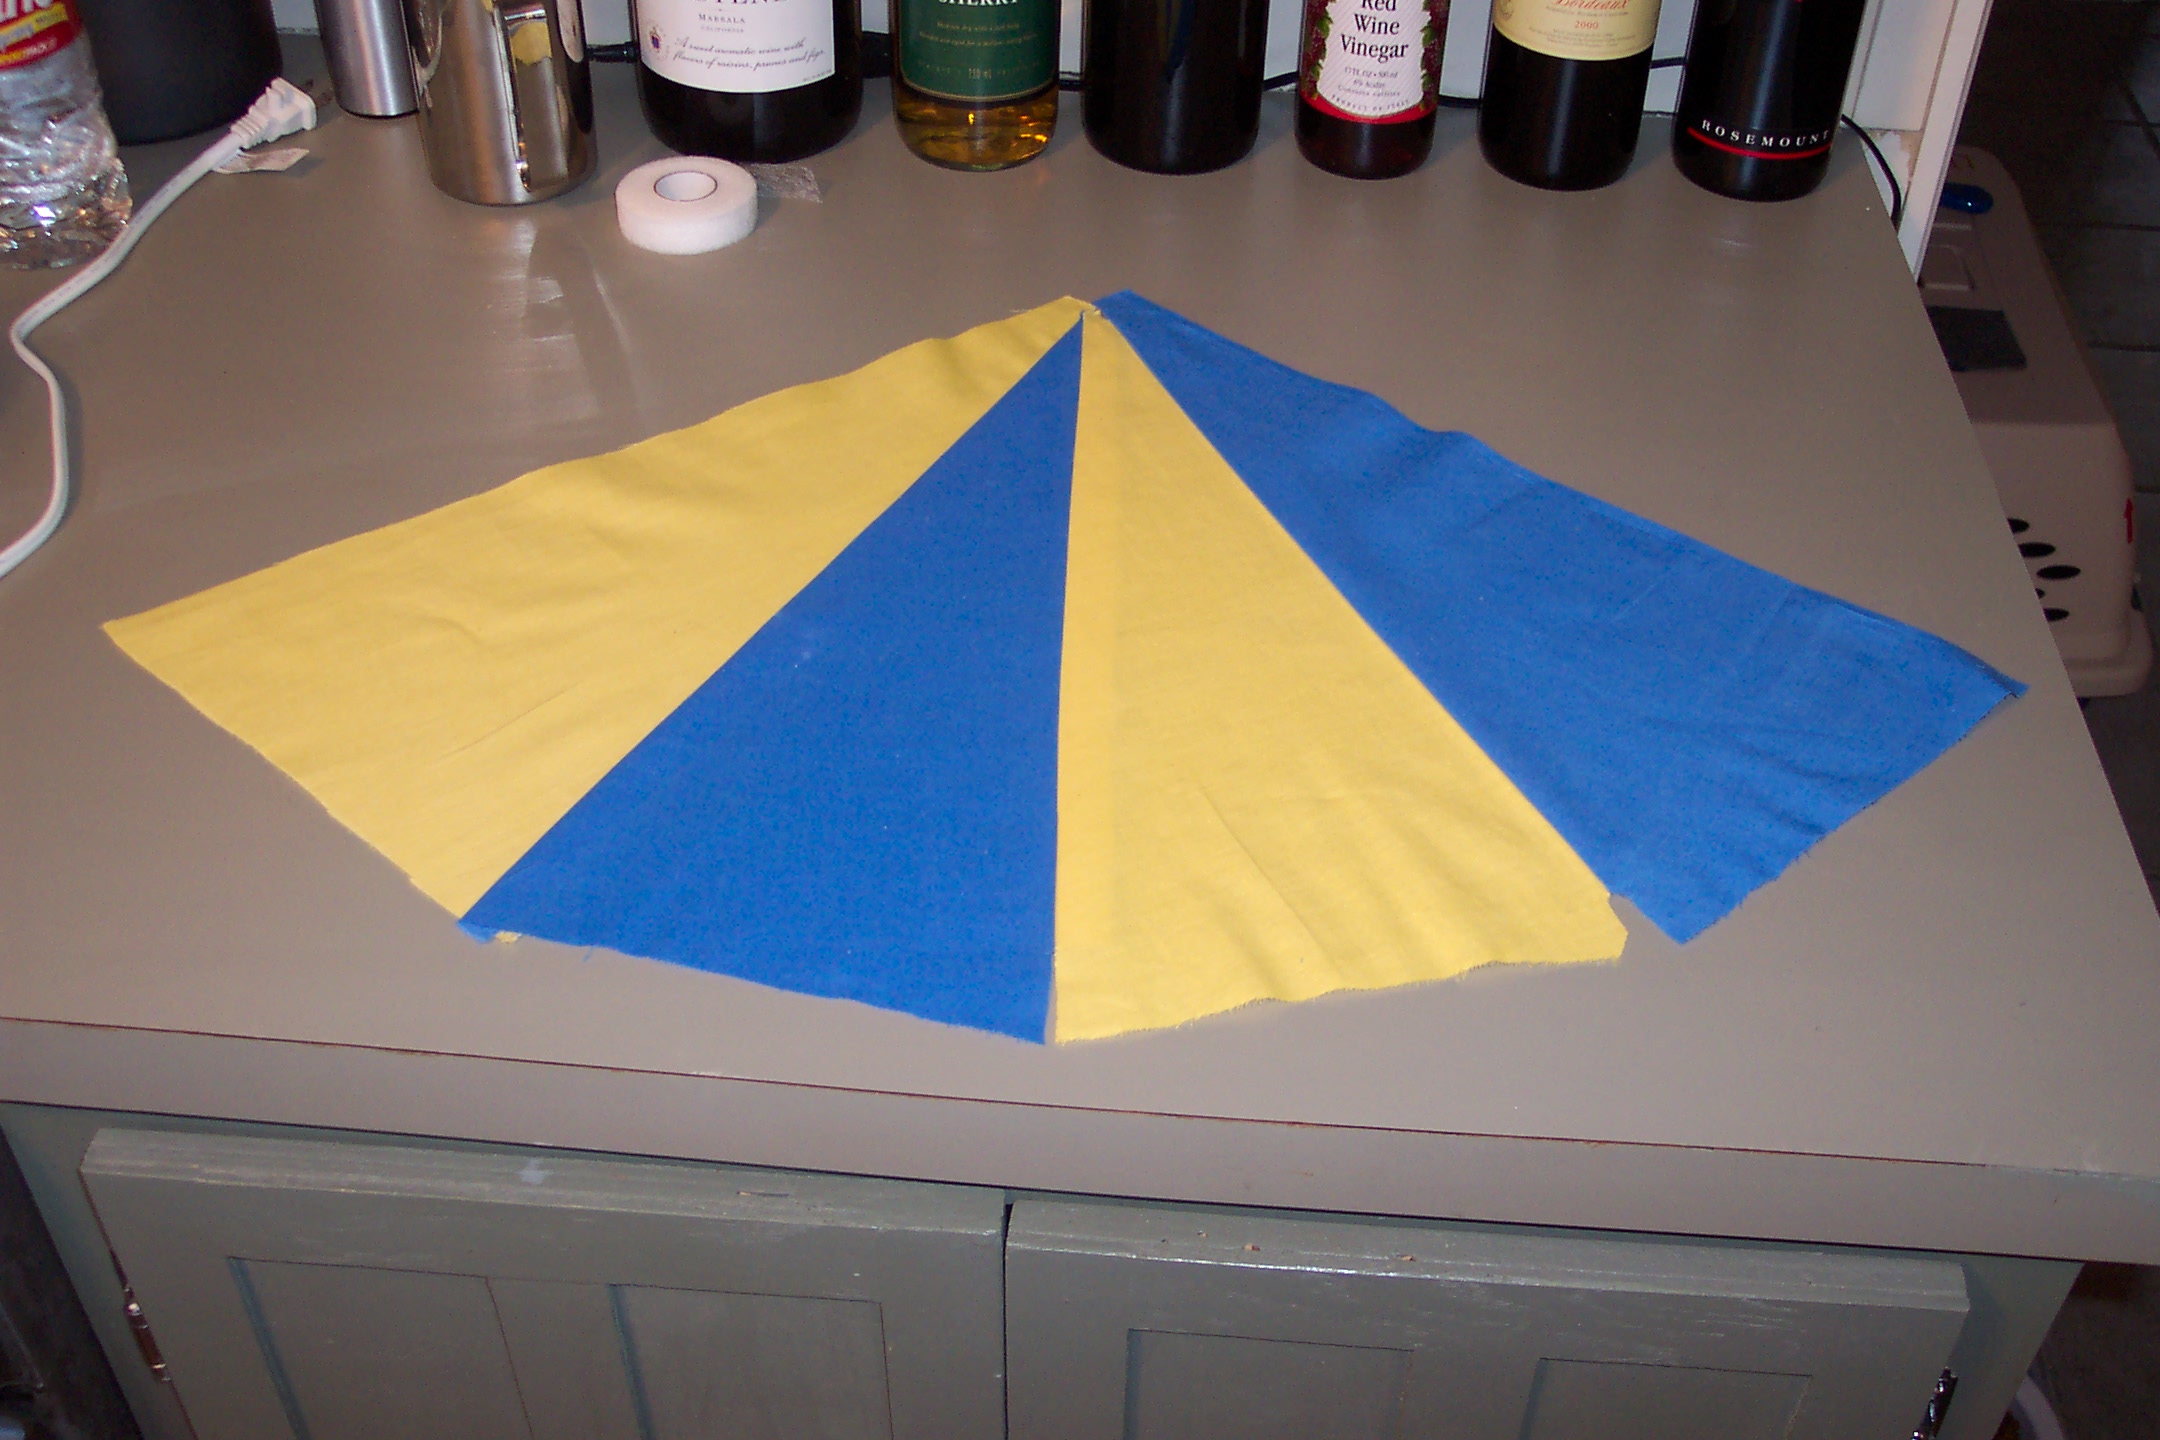
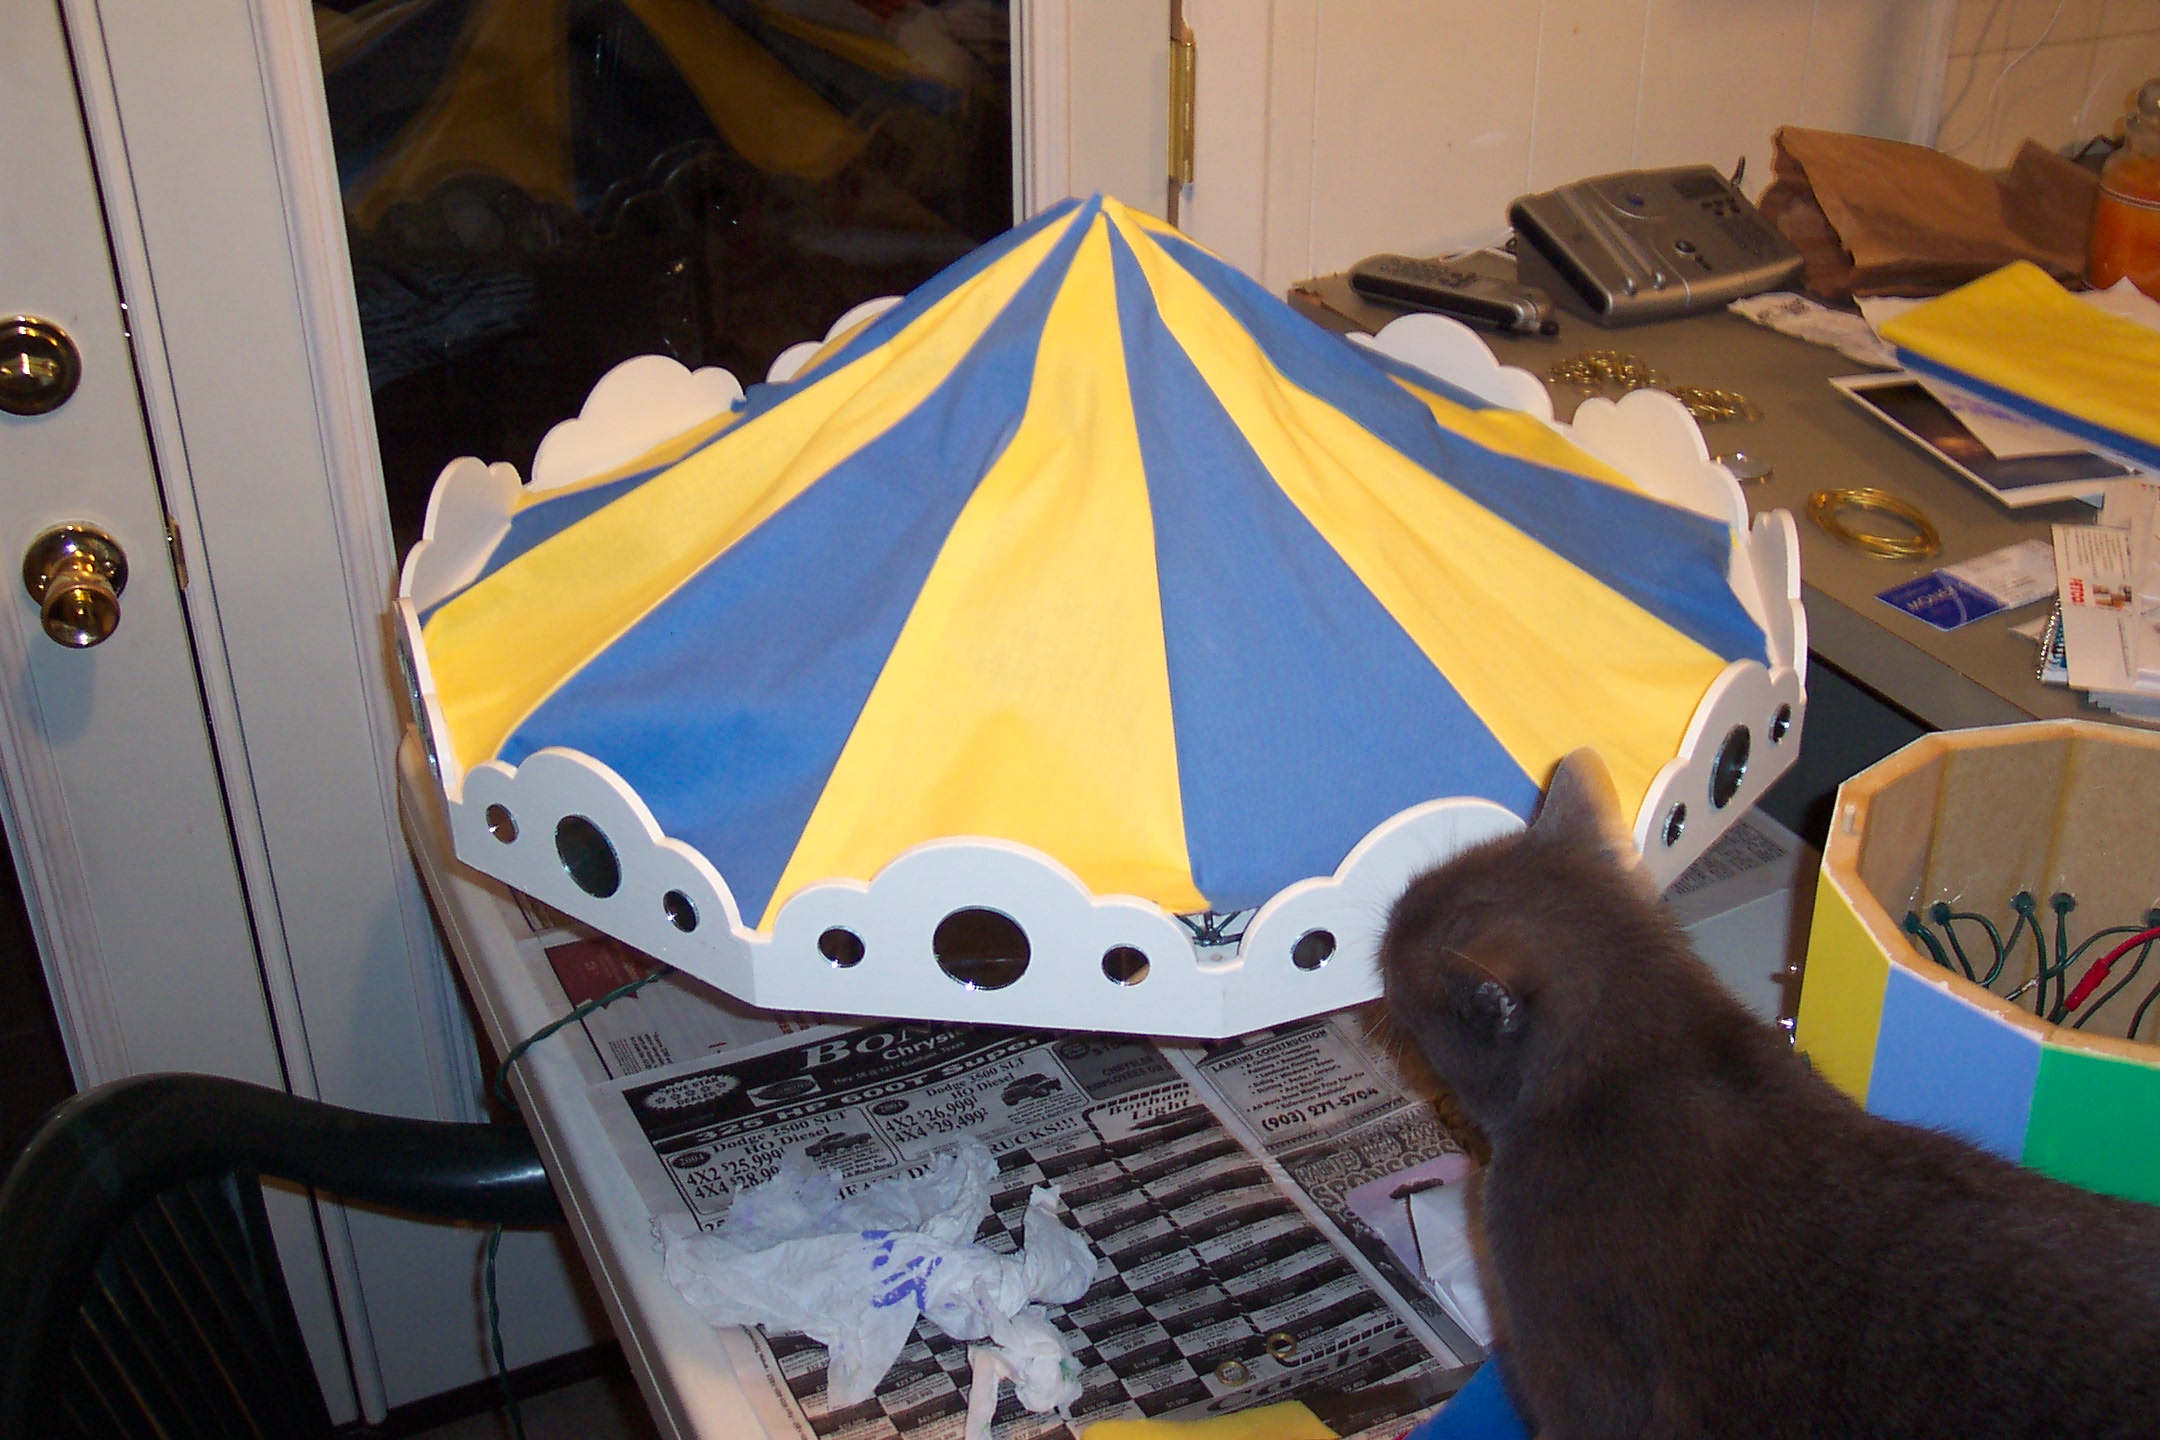
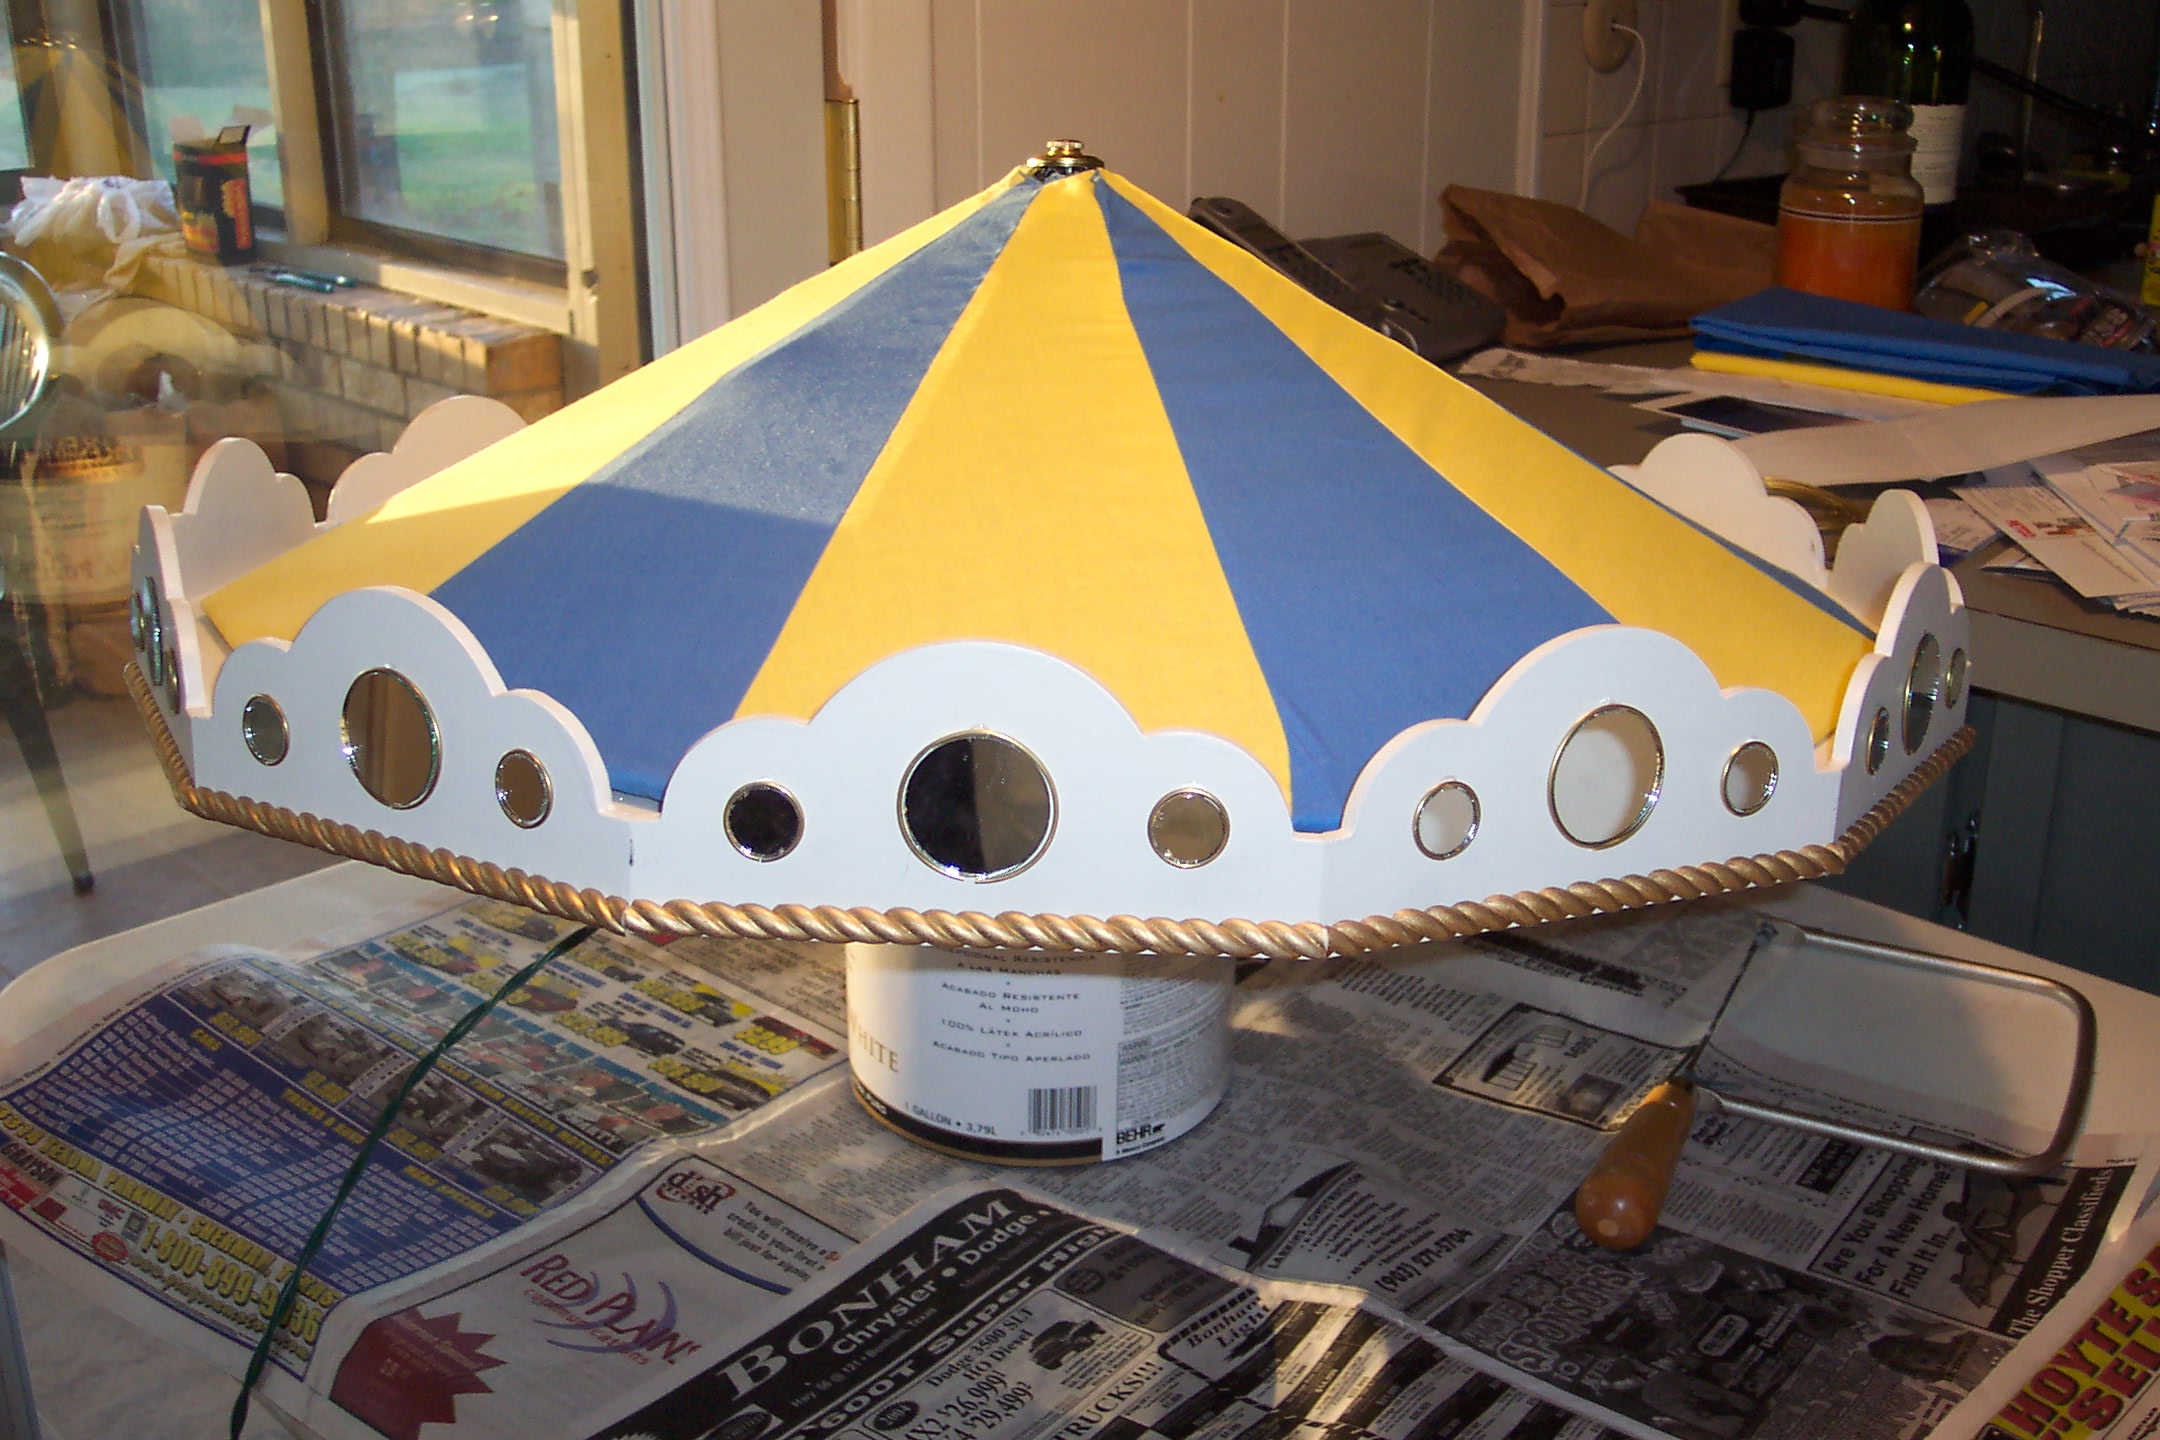
A welded wire support frame for a fabric tent roof. Construction of the tent roof. Inspection of the tent roof by Sophie. Another view of the roof.
 A test run with lifters (video)
A test run with the lifters active and without the upper section.
 Fully assembled and running (video) Fully assembled and running - another view (video)
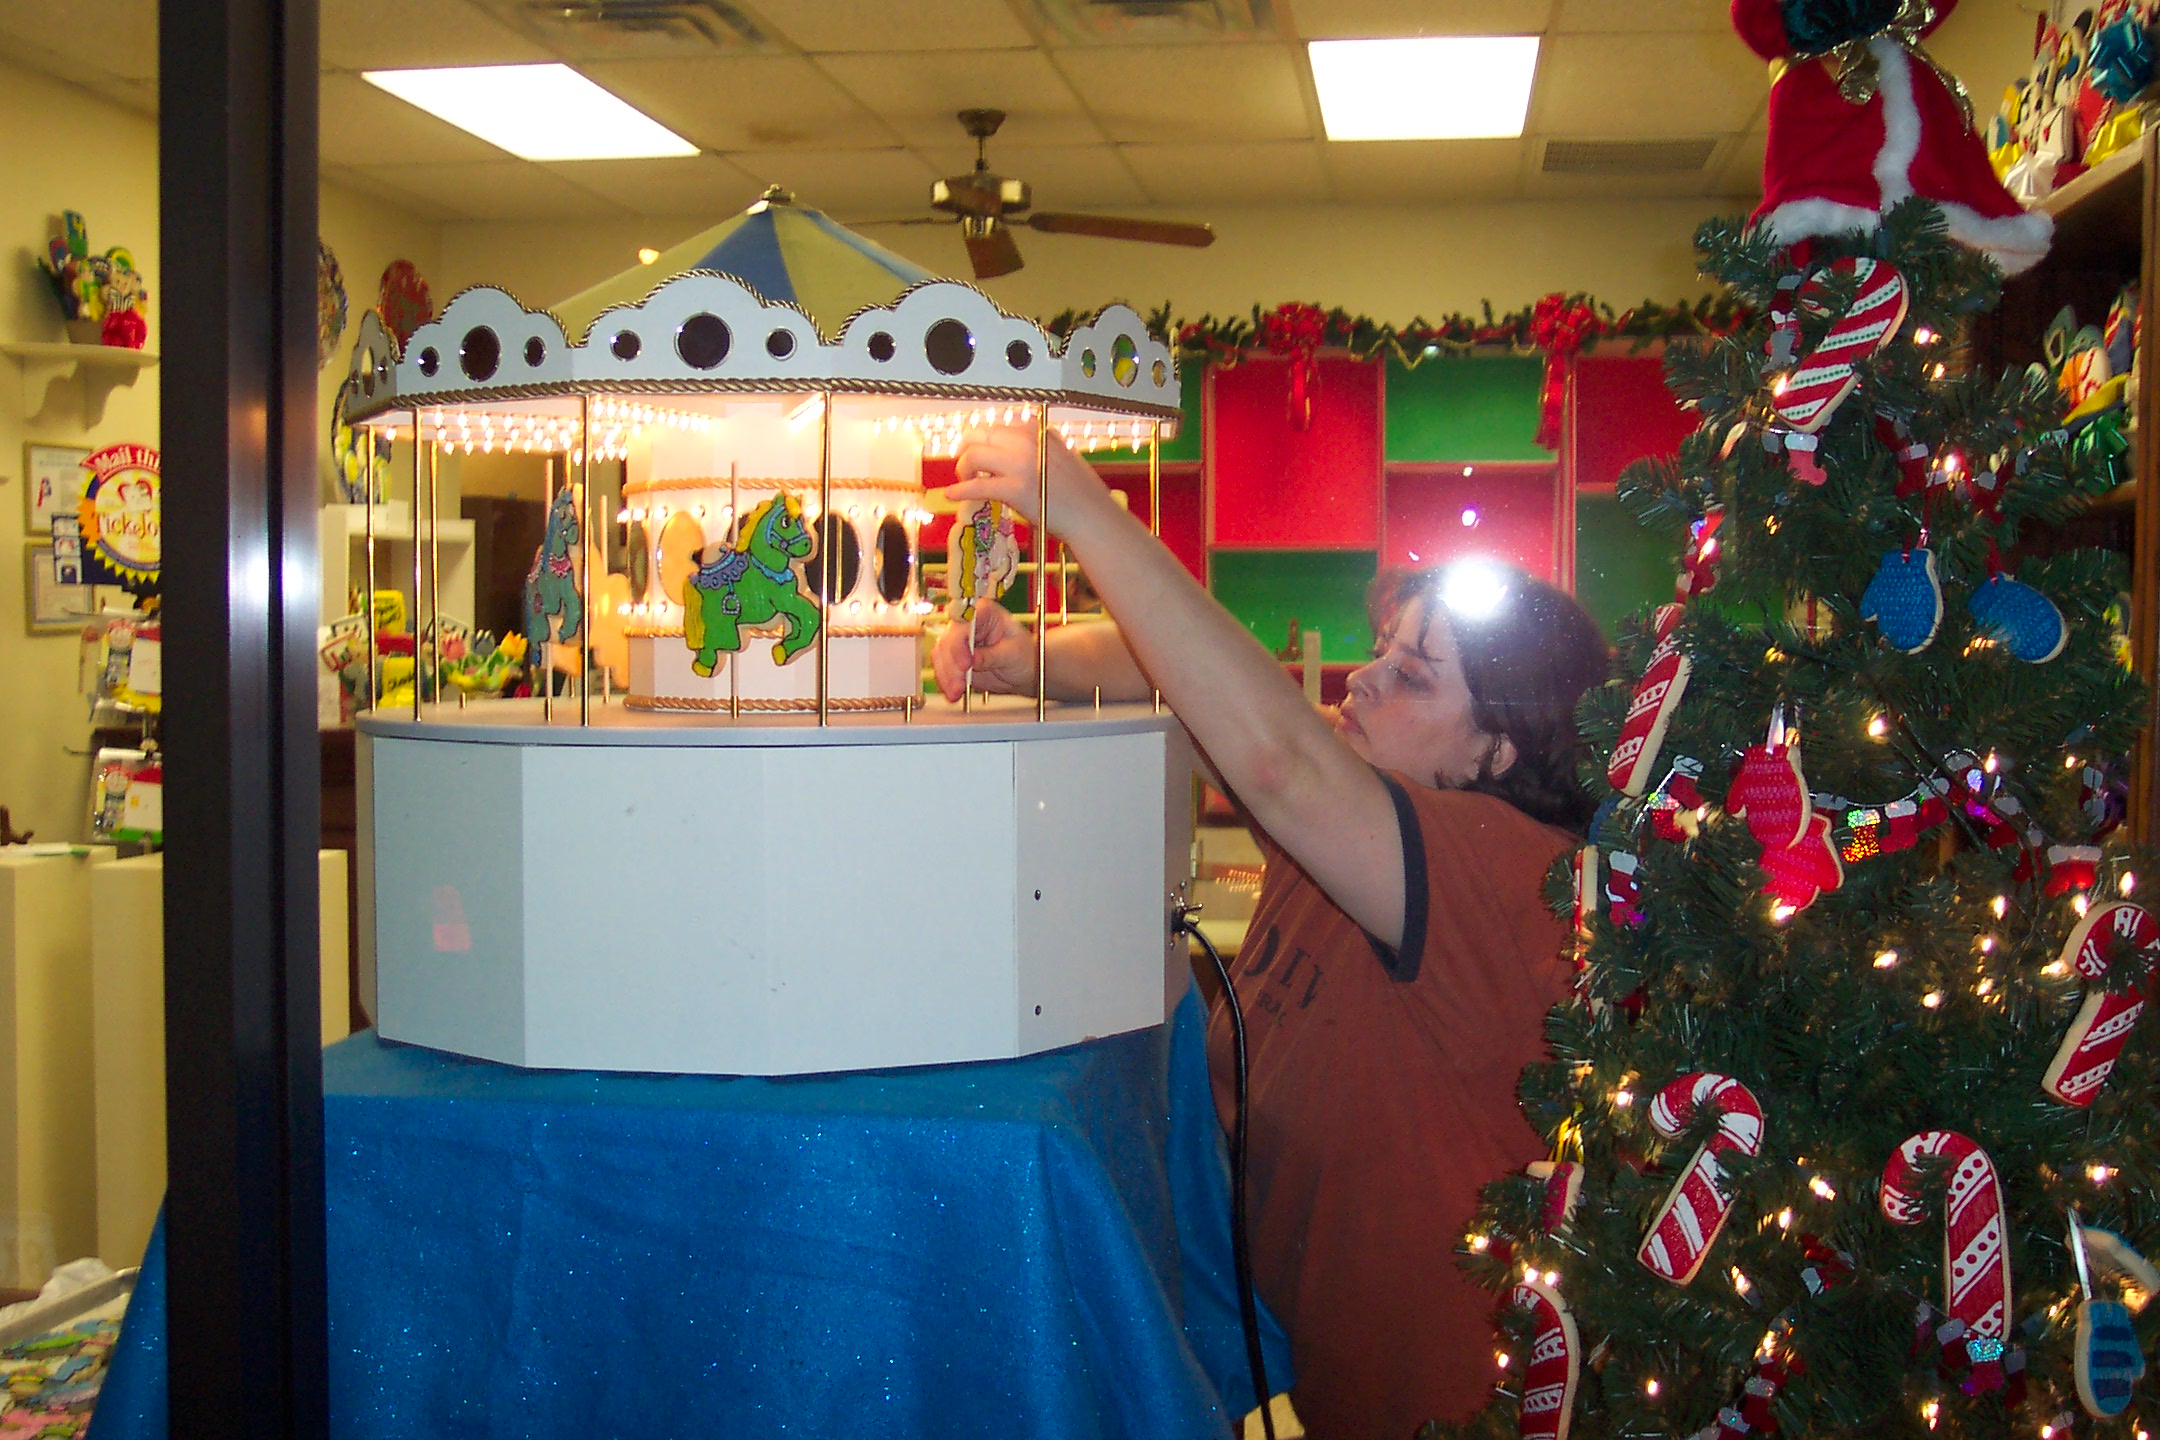
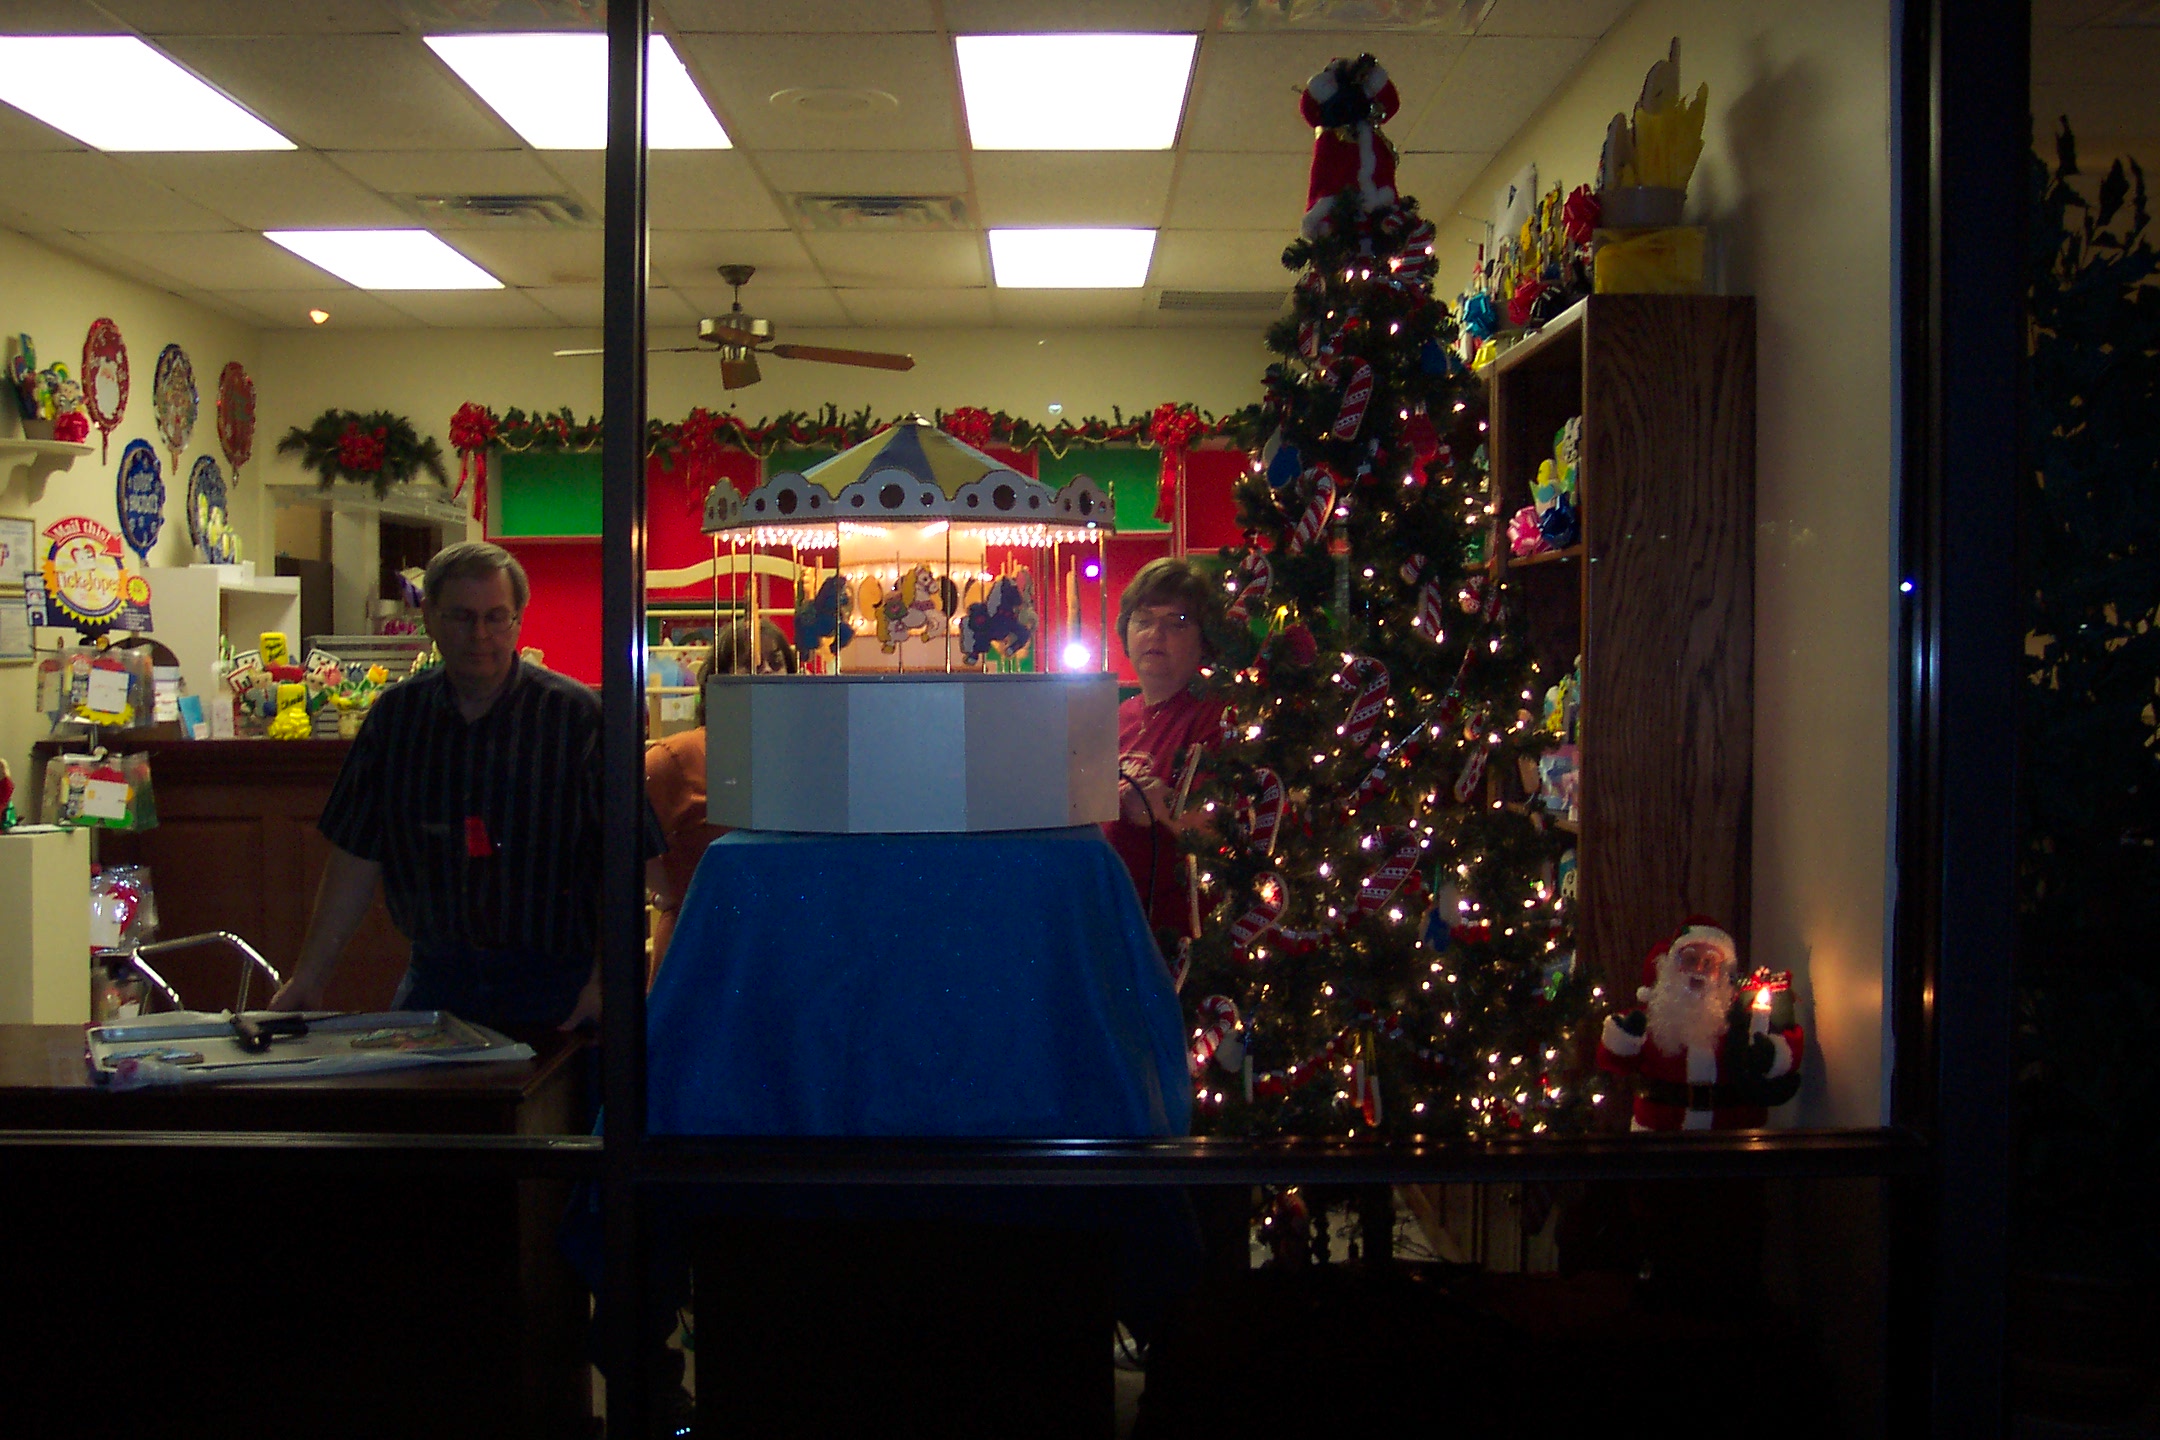
Final setup at the store and up and running.